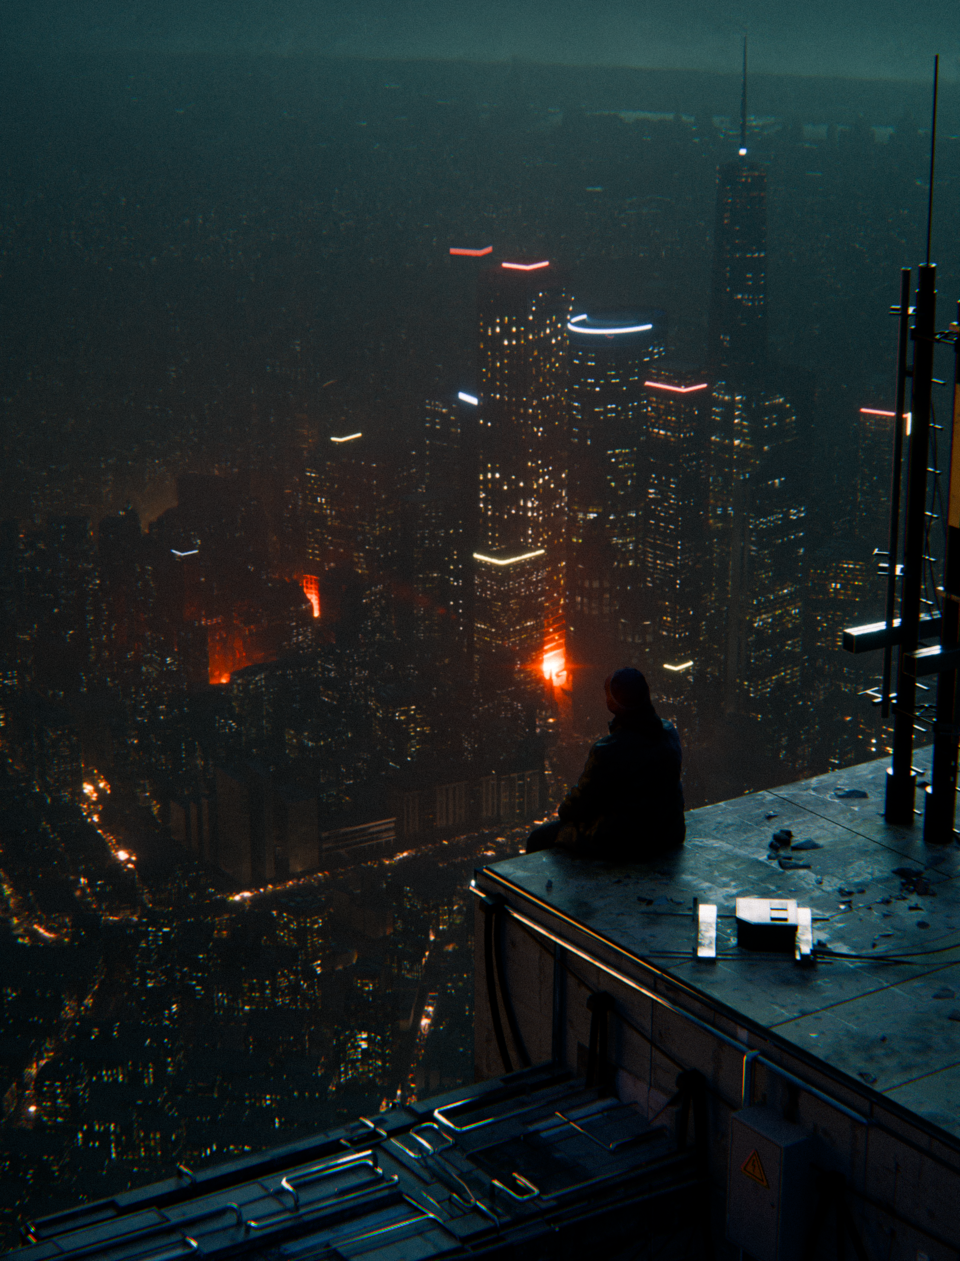
When it comes to 3D art, geometry and texturing only tells half the story. I’ve seen countless renders where everything appears to be there, the correct modelling techniques are used, high resolution textures, great render settings and yet the render falls flat. Without intentional lighting your art will lack emotion.
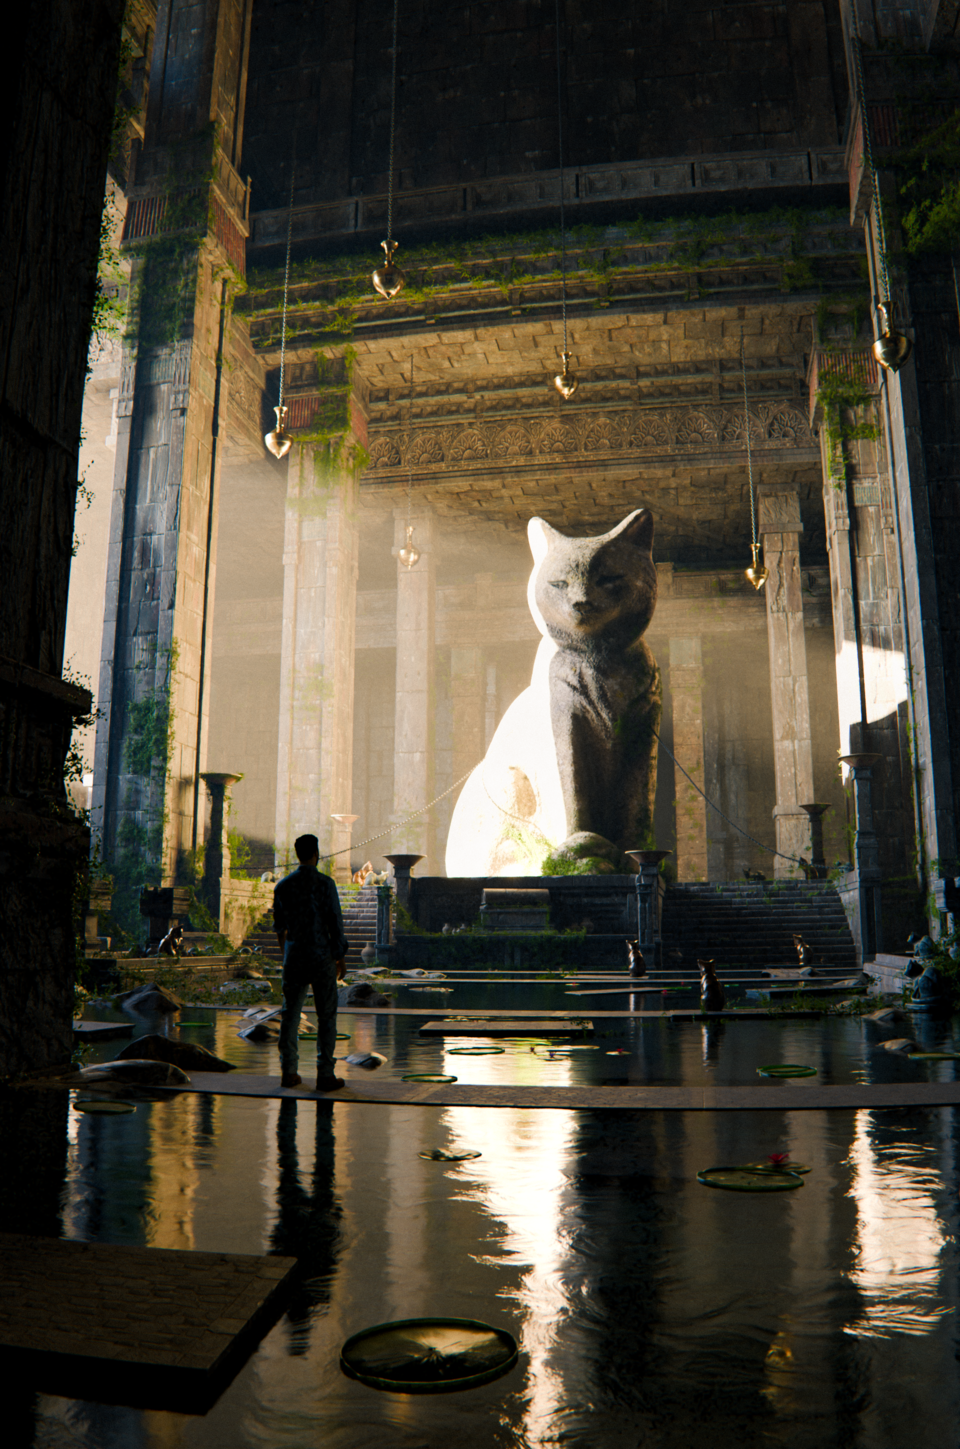
When I first started using blender lighting was the last thing I did in a render and the quickest, but I’ve learnt lighting isn’t just making your render visible, it’s about story telling, conveying emotion and guiding the composition.
Lighting can be a visual storytelling tool. The physical size of your light (light size in m^2) dictates the transition from light to shadow. Small lights create high contrast shadows. Psychologically, this creates a harsh, tense and dramatic feeling. Whilst, large diffuse lights invoke a calm and safe feeling. Colour is also one of my favourite tools. It’s a shortcut to telling the audience exactly what emotion you are going for. Warm tones, invite cozy and nostalgic feelings, whilst cold tones convey a cold and isolated feeling. A great way to do this is using the blackbody emission node and controlling your light colour with a kelvin value. Going outside of blackbody spectrum (ie greens, purples ect.) goes against the natural colour harmony and informs the audience that something is wrong (really good composition tool)
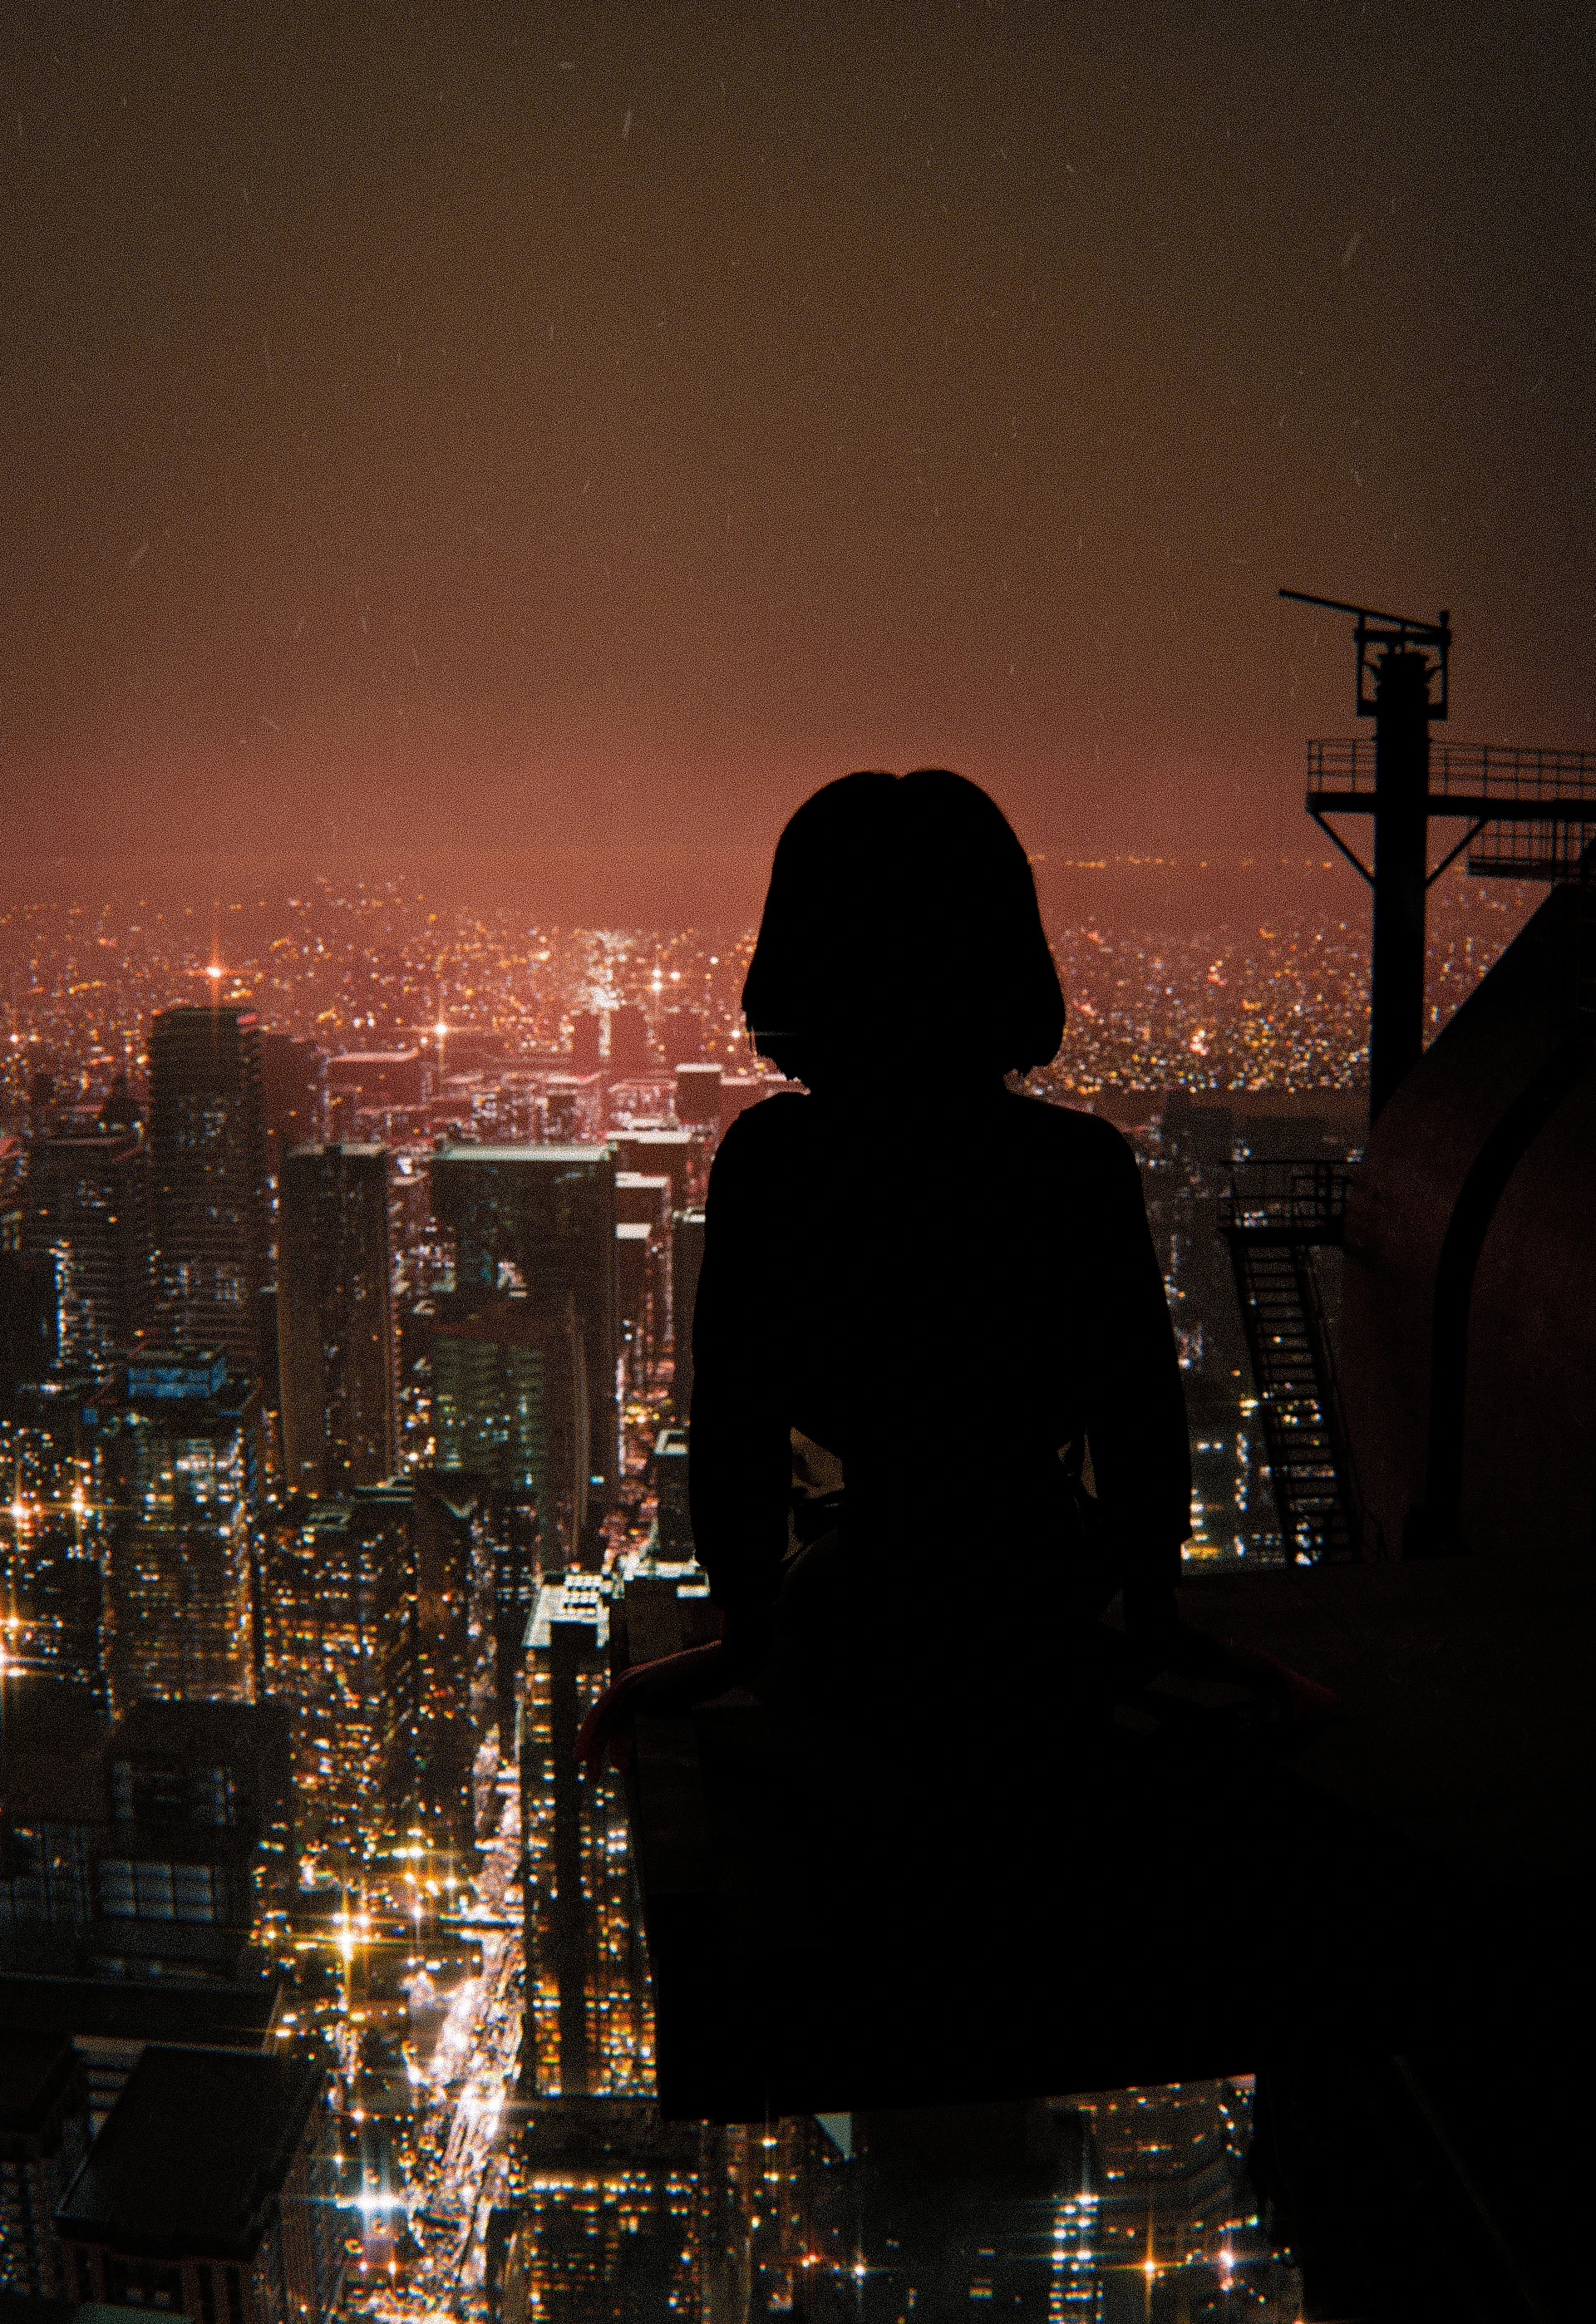
Understanding light and taking tools from cinematography is a really great way to elevate your renders. Whilst this is a massive topic, there’s a few simple take aways I follow.
Back Lighting: This is the gold standard, always shoot towards shadow and away from light. It highlights form really well. A sun light makes for an excellent backlight.
Front Lighting: Flattens out details, washes away texture, and minimizes shadows, avoid front lighting as much as possible, it lacks depth.
Side Lighting: Skims across surfaces. This is your go to angle for emphasising texture and form. Just make should to shoot in shadow (the shadow should be closer towards the camera)
Bottom Lighting: Bottom lighting highlights facial anatomy in an uncanny way this creates an eerie, theatrical, or menacing effect, great for portraits.
In the real world light doesn’t come from a mysterious source, it comes from real world objects. You should heavily rely on practical lights in your scene, and if the light needs to be off camera it should be justified.

Dynamic Range: One of the biggest pitfalls of renders I see is the dynamic range doesn’t make sense. In photography dynamic range is the span of light intensity that is captured. Cameras can focus on one intensity of light and thats it. If your camera is exposed for a ray of light shining into the room, the shadows of the room will be completely dark. And if you’re exposed for the shadows, the light ray will be completely blown out and white, you can not capture the same level of detail in two highly varying light sources. How to apply this in blender? Use real world values for light sources, you can convert the wattage of halogen or led bulbs to lumens using an online calculating. Use these values and if you need to adjust the brightness of your render, change the exposure settings in render settings. Another tip, the brightness of the sun lamp in blender is kind of arbitrary. I typically set it 20-100 and adjust my exposure to adjust. When trying to achieve a realistic dynamic range, relate it back to reality, a street lamps light when turned on is practically invisible when in full day light. And on the flip end, a single 1 watt led could light up an entire room when in pitch black darkness.
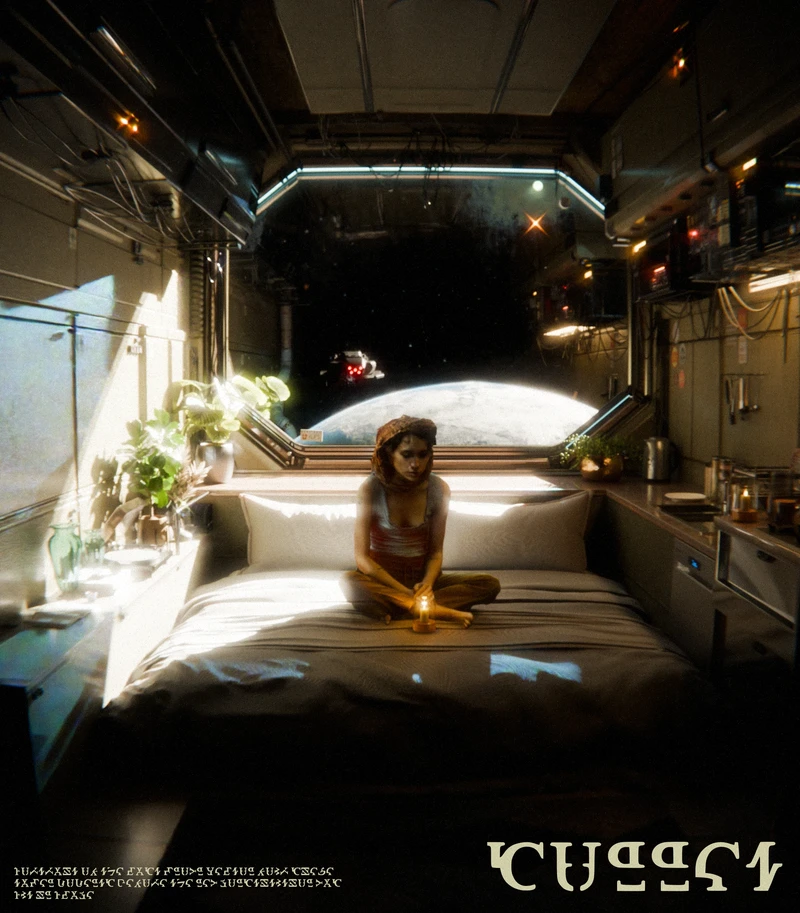
Lighting is the art of selection. By deciding what to illuminate, what to hide in shadow, and what colour temperature to use, you control the viewer’s entire experience of reality.