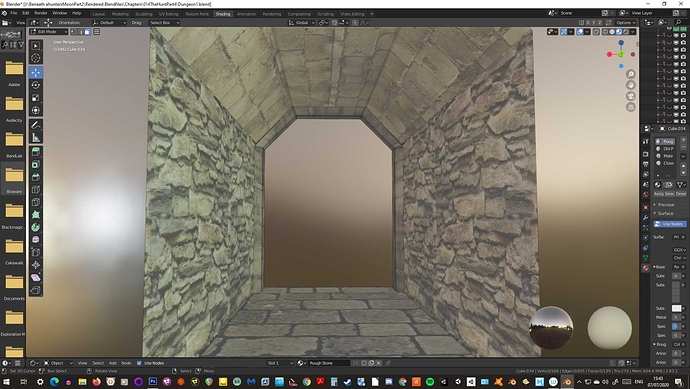
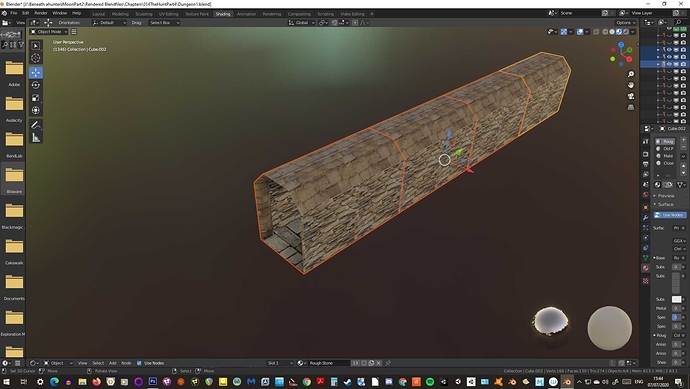
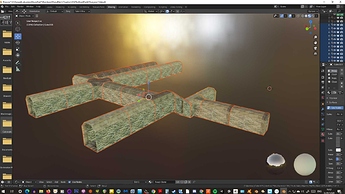
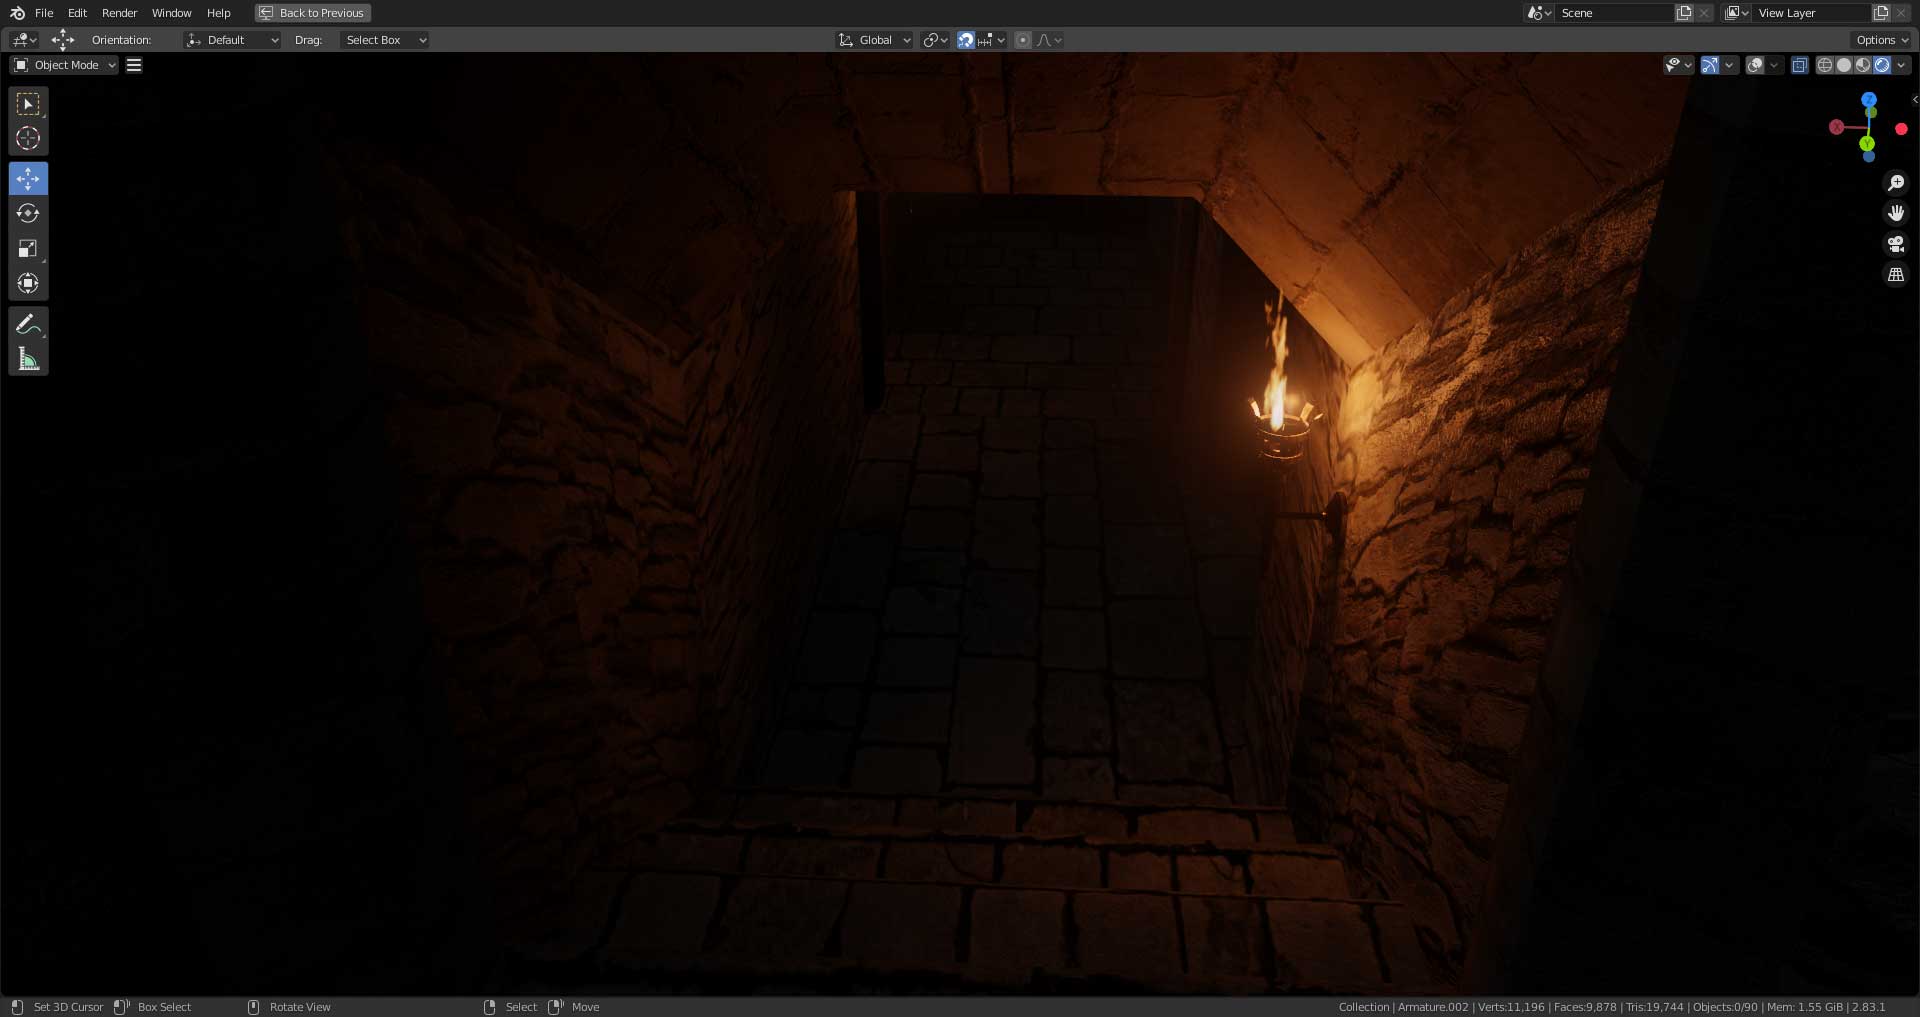
Ok, so I am going to indulge in a little speed modelling. I am writing some music / atmosphere for dungeon exploration. So I am going to see how quickly I can produce a dungeon, to use in a video to accompany the music. The quickest way I reckon would be to produce a simple tileset of passages. So I will start with the simplest which is a straight passage section.
Quickly add some textures. The rough stone came from the side of a boathouse in the Tamar Valley in Devon. The Ceiling came from the Cathedral close wall in Salisbury(Not far from where I live). The pavement I am not sure about, but could also have come from the Close.
Here they are, to test out the tiling.
Now onto some crossroads and junctions. 
2 Likes
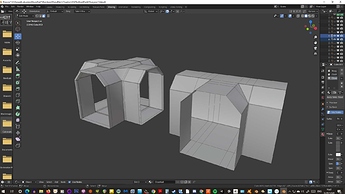
So here is a junction and a crossroads. A little trickier than expected, I am using the bevel tool in edit mode (as it is more selective than the bevel modifier, but it also has a habit of throwing out Ngons and triangles, and I am trying to avoid anthything other than quads. Got there in the end though.
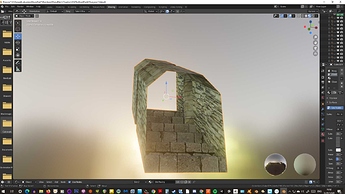
Added a staircase, so I can change levels.
This is enough to build any number of tunnels.
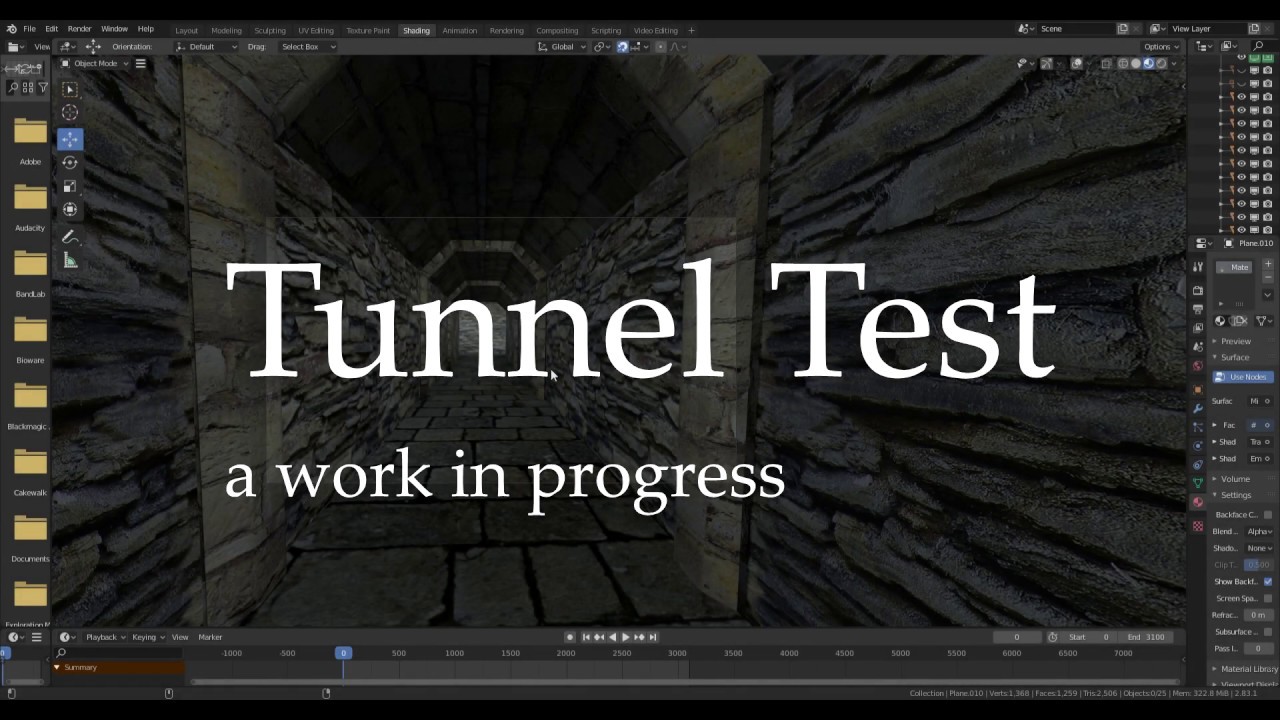
Here is a quick video showing the interior, using the windows video capture, of eevee running realtime.
there is no lighting or fx, this is just quick run to see what I have.
Now I need to work on what lies beyond the doorway.
2 Likes
So for the next part I wanted a change of scene, so the door will open on to a large hallway or temple. Again I will build a tiled action and keep it as simple as possible.
Here it is with materials applied.
And here it is copied away into the distance
2 Likes
However this is not quite what I want, so I will make a few variations, so that this turns into a proper space.
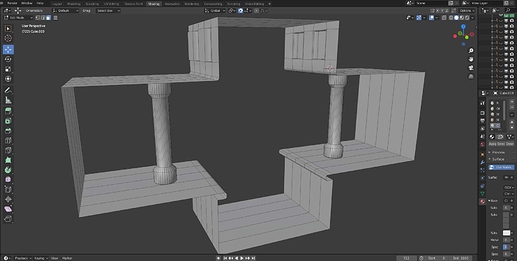
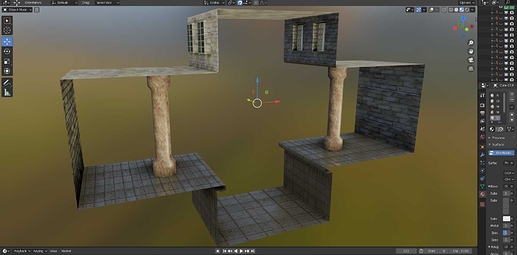
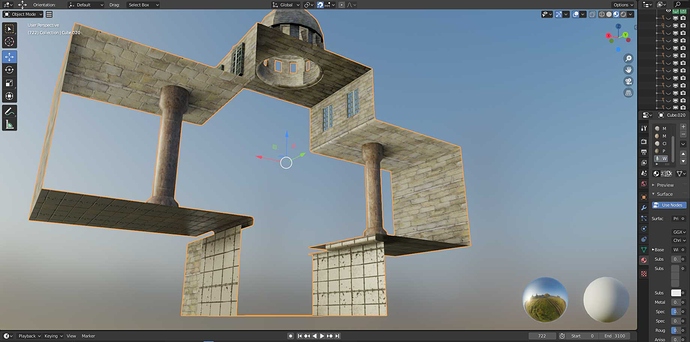
First off here is a central section with a dome. I also intend to add a bridge over the lowest part which will be filled with water.
And this is an entrance that will fit seamlessly with the passages I built earlier.
This is the bridge.Initially it was extruded out of the central section with the dome. But as it will feature quite close in the finished video, I need to add apparent detail, and it is easier to manipulate if it is its own object.
For the sake of speed, I added a subsurf modifier, isolated it doesn’t look too great,
But in context its OK.
1 Like
This brings me to the door. It looked ok when it was shut, but it has to open into the temple. And in a test render it was obvious that it was just a flat plane. In the end I had to extrude the planks and hinges, it is quite rough and ready, but looks ok in the latest tests.
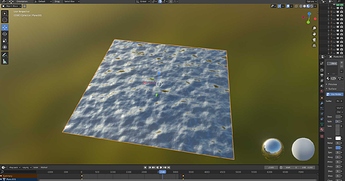
I want the depression in the centre to be filled with water. This is a simple plane that can be tiled.
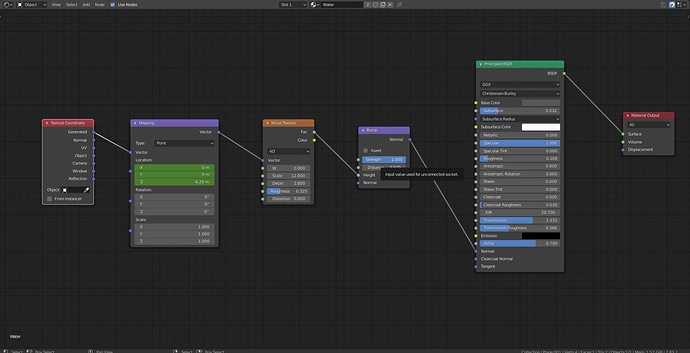
And this is the node tree the water is animated along the z axis in the mapping node.
2 Likes
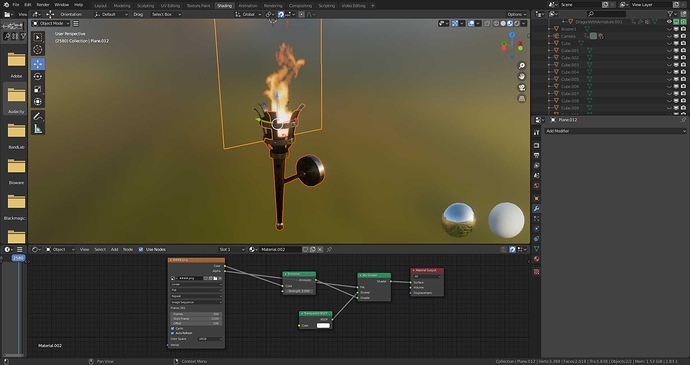
I also need some torches to light the way along the passages and in the hallway/Temple. I already have a nice torch from an earlier project.
The flame is an animation originally done with the smoke simulator. (I have had this for ages, in fact I originally created it in Blender Internal). The flame was rendered onto a transparent background. Then the image is put as a texture onto a plane with transparency applied. (as this is Eevee the material is set to alpha blend). And finally the plane has a constraint to always face the camera. This works really well and is far easier to to do and much faster than multiple smoke simulations.
1 Like
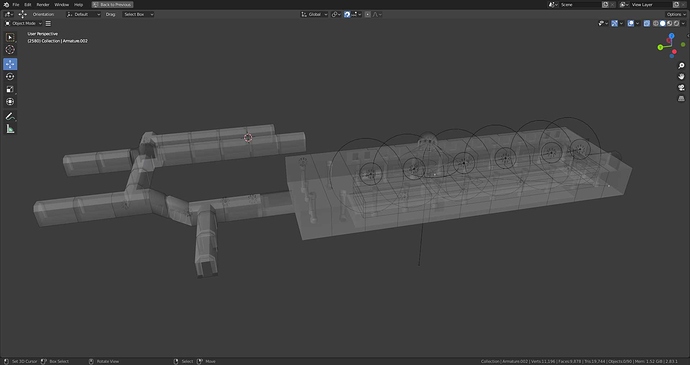
This is a see through render of the entire dungeon complex I have added point lights where the torches are situated, and a series of spot lamps to simulate light shining in from the windows at the top of the temple.
Here is the staircase by torchlight.
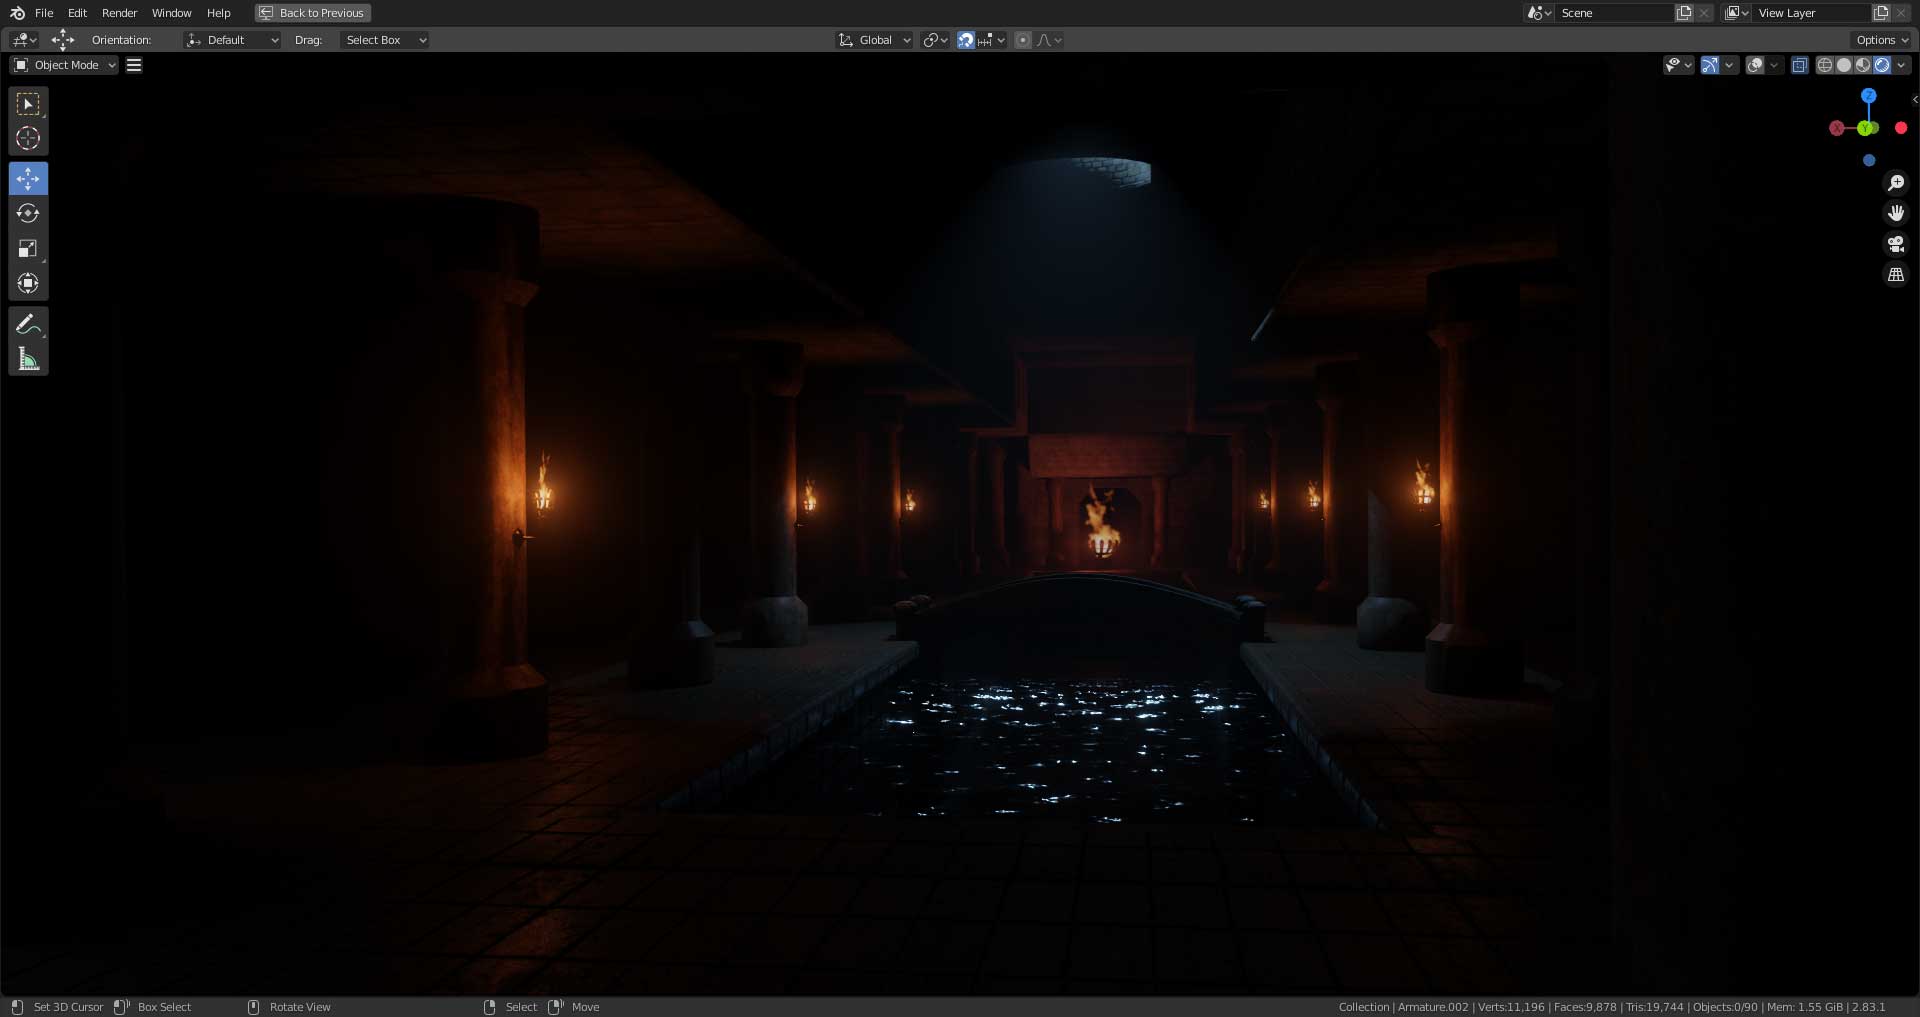
And here is the main temple.
I have turned on volumetrics and added a very subtle mist pass.
So the project is ready to render.
2 Likes
This video is a single sequence with no edits, 3100 frames at 24 fps. Render time using Eevee about 40 minutes on a GTX 1060, slowed down slightly by the use of volumetrics, and the compositor for the mist pass, still pretty good going though. Time taken from start to finish, for the construction of the dungeon, animation and lighting, from scratch to video, about eight hours, (interspersed with getting my son home from University in the middle of the Covid crisis).
The only premade items were the torch and the creature. In fact because of my abominable typing speed, it took me almost as long to post this as it did to do the project.
3 Likes
This is SUPER COOL. Getting some intense Shadowgate / Grimrock -esque vibes. I also really enjoyed how well you controlled the camera, where you used the narrow frame to make sure we see only what you intended us to. It makes the dank spooky tunnel all the more claustrophobic too!
I especially love how you did tunnel sections in a very “level design” kinda way. If I may ask, how did you go about getting such uniformity? Did you copy the arch edges to the new sections to keep them the same size/shape? Did you have to keep them to a certain size, and did you just snap them by vertex or something? Because it looks pretty seamless and most impressive.
If it’s cool with you, some things I noticed that could be improved:
-
Your torches are magnificent, like crazy good! However, especially in the “water chamber” area, it’s easy to see that they’re all synchronized to the same frame at the same time, even the big brazier one. It kinda gives away the illusion. (Or grants a sort of “retro” appeal?) Perhaps you might consider instancing them and starting them off at different frames? Guarantee it’d be 10x harder to spot “Hey, this is a looping flame…”
-
One more thing about those sexy torches. Not sure if it can be helped much, but at a few points, it’s clear where their loop suddenly stops and starts again. If it’s not worth the trouble to make that original source animation seamless, I bet point #1 would make this a lot less noticeable to the casual observer.
I know I have a lot to say about them, but since they’re the light source in this dark spooky place, the eye focuses on them pretty intensely. 
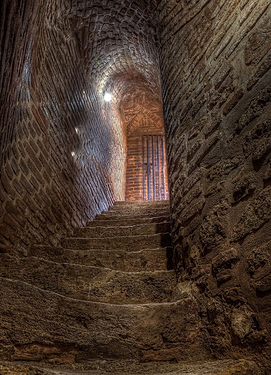
One last thing, and it might be a small nitpick, but the brick wall texture in your stairway tunnels actually slant with the tunnel itself. I don’t think most tunnels change the orientation of the building material as the elevation changes. (Although modern subway tiles can get pretty trippy!)
One way to tweak this could be to make a duplicate texture just for those tunnels, and rotate it so they’re still perpendicular to the floor.
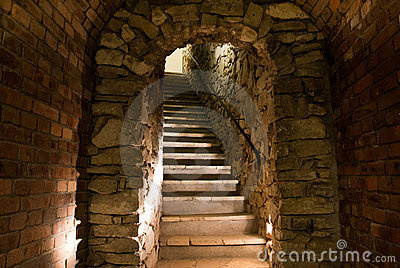
Accomplishing all this in 8 hours of work (amidst all the other life-responsibility stuff) is positively bangin’ though. I was really inspired reading through your process and seeing the work evolve! I hope your post gets more attention. 
Thanks for your critique, I greatly enjoyed it and I agree pretty much with all the points you made. The only reason that I didn’t do a more properly finished the project was simply down to the fact that I had given myself an somewhat arbitrary one day deadline.
You are right in pointing out that it has as a level design approach,My original introduction to 3D was in modding the old Oblivion game (now many years ago) ,and I remember falling in love with the tiled Dungeon sets. This is the approach that I used in Blender. The passages are created entirely using the snap to grid function, which is fairly obvious, but I remember back in the old days I didn’t understand for a long time that the object’s point of origin also had to snap to grid. When the penny finally dropped it all became a lot easier. Once you realise this then tilesets become quite straightforward. Of course in order to make it work, the textures also have to be seamless.
As far as torches are concerned, that was just pure laziness on my part. When they were originally rendered they were for a short video sequence where they wouldn’t have to repeat. it wouldn’t take very much to make them loop seamlessly and if I did that it would be easier to give each an offset so that they didn’t look like they were all cloned. I also agree with your comment about the staircase and that was just a plain oversight on my part. I think therefore rather than lament about what might have been I’ll simply go back and make the tweaks as they won’t take very much time. BTW. I really like the two photos you gave as examples.
1 Like
Cool! I’m so glad I could be helpful, or at the very least a bit entertaining. 
Maaaan, Oblivion modding was awesome! I actually remember using Morrowind’s Construction Set back in the day (mostly to tweak stats and make weird items haha), and I distinctly remember Oblivion artists in an interview saying they made “level elements snap together like a bunch of Lego sets.” Funny enough, seeing your process made all those memories come rushing back!
Sadly I never made any custom level assets for those games though. I really should have.
Thanks a lot for your tips about making dungeon tile sets with snap-to-grid! I’m currently learning the Godot Engine, and I can’t wait to make modular level designs. 
I’m glad you liked the reference I found! Can’t go wrong with good reference. I think sometimes I spend too much time collecting it when I should be modeling. lol
That’s cool that those tweaks wouldn’t be too tedious, because this is definitely a quality work, most definitely with the deadline you gave yourself.
Seeing this pushes me to give myself more deadlines, too, so that I have less “Mostly done but then I got busy/bored/whatever” projects on my hard drive, and more finished ones!
Can’t wait to see whatever comes next.
Oh, by the way, I gave it another watch now that I’m not at work, so I could hear the soundtrack. The music fits the location so well. Foreboding but mysterious. It seems to say “I know I shouldn’t take another step, but I just have to know what’s behind the next door!” Just like the best horror / adventure games. 
This is the revised version of the “don’t look down” video.
These are the changes made according to the posts above.
1.The torches now loop seamlessly, and have offsets applied so that they no longer appear cloned.
- The stonework on the steps is now level as opposed to sloping.
Additionally I reworked the normal maps on the rough stone texture, though I am still not 100 percent happy with the result.
I also changed the details on some of the passage sections to make them more stone like.
I remapped the floor in the main hall as the tiles didn’t tile properly.
I added some detail to the bridge In the hall.
Also it is worth noting that there is a tradeoff in the performance, in the offsetting of the torches.
In the earlier version, where I had the single torch instance, I was able to run Eevee in realtime.
But in order to apply the offset, I to make each torch a single user object, then make each version of the fire material separate. And then separate each image sequence input.(There are 16 torches in all). This resulted in a massive drop in performance. With Eeve running at about 1.6 FPS .
Conversely render time was hardly affected, so the video only took slightly longer to render. I wonder if anyone might know a workaround to this problem.
![]()

