I think I’ve fixed the behavior of the random number stuff (hopefully).
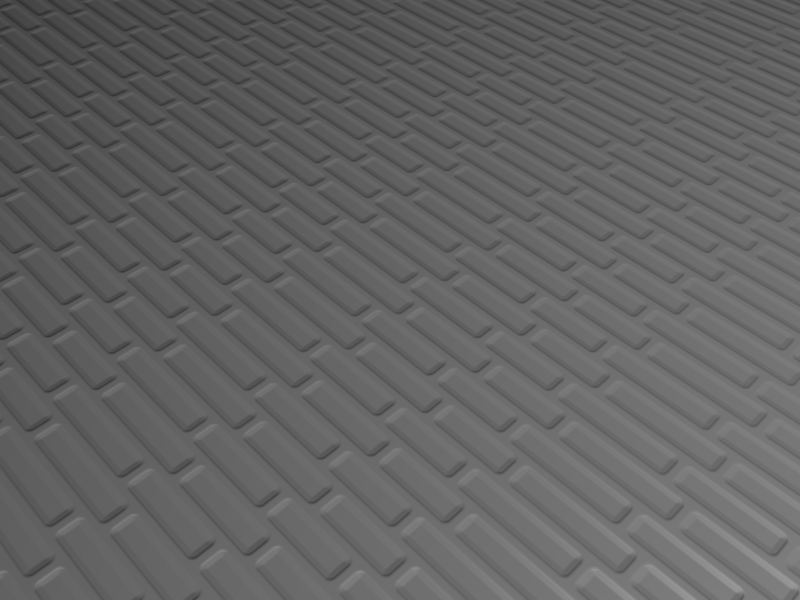
Here’s a quick update: I implemented Cyborg Dragon’s suggestion of offsetting bricks. Now keep in mind here that a pattern is still noticeable as I don’t allow more than 10 bricks but you can choose a range between 0 and 0.25 for min/max offsets. The original intensity function was scaled to fit into [0.25, 0.75] range to allow for this offset. I hope you like this. I will update the Windows and Linux DLLs later tonight. You can see the results clearly in a displacement test I did.
I posted the following on blender.org but no one seems to be interested or just busy I guess. I just went through Blender 2.43 source and couldn’t understand why the application passes dxt and dyt to the plugin. A procedural plugin generally can compute intensity values at any resolution! Unless I’m missing something here, we could safely ignore these values.
Here’s a render with OSA turned off and OSA turned on (in each case plugin ignores dxt, dyt arguments).
You know, I had the exact same problem when I was working on my code! I managed to get a little advice… everything I know about the topic (not much) is in my code. If you learn more, please post! (And if you need what little extra info I have, let me know and I can send you copies of some of the notes I got from Kent. He was very helpful.)
hi wizard,
sorry for late reply.i was thinking of 3dsmax tiles map(procedural) which produces hue,sat.,value variation within user specified limits and also various tile patterns-i.e.herringbone,stacked bricks etc possible.one more great thing u can use a bitmap for tile/mortar colour and so vary its colour etc(here maybe we can use blendmodes)
i tried to make various coloured tiles with one of the new noise types(voronoi?) which makes diff. value checks and used a gradient map to give colur.one problem was getting mortar grooves.
these will be v.useful archviz.thank you:)
I won’t be able to work on this for a while due to some personal issues I have to deal with.
New version available for Windows only for now. Please see Post #1. I believe its in good usable state but I’m releasing it as Beta as I may not be able to get around to working on it for a while. Source code is included for you to look at (please do and let me know what you think).
[EDIT] E-mailed Sarah and Kent with the links. I hope Sarah can compile a Mac version for us.
Sorry. I don’t know why I said “IWarp”. In texture panels under the Map To tab at the very bottom you see a toggle button called Warp with a slider besides it. What you can do is to load a gray scale texture in a texture slot, turn off all the mapping buttons like Col, Nor, etc and enable Warp and set the factor greater than zero. This warps the texture coordinate mapping for the next texture that follows it. If you want an example blend file check this out (the first texture slot for the iris has these settings).
Thanks. I believe Kent has already uploaded the source and versions for Windows, linux and Irix.
Ok…I’m having some real problems and I would be really grateful if someone could help. The issue could be me or perhaps a bug in the brick texture…
I’m deperately trying to make a circular brick wall with real geometry (ie using the displace modifier) - problem is everytime I get something that looks like bricks, it gets stretched horribly. Right now, I seem stuck with the following method:
Create a Plane. Subdivide it equally in both directions.
Add a Subsurf modifier.
Create brick texture and add a Displace Modifier using it.
APPLY the subsurf modifier - otherwise it gets stretched!
Use Warp to wrap your plane into a cylinder.
The problem is I want to keep the file size down and applying subsurf doesn’t help me do that. Using procedurally generated geometry makes no sense if you have to make it real - that is why I want to try to avoid using Multires.
Secondly, as the displacement modifier uses a Texture, Warp doesn’t help me. Frankly, I find all the modifiers that use textures a bit limited considering what is possible with materials/nodes nowadays. Why can’t they use material colour data instead?
Can someone kindly help? Anyone up for the challenge of using this plugin to make a cylindrical brick wall with subsurfed geometry without having to apply it and without stretching? My file is 40 MB for a brick wall alone!
Hey Koba,
Sorry, I couldn’t reply sooner. Is this anything close to what you’re trying to achieve?
The thing about the Displace modifier is that you have to have a high vertex count for the texture detail to be reflected in the geometry. So a mesh with 10x10 vertices won’t do. Now I made the above the basic cylinder primitive with no caps.
Use 32 vertices, Radius 1, Depth 2.
UV map the cylinder to a square (do this before any subdivisions).
Subdivide the vertical edges so there are 16 rings from top to bottom. If you did this before UV mapping, sometimes it doesn’t map to a nice square. instead it does a jagged rectangular mapping.
Create a new material, add the Brick texture. Also, disable the texture so it won’t affect the material.
Use Subsurf modifier and turn up the levels to 4. The results are acceptable with 4 and much nicer with 5. Anything higher will affect performance, so you can keep Levels at 3 or 4 and keep Render Levels at 4 or 5.
Use Displace modifier and set Strength to 0.025; use negative if you want. Use Normal as texture direction and UV for texture coordinates.
Now if you want, you can go back to the UV editor and scale the UV coordinates to stretch, squash or uniform scale the brick texture on the cylinder. You can also go to the plugin and play with the texture parameters although the mesh isn’t updated in real time in this case.I hope this helps. If you want a blend file, grab it from here and its less than 300 Kb. Make sure you reload the plugin for your platform (I use the Windows version) and reset the parameters.
More steps there than expected but the result is correct! I’ve ended up using a different method (single brick + array + apply + sculpt) but this will still be useful to me. I’ll be needing bricks in several different styles and this can be one of them - and this isn’t going to be the last tower staircase I’ll be needing!
Saved the .blend to my special folder and thanks again for your time.
I finally managed to compile blender from CVS so I got sidetracked playing with texture implementation inside Blender itself. I think I will move along in this direction now for a bit to see if the plugin can be converted.
I’ve created stubs for porting the plugin as a new texture called Tiles (since it will be capable of doing regular tiles, staggered tiles, tiles with random widths, bricks, etc) and could quite possibly be extended.
Anyway, here’s a preview of the layout of a new panel for this texture. The texture just returns white for now. I also intend to use the noise basis functions used by the Clouds texture.
Here’s a little update on the integration into Blender. The basic tiles/bricks layout is done. Next, I will do code that will handle bevels, mortar and rounded corners.
This seems to be fairly straight forward than I expected to be.
You should add a dirt function where you can make a simple dirt map per tile, that would look good. Some tiles would be dirty and others clean, more would be half dirty half clean ect…
Don’t forget a random grey scale function (for random color with tight colorbands)
I was thinking more along the lines of providing 2 Noise Basis functions in drop down menus, one for the mortar and one for the tile face. These would use the tile intensity functions value as input so you can customize the look of the 2 sections independantly so you don’t have to layer another texture on top. I’ll see what I can do about colour variations later as I’d like to port current functionality from the plugin and create a patch for people to play with.
Here’s a little update. I managed to setup the intensity function. I’m having issues working with bump mapping right now but should have an update later tomorrow.