I’ve been flooding the forum with questions lately, and I really appreciate all the help I’ve been getting. Here’s another one-- I’m sorry.
I’m trying to work through a texturing tutorial that is not Blender specific. It is basically texturing a cube with a little detail in the mesh, and doing some ambient occlusion, etc.
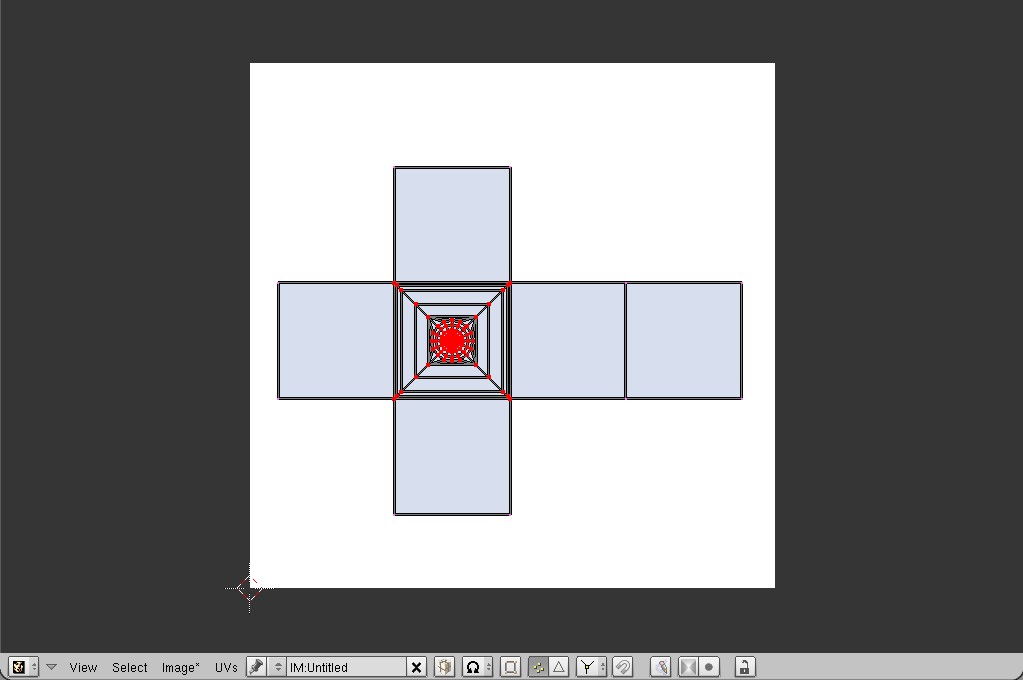
I’ve sorta got the cube modeled, and the automatic unwraps did not seem very appropriate, so I manually made some seams and did an unwrap-- but Blender’s unwrapping seems to tilt and twist things. (see screen cap)
This means that a straight line ends up being non-horizontal so you get funky aliasing effects, etc.
Blender has lots of Unwrap options. In your case, select only the Faces on the front of your cube, make sure you are in the Front view (Numpad 1) and use U / Project from View. Int he UV window pin all the front UVs using the P key. Now, select all faces and use the regular U / Unwrap and you get this:
That’s what I am getting when I try to follow what you’ve written. Please remember, as Blender constantly reminds me, I’m at least 50% moron. It looks like I need to re-read http://wiki.blender.org/index.php/Manual/Unwrapping_a_Mesh about 10 more times.
Assuming the pinning trick works and I’m just that bad at following a few lines of directions, how did you know to do that? Is there a tutorial somewhere that shows things like that?
Ahh… ok. after reloading blender and trying that four or five more times, I think I’ve gotten it to work. I am still not sure where my misstep was. Still don’t know how you knew to do the pinning trick.
Thanks so much Matt…
edit: Is there a way to save the “seam guide”? Thanks to your earlier help, I can save the AO bake, but I didn’t see how to save an image with the edge lines included.