This is my first interior model ever so be kind on the critique.
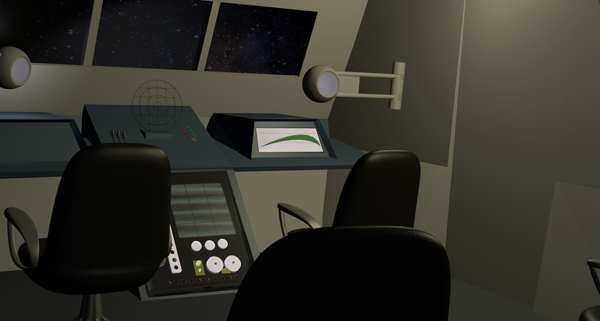
I am making a machinma using star trek online and incorporating blender renders for special shots and plan to composite in the in game characters into the blender animations using after effects. STO does not have a TOS shuttle interior so this will be one of the special shots. I am about half way done with the interior and I haven’t decided yet if I will also do the exterior, though I probably will just to finish the model out. I used several references from the show but I am not really going for a replica of any particular shuttle. This is a new shuttle in the TOS universe and it should look very similar but have its own unique characteristics. This took me two days to do off and on. I think once I am satisfied with it and get the animation going with blinking lights and moving space outside along with the iconic star trek music, it will do nicely for the machinima. At least the muggles will be impressed.
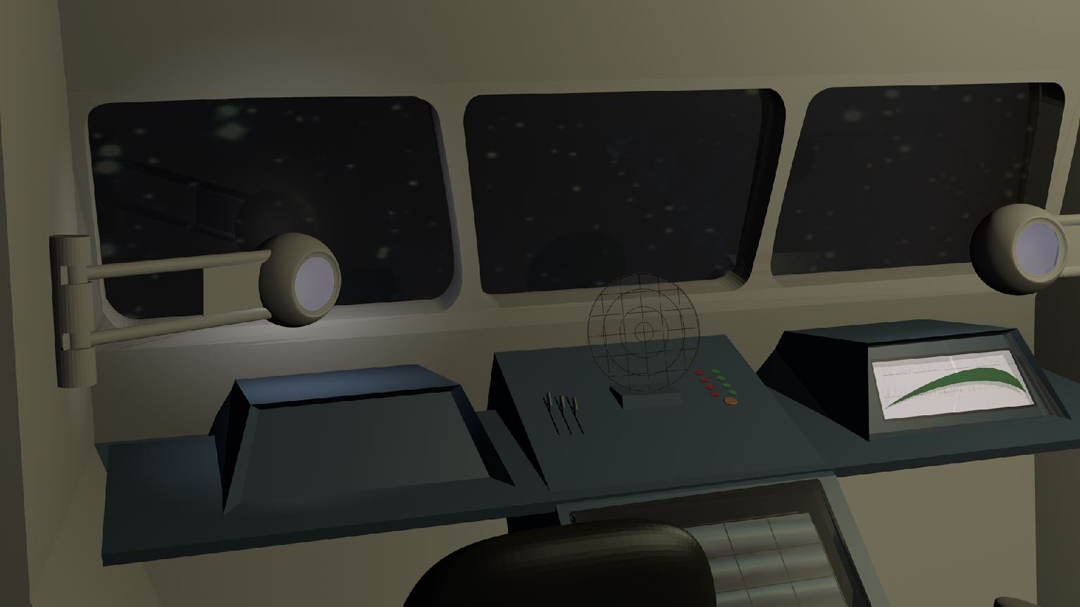
The windows were bothering me quite a bit so I decided to work on them. I replaced those ugly squares with proper curved cornered windows. It wasn’t as easy as I thought it would be when I started on it. I tweaked the glass the way I wanted it. The reflection is just enough to give the impression that there is glass in the window but it does not reflect the entire interior. This is important because I plan to composite in characters in the chairs in after effects. I wanted the elements close to the glass to reflect but not the chairs. It would ruin the illusion I am going for if I have my characters in the chairs and their reflections in the glass are those of vampires. I achieved the effect I was going for with the glass and I am happy with it.
The really bad space background is just a place holder. I intend to replace that with a solid color that I can key out in after effects and replace it with moving stars.
Working on some more details tonight. I know it isn’t a huge update, but there are some changes. Work and school take up a lot of my time, but I have decided I will defiantly keep going on this. Advice and suggestions would be great.
I like the windows. You did a good job on those; the curves are very good. You need texture on ALL the materials like, you have on the lights. You necessarily have to uv unwrap them all or anything. Just need to add some kind of texture to them. Nothing in real life is that perfectly smooth or evenly reflective. Even the most subtle hint of a texture makes all the difference. Know what I mean? Are you doing this in Blender Render? I’m not seeing the kind of shading I usually see from cycles. If you are using BR, turn on ambient occlusion and set it to multiply with a low value. You’ll instantly see a more realistic result. There are lots of settings to that and I won’t go into them unless you ask.
Thanks for the advice. I had planned on adding some more textures once I got all of the pieces and parts modeled and in place. I agree that it would look better that way. I will try ambient occlusion. I have never rendered in cycles. No idea where to begin with that, but I have read other posts where they have done that and I should probably learn to do it.
Yeah I’m not terribly familiar with the ins and outs of ambient occlusion in blender render. It slowed my renders down so much I almost never used it. Now I have an nvidia card so I use cycles and cycles does all that for you by default, and renders WAY faster. If you have an nvidia gpu, you really need to stop using blender render right now and switch over to cycles. Its not hard to learn at all. Just uses funny boxes called nodes instead of options in a menu.