Hi, I´m new here. I don’t even know if i’m posting in a right place.
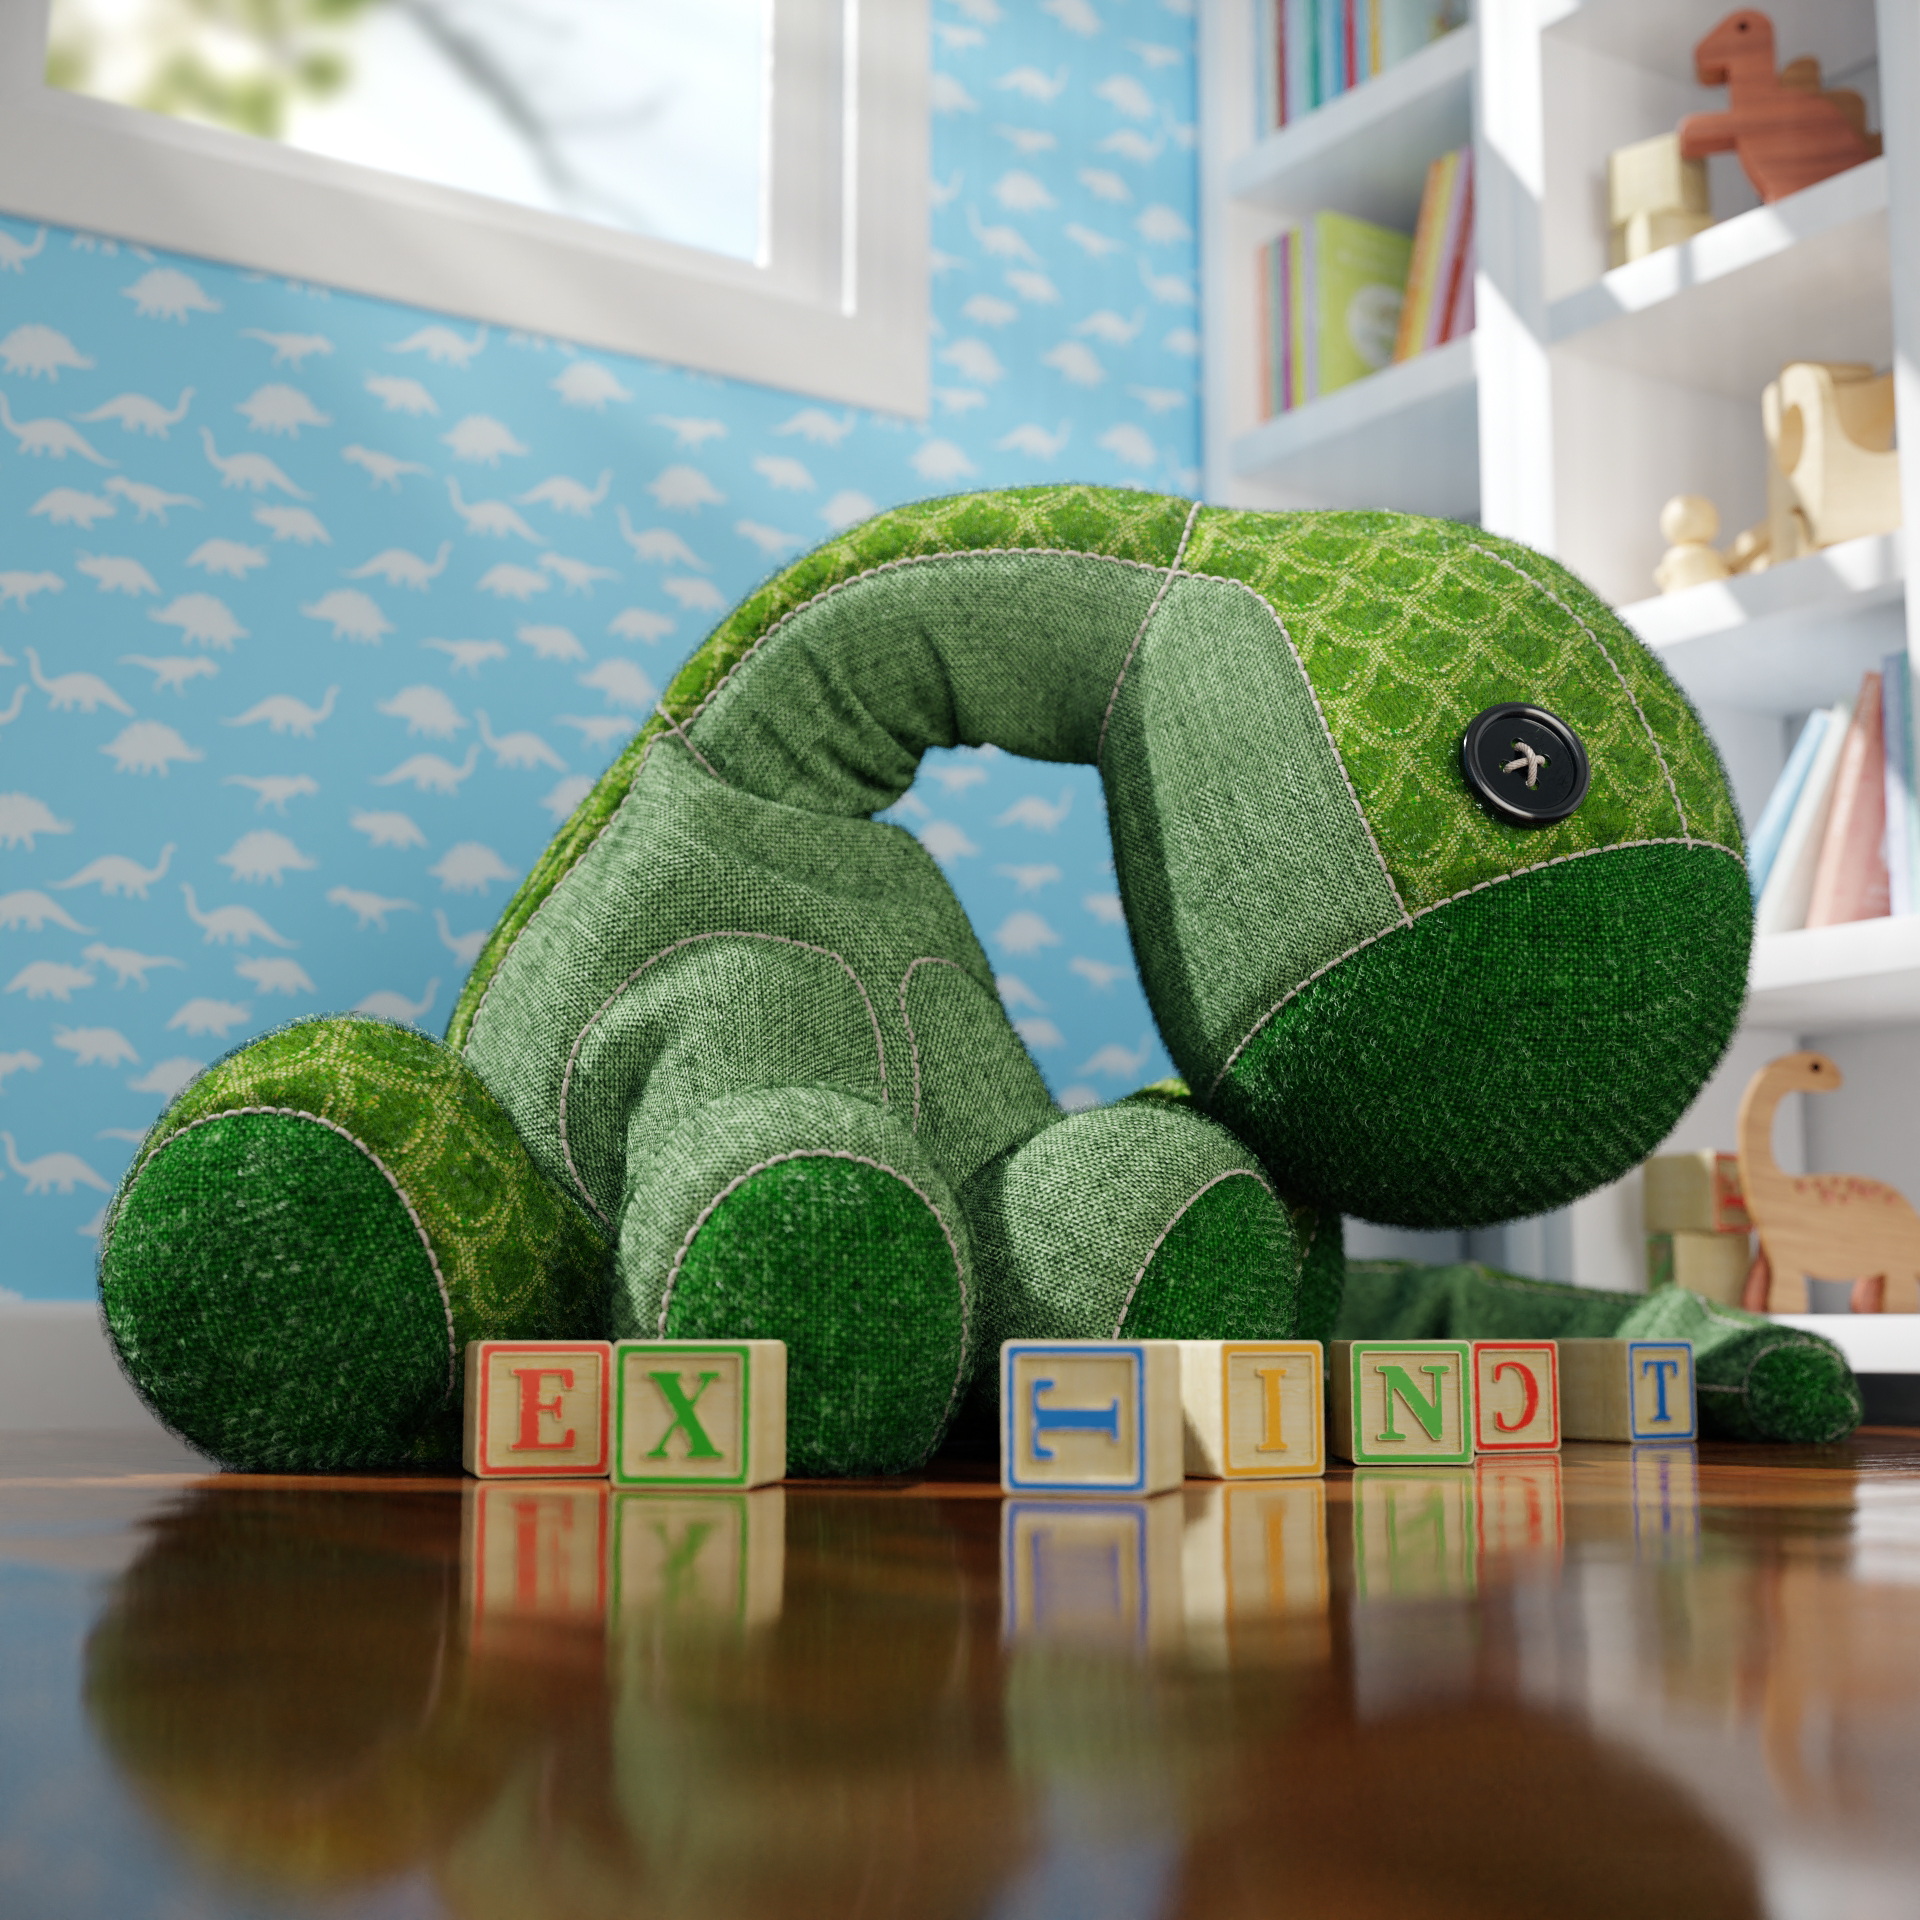
My first post is a character that I’ve made for practicing. I hope you like. Thanks.
Cycles, Cryptomatte and a lot of passes all done in Blender 2.8 (as a new user in this forum I can´t post more than 1 image, so the making of have to wait)
Vert interesting first post. Congratulations. I like those stiches a lot. I’m really curious about the process especially for these ones. Would you like to tell us more please? Maybe with the making of you were talking about (when you’ll be able to post more) ?
Thank you! To achieve the result I created a simple skeleton made of cylinders and spheres and covered with a cloth bag. So I animated the skeleton to the position I wanted and did the cloth simulation.
Thanks I saw your Instagram and the images but didn’t found about the stiches . Is it a bump map or maybe a curve with array modifier? I’m really interested un that process . Thanks for your time
Ow, sorry. I selected the edges I wanted to have stitched, separate it and converted them to curve. So I created just one sewing wave, replicated it several times using the array modifier and then I´ve used the curve deformer modifier to follow the line extracted from edges. That´s it. I hope this help. This video shows exactly the same process: https://www.youtube.com/watch?time_continue=389&v=pRbdi3wLYjQ


 made it all in blender or used zbrush/substance?
 . Is it a bump map or maybe a curve with array modifier? I’m really interested un that process
  . Thanks for your time
