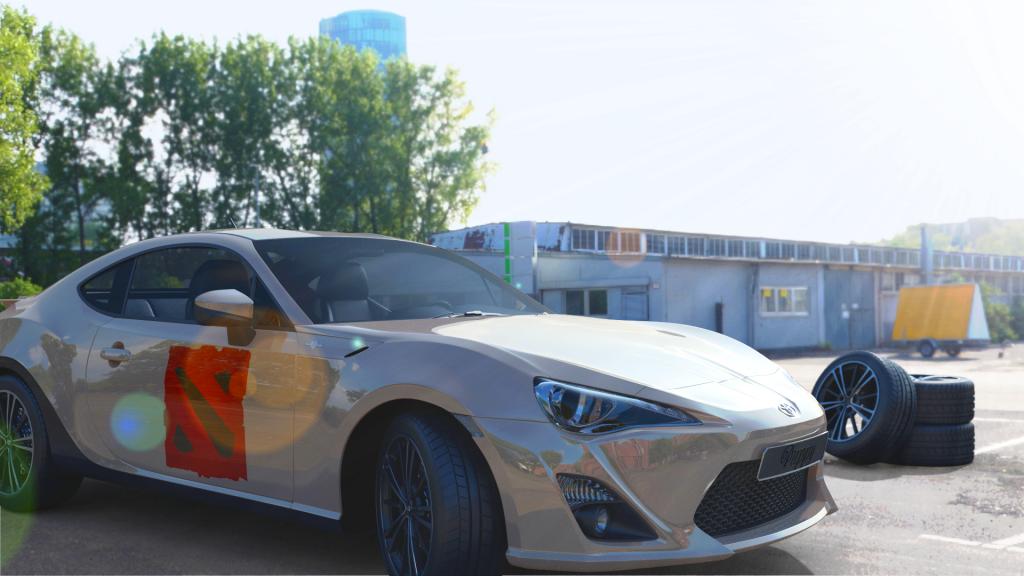
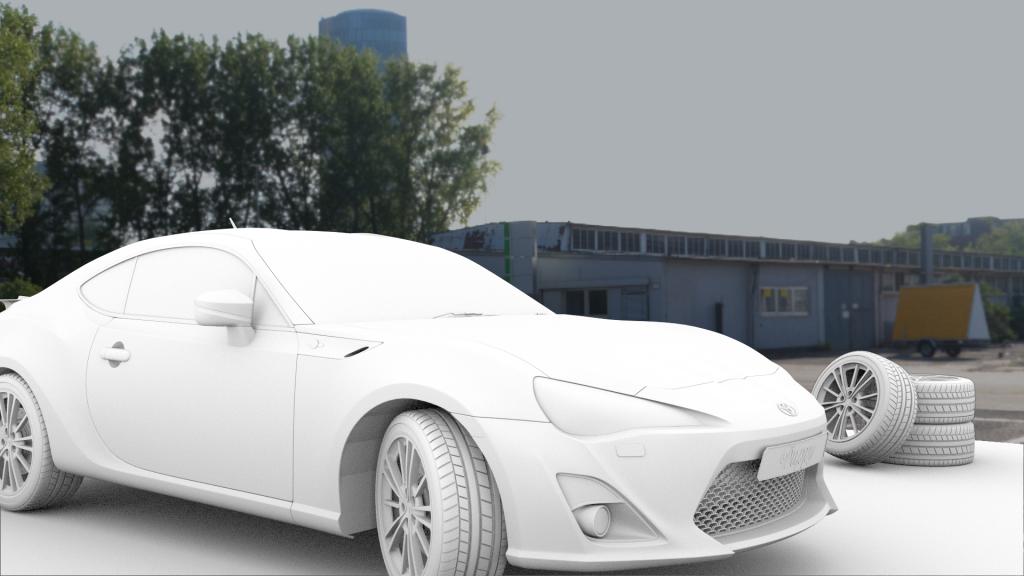
In this scene I learned about HDRI image like how to blend the image and the car so it will looks realistic blended. And also studying the materials for each parts from the car. And yes, there is DOTA2 logo on the right door.
You’ve done a wonderful job with this image, Puppy!
Is this lit exclusively with the HDR image, or are you also using other types of light as well?
The car is fantastically modeled, and the materials really bring out the details in it nicely. The compositing is very well done as well. The flare you’ve added helps, as a flare would certainly be present at this angle.
Can you share with us your technique for adding shadows to the ground? This is something I’ve yet to figure out in Cycles.
If I had any critiques, it would be that the paint shader may be slightly too reflective. But, if that is what you prefer, so be it!
I’m currently working on a similar project, so this is very inspiring to see. Great work!
Hi, James.
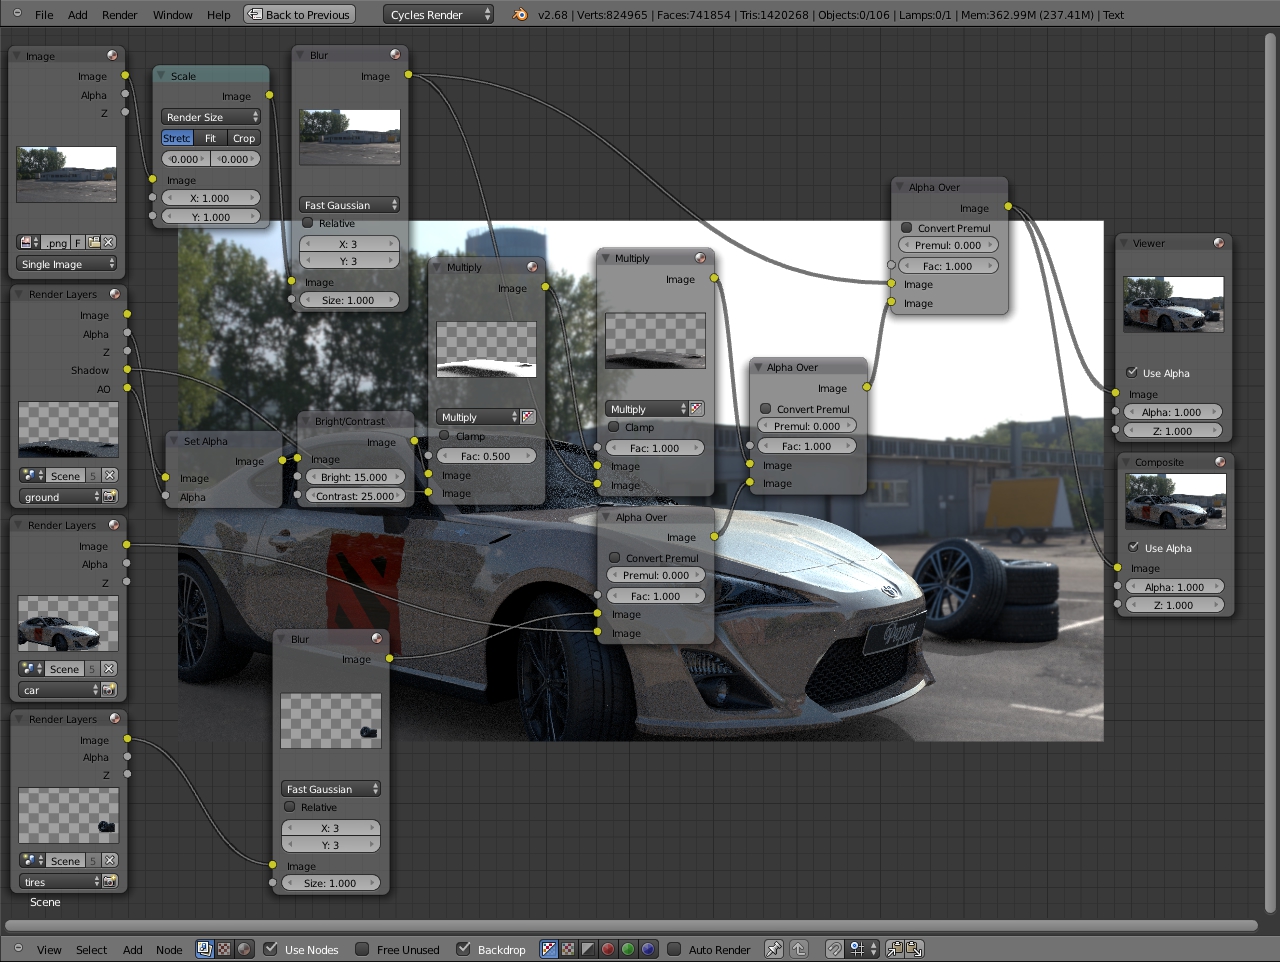
Here I will show you the basic nodes that i made (because if i rerender again with the full nodes (such as lens flare, etc) it will takes time to finish)
In this scene, I have 3 render layers (Car, Ground and Tires). I activated the Shadow and AO passes for the ‘ground’ layer so I can combine their passes into the background layer. But before I combine that, I render the background 1st (with the transparent unactived on the ‘render’ tab ‘film’ section.) then save it as jpg. And then use that as an image texture for the background (as you can see on the nodes). To mix those images (background and the AO-shadows) I use a simple technique… it’s brightness and contrast node.
Oh yeah and for the light source, I normal sun and position it right, following the HDR image light source (just to get the shadow). Hope this will explain and sorry for my bad english.
Cheers.
Nice work and thanks for sharing the compositing setup. BTW – over in the states, this car is the Scion FRS, so the “GT86” nomenclature had me confused for a moment. I almost bought one, but I couldn’t fit in it.
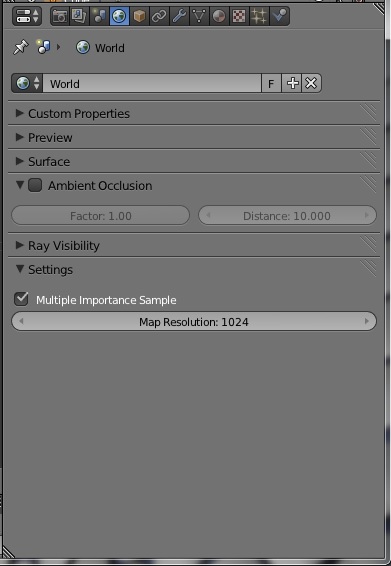
By the way, you may already know this, but one way to speed up a render with an HDRI map is to enable the “multiple importance sample” in the World settings tab. by default it will be at 256 I believe. I usually set it to 1024. This will clear up noise much more quickly.
Great work, Puppy! And thanks for sharing the nodes setup - that sure showed a few tricks about using Ambient Occlusion and Shadow passes in compositing.
Also, did you set up the reflection with the car’s material nodes, or did you set those images inside the scene?