Transparency in UV mapping

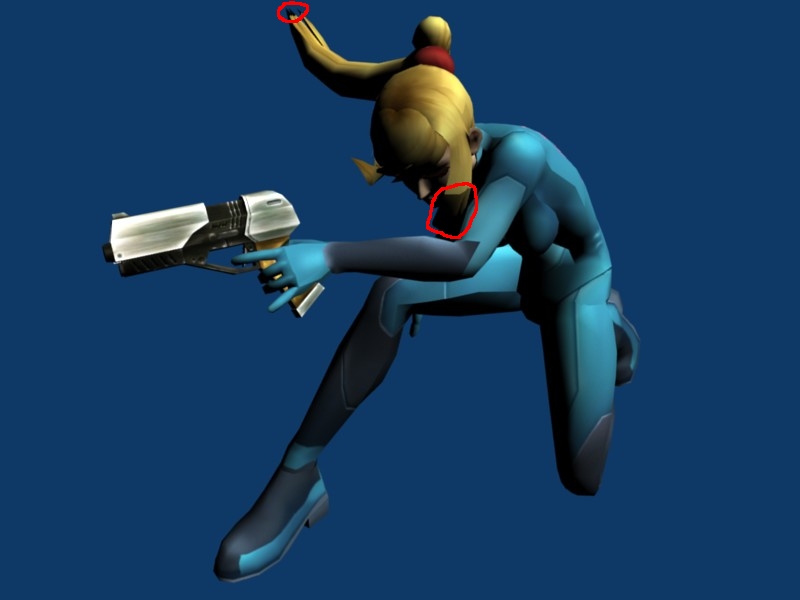
I downloaded a ripped model of Zero Suit Samus and imported it into blender, only to find it wasn’t textured. So, I began adding the textures myself by using the UV mapping. After I rendered the image, I found that there were textures where parts where transparent. (As you can see below… hair, in order for it to fray out into single strands.)

I found out how to apply the transparency, but then when it is rendered it just shows up black, again as you can see below.

What can I do to actually apply this transparency?

PIC1: Render of Samus, red outlines of where you can see black instead of transparancy.
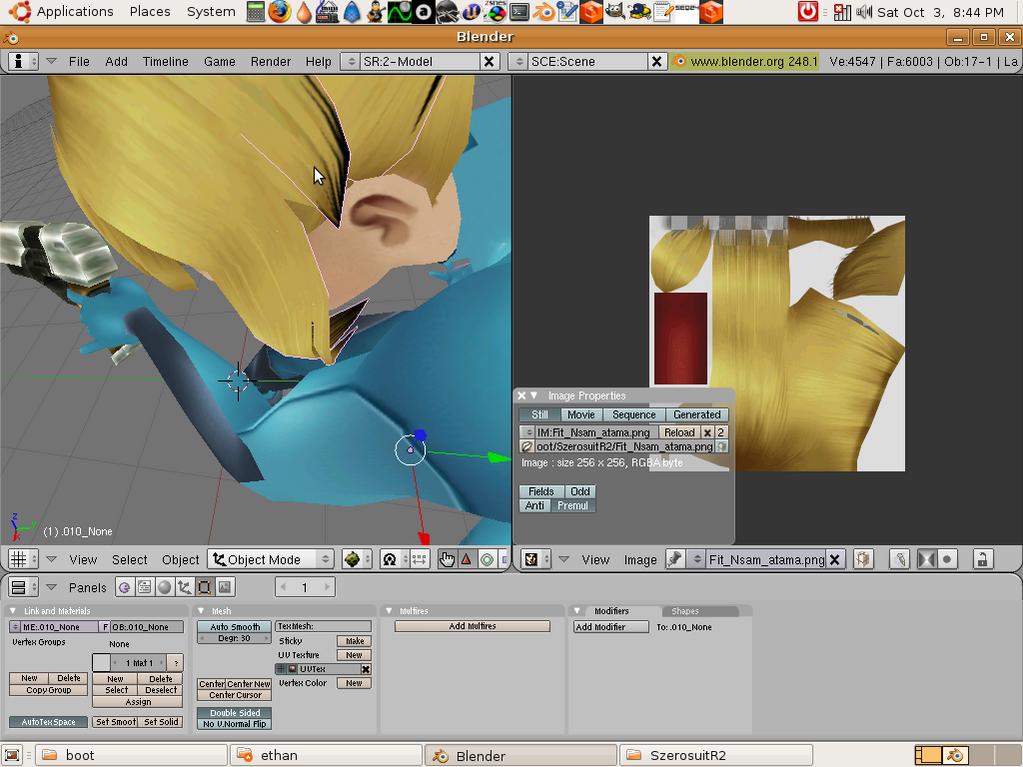
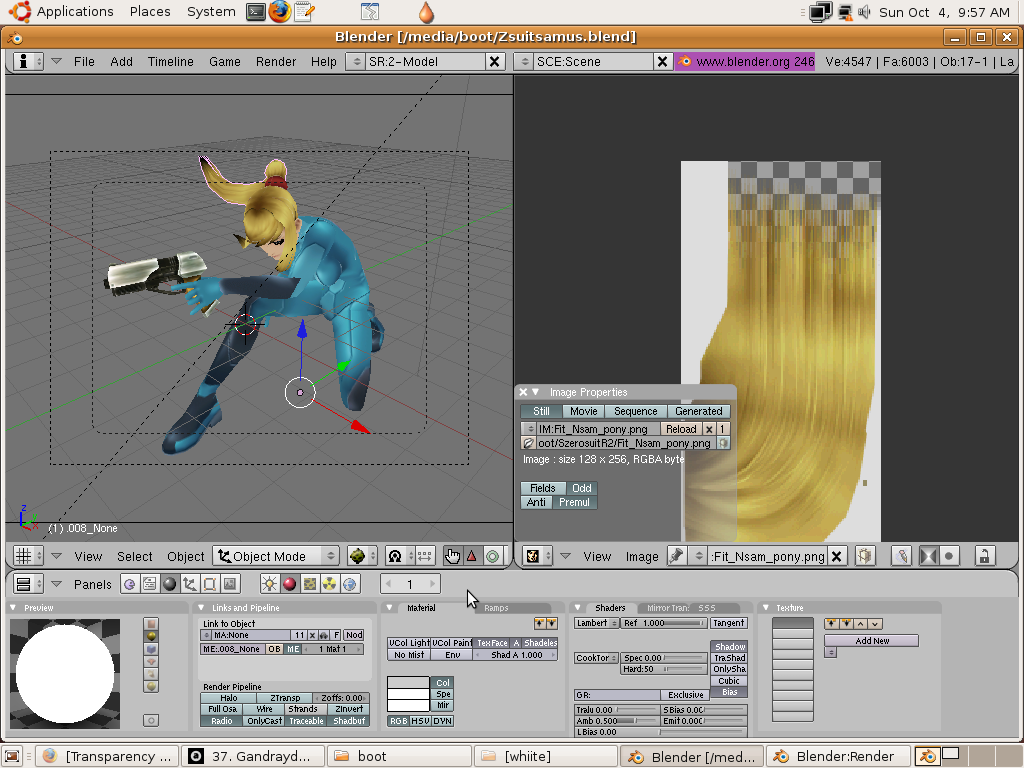
PIC2: Samus as seen in 3D window
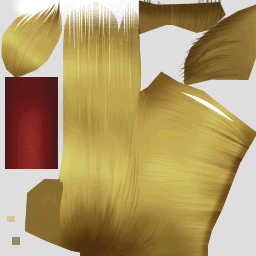
PIC3: UV map texture.

Thank you in advanced.

Attachments


Did you enable transparency for the hair material. Is the image texture mapped to alpha?

Okay, I applied the alpha to the texface in the materials panel, but now a have another problem. The hair is fine now, but there were some other things that used the alpha… eyelashes for instance. Now they just show the background instead of showing the skin. How can I fix this? Also, here is the blend file, to try and make things easier…

Do I just need to add a different material to some of the objects or what?

Thanks again

Attachments


Hi,

Try enabling ZTransp.

Thank you. It worked! I still need to check the eyes since the iris uses transparency as well. But, thanks a lot everyone.