I’ll tell you what I did, though I don’t know that’s it’s the standard way.
I added a bezier curve, made it 3D, extruded it a couple of times, then from there, I duplicate a vertex, then extrude it out for a branch, then repeat, subdividing as necessary, until you have your basic tree structure.
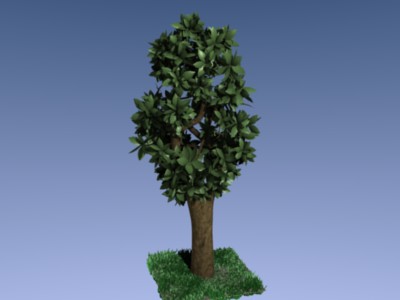
Then make a mesh in the shape of the canopy, and place it around your branches. I think how smooth or rough this mesh is, can have a big effect on how your tree comes out. Center it ( I don’t know if you have to, but I did ), and give the object a name. ( I will call this object ‘canopy’ )
Now make a leaf, ( or cluster of them ) and snap it to the curve. Give the object a name. ( I will name mine ‘leaf’ )
Now, this part, I could probably do a better way, but this is how I do it…to get my branch taper correct. I add a bezier circle, then in the ‘bev ob’ field ( in edit button ) of my original curve, I type the name of the bezier circle. The name of the circle is, by default, ‘Curve_Circle’, or something like that. When you do that, your original curve will fill out like a big hose. Scale the circle until it is about the right size for your trunk, and then go back to your first curve, and alt S the points until it’s all tapered about how you want it. When you’re finished, erase the name of the circle from the bev ob field, and your curve will revert to its non-fleshed-out state.
Now you are ready to open up the script, so, open up the script.
So open a script window, go to Wizards>>Tree from Curves
Select your original curve if it’s not already selected, and press ‘fill twigs’, then in the field where it says ‘OB Bound’ type ‘canopy’ ( or whatever you chose to name yours )
now press ‘grow twigs’, and you’ll see that ‘canopy’ is already written in the OB Bound field for the ‘grow twigs’ buttons
Now press ‘generate leaves’, and in the ‘OB’ field of the leaf buttons, write ‘leaf’ ( or whatever you decided to name your leaf )
Now go to the bottom, and press ‘Automatic update’ to see what your tree will look like, and it will probably be too chunky, so, tab into edit mode with your curve, use A to select all points, and hit Alt S, and move your mouse cursor inward a bit to scale down your normals. Then tab back out of edit mode, and hit the ‘automatic update’ button off, and then back on, to see the results.
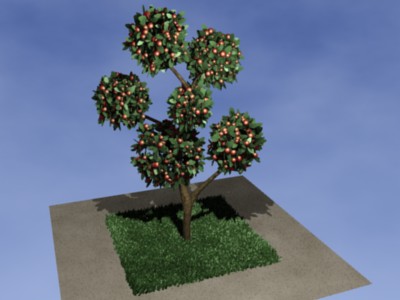
When youre happy with your settings ( mine were not far from the default settings ) hit the 'generate from selection button, and exit the script by typinf ctrl Q while your mouse cursor is in the script window.
That is all there is to it.