Okay, so if anyone cared I’m the nooB who started a TRON bike about 4 months ago and then promptly gave up. Well, after finishing a few Blenderguru tuts and starting a few other dead-end projects I think I have collected the necessary skills to be able to finish it. I actually had to start completely over because of change in what I wanted and because my topology was so bad. So without further ado or self-pity here is my latest progress.
I’m not sure what a light ribbon is, but it looks like your low-poly bike is coming along nicely.
The bottom picture has a one point perspective and kindof fades into the backdrop.
I know they used heavy compositing with nuke and rendered many, MANY different plates of glows (a few blur nodes with a color change)
For the bottom, I might make one block - maybe in inkscape? - and then put it onto a plane .
For the block texture, inkscape can save transparencies as a PNG file.
the dots that reflect off of the surface could either be made with a halo texture and random verticies, or by using the particle system.
the clouds look like they are divided with another picture (giving off that negative effect somehow)
I think the dark mountains are just basic geometry.
you could look at the original tron for more basic modelling… oh yeah… transparency map…
transparency maps are basically where everything white is alpha 1 (solid) and everything black is alpha 0 (transparent)
so if you wanted to have a transparency around the blue squares, you would just make a white square with a black background and set it as an alpha map.
Thank you for the pointers. Do you think there is a way to just use the picture itself in a skybox or something like that?
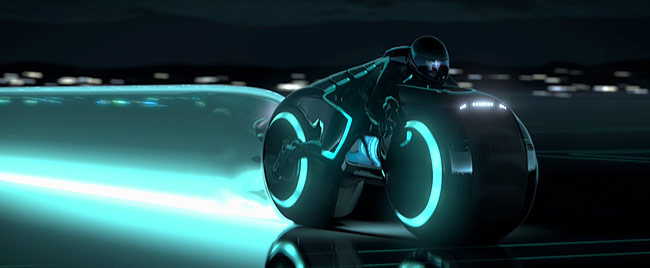
Btw when i say light ribbons i mean the light trails that come out of the bike like in this image
That also the one i wanted to make a alpha map for, not the floor.
Do you think there is a way to just use the picture itself in a skybox or something like that?
For skyboxing it, yes… that’s actually what I ended up doing in mine. just hike up the contrast a bit and add some blue to it (in the color properties of the texture settings)
That also the one i wanted to make a alpha map for, not the floor.
hmmm… an alpha map on that… I think a blend texture with a custom gradient should work fine. most of the settings are under the texture panel.
I found a way to bevel the edges of a plane using a bevel then subsurf modifier to get the squares. An array modifier can be used after that. I used mist to blur the horizon and added some overkill on the glow effect.
And, my goodness, bikes are hard to model(and not all the reference images are the same) :yes:
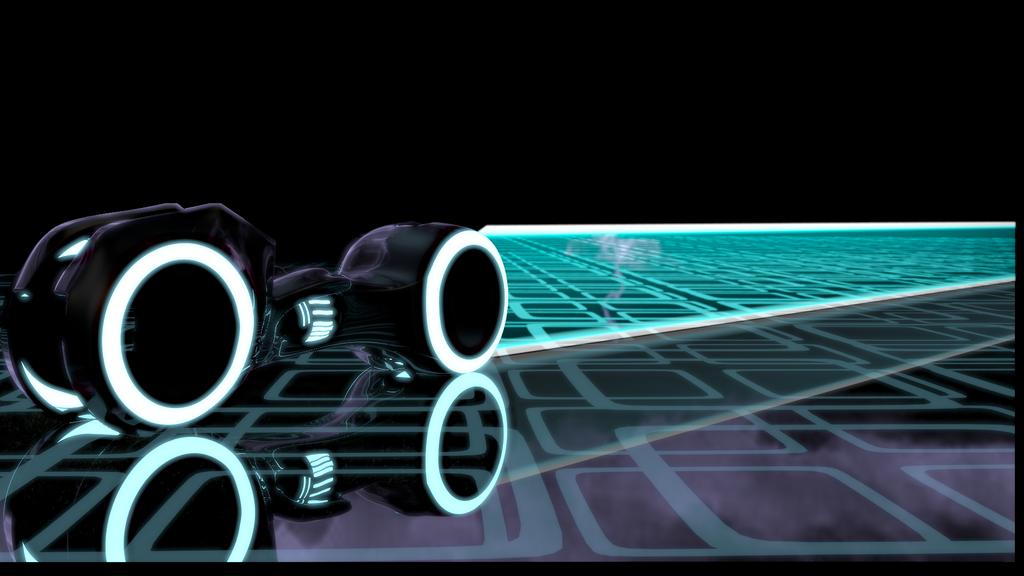
So, I tried using a textured plane for a background, with these results. I know the alignment is off but right now I,m more concerned with the reflections. They look really unrealistic. Also, can anyone tell me how big to make the ground so that way it looks realistic without overloading my computer?
Btw, about the blend texture for the trail, could someone please, if they have the time, give me a quick outline of how to do that? I tried it and it has me stumped.
Btw, about the blend texture for the trail, could someone please, if they have the time, give me a quick outline of how to do that? I tried it and it has me stumped.
well, I don’t exactly have time, but this is such an engaging project I couldn’t resist.
I was going to use blender Cycles but after fiddling with it for awhile and having it crash on me numerous times , I decided against it.
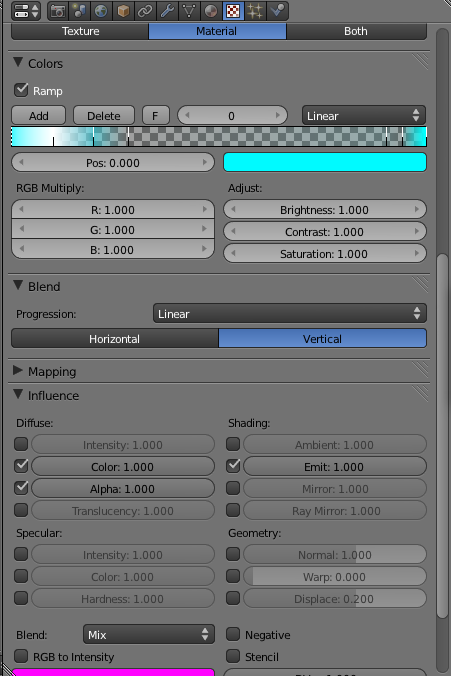
:)I just used the blender internal renderer since its stable and I know it better and -two hours in - I think I found your solution to the light ribbon
those are my settings for the blend texture I applied onto a plane.
after a put it on, I turned the “emit” up
I then put the light ribbon on its own render layer , z -overlayed it onto the rest of the picture, and added a small blur-RGB-curve glow to it.
for the reflections you need to have a texture applied to your world :
click the little globe icon , then click the little checker texture icon.
add your background picture
make sure ZenUP / ZenDown and all those things are checked
On the ground plane used just for reflections select your material settings (the little ball) , you can set your reflectivity to almost 1 and set your blend up about 10%. set your max depth to something around 20 and have it “fade to sky”
I think I spent about 4 hours on it this time around… I feel so slow :yes:
(pics coming soon - it still has to render… and I put the Antialiasing up super high… it might take awhile)
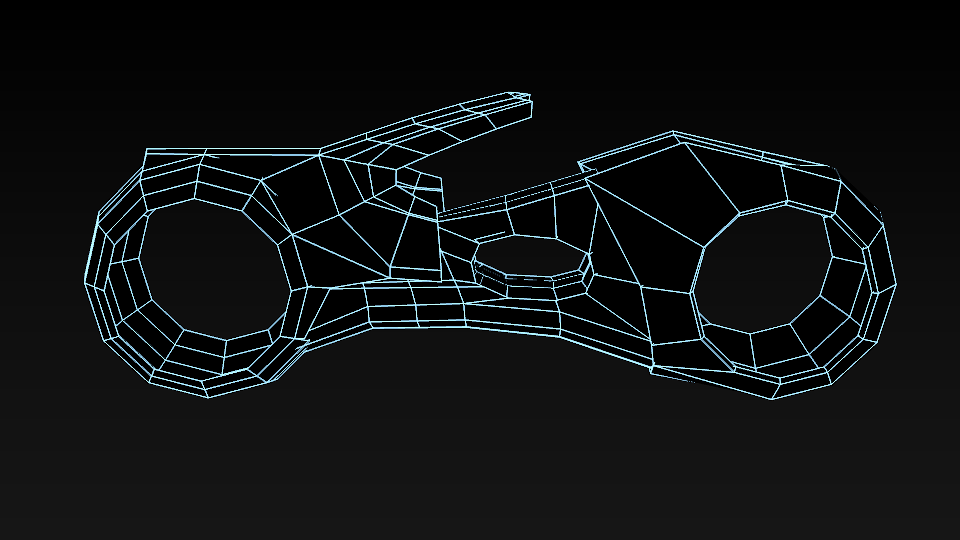
That looks good! I going try it myself either today or tomorrow. In the meantime here is a quick update ont the mesh for the bike. I like being creative with the wireframe colors!
So I started messing with the rider a little bit. I downloaded a basic low-poly character textured him black and added a helmet. I think the helmet looks pretty good but it needs some tweaks. Also I was thinking of using some sort-of bump-map to add detail on him like the armor for his gridsuit. How hard is that? Also please give comments on my topology for the bike.
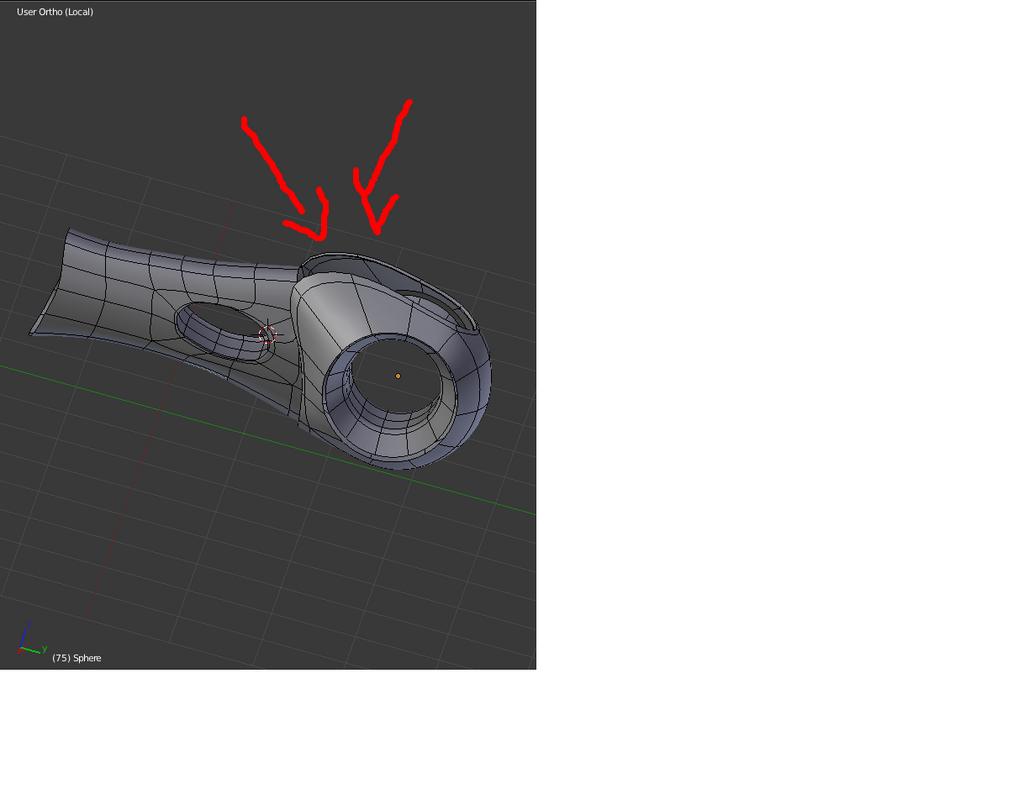
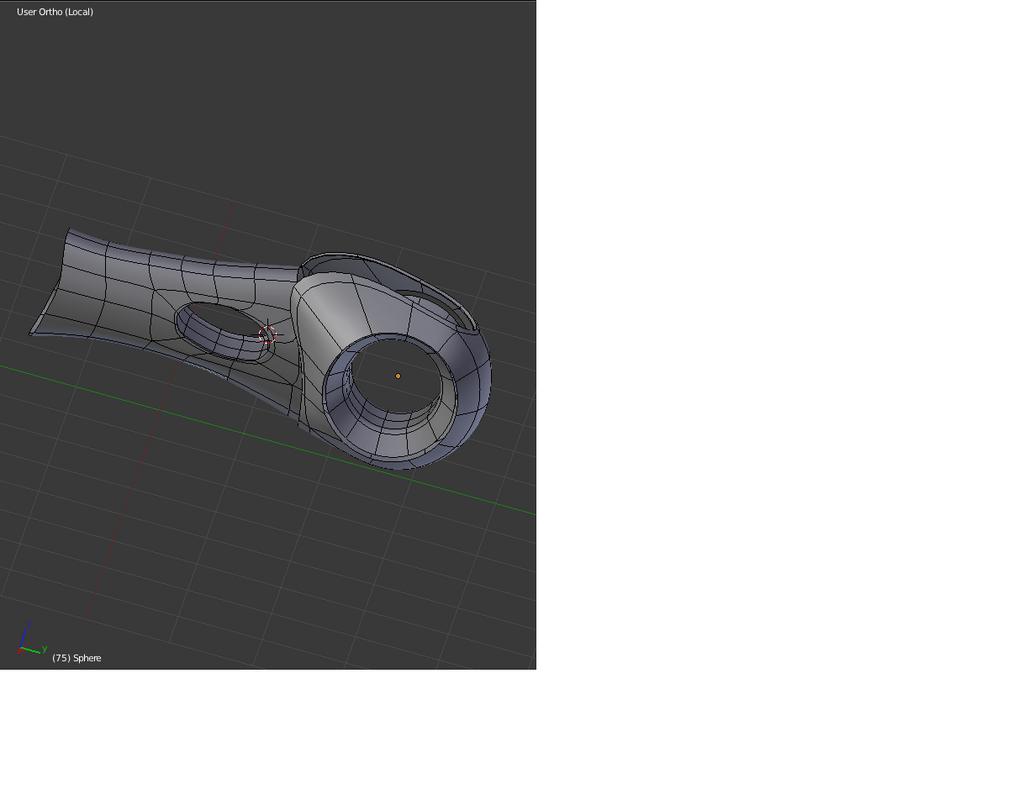
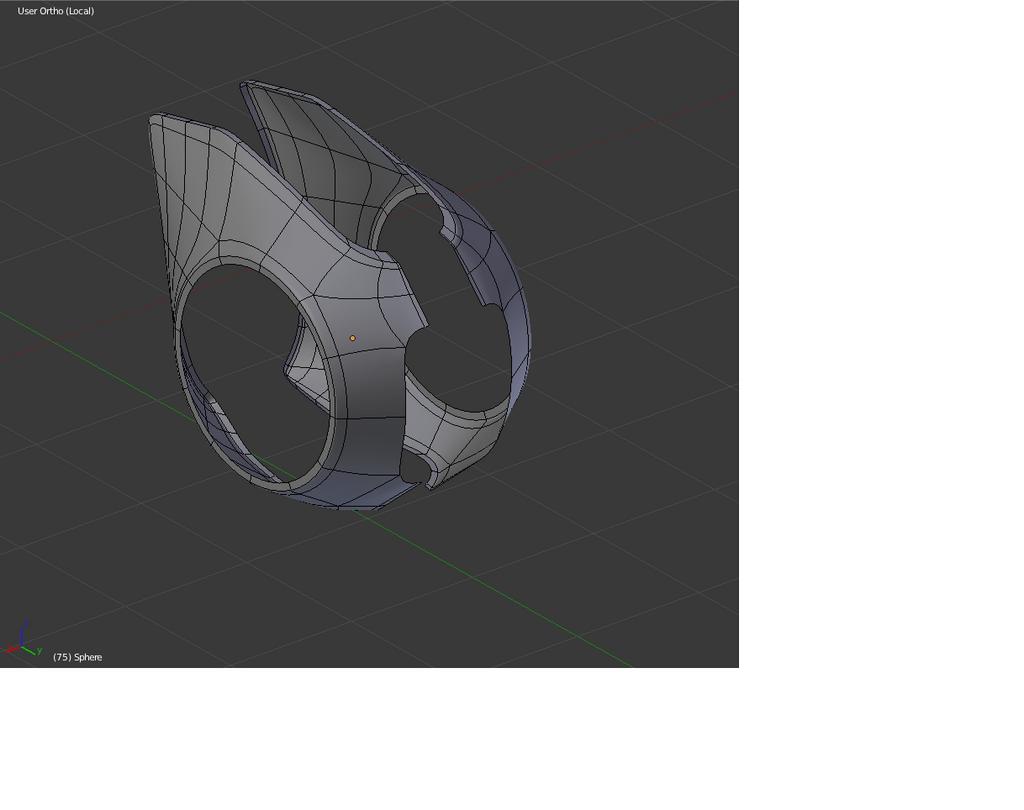
I know that last post was kind-of random and contained a shameless plug for my youtube channel. I’ll try to be more “serious” here. So I figured out how to get the right shape on my front fender. Just a matter of adding more geometry to retain the shape in subsurf. I went to the blender newbies site and found a lot of good stuff that helped me. I highly recommend their “Modeling Exercise” videos for all those noobs out there like myself. Any way here are some screen caps of my progress. Please comment and crit.
Well just a quick question for DDD or anyone else who might know. I’ve been working on the front fender for a couple of days now, not any real progress. How in the tar-nation did you get those little pieces of mesh to fit SO well together!!?? It makes my poor little brain explode!!":eek: Anyway, enough of the self-pity, thank you for your time.