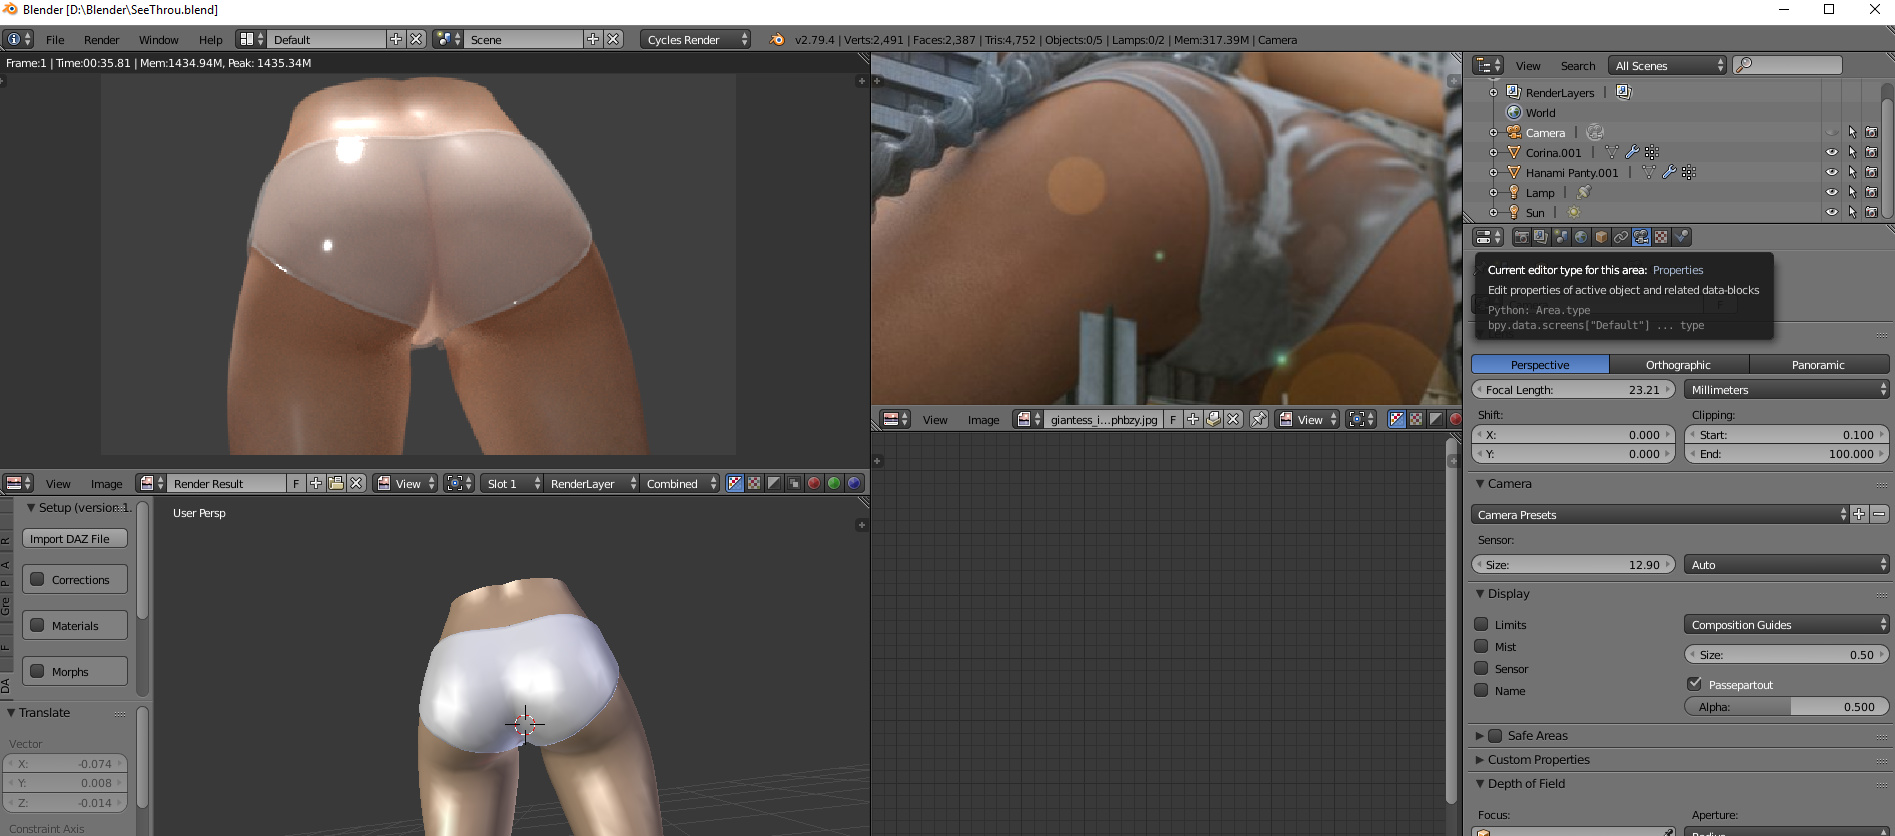
I am trying to get the model to look similar as whats seen here, but I dont know how to make the underwear partial see through like in the pic.
can anyone help, I think some sort of image file is required to get the partial see though happening but I dont know how it works, maybe someone can walk me through it?
Not sure what you’re planning to use this for, but… here goes.
This effect will require some manual painting/sculpting of the cloth. The reference cloth has some wrinkles, and where the cloth comes near contact with the underlying model, it mixes between more translucent/more transparent. The cloth in the reference also looks a good deal more rough than the cloth in your render, and your render is missing any sort of texturing that would suggest cloth and not rubber.
Also, make sure you keep the glossy/fresnel even when mixing to the transparent shader, and never go all the way transparent.
I would recommend baking the proximity to the base mesh as ambient occlusion, after sculpting some wrinkles into the cloth and using a Shrinkwrap modifier to make sure it avoids intersections with the underlying mesh.
Thanks for replying.
I don’t understand alot of what you said.
I should be able to create wrinkles. Working with Mesh.
But I don’t understand how to bake a proximity and why we need a cloth.
Also,
Will I be required to make up a texture to create the effect like in the original photo. Or can be done by method you said.
Does the proximity part you mentioned make sections of an object more transparent? Or does the altering of the object mesh moving sections closer to body underneath?
I’m a beginner… would appreciate some further assistance here… cheers.
I can work on making the object more detailed later but interested in learning ways to get partial transparent objects.
Eg. where the material is in contact with the bum cheek should be transparent, but the middle section… (The crack? Haha) should stay as is.
Maybe I should have used a different part of the body for this tutorial haha… almost NSFW…
I have created a dynamic paint and as you can see there are white and darker areas which reflect how I would want the object to have transparancy applied.
can someone explain how I need to hook up the output of dynamic paint to a transparent shader in my node???
I highlighted the important nodes for the dynamic paint and the attributes node
So after you have completed your dynamic paint and the object in viewport is showing different colours as my image in my earlier post shows, blue/white. you need to use the name of the Dynamic Paint Output in the settings for paint canvas.
use an attributes node and enter name of the dynamic output file name.
and use that to control FAC etc… as seen in my new photo… for node setup…
Edit: To contribute to the question though… You could drive the transparency shader mix using a layer weight (not fresnel) node; reasoning being that no matter how transparent/wet it looks, it will not appear transparent at glancing angles. I wouldn’t use fresnel as this is based on how fibers are oriented rather than an absorption/reflection chance based on material.


 Love the concept.