As a beginner, I would like to import a photo and convert it into a 3D landscape view using Python scripts. Can anyone provide guidance on how to achieve this?
My first uncharitable impulse, on reading your request, was to snort derisively, and to suggest that you “look for the Advanced settings in the Donut modfier”. As is well known, the Donut modifier instantly turns any simple cube into a completely finished Donut with Frosting and Sprinkles.
As someone who has struggled with blender for years, your request sounds suspiciously like “how do I get blender to do everything for me?”
But you said:
Please accept my humble apologies for thinking uncharitably.
(note: I’ve never modeled a space nebula scene before… so this post is only about techniques… this is not yet Art.)
To seriously try to answer your question, look at your photo.
There is a star-field in the background (blue, black, & white),
and a nebula in the foreground (yellows through browns).
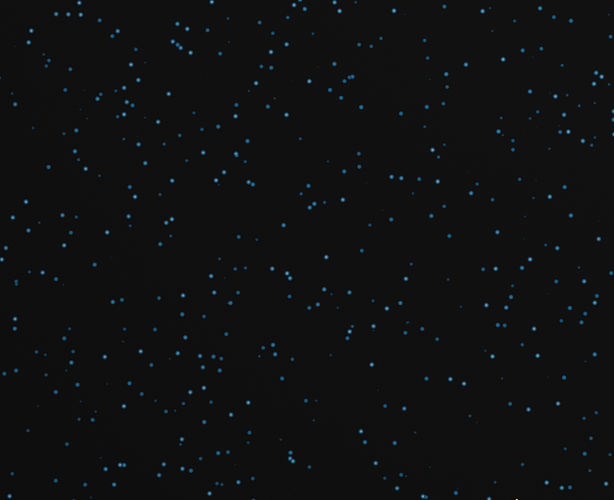
There is no point in modeling the background in 3d. You just want a background image-plane of a star-field. If you want to rotate the viewpoint in all directions, you might want to project a star-field image (without nebula) onto the inside of a large sphere. You can either generate a star-field procedurally in shaders, or you can search for a space-photo of a star-field WITHOUT a nebula in the way to confuse the issue.
here’s a quick procedural star-field:
The nebula is what you should concentrate on bringing into 3d.
If you want to make exactly THAT nebula (EXACTLY), then I have to ask you: “Where do you suggest the 3rd dimension data is coming from?”
Far easier is to model something that “sort of looks like that nebula, or at least A nebula”.
How to model something that looks like A nebula?
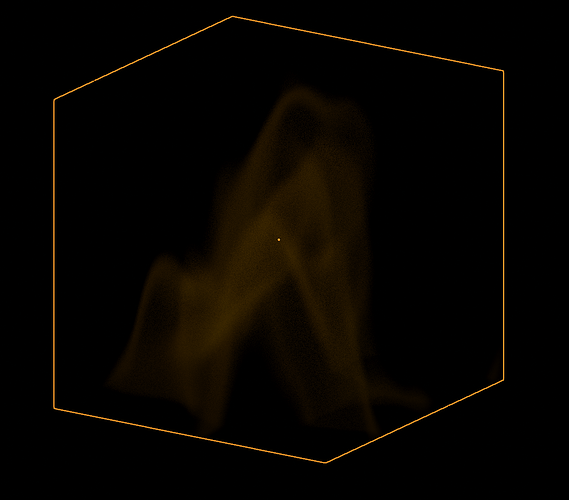
Toss a giant cube into the middle of your modelling space. To this cube, add a material shader. For cloudy things, the general idea is
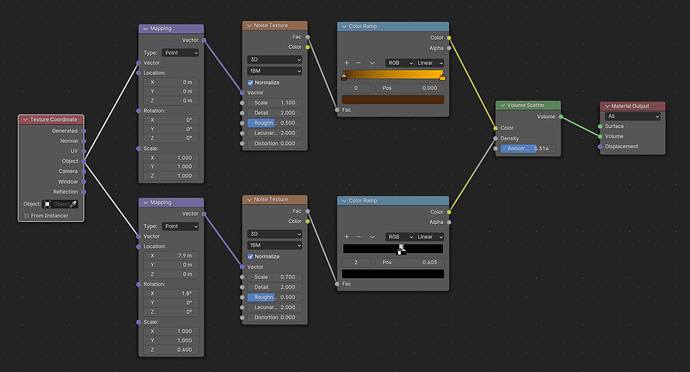
Texture_Coordinates → Noise_Texture → Color_Ramp → Volume_Scatter → (Volume input of) Material_Output
The “upper path” (of the material shader) is the coloring.
The “lower path” clips out a band of noise so we see some structure. It might be hard to see, but there are 3 stops in the color_ramp: black-white-black, closely spaced. The large black regions are saying, “do not scatter for these values” (ie; no nebula, pass light through unscattered). The thin white band is saying “scatter a lot here, this is nebula”. You can move these around, but in general keep them close.
With this approximate setup, play with the sliders in the Mapping node, to select an “interesting” area of noise. Play with the noise scale & distortion.
Note, this general technique, is sometimes referred to as “Volumetrics” … and they are extreeeeeemely computationally intensive (also known as: your computer is going to get HOT).
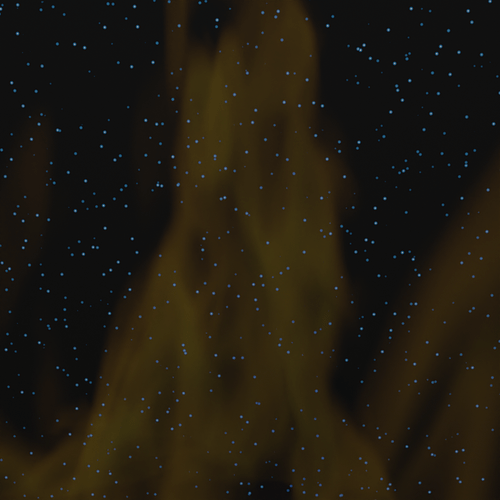
here’s the two combined:
nebula.blend (850.4 KB)
Now go figure out how to make this Art.
Or alternatively, how to encapsulate these techniques into a python script, so we can all have a Nebula modifier. ![]()
The image in my previous reply is all passively lit by one Area Lamp.
You should also try adding Emission to the star field (in the Principled BSDF shader). Don’t be shy with the emission. If by default the slider stops at 1.0, try to type in 10.0 or 100.0 … sometimes you want a lot more light.
You may also try adding some (not so much) emission to the Nebula. For the way I did the Nebula shader, you will probably need to add an Emission node to achieve this. You may want the Emission to have its own (3rd) branch with a separate Noise-texture.
If that’s still not enough light, consider adding a few foreground stars with geometry nodes: scatter point in a volume, and instance spheres on those points (not too big), and add a simple emission shader to these spheres. Voila! You have some foreground stars!
Another thing to consider is using Glow in blender’s compositor to improve the glow and twinkle of the light-sources.
Your source image is probably the work of NASA? (Hubble or JWST photo). Don’t get too hung up on re-achieving exactly what they have done. NOTHING comes out of NASA without heavy photo-retouching and color “enhancement”. Then there’s air-brushing out all the evidence of extra-terrestrials… ![]()
see:
If your heart is absolutely set on working with a specific image:
consider color-key separation (“green-screen”) to separate the black-blue-white star-field from the yellow-brown nebula. You’re still going to have to INVENT the 3rd dimension data for the nebula, but you may be able to use brightness or hue, and somehow map this to a displacement map.
Good luck! Have fun with blender!! ![]()


