here we will be discussing the character modelling for games , low-poly characters
we will be Doing which follows
1- modelling a human character from the begining to the end
2- modelling advices for low-poly characters
3- Uvw Mapping
4- Texturing , both painting and texture creation from real images
** rig and animation are not part of the plan now , because they must be improved
a lot …
here goes a humble example of a lowpoly model by me , we will be trying to do something much better … in this thread …
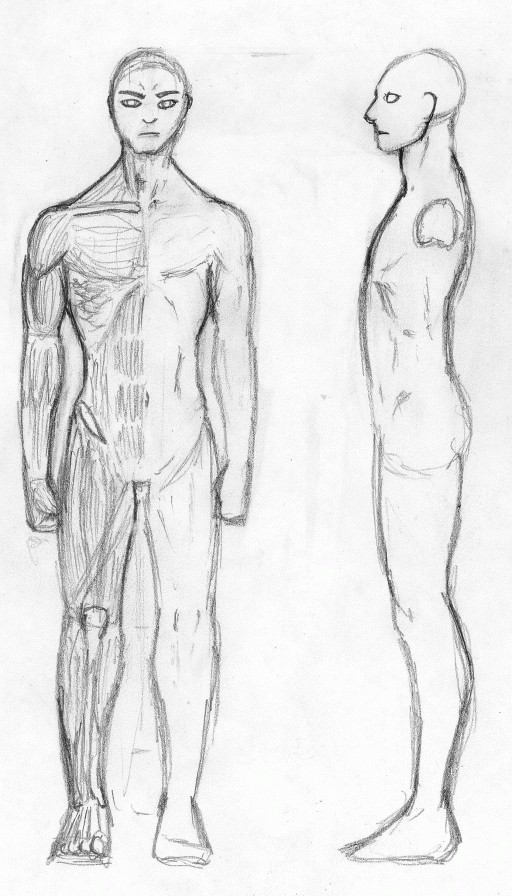
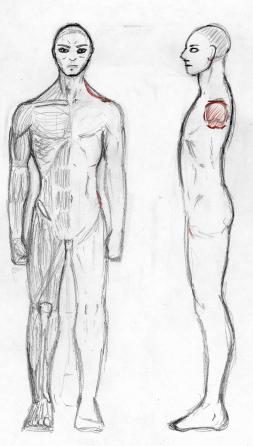
well, I drew the concept image for the guy… three complaints though:
-crap anatomy
-stuff doesn’t match up between the two views very well
-crap scanner quality
while I’m at it, I may as well make it 4 problems: the arms should have been ad a 45 degree angle, rather than straight down, to come out with a more animate-able model.
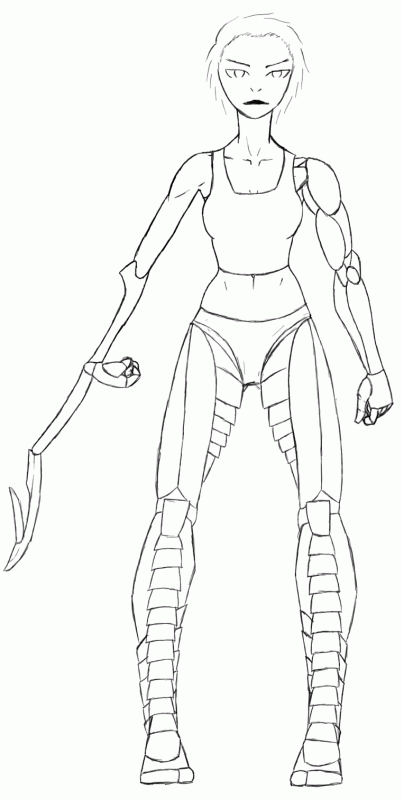
so, as a freebie, I threw in a front view of a cyborg chick. there’s no side view (sorry) and she’s the main character for a story of mine, so, while I don’t mind if people use her, credit is more important there.
damn, I should be an advertiser when I get out of school, 'cause I’m so good at selling things XP
[edit] oh yeah, I left the musculature in in the first one (which I did because it helped me get anatomy right- or at least, more so) because you only need one half for modeling anyways- plus, I though the muscle view looked kyewl ^^
allright , firstly , this tutorial will be about making a character with the most popular way , box modelling and plan extruding , it is recommended to know some basics from Blender’s wiki before applying this tutorial if you are new …
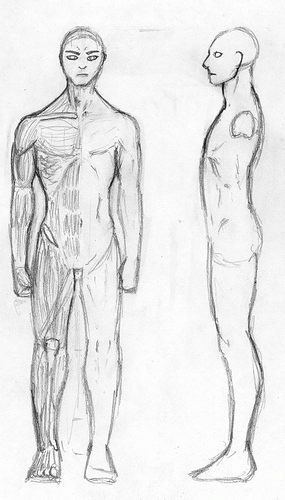
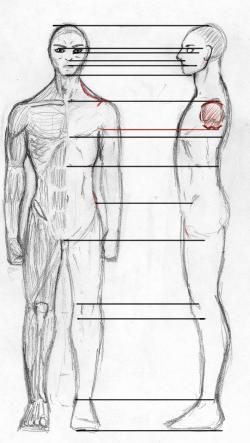
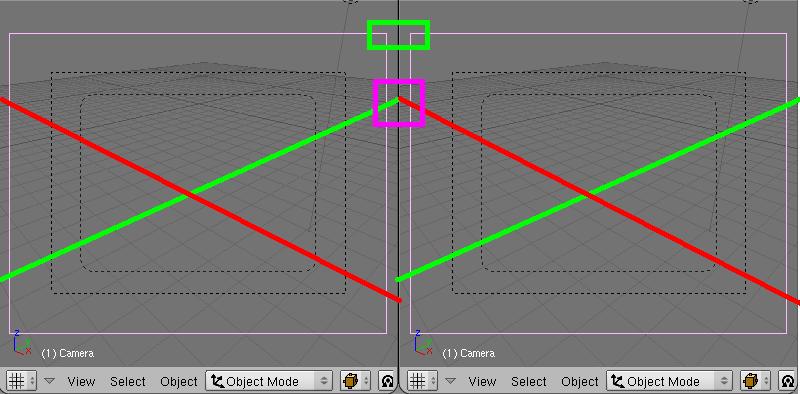
one of the most common steps is : setting up the BluePrints or reference images
in our case here , we will be using Captain Oblivion’s BluePrint
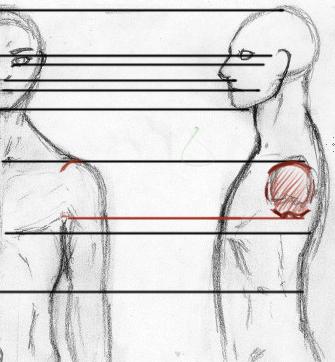
and it’s a common thing that we notice that it’s not line-ing up in all areas , actually we can
notice that with some horizontal lines with a new layer in the gimp or photoshop .
the shoulders area wasn’t 100 % accurate , so we bear in mind some modifications and altering of it , and the eyes as well .
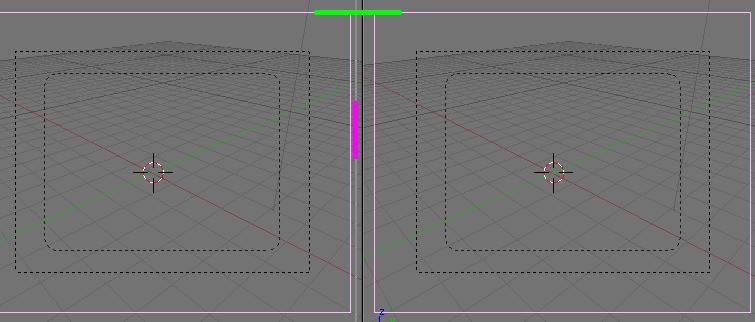
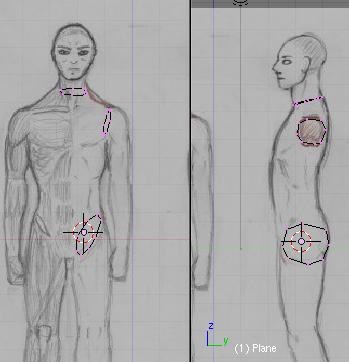
next , as we have noticed , the eye isn’t represented accuratly now , we need to fix this …
we line them up through the side view and the front view , so we get our model more accuratly modeled , and we bear in mind the right curvature of the eyes from both views to result in a good head , because the eyes are one of the most important parts where the realism is resulted in our head model .
next we will fix the outline of the nose , actually we must eliminate all the thick curves of the blueprint , because we may get confused from which to follow the inner of it or the outer
<in case that the outline is thick>
~ we may alter the shoulders area where it is marked red , making it less stretchy .
and next we will do more alteration with the nose .
in our model , we will be taking in our considration that we have to stick with a number that represents the rings in our character , where the legs and arms and neck will pop-out from the torso .
commonly we use ( 8 , or 6 ) as a number edges that have a one semi-parallel to each one …
that will not be the way we start our modelling , but this gives us more sharp thinking in the next steps …