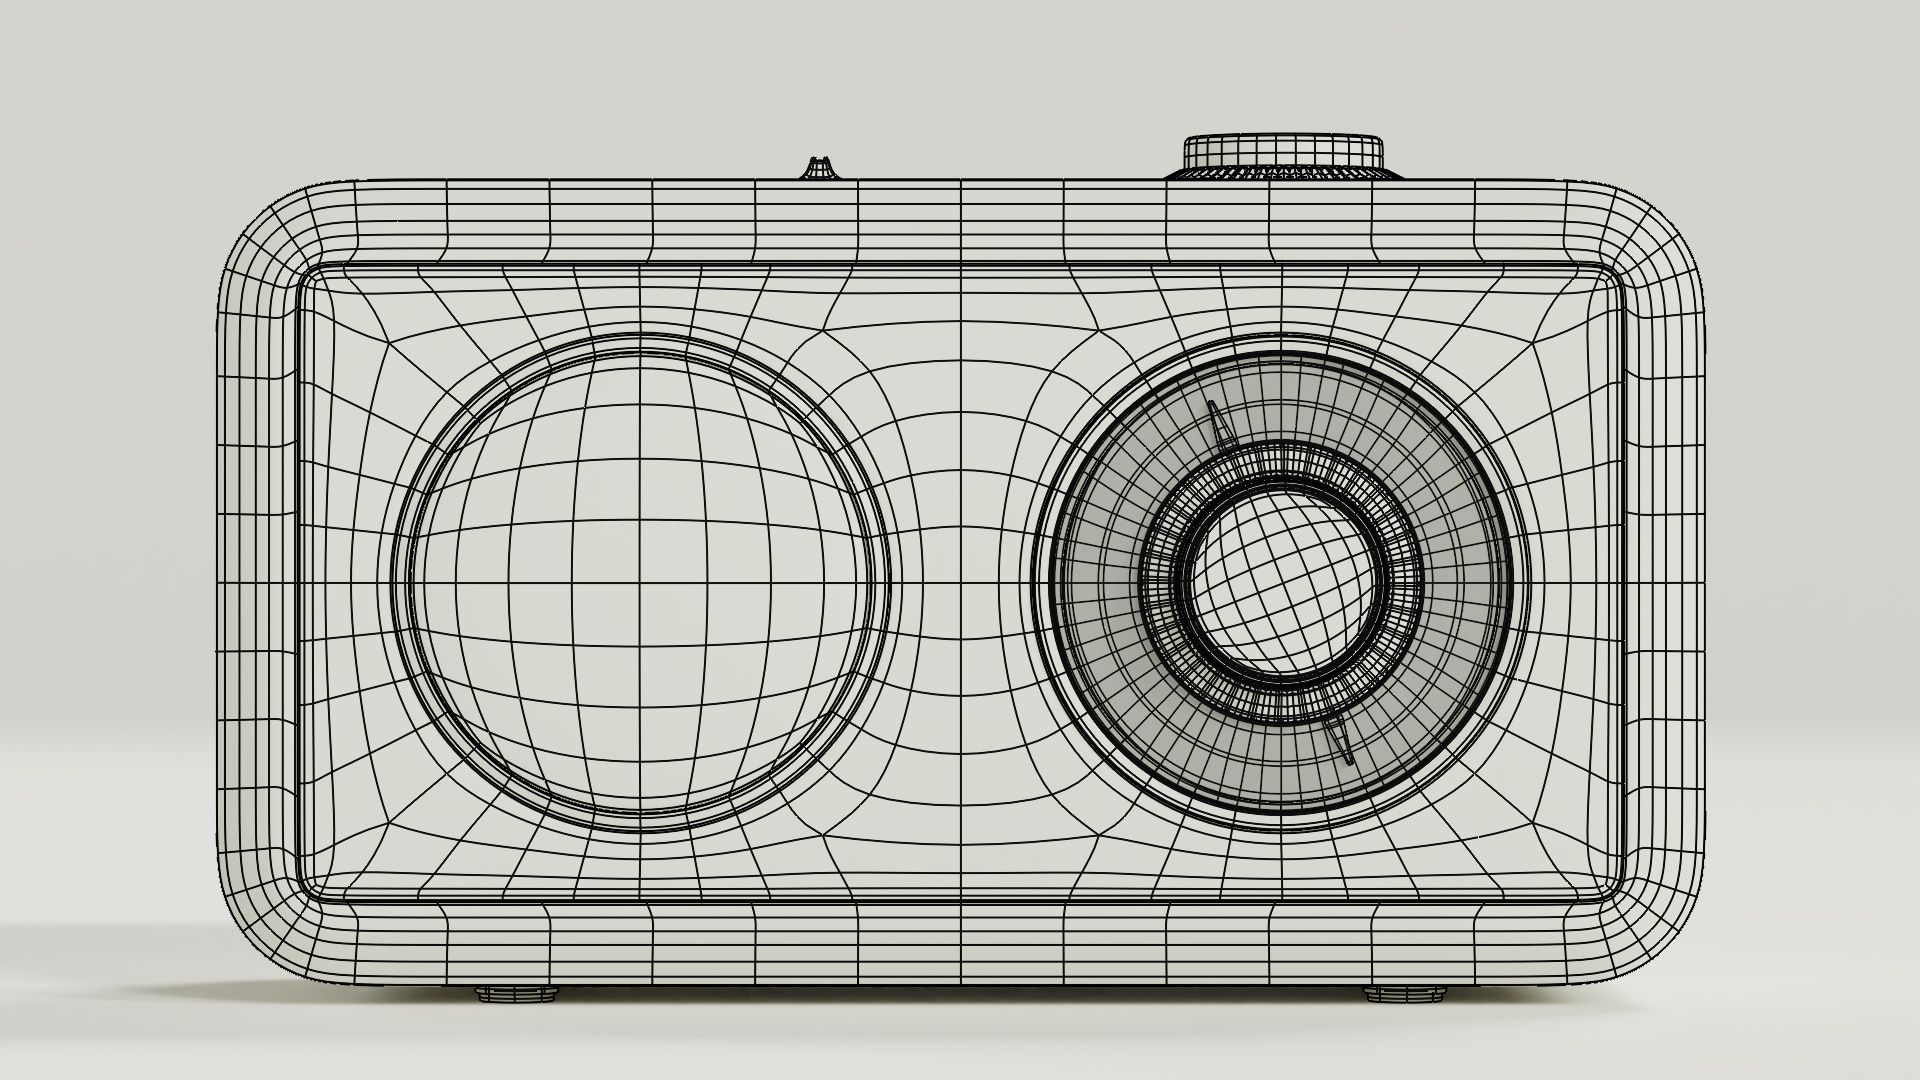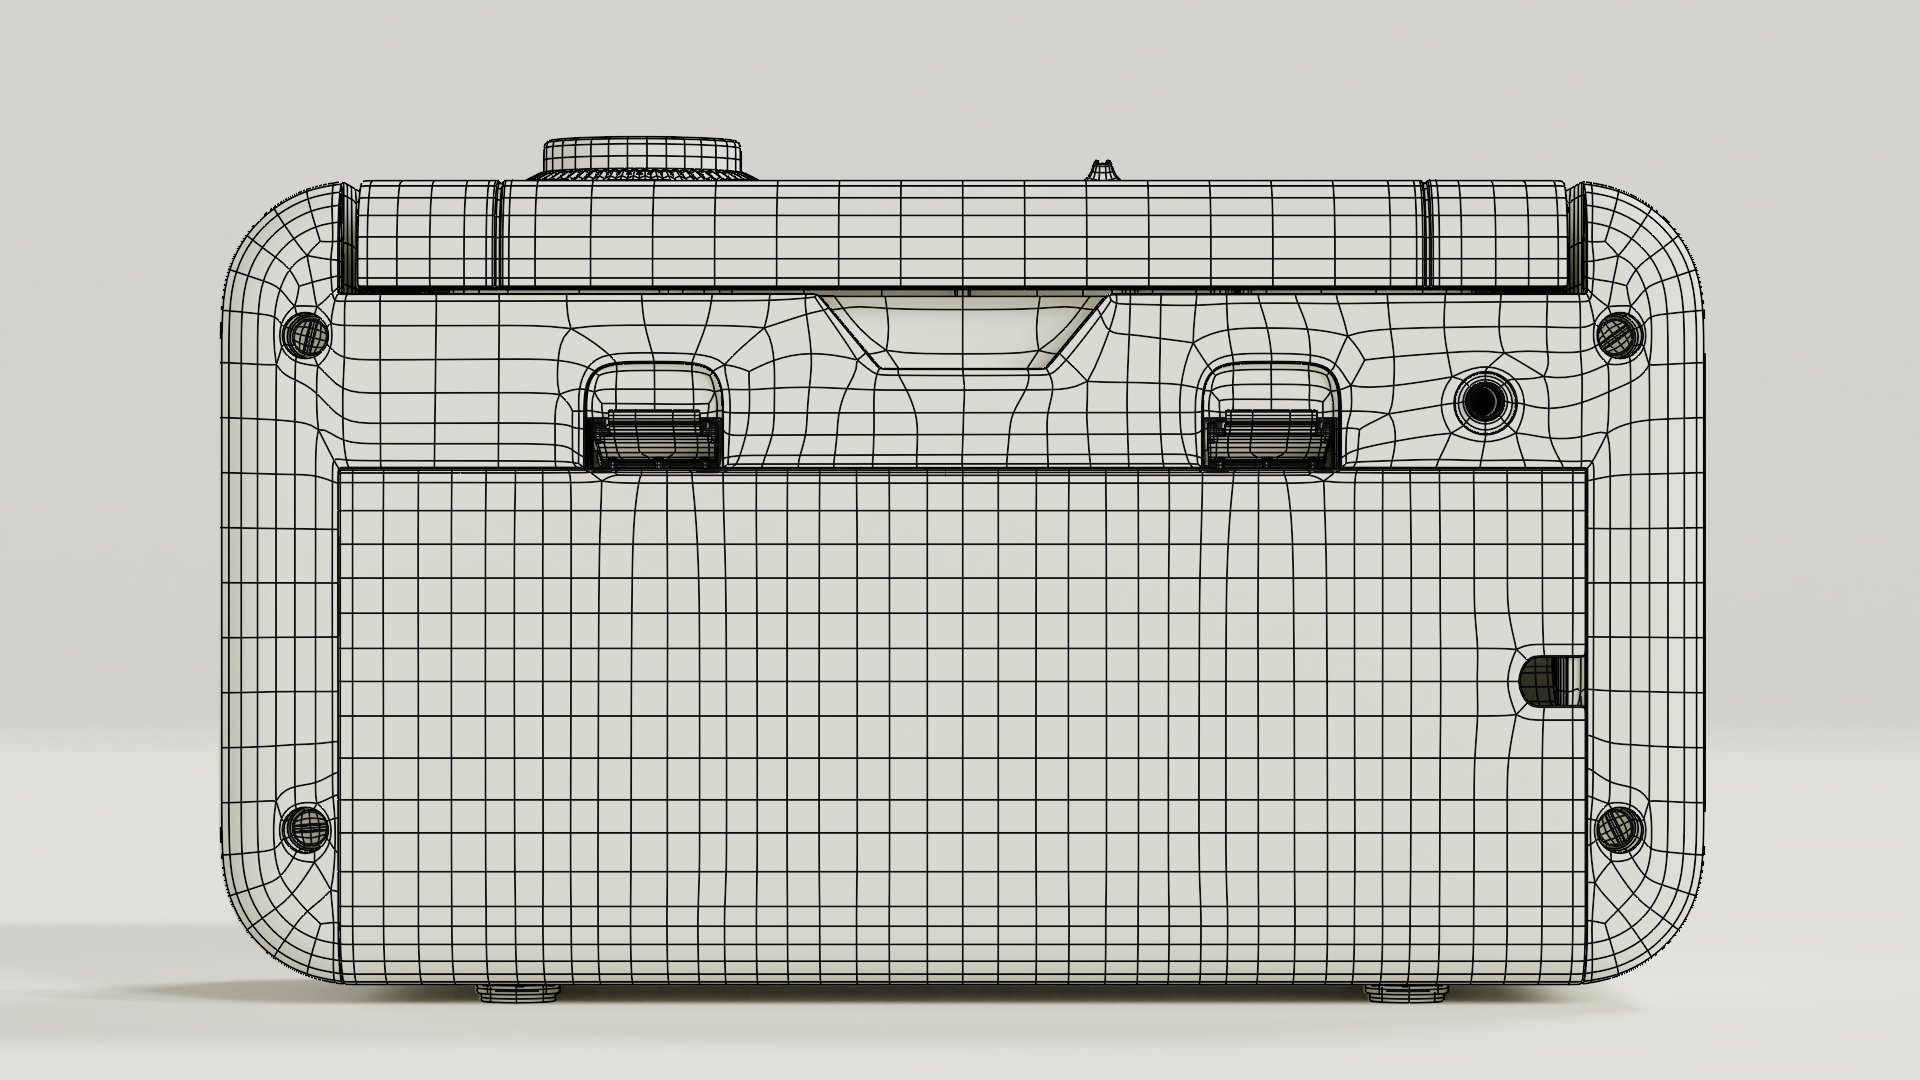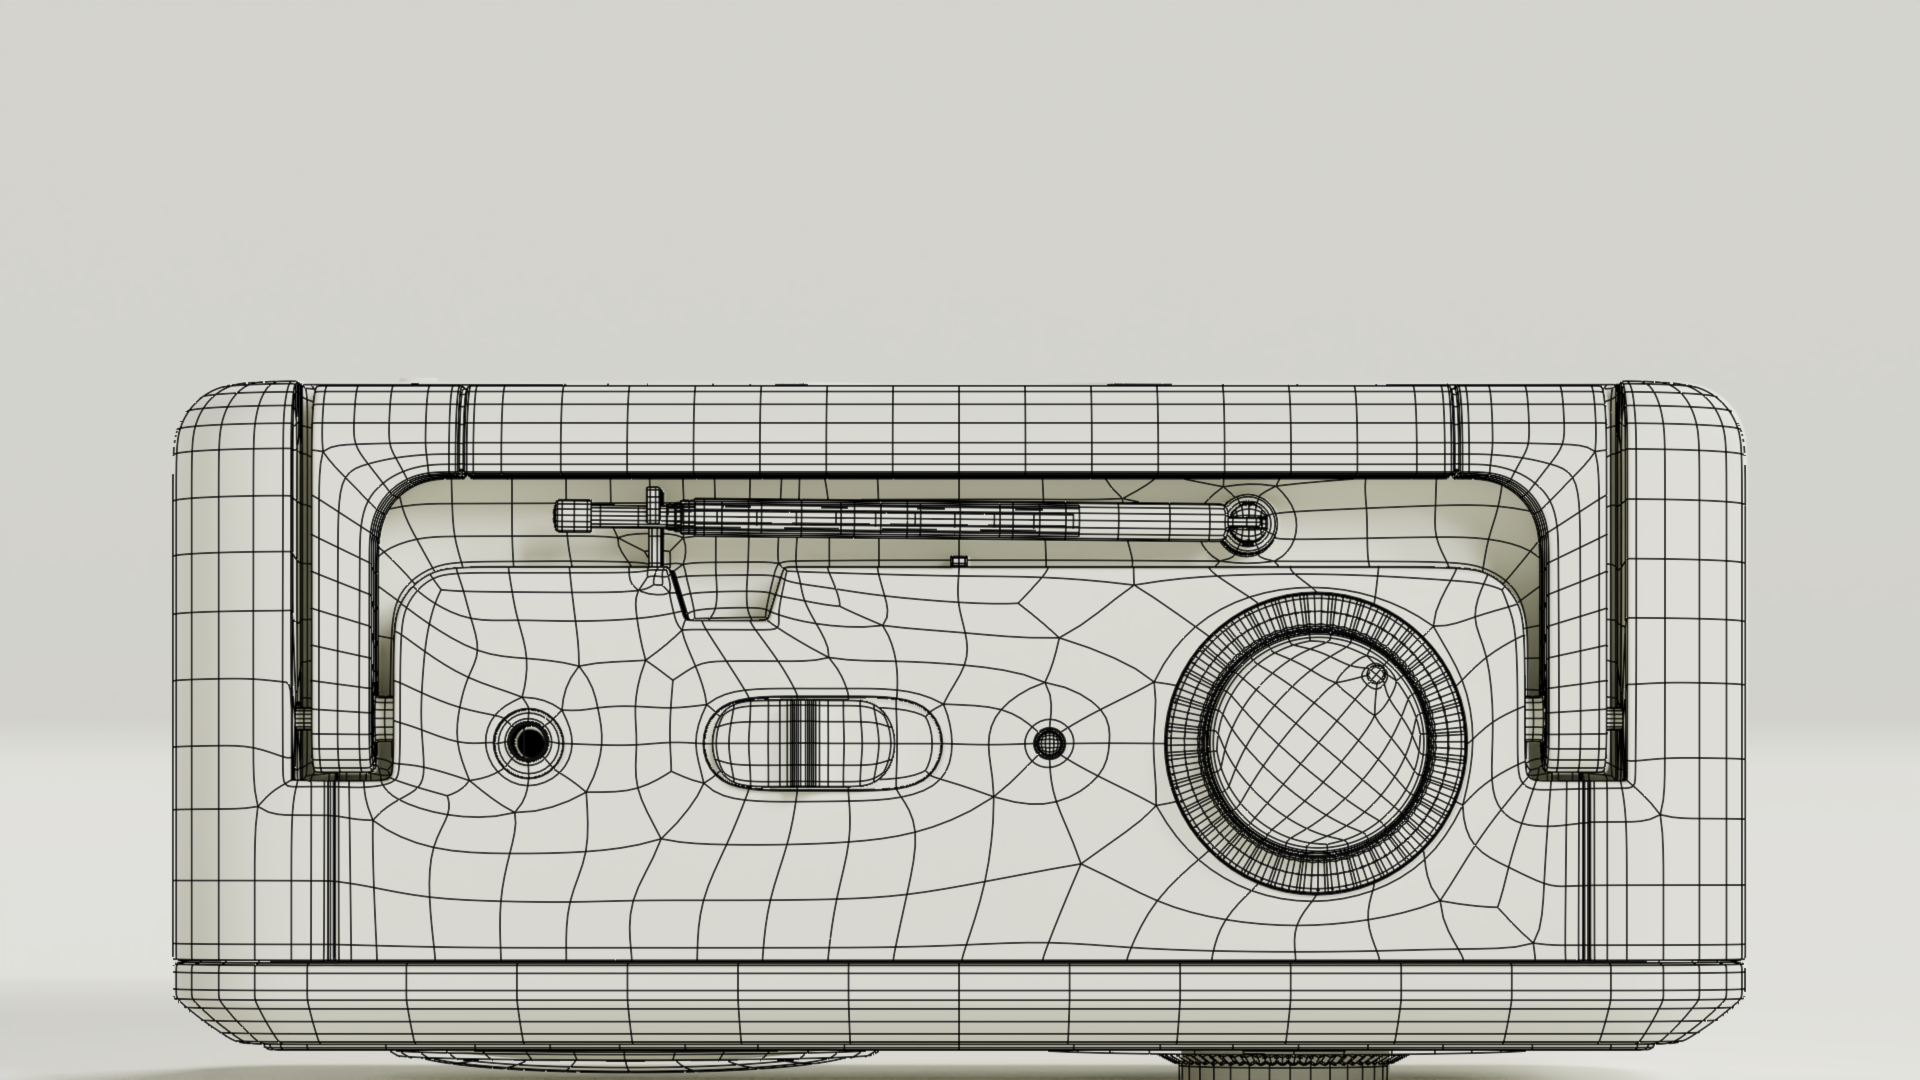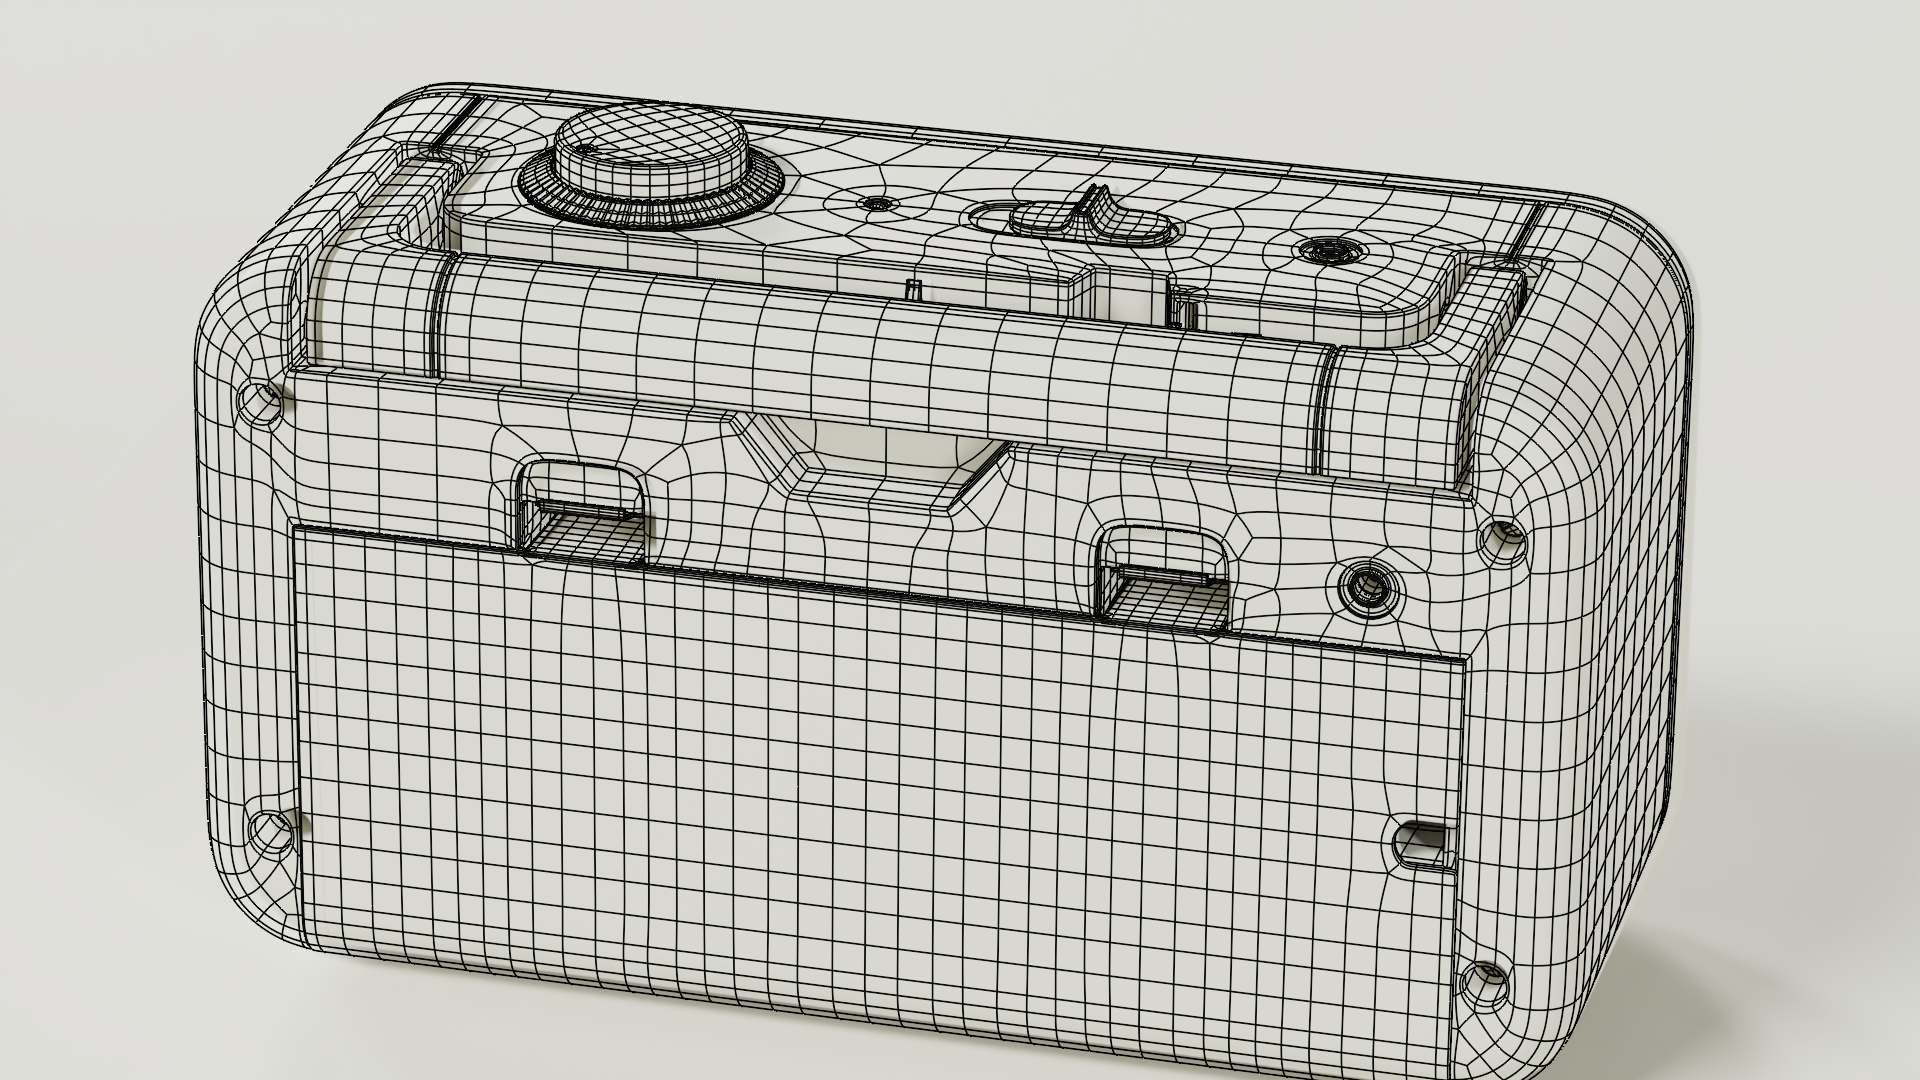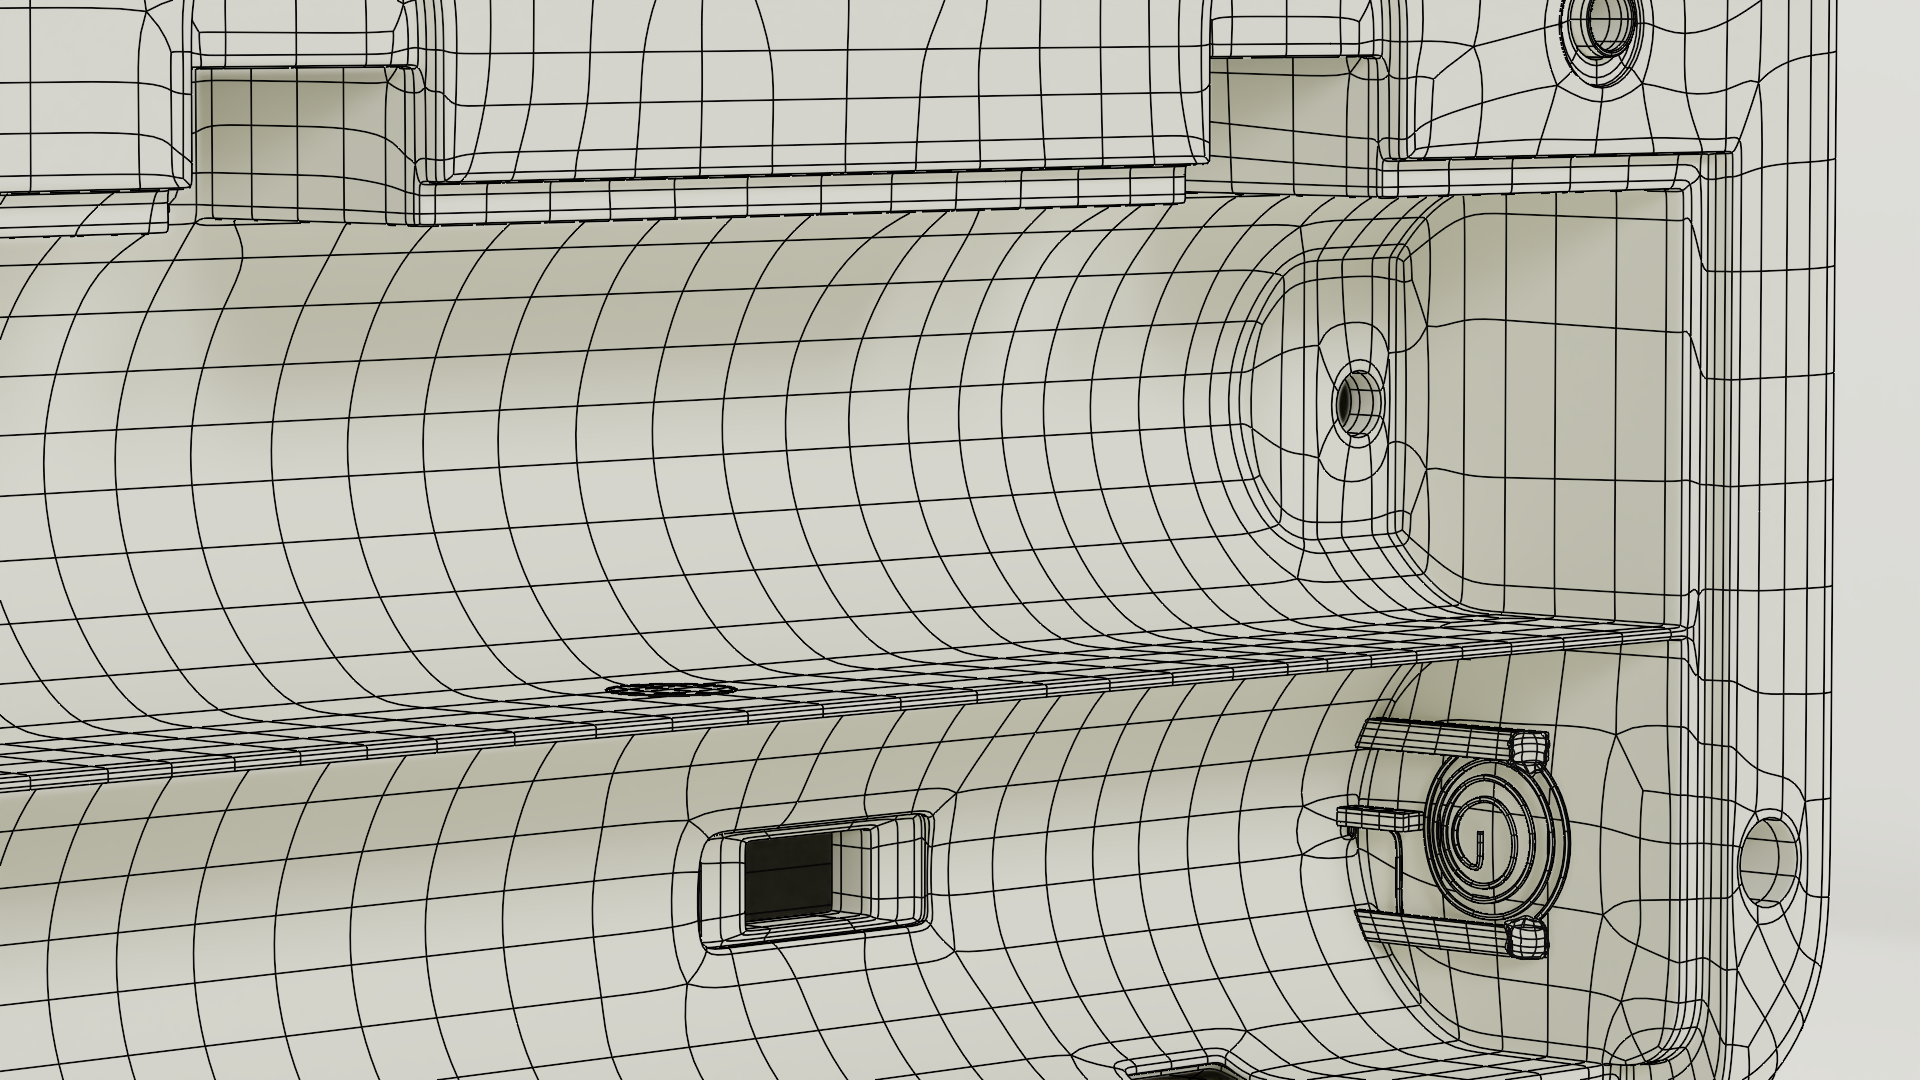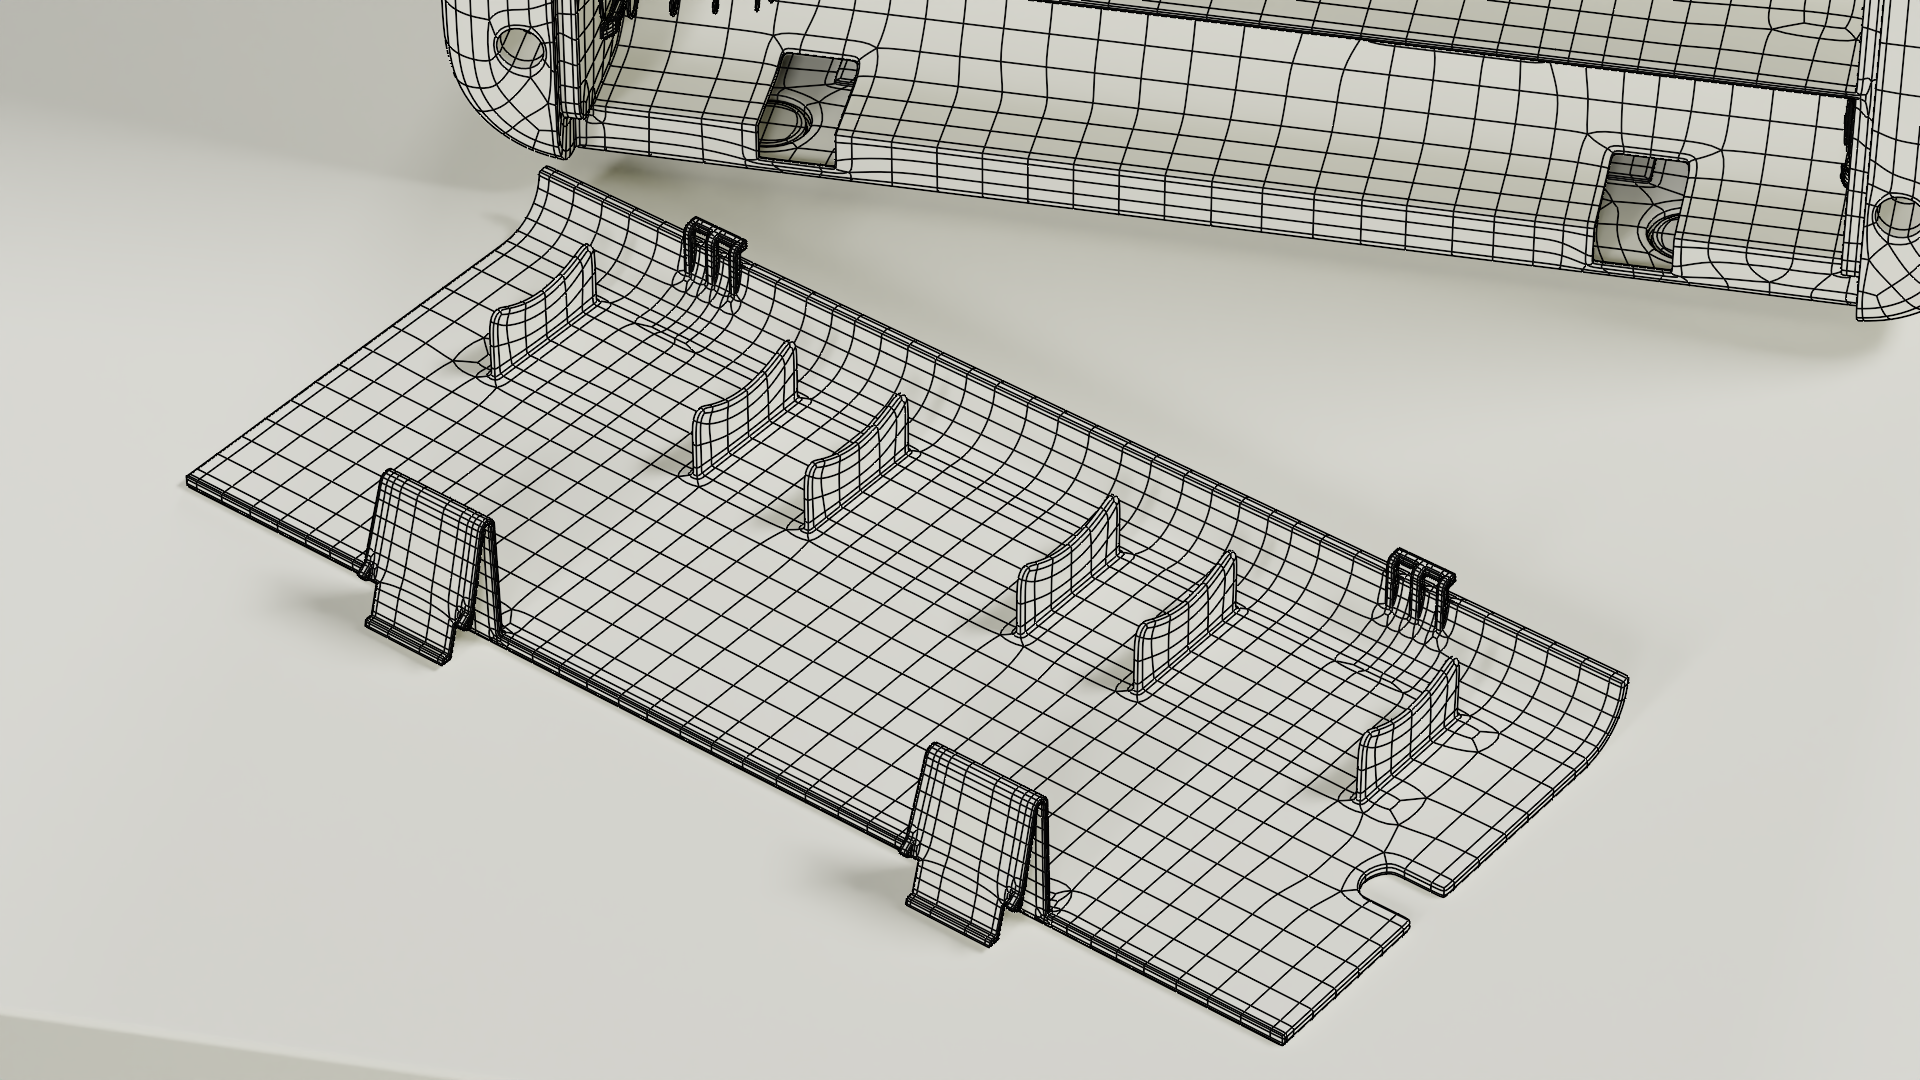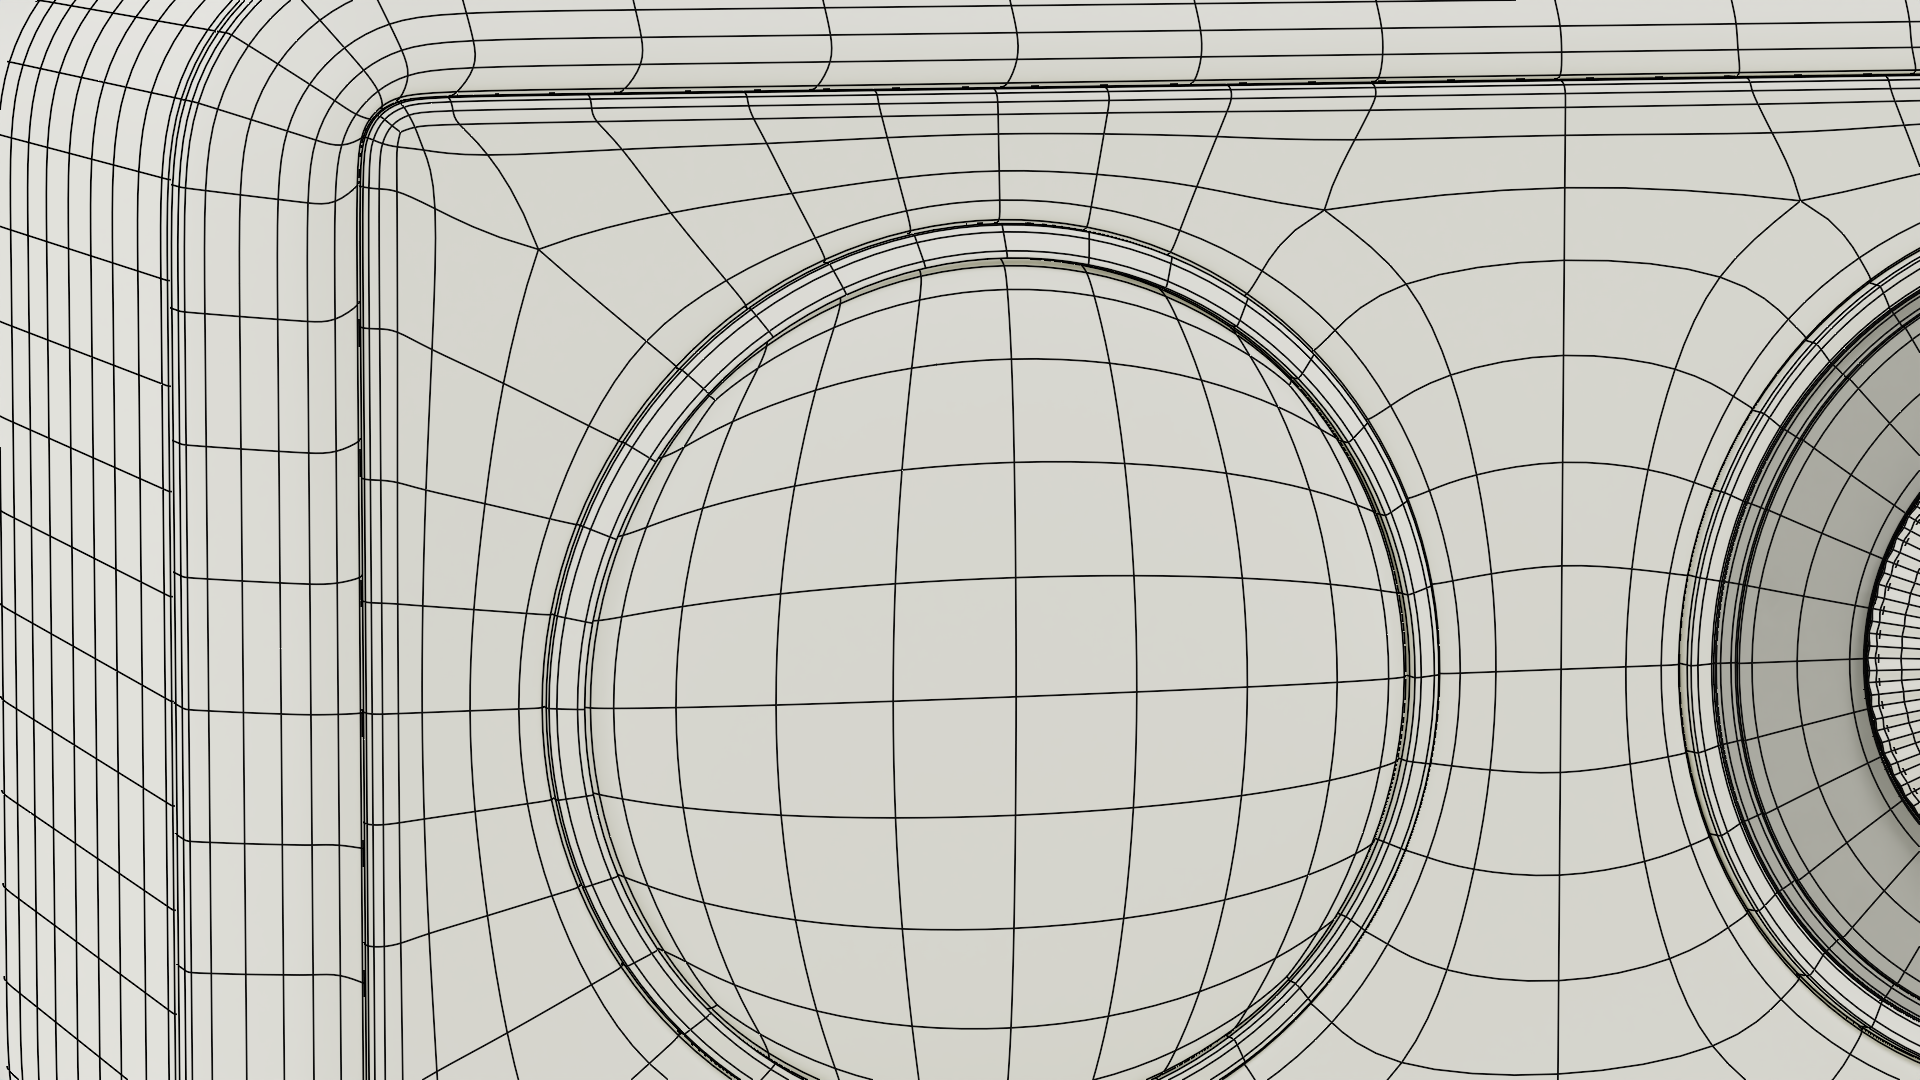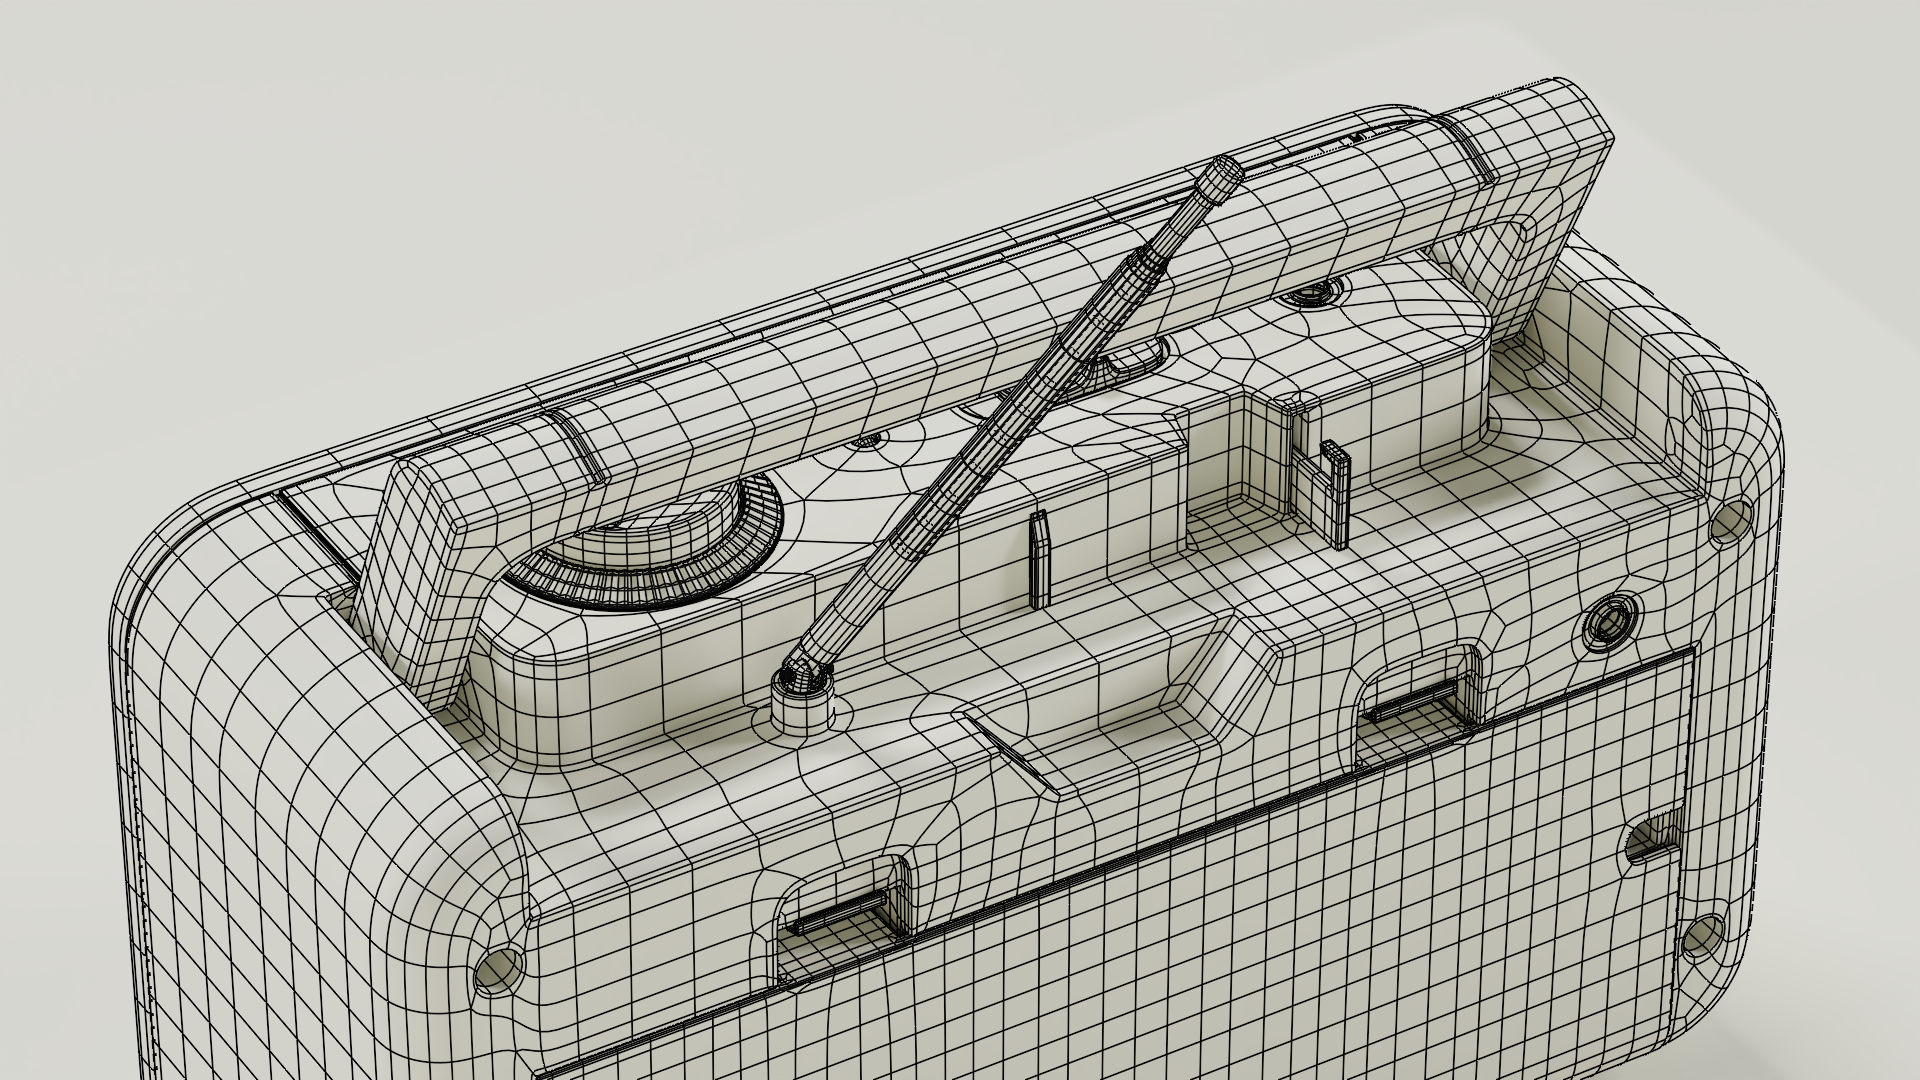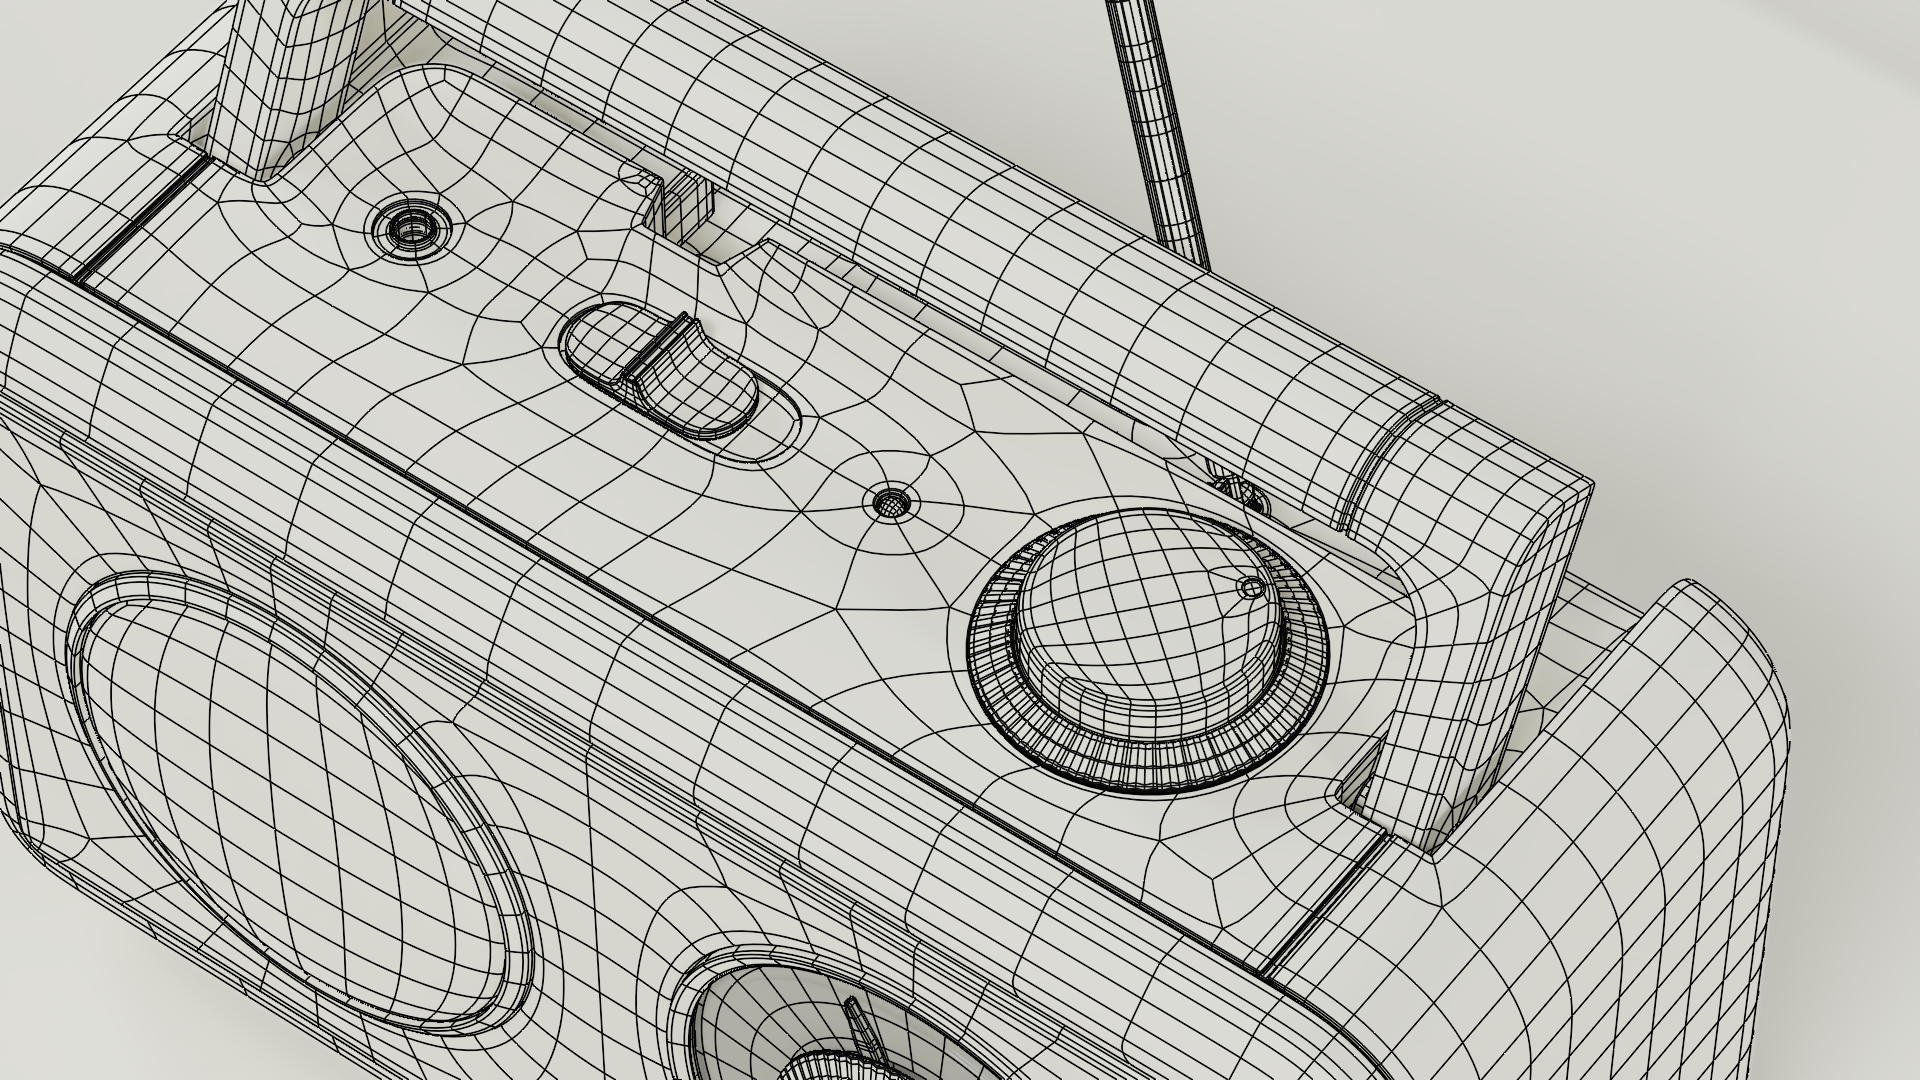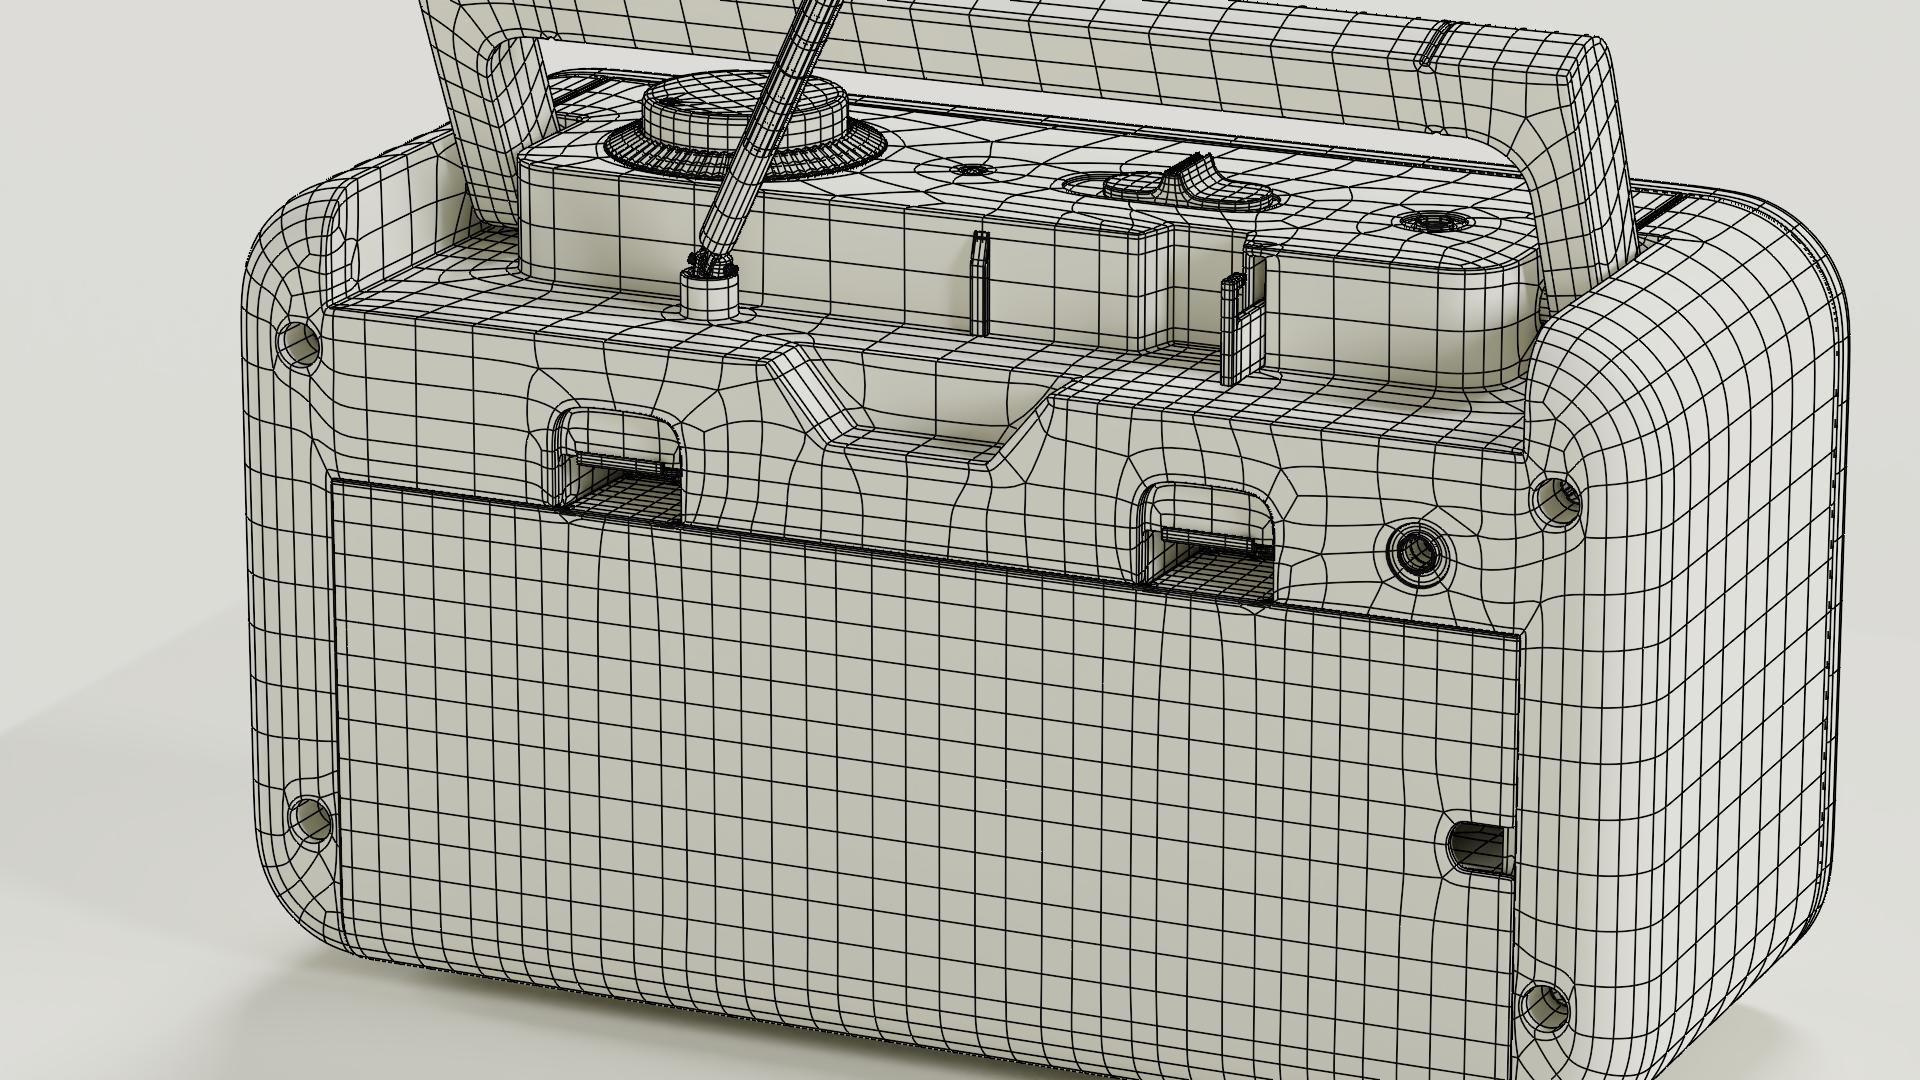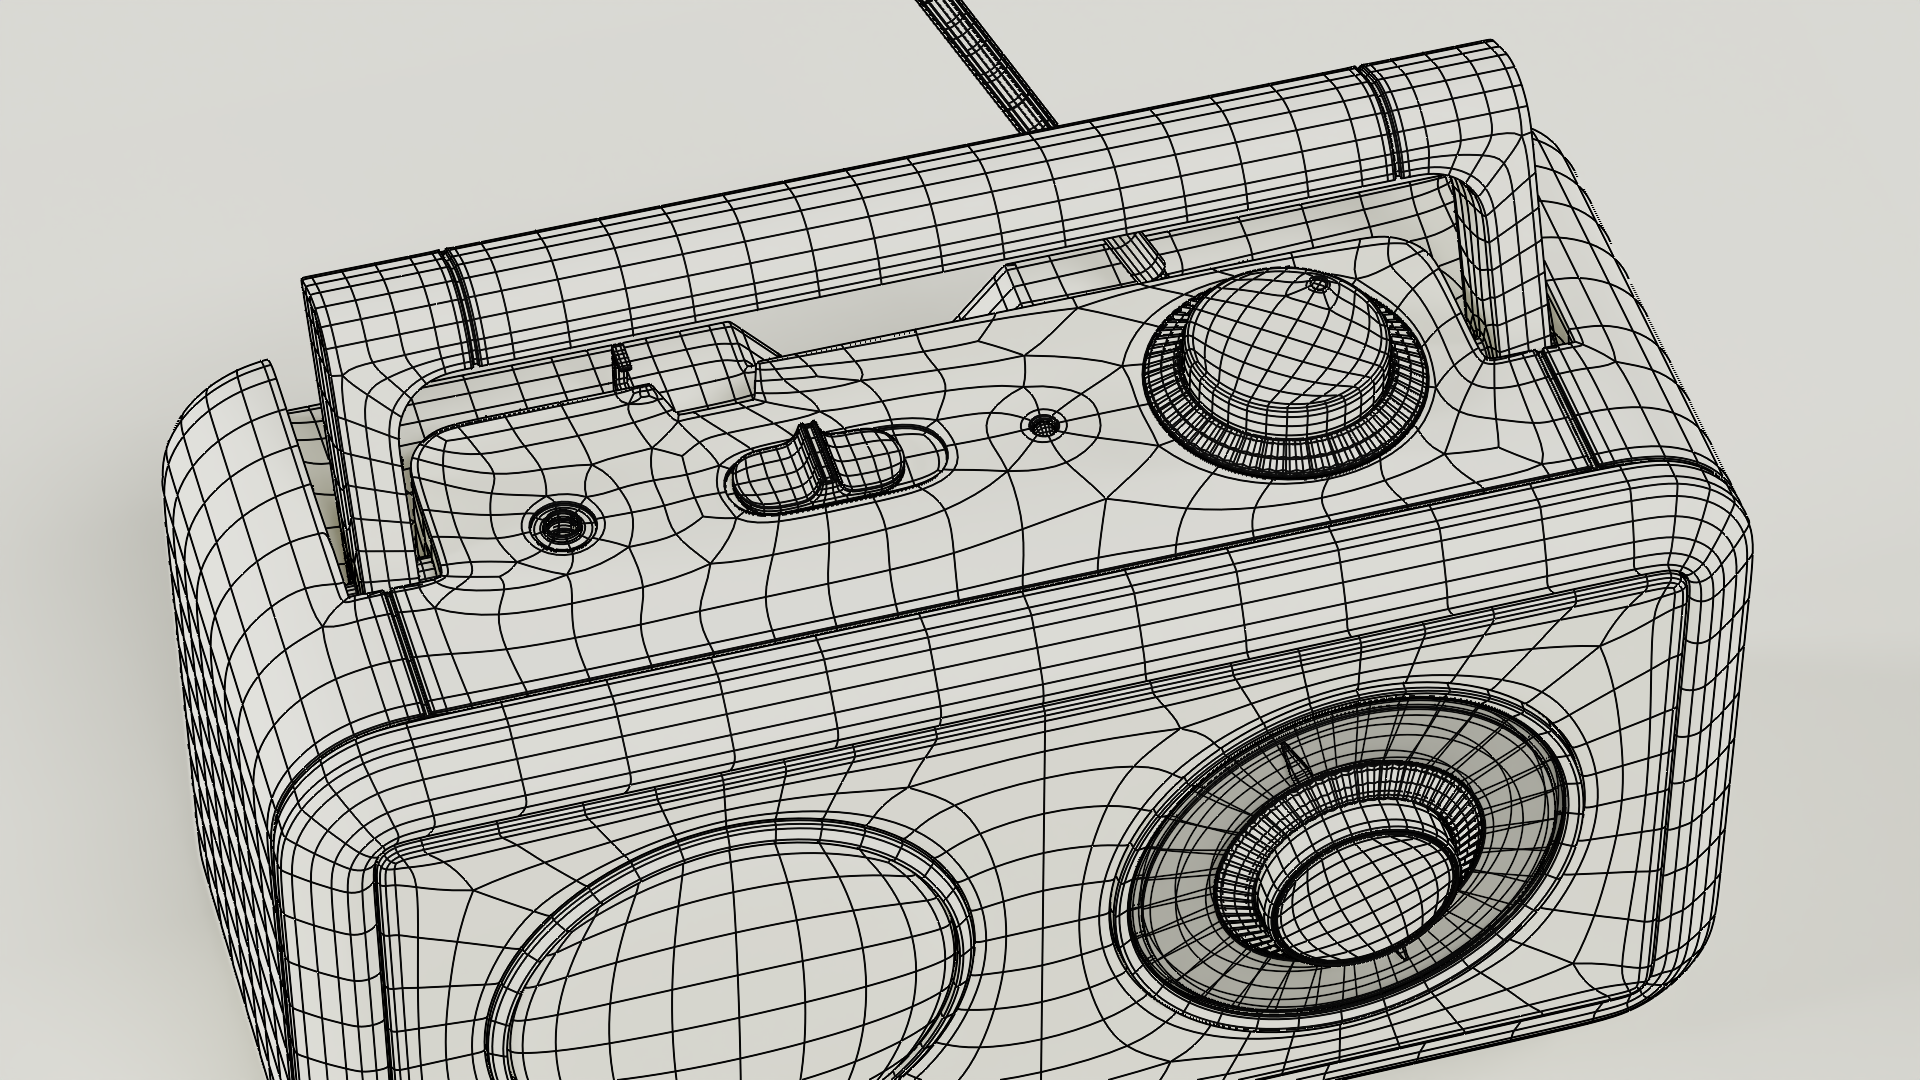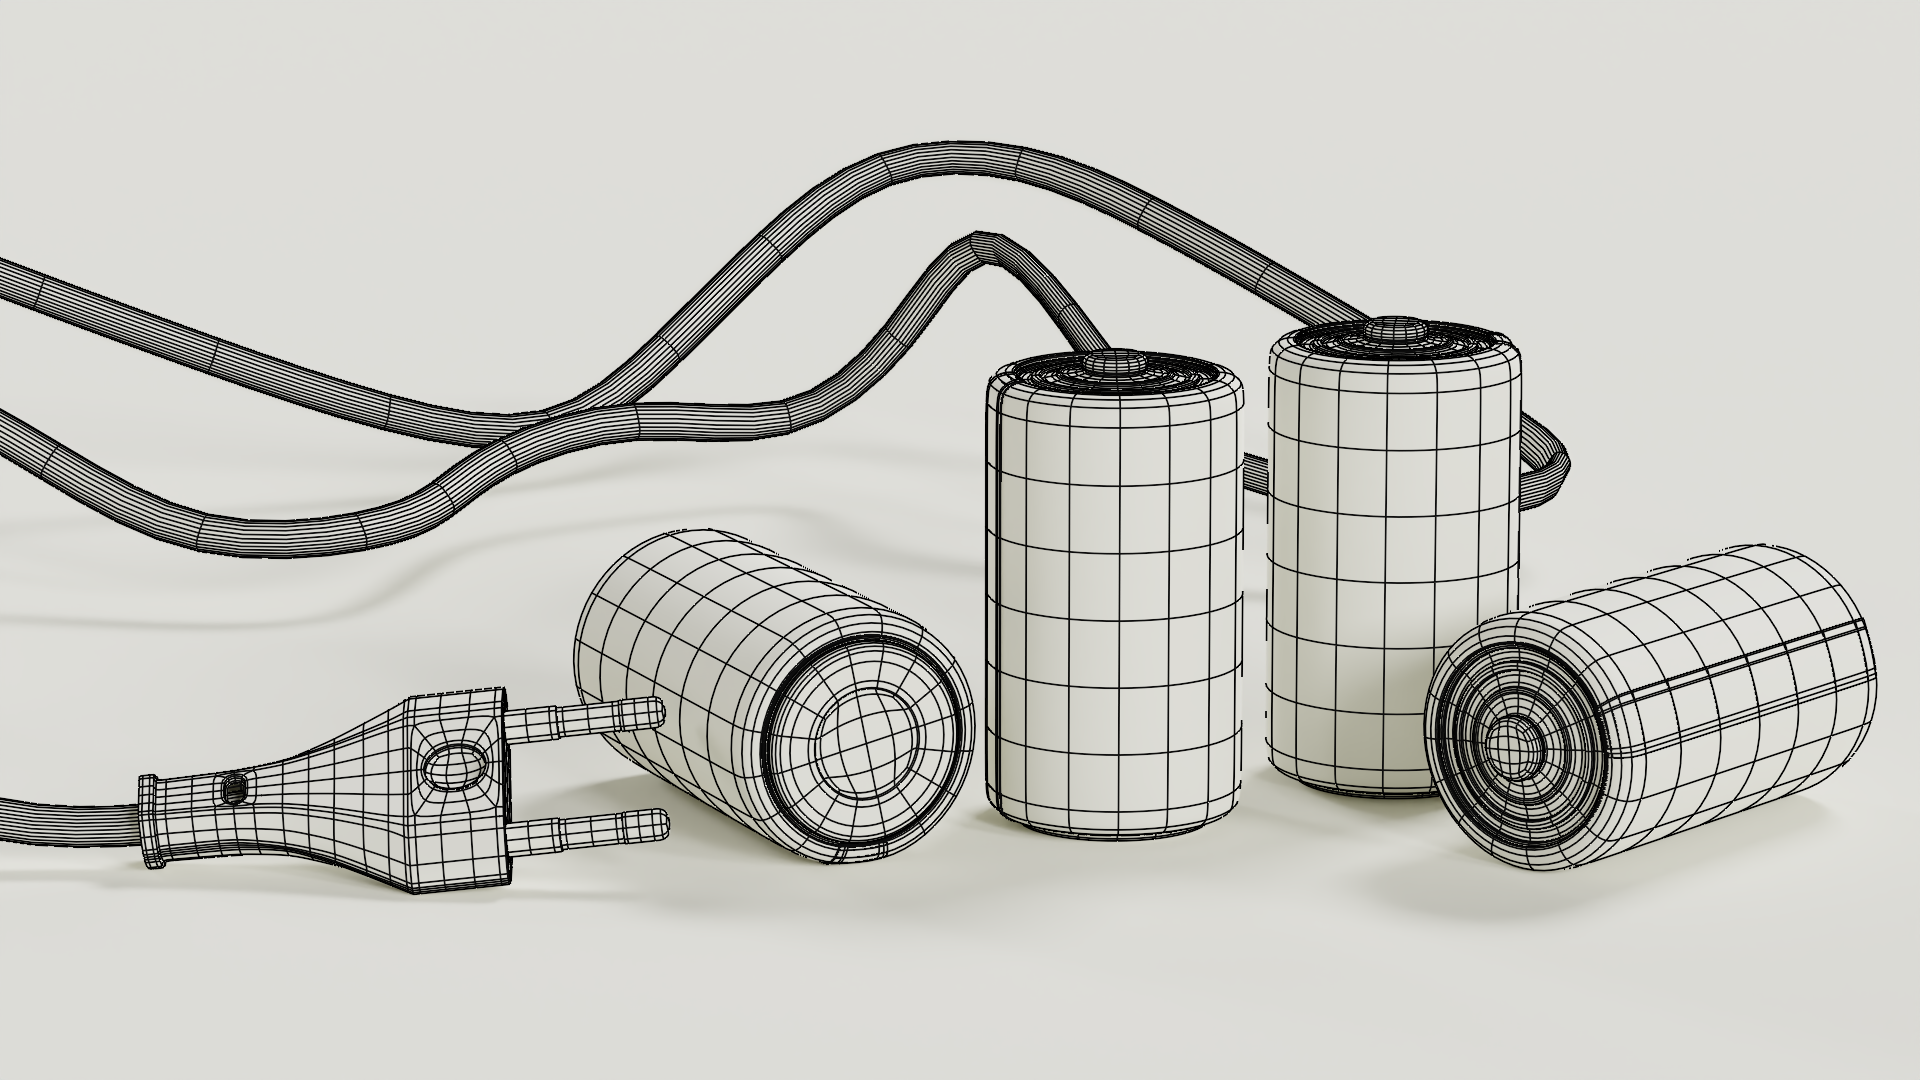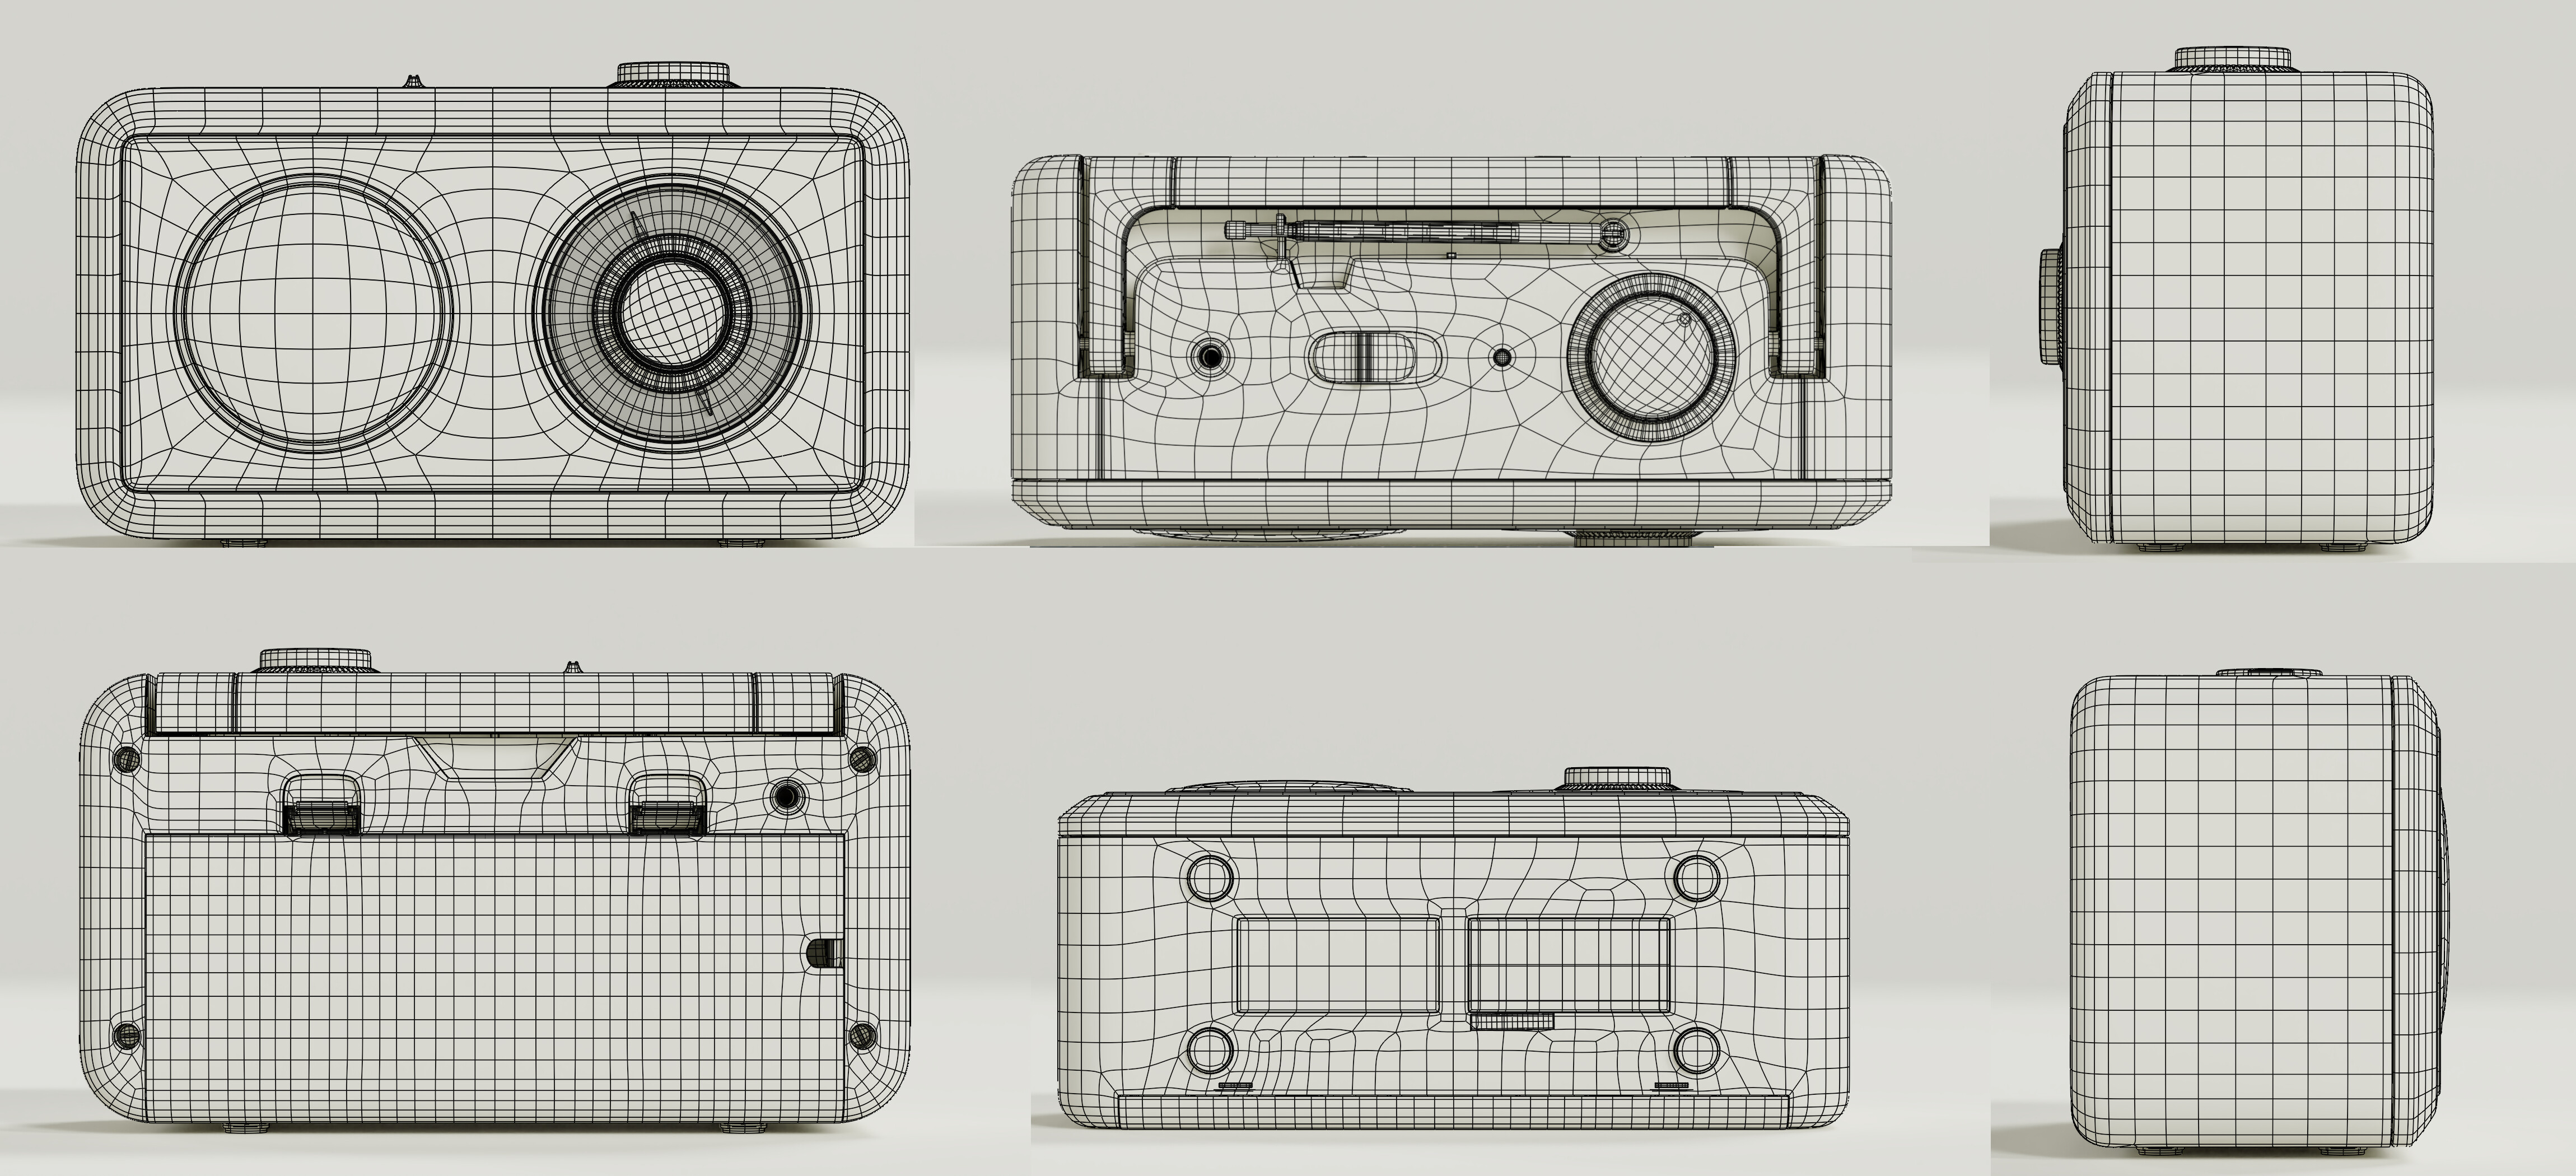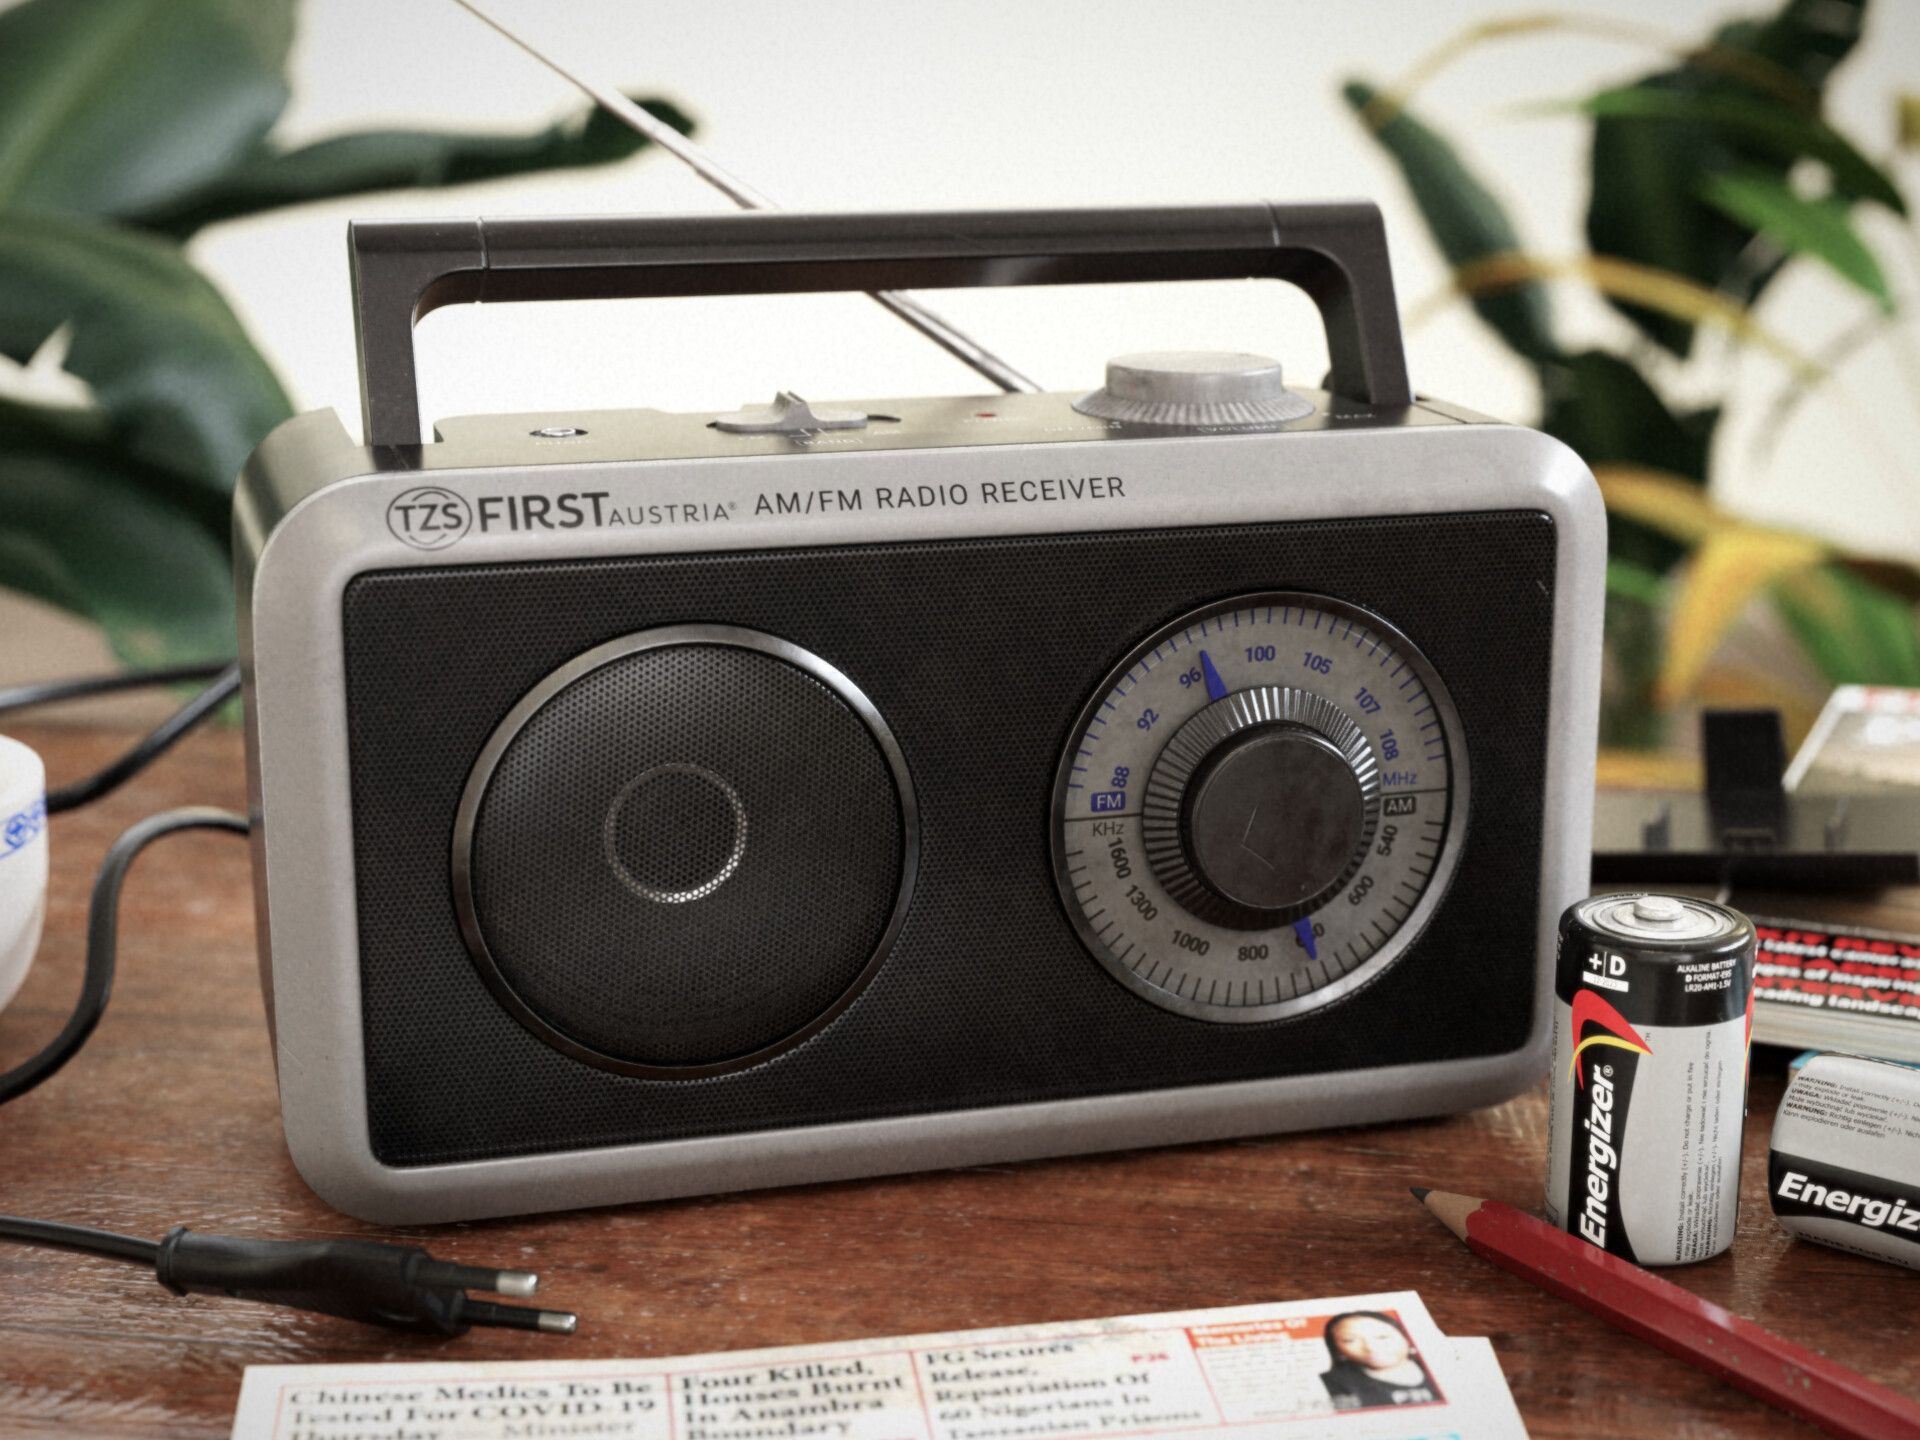
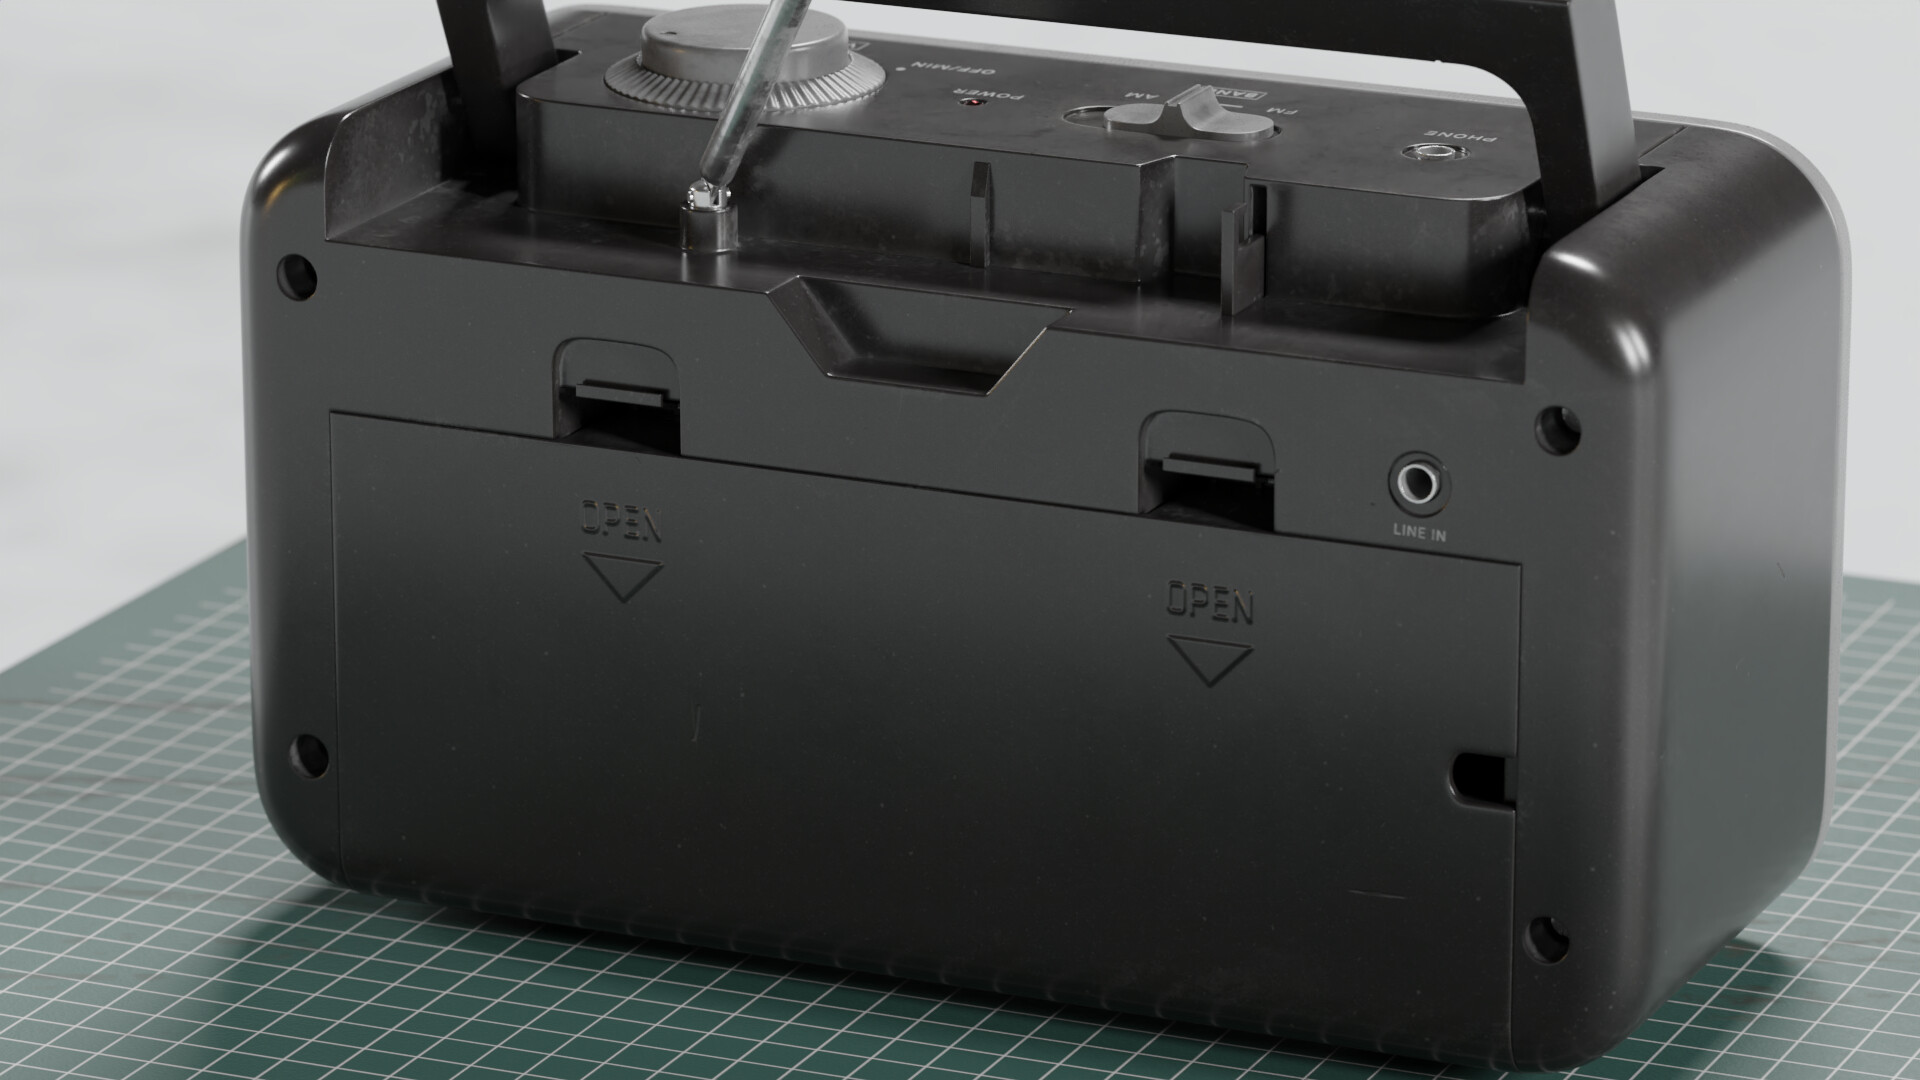
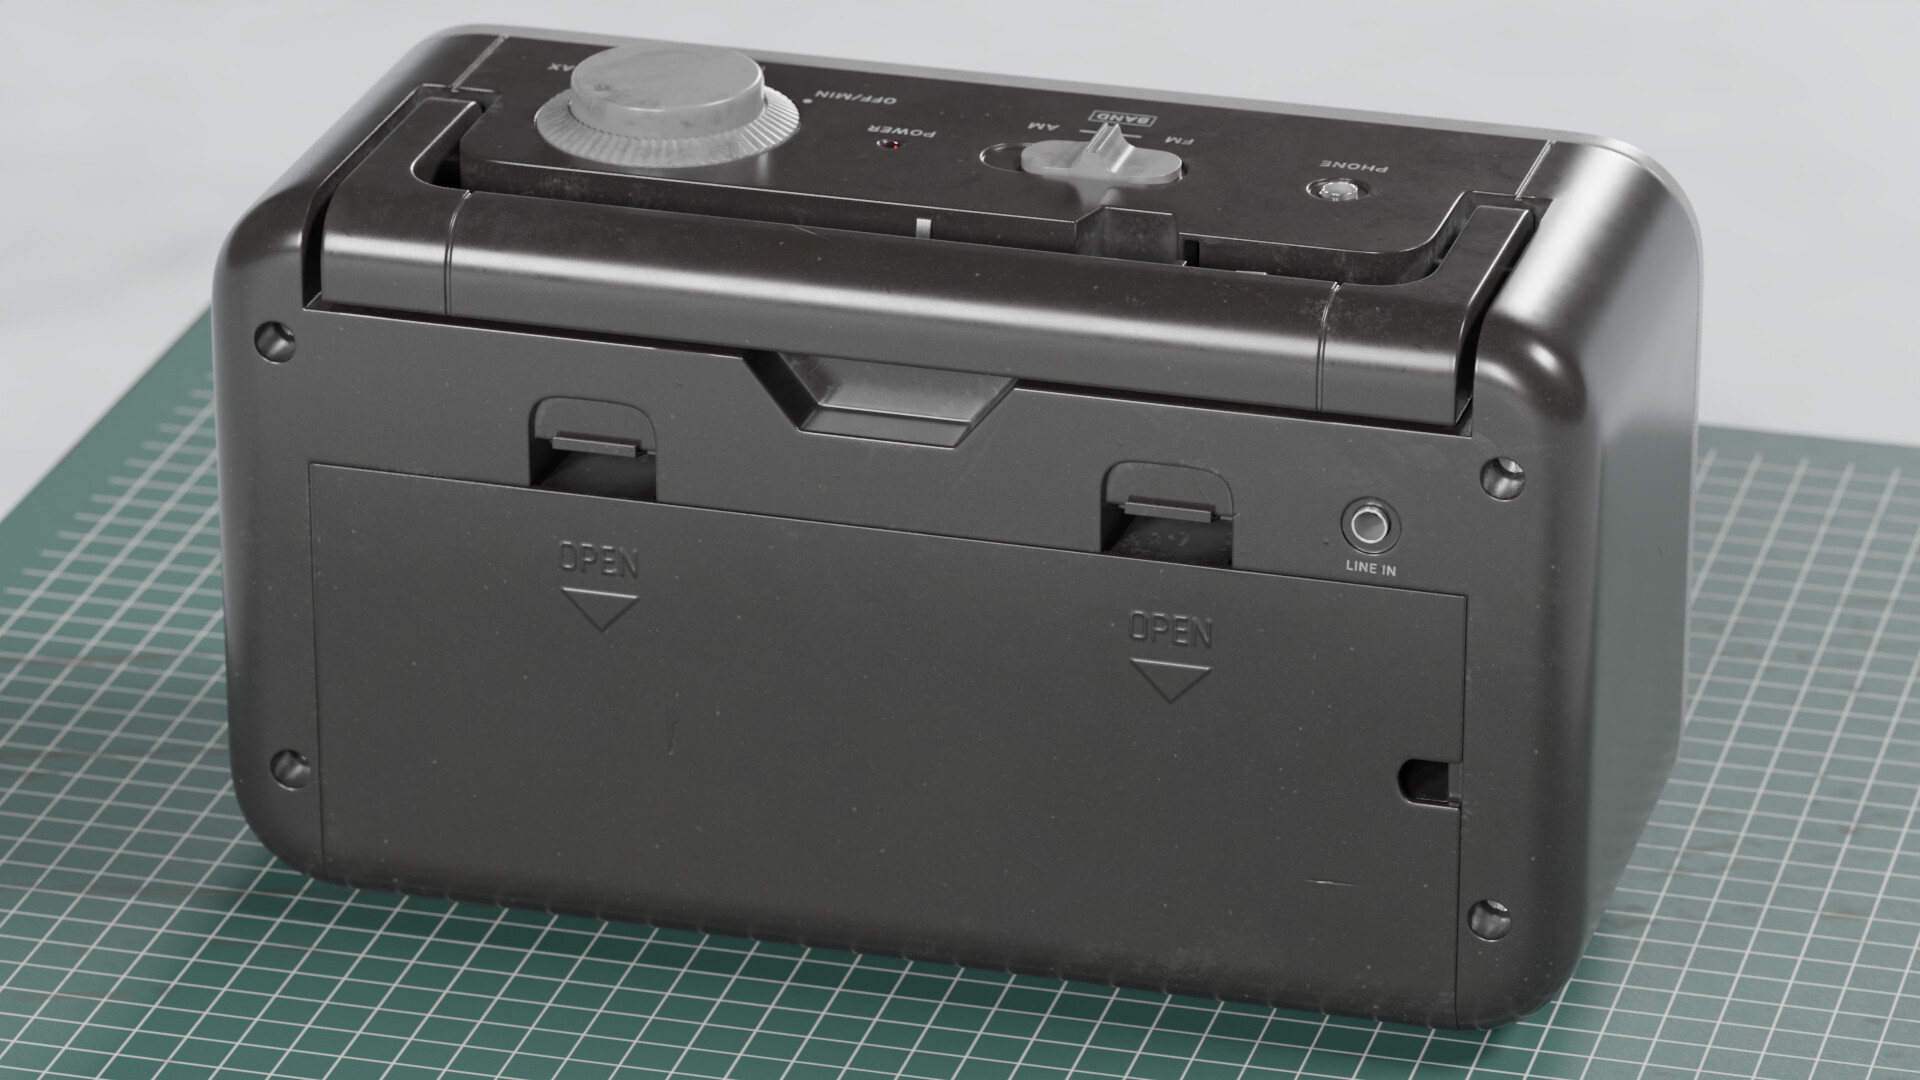
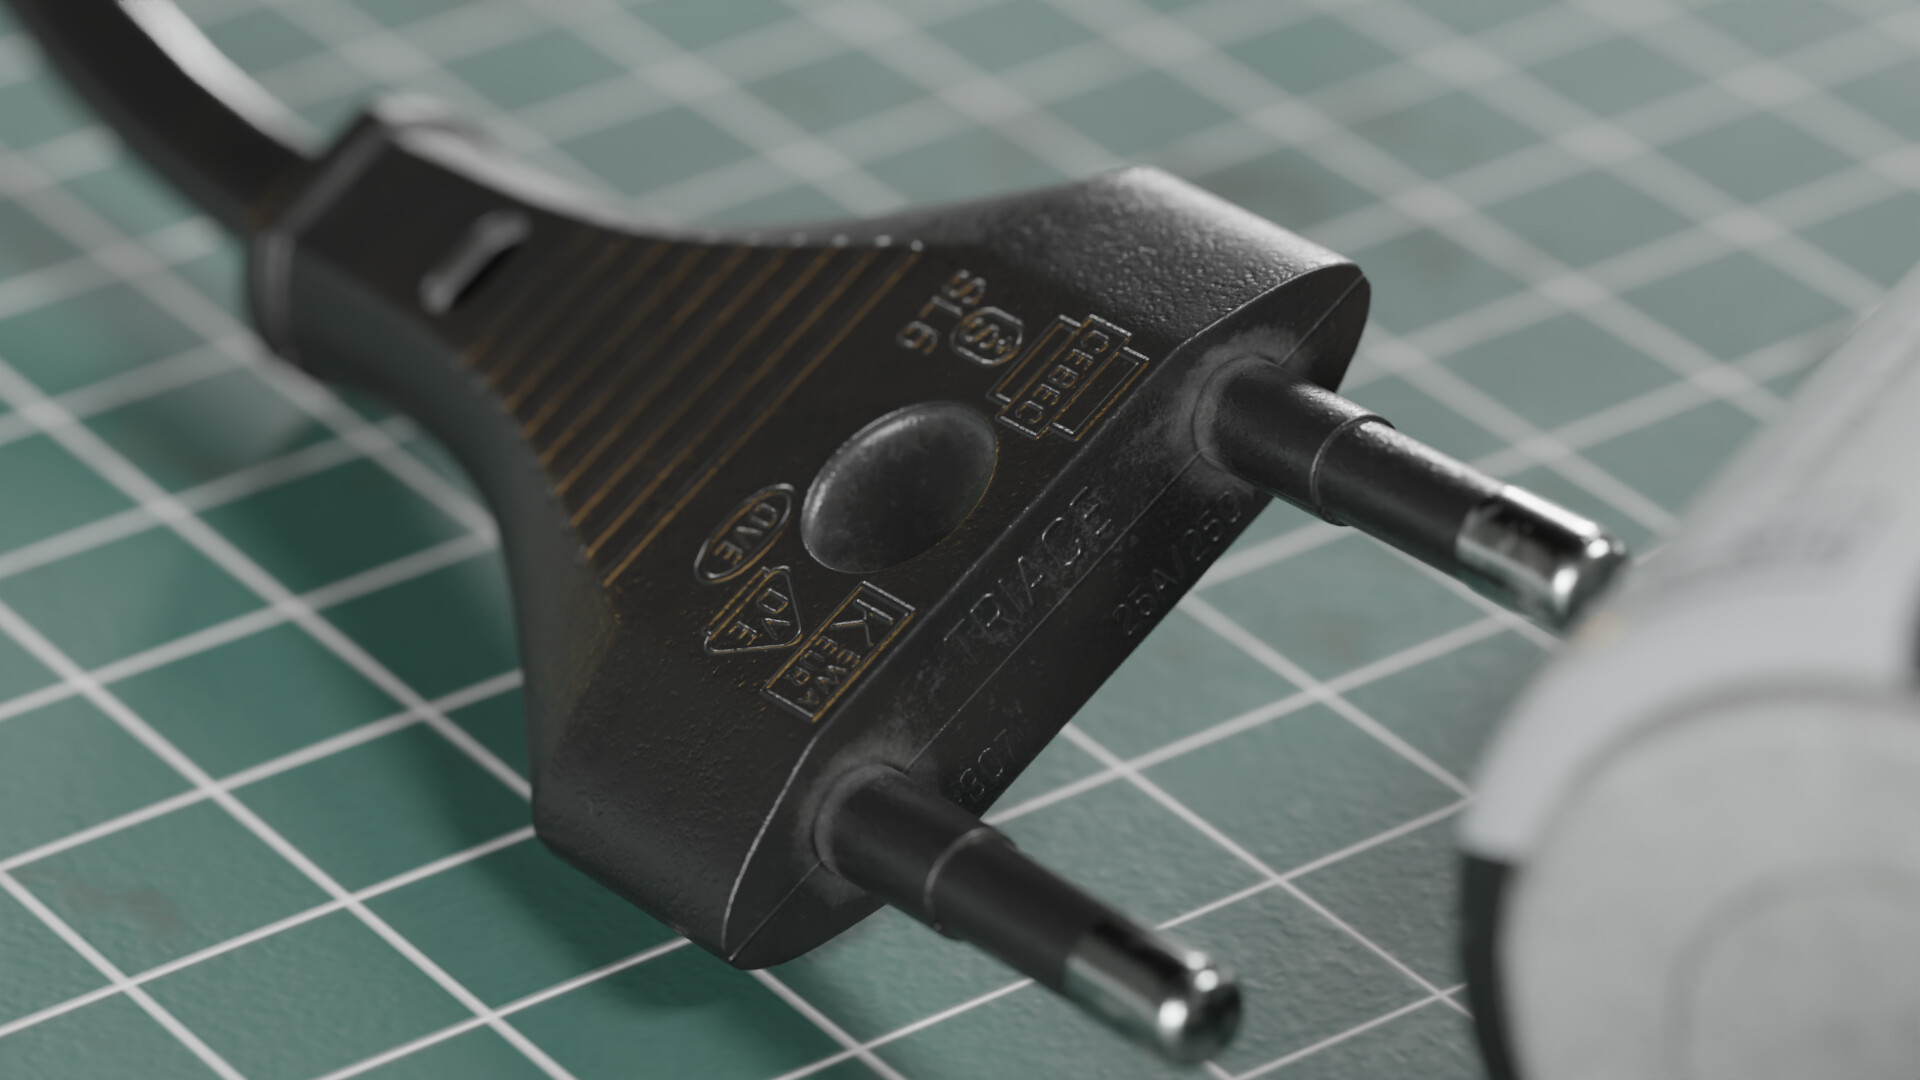
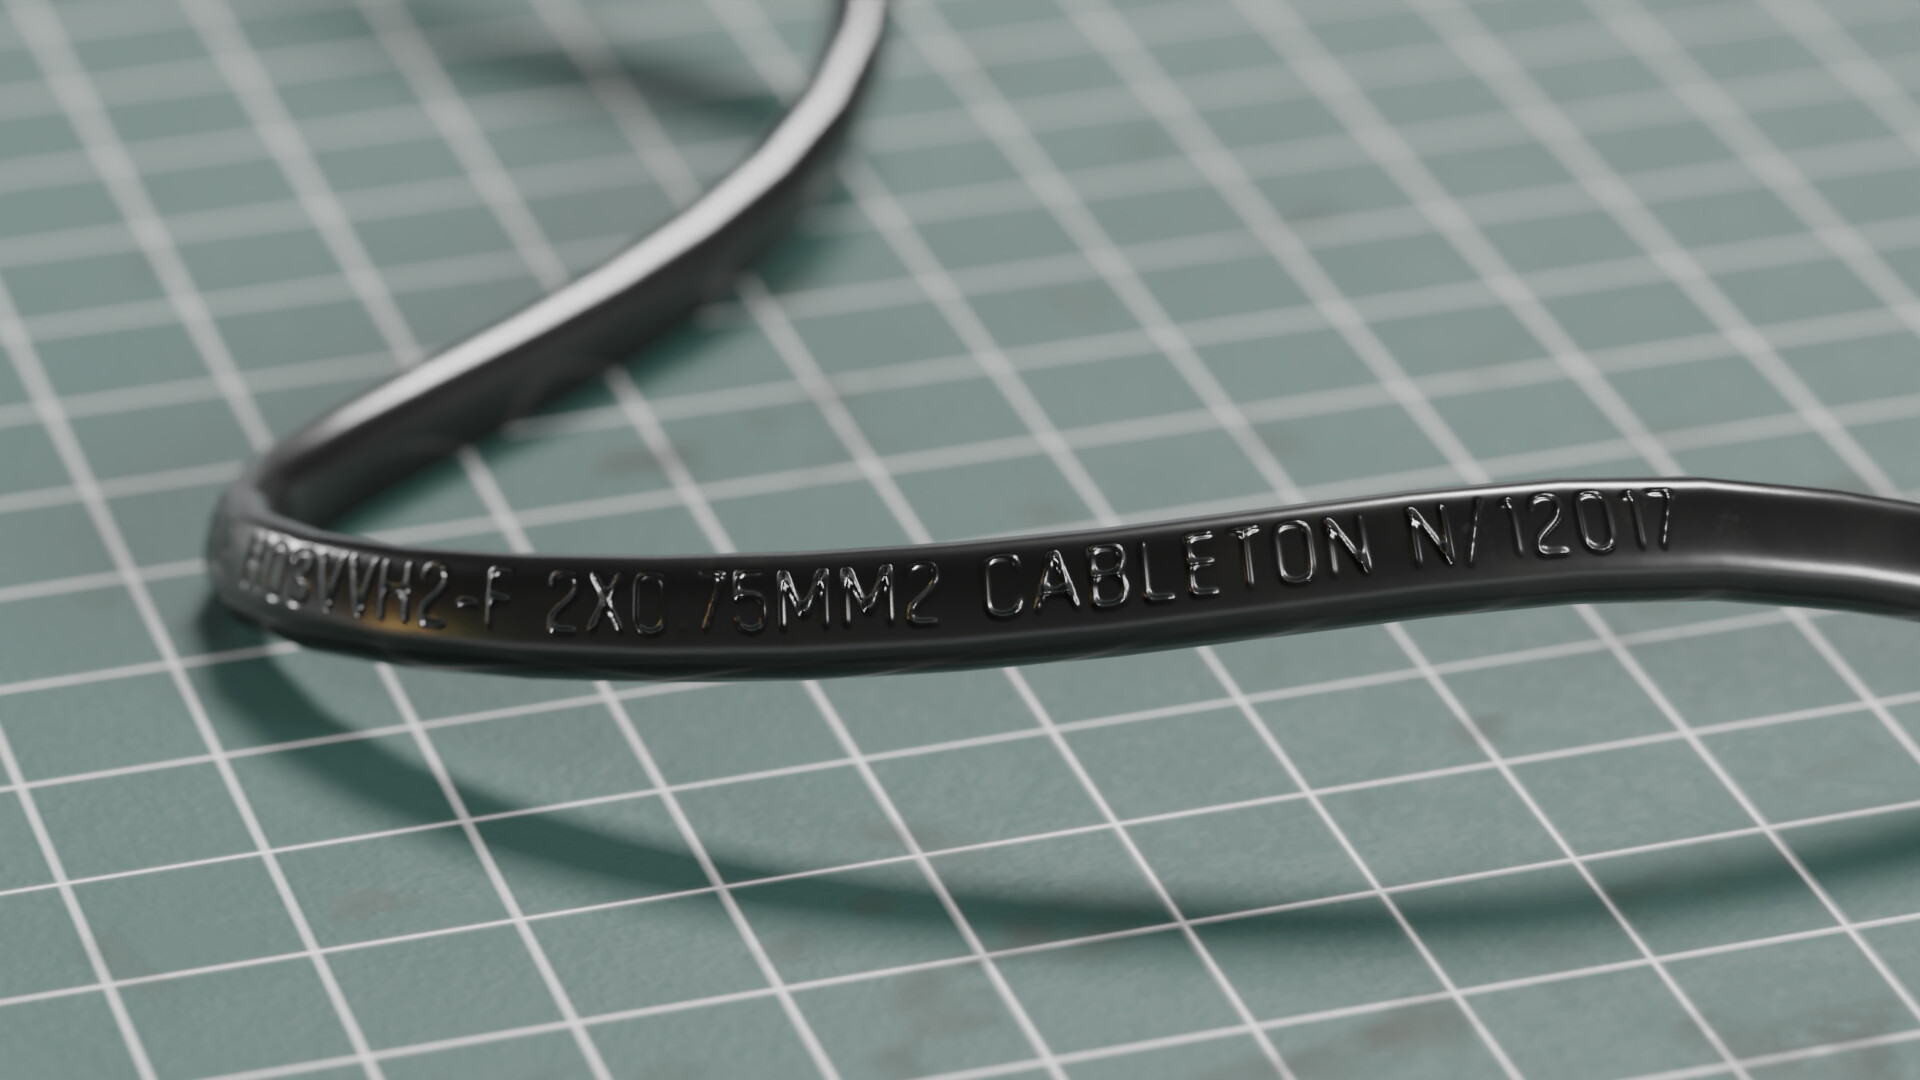
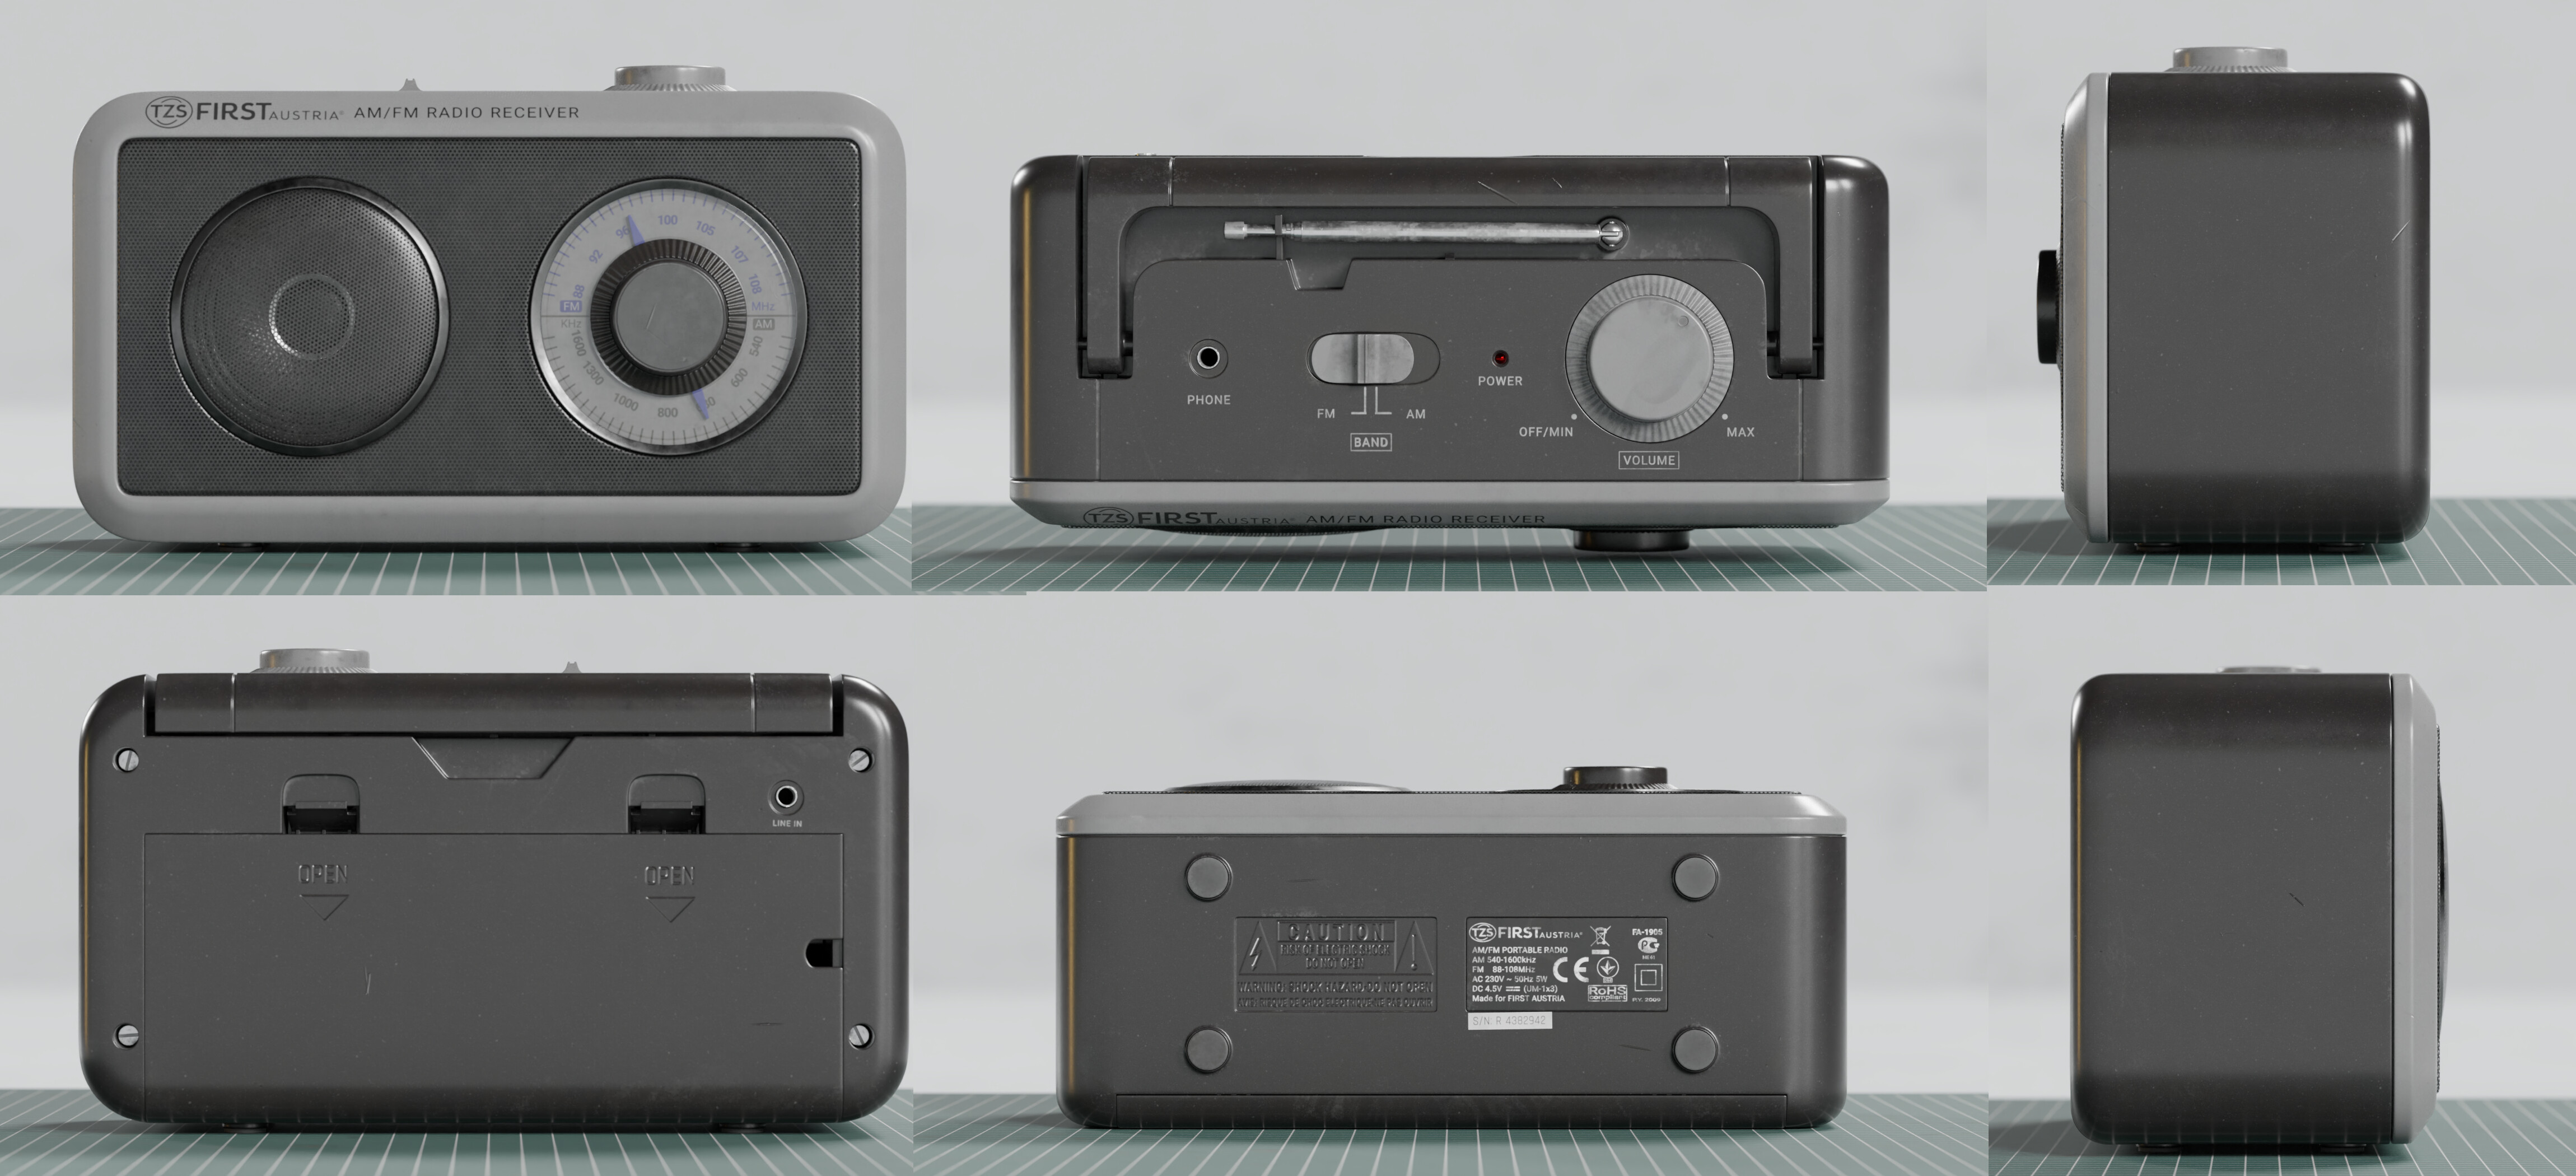
This is a model of a radio I’ve recently got my hands on. It was based on a product by TZS First Austria. My main goal for this project was to practice my modeling and texturing skills. The radio, the cable and the battery were created by me for this portfolio piece. Other objects visible in the thumbnail and scene renders are downloaded from various sources.
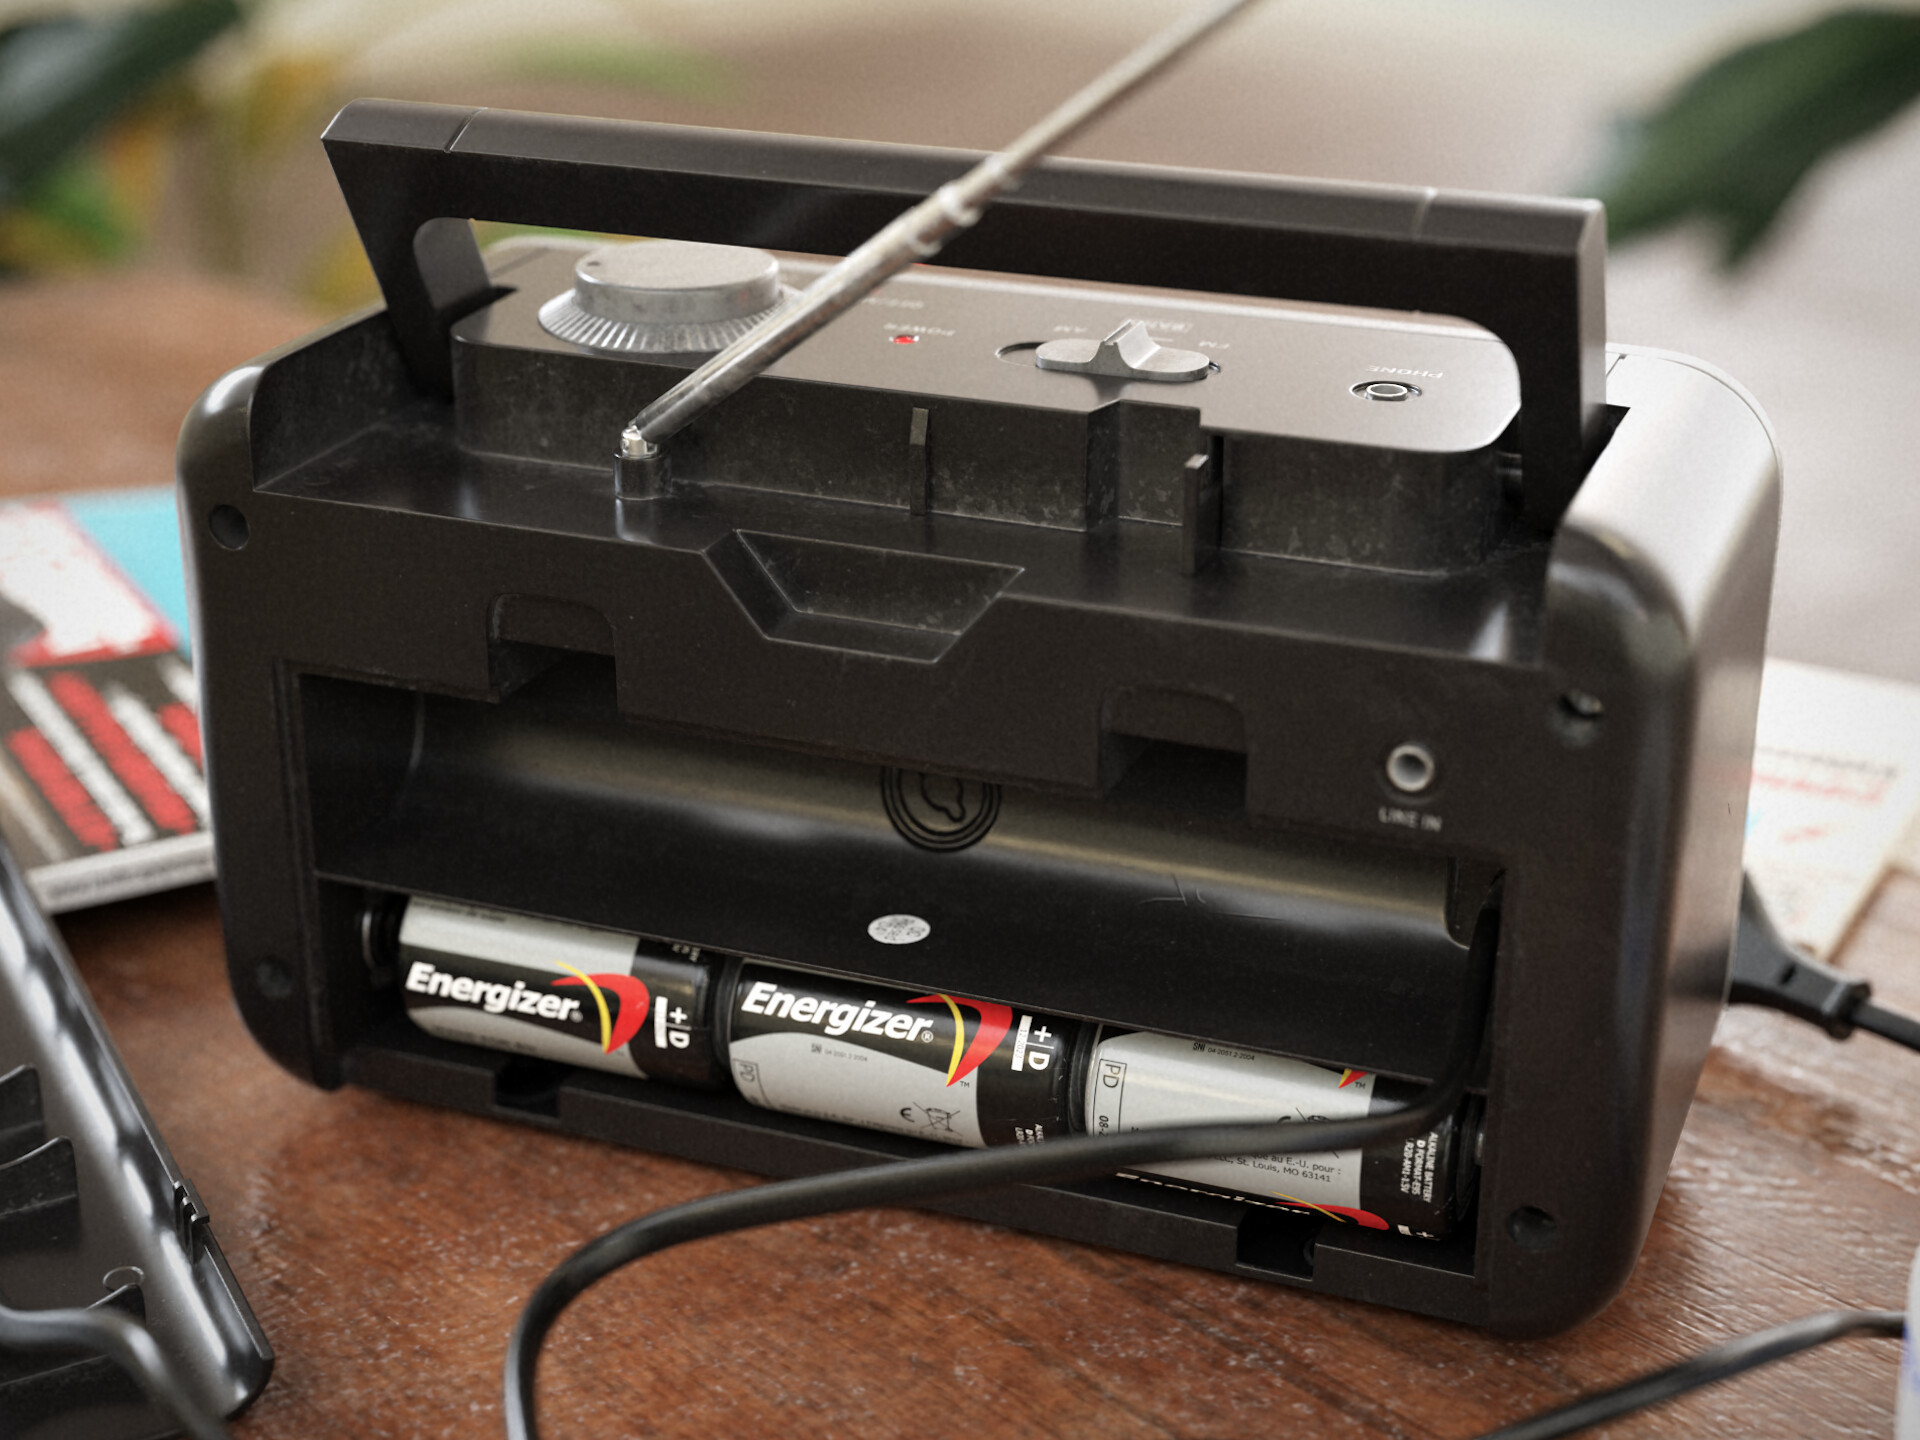
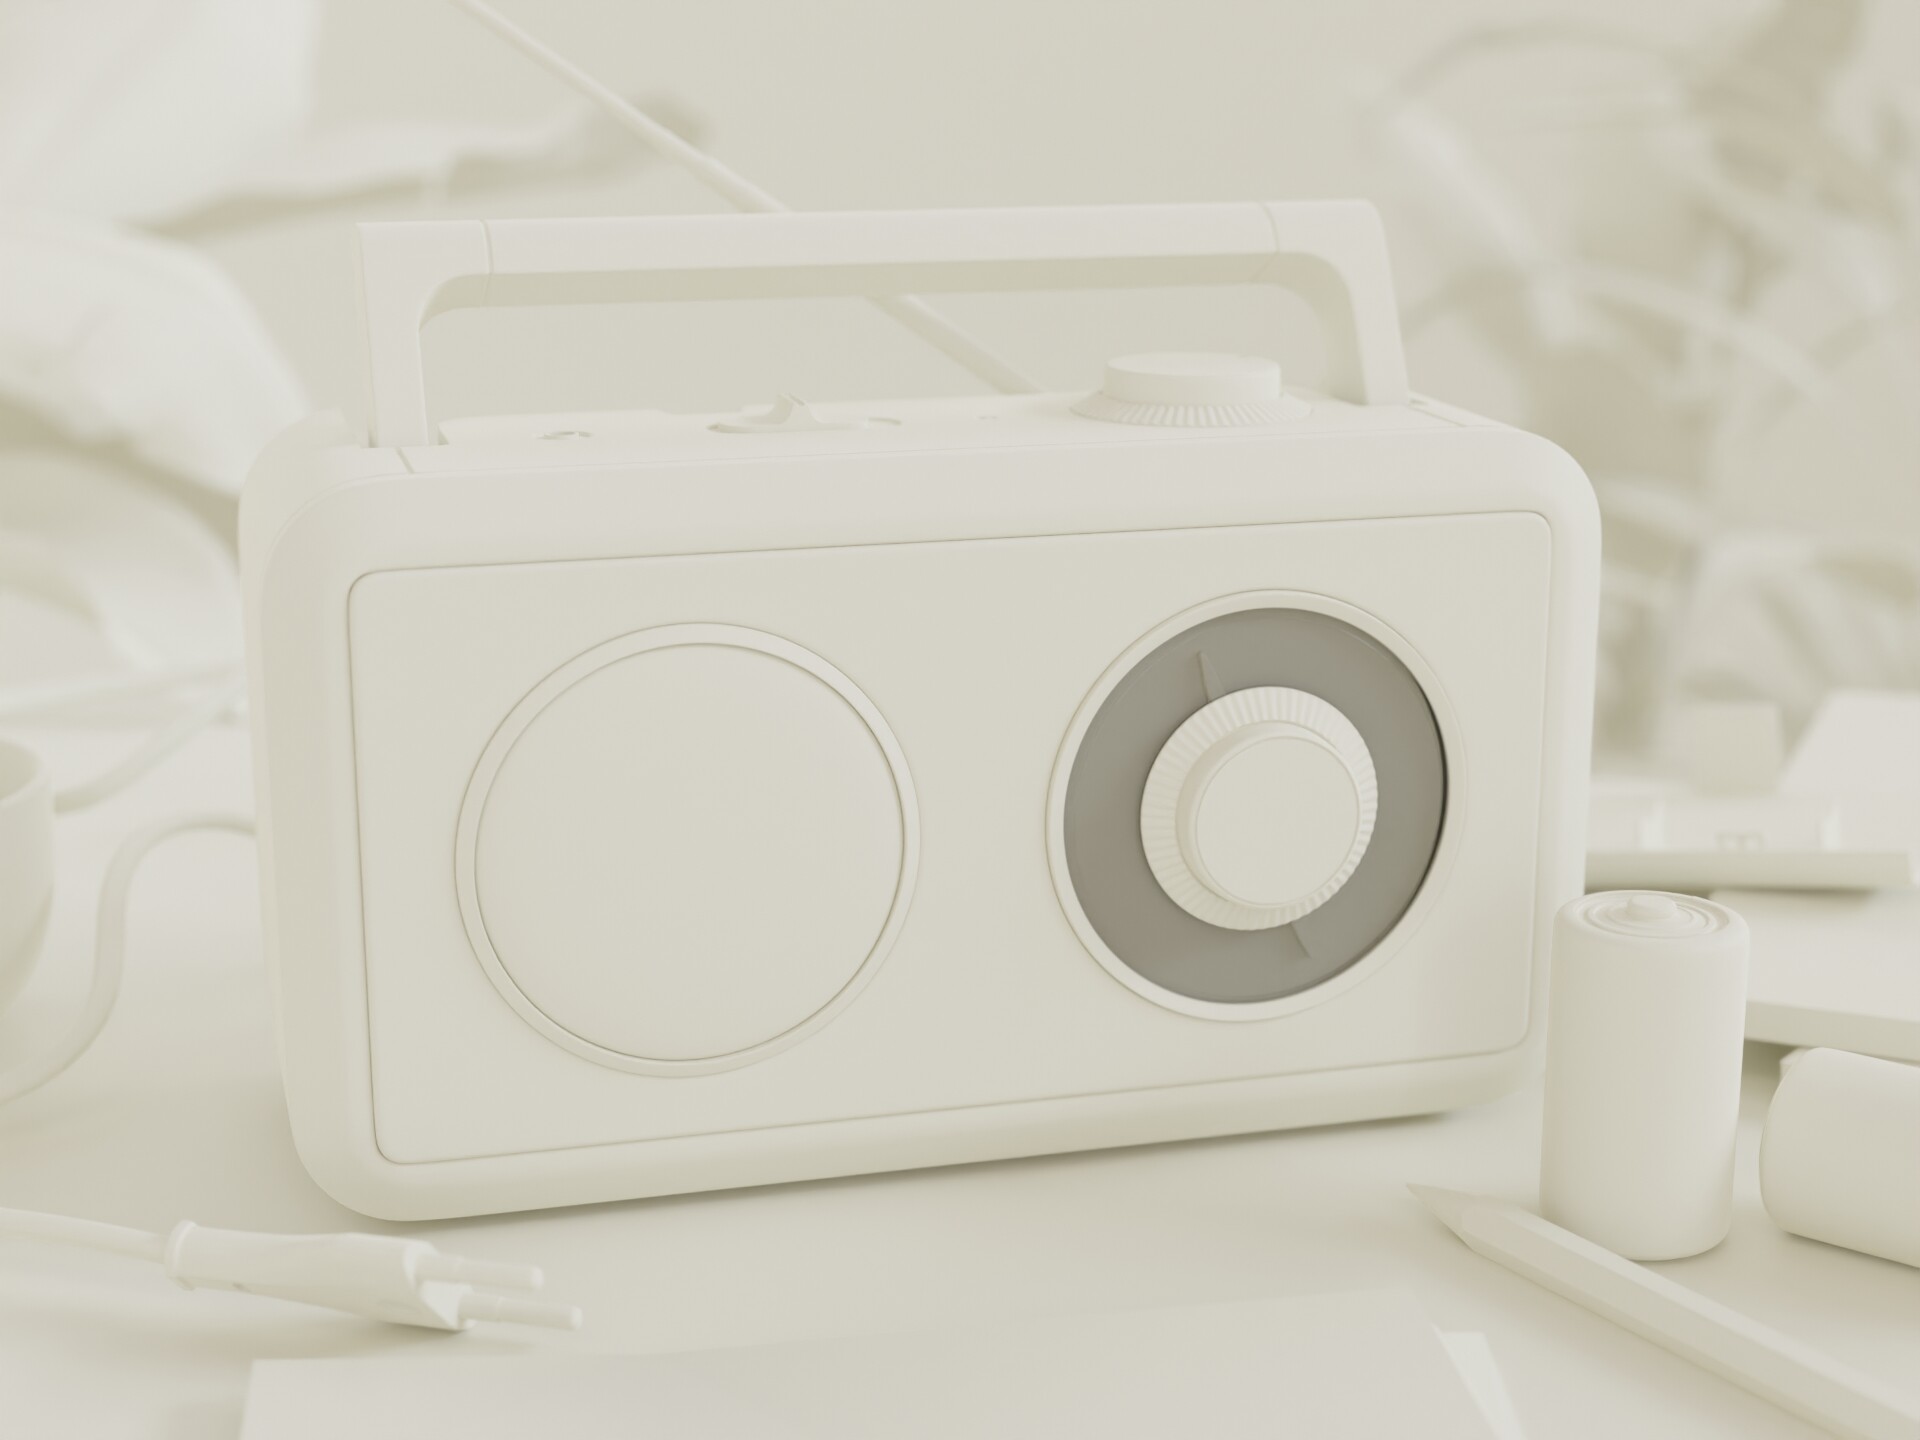

Assets used for the scene:
Wooden chest (used as a table) - PolyHaven
Pencil - PolyHaven
Magazines - PolyHaven
Plants - BlenderKit (by fergini, rexhanscreations)
Cup of coffee - BlenderKit (by Soheil Mahmoudi)
Newspapers - Sketchfab (by karlwirbelwind [CC0] Newspaper Stack - Ready to Unity HDRP - Download Free 3D model by karlwirbelwind [c4311a0] - Sketchfab)
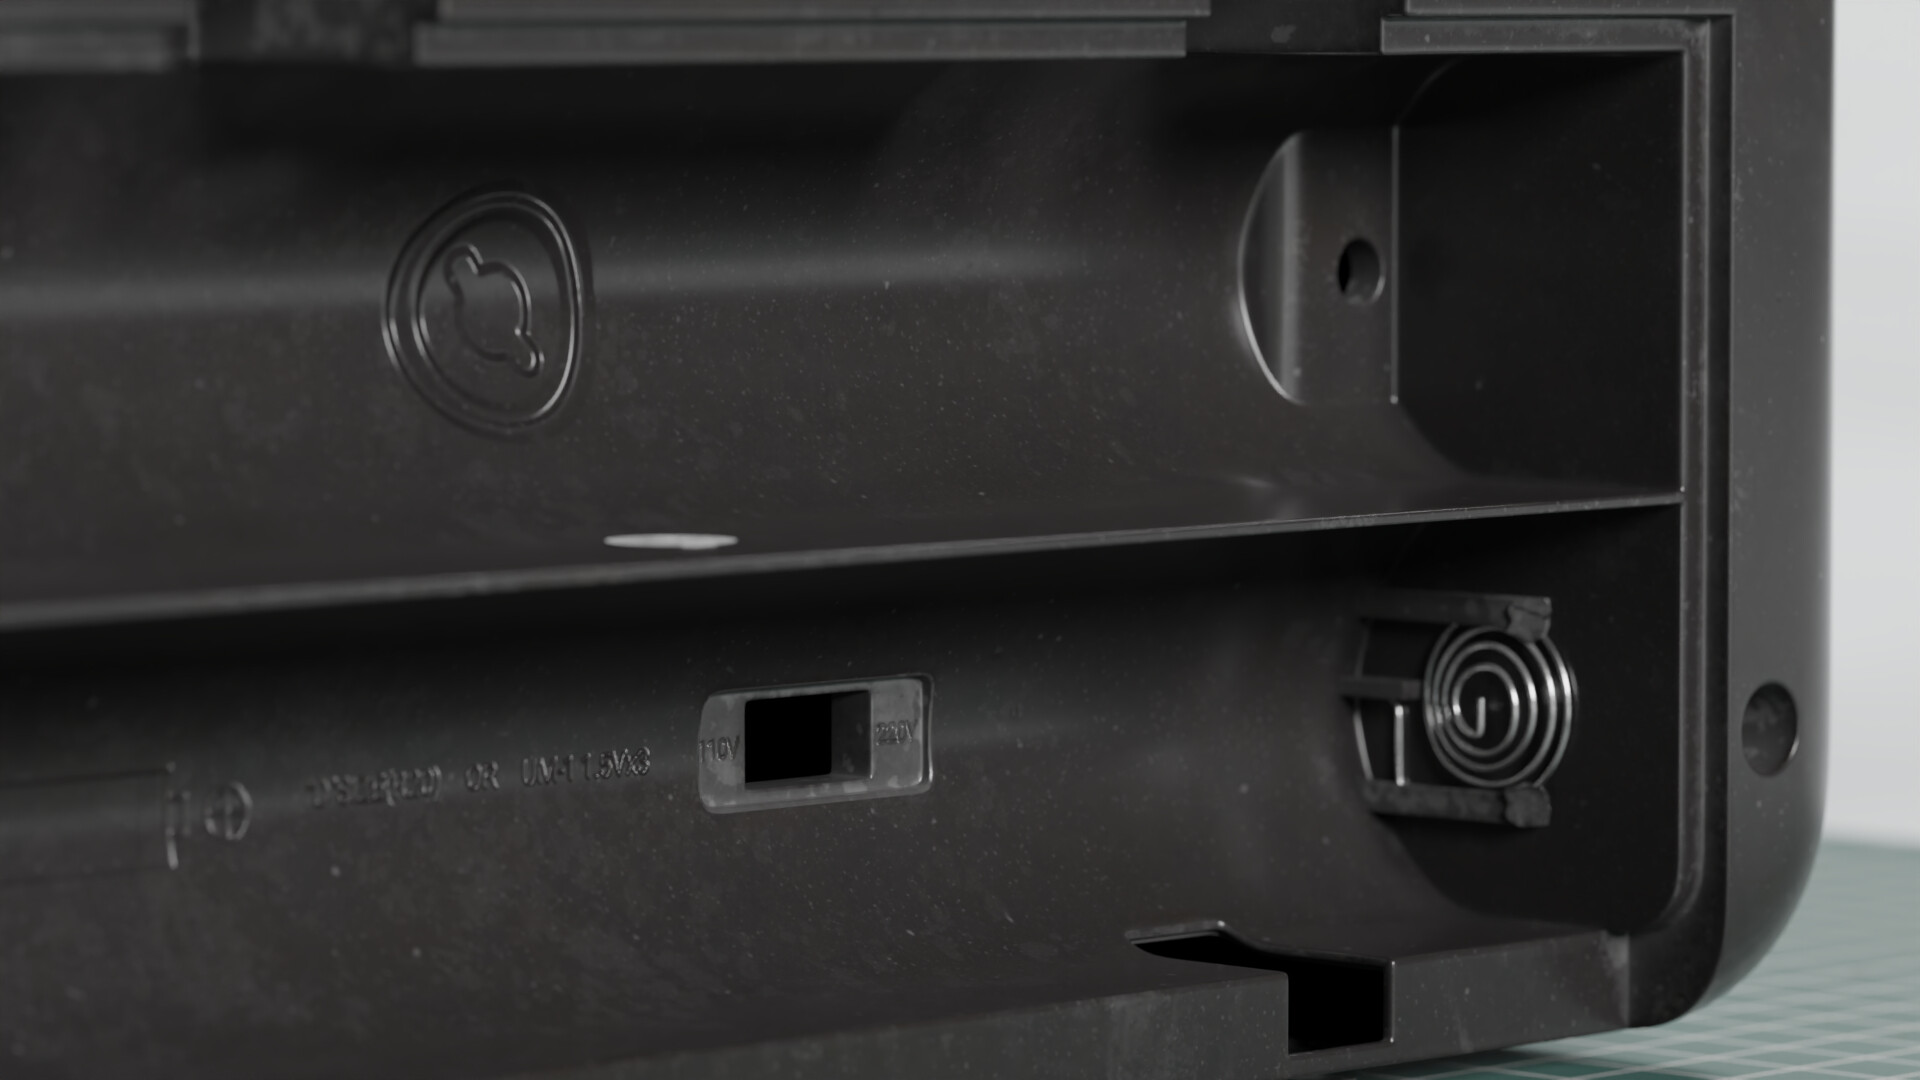
The radio was modeled with the intention of having mostly quad topology for sub-d. I started with quick modeling using booleans and then I manually retopologized it. It was really good opportunity to practice solving n-gons. There are some triangles but I’ve made sure they appear on flat surface. With little more conscious planning I could probably avoid all of them. The model is uv unwrapped for a single 4k texture set, with the average texel density of 64.7 px/cm.
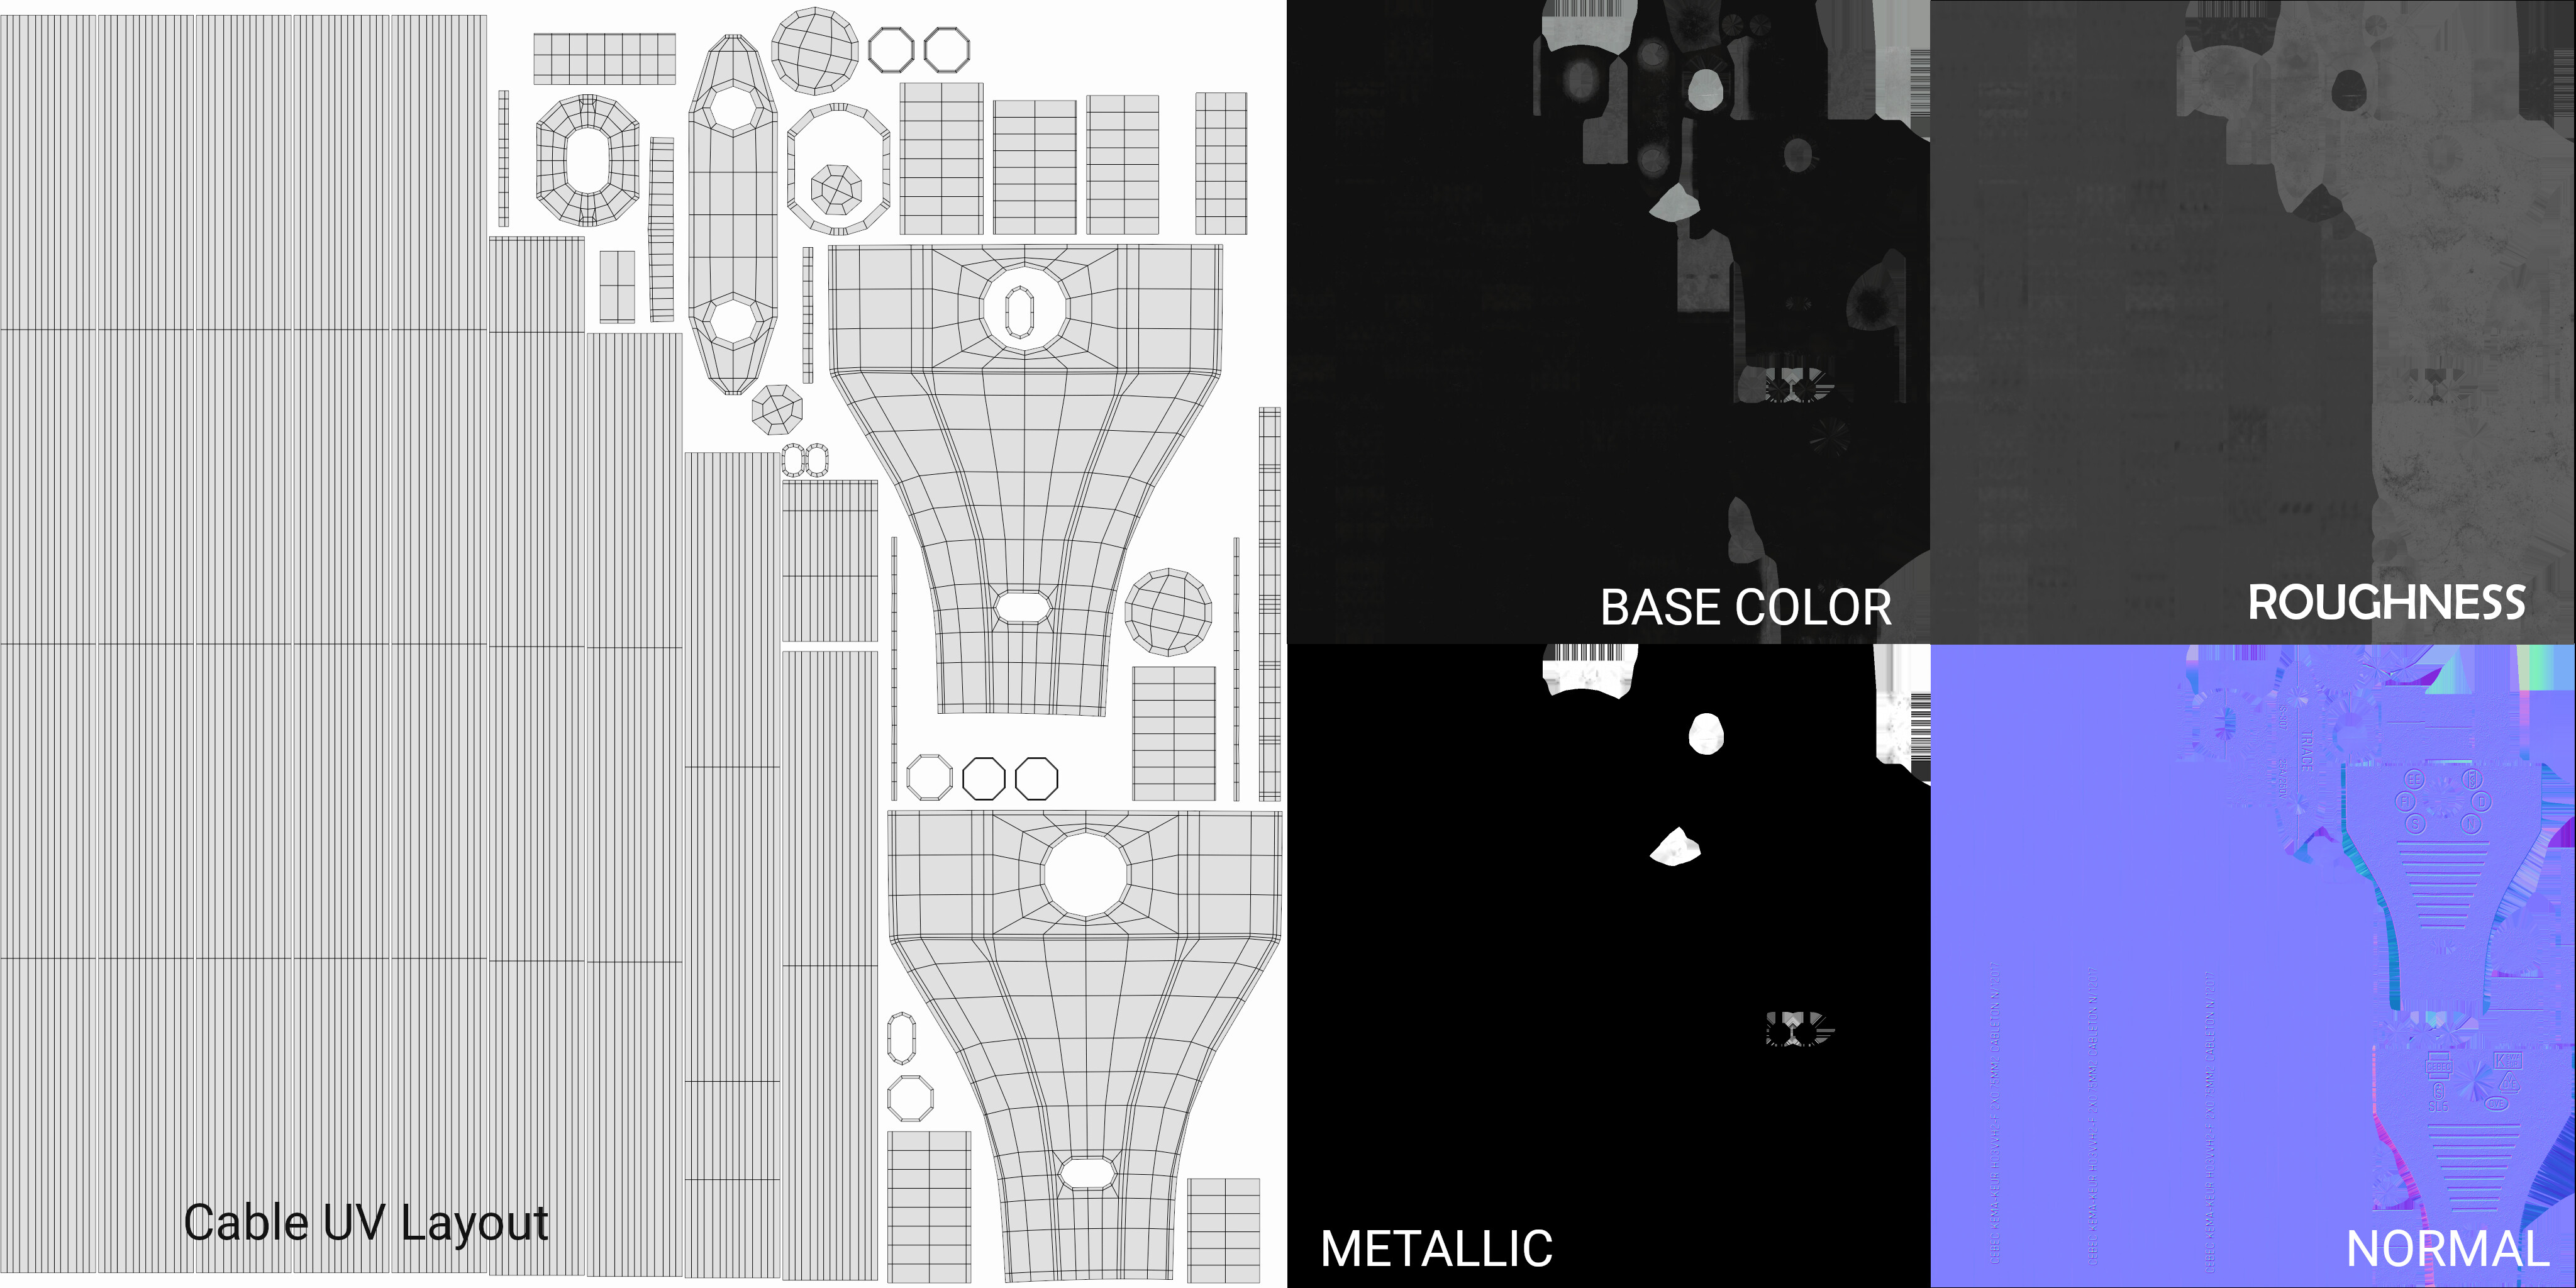
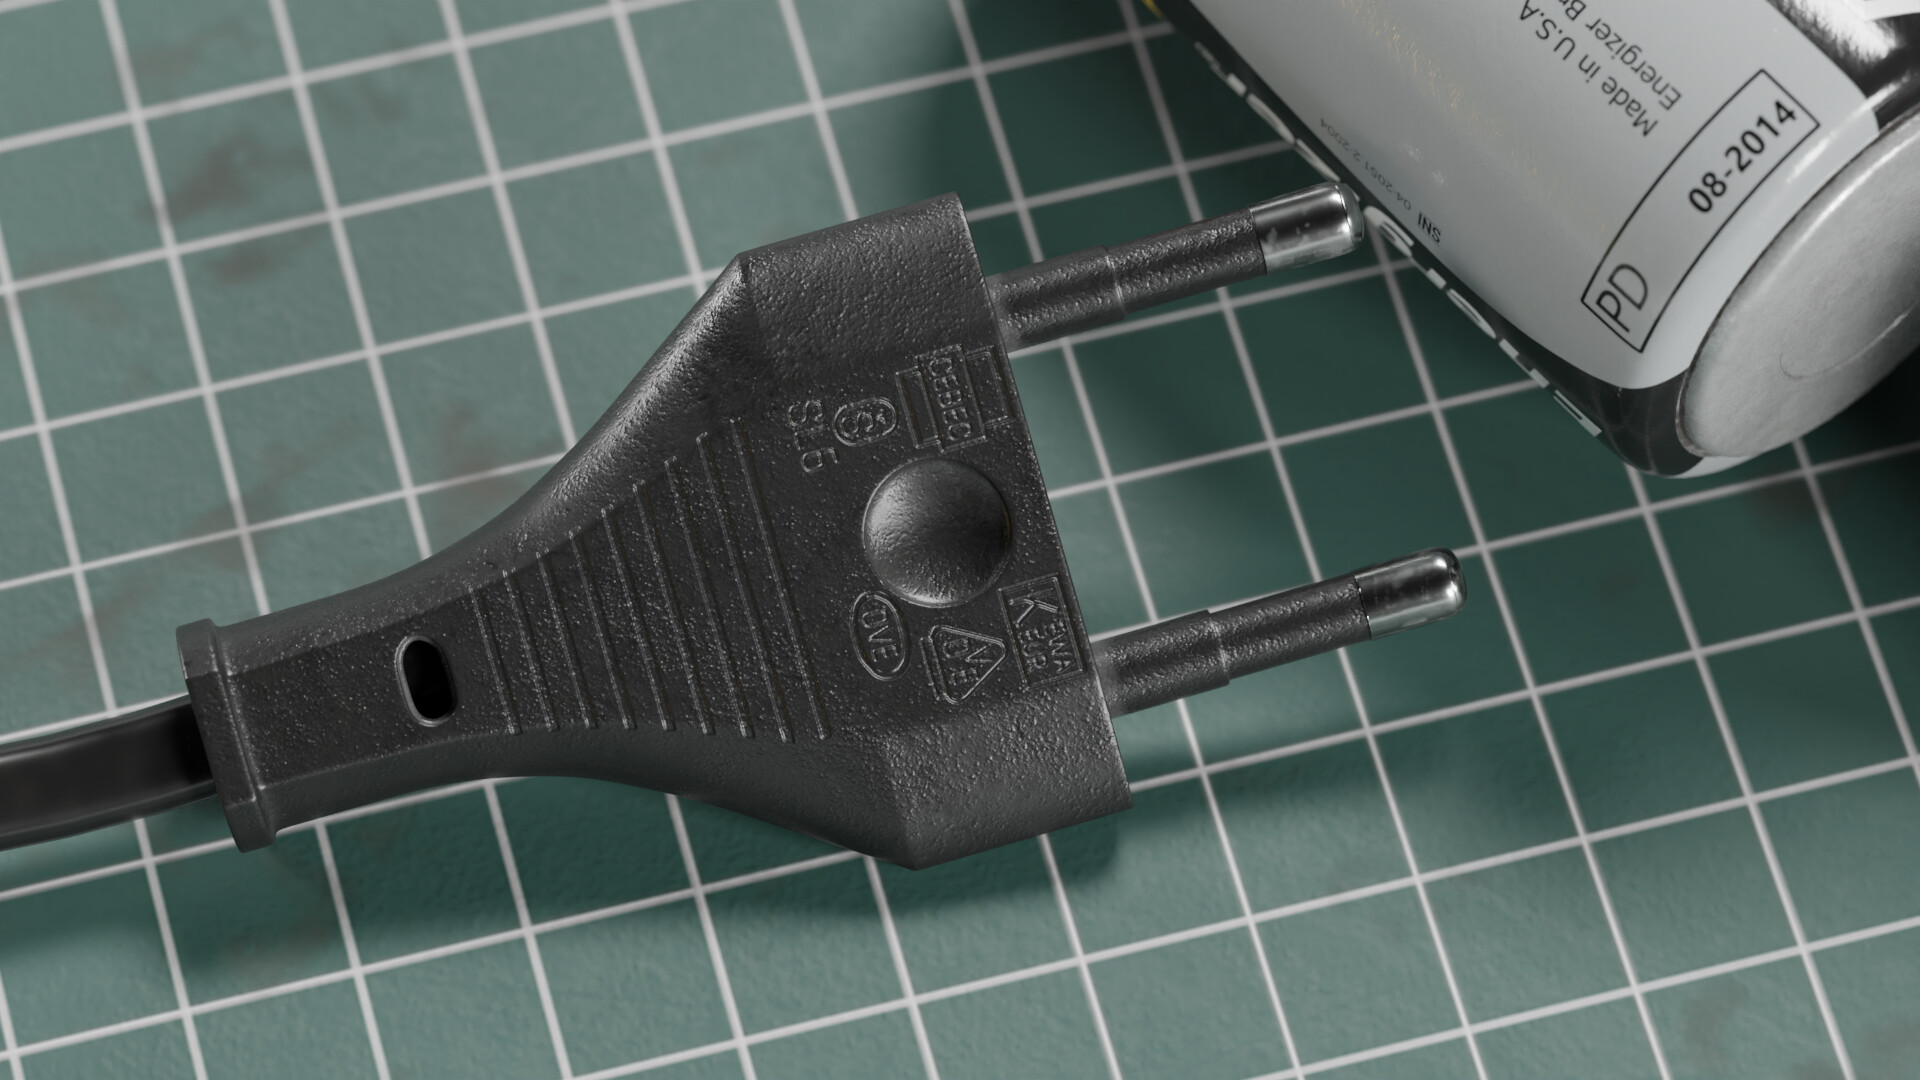
I’ve decided to also model the cable and keep it as a seperate object with individual material because it’s not essential for the radio to work. It uses 2k texture set with the texel density of 114 px/cm.
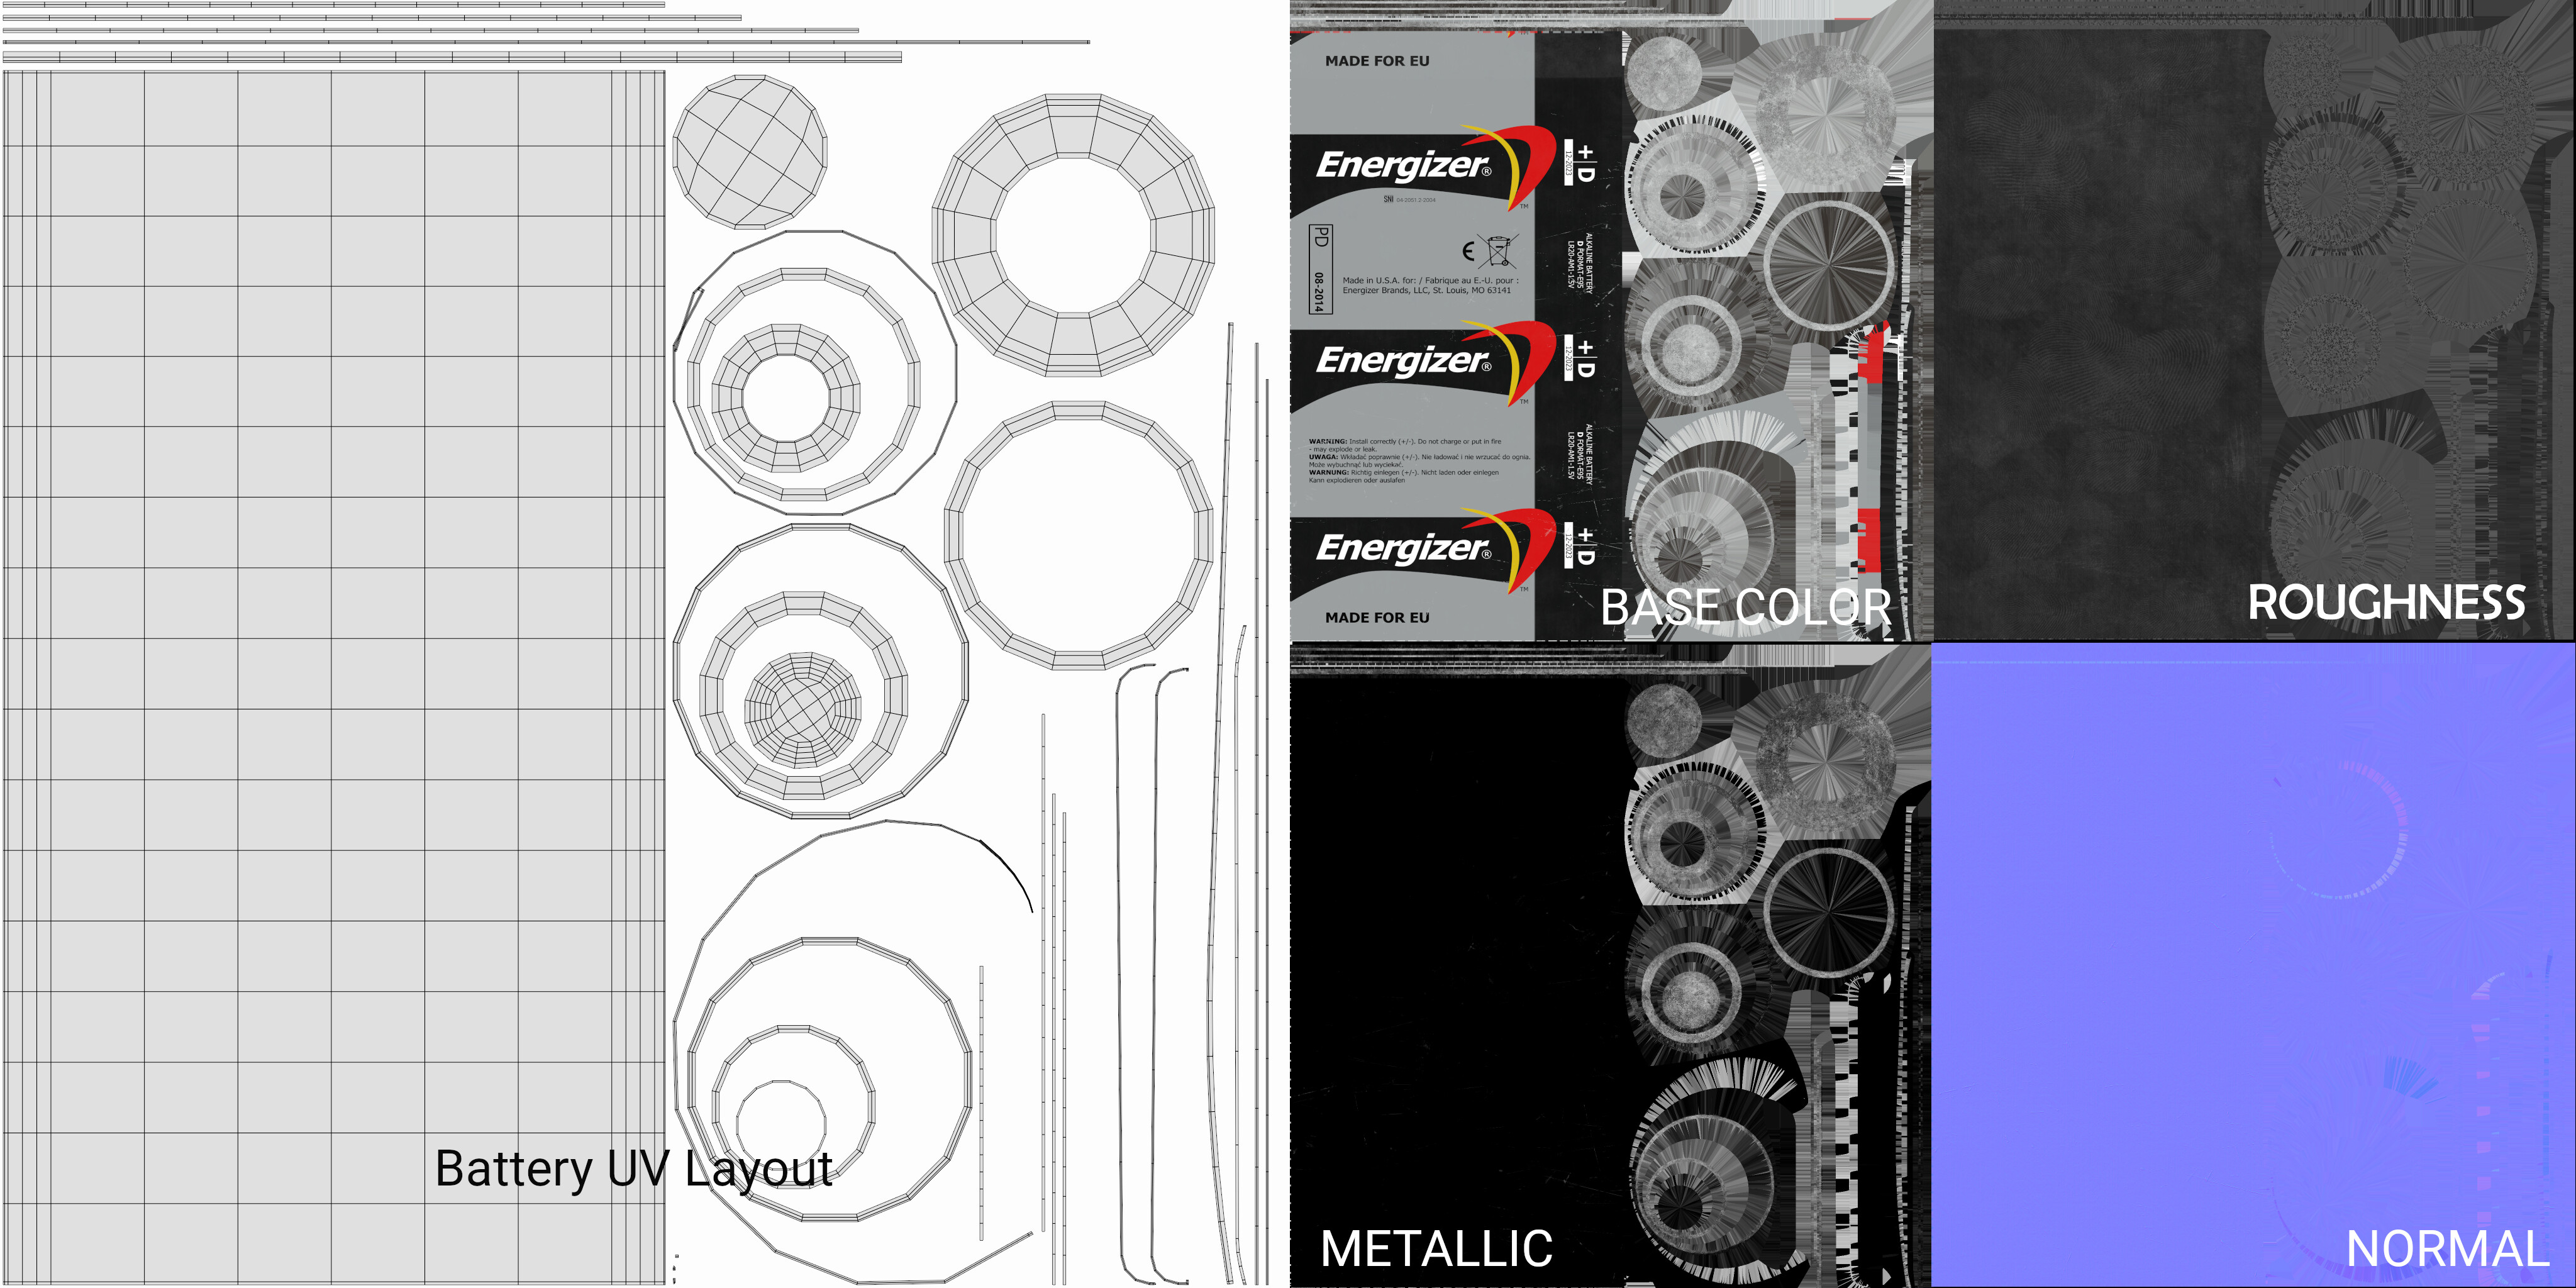
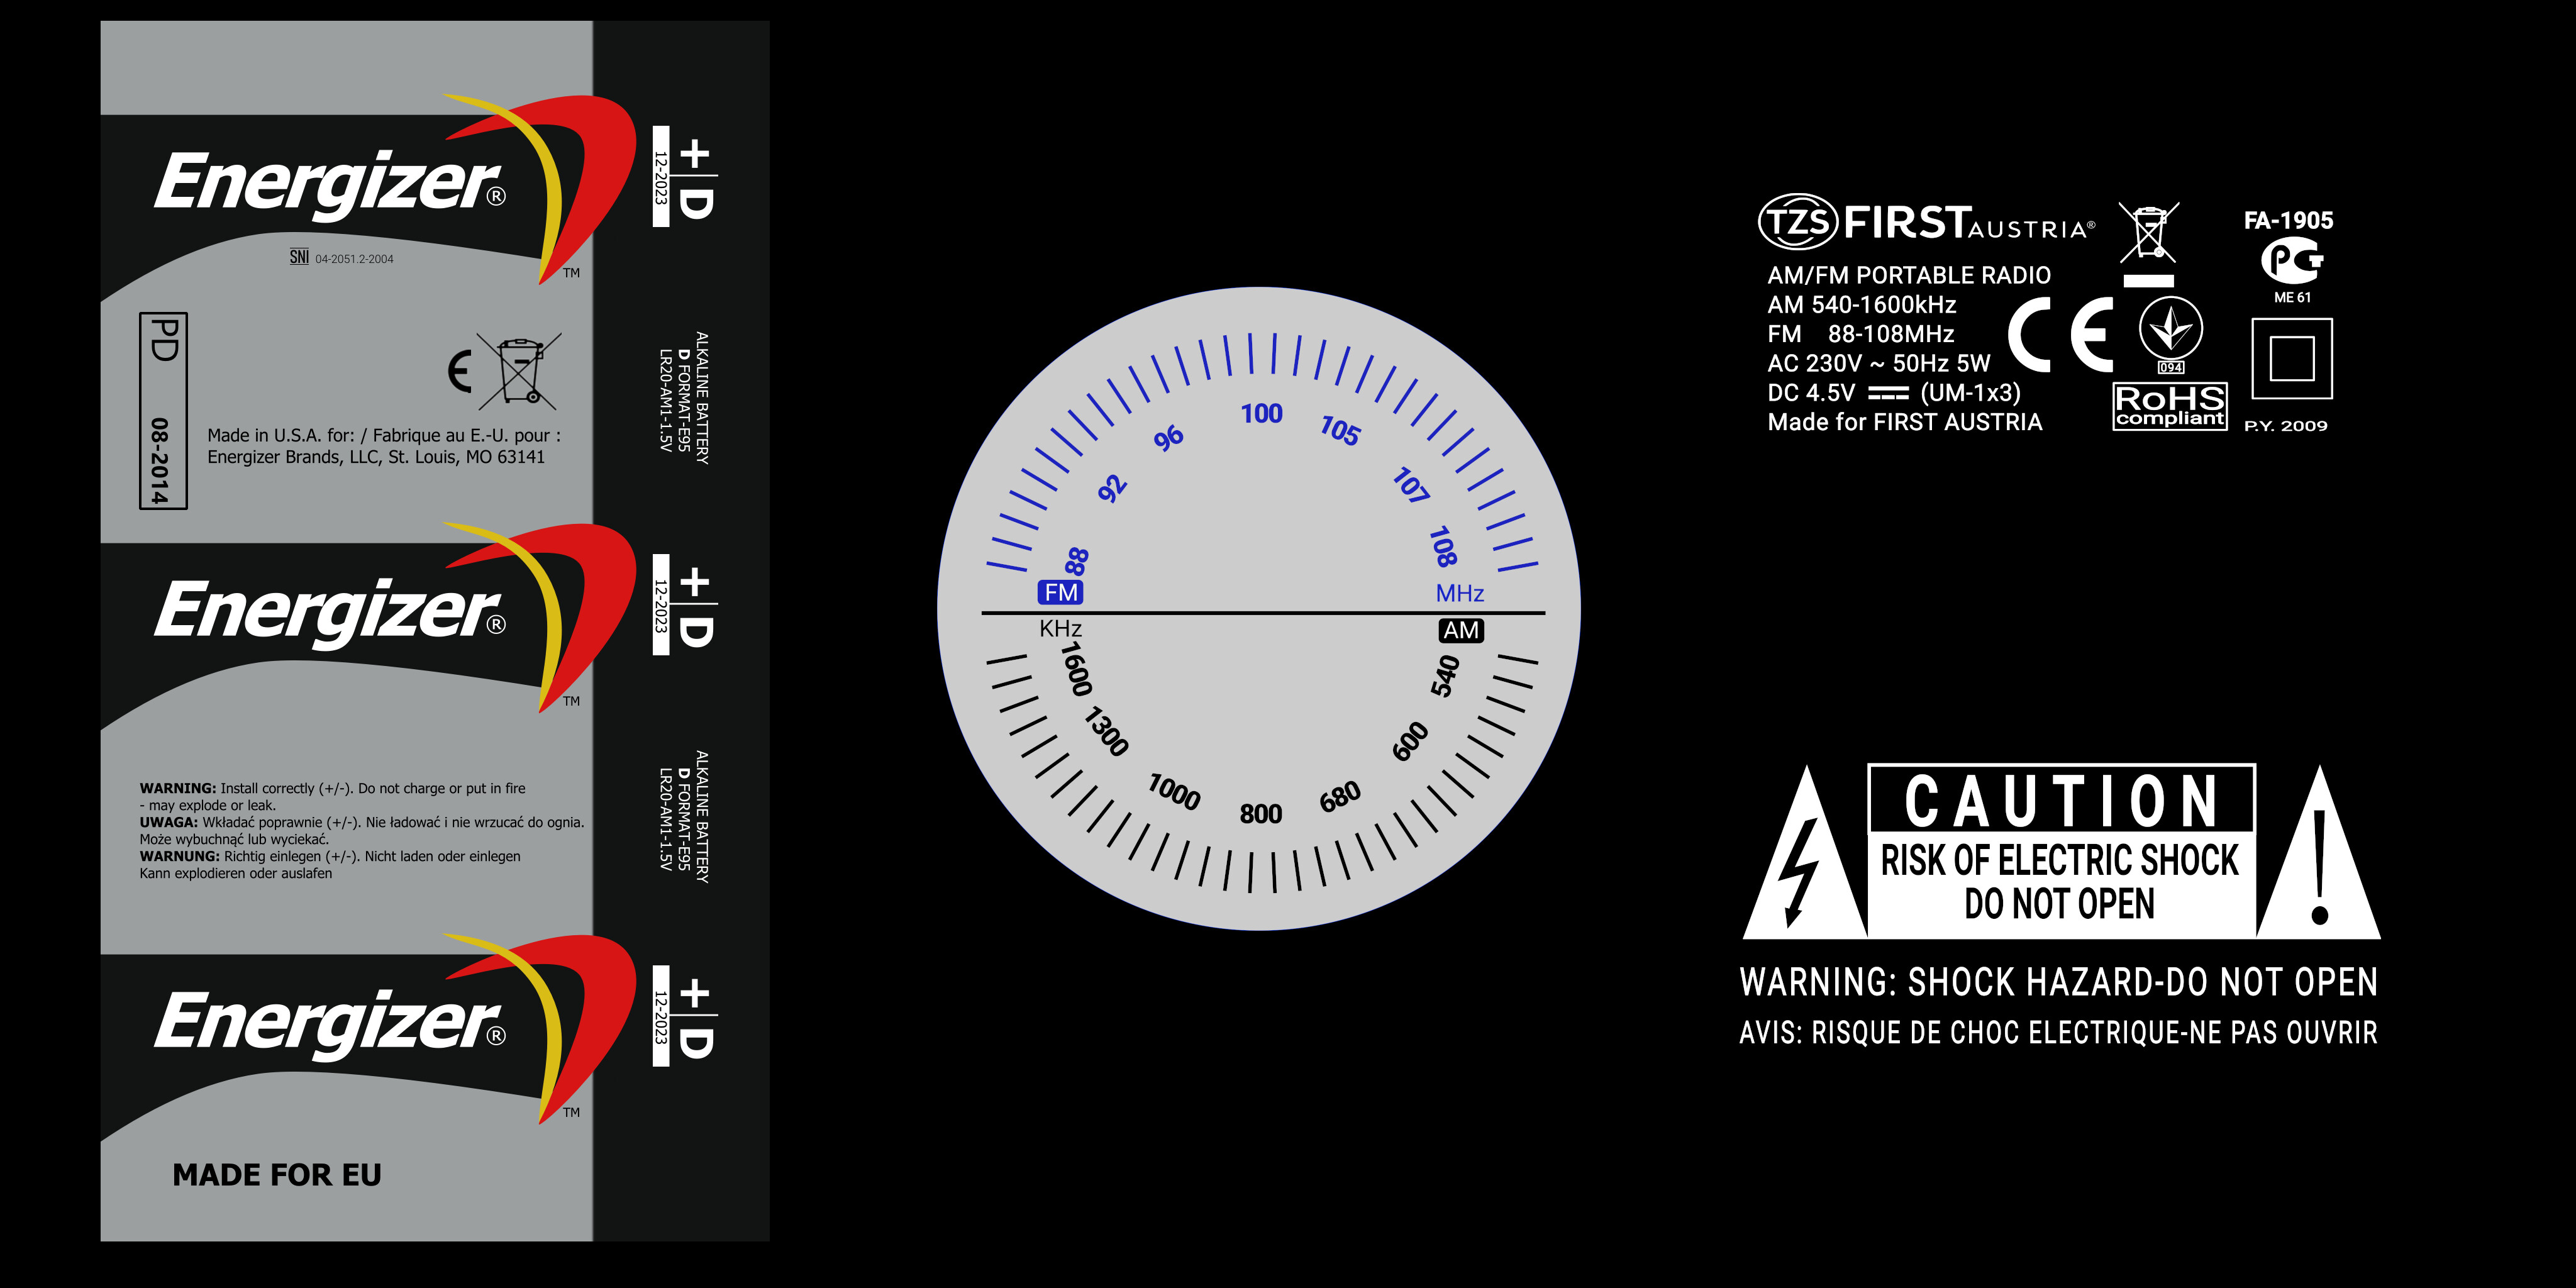
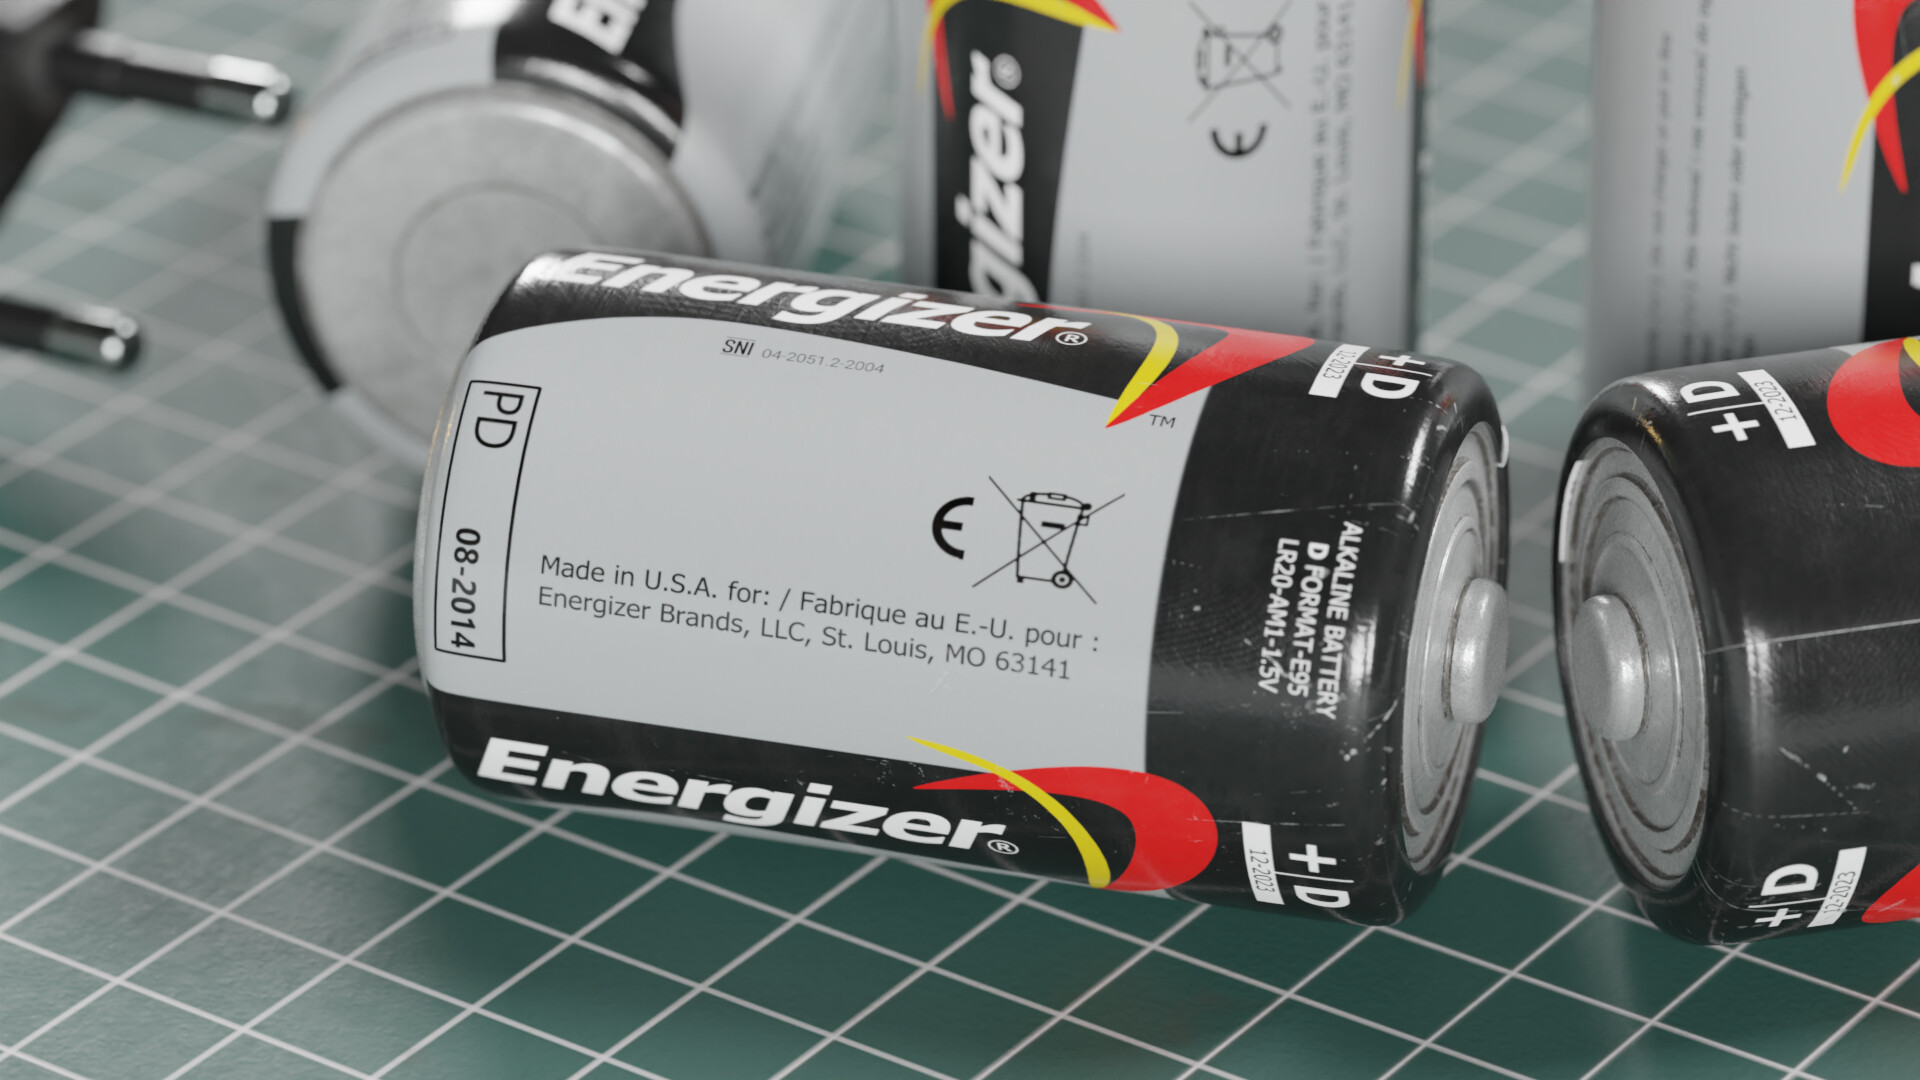
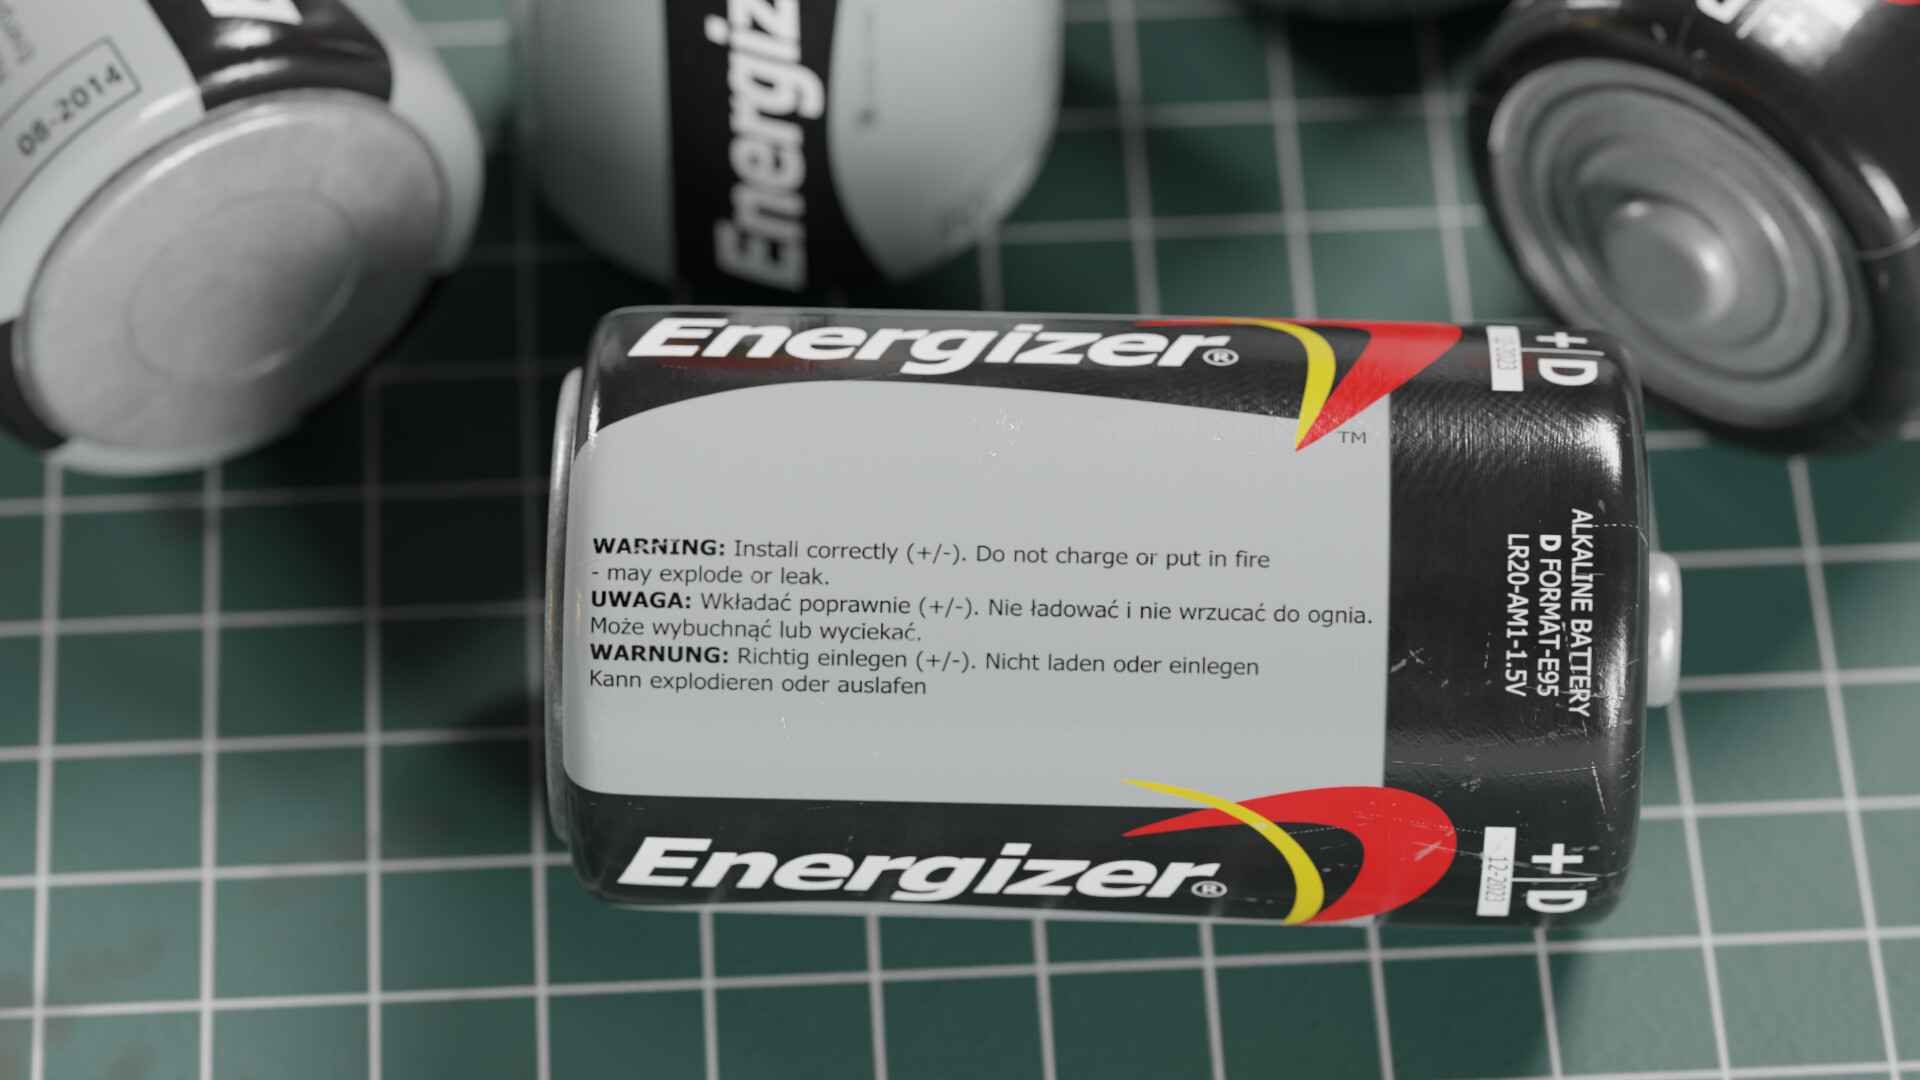
On top of that I’ve made a R20 battery that powers up the radio. It was mainly based on Energizer batteries, however finding references from all sides proved difficult so to create the label I’ve resorted to bits and scraps I could find on the Internet and used AA version of the battery for some parts of the label. Battery uses 2k texture with a 172.8 px/cm texel density.
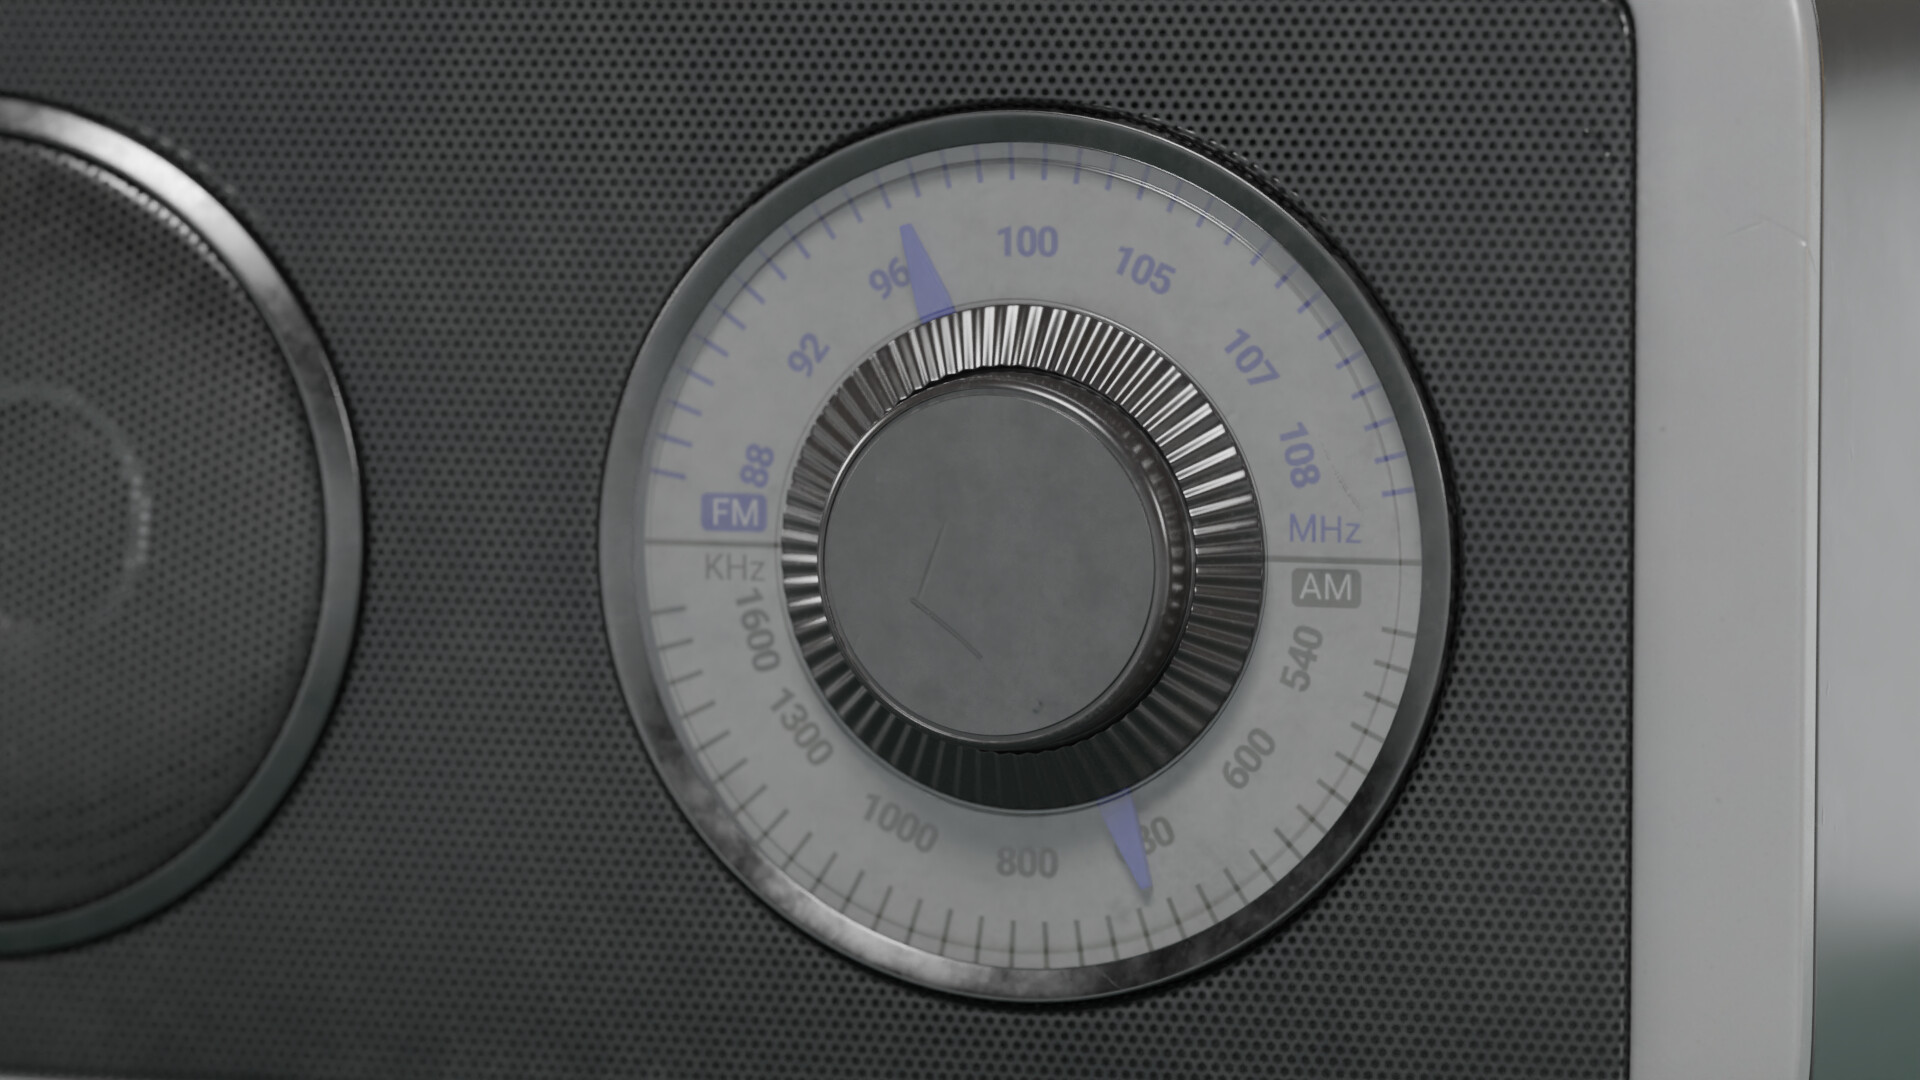
This project was great opportunity to also practice my 2D skills which I used to create mentioned battery label, aswell as product label and frequency shield for the radio.
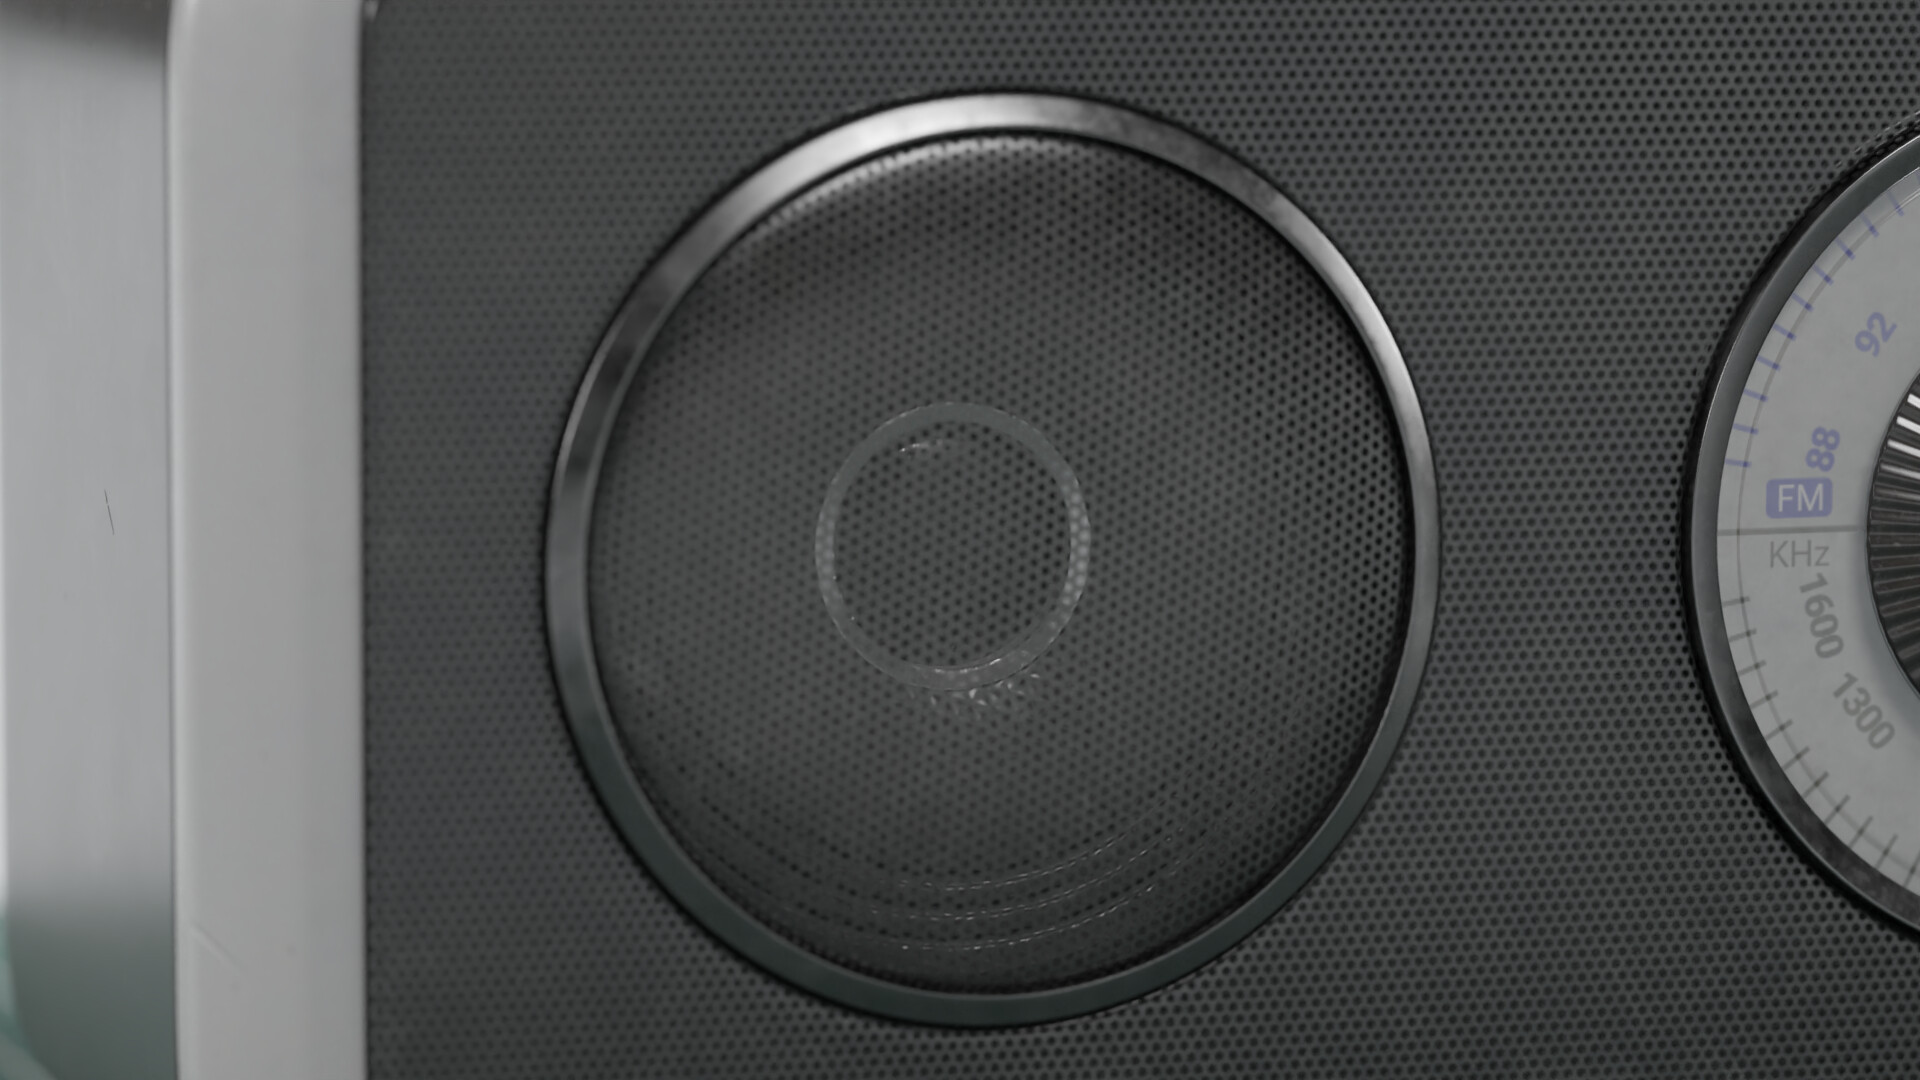
I’ve recently found a LookDev studio 3d model, created by Albin Merle(https://www.artstation.com/artwork/zDAQWZ) so I’ve decided to try it out for close-ups of my model. I was really pleased with the lighting it provided. All lookdev renders don’t have any postprocessing done, they are directly from Blender.
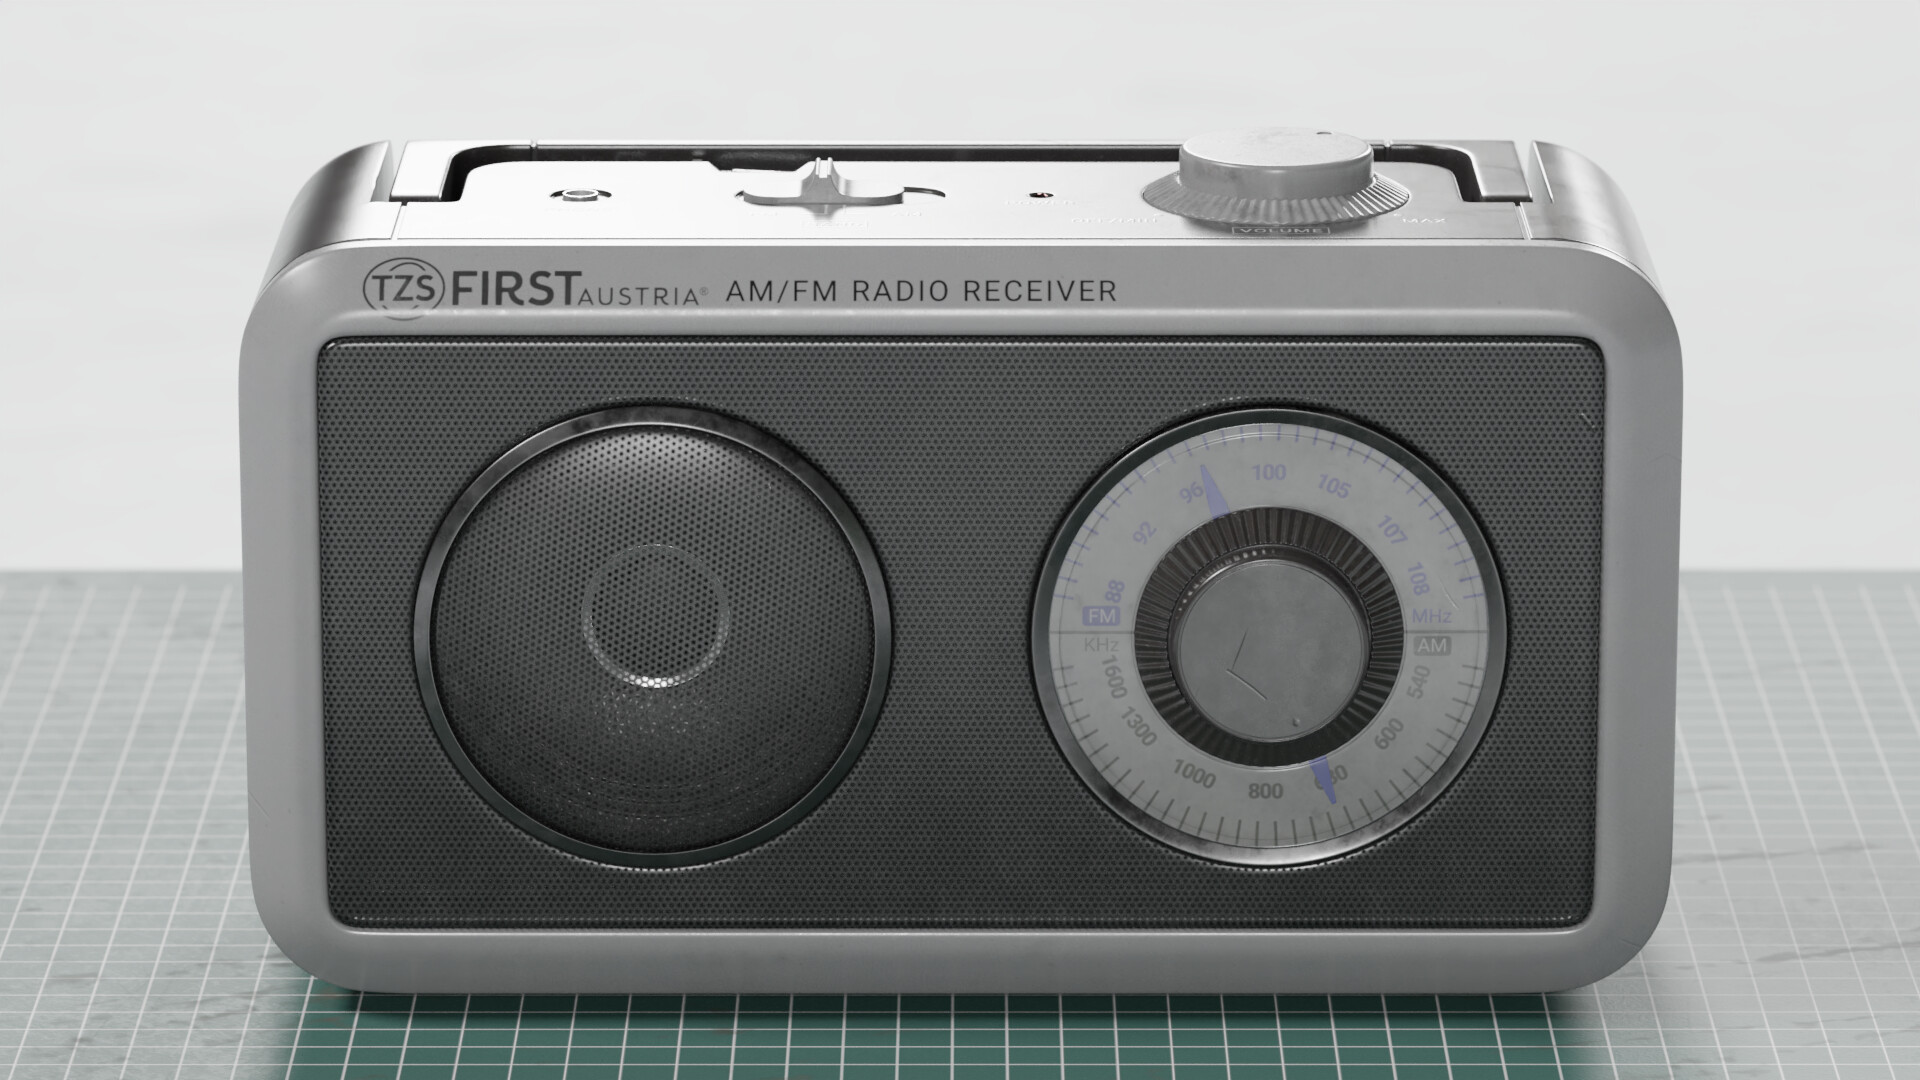
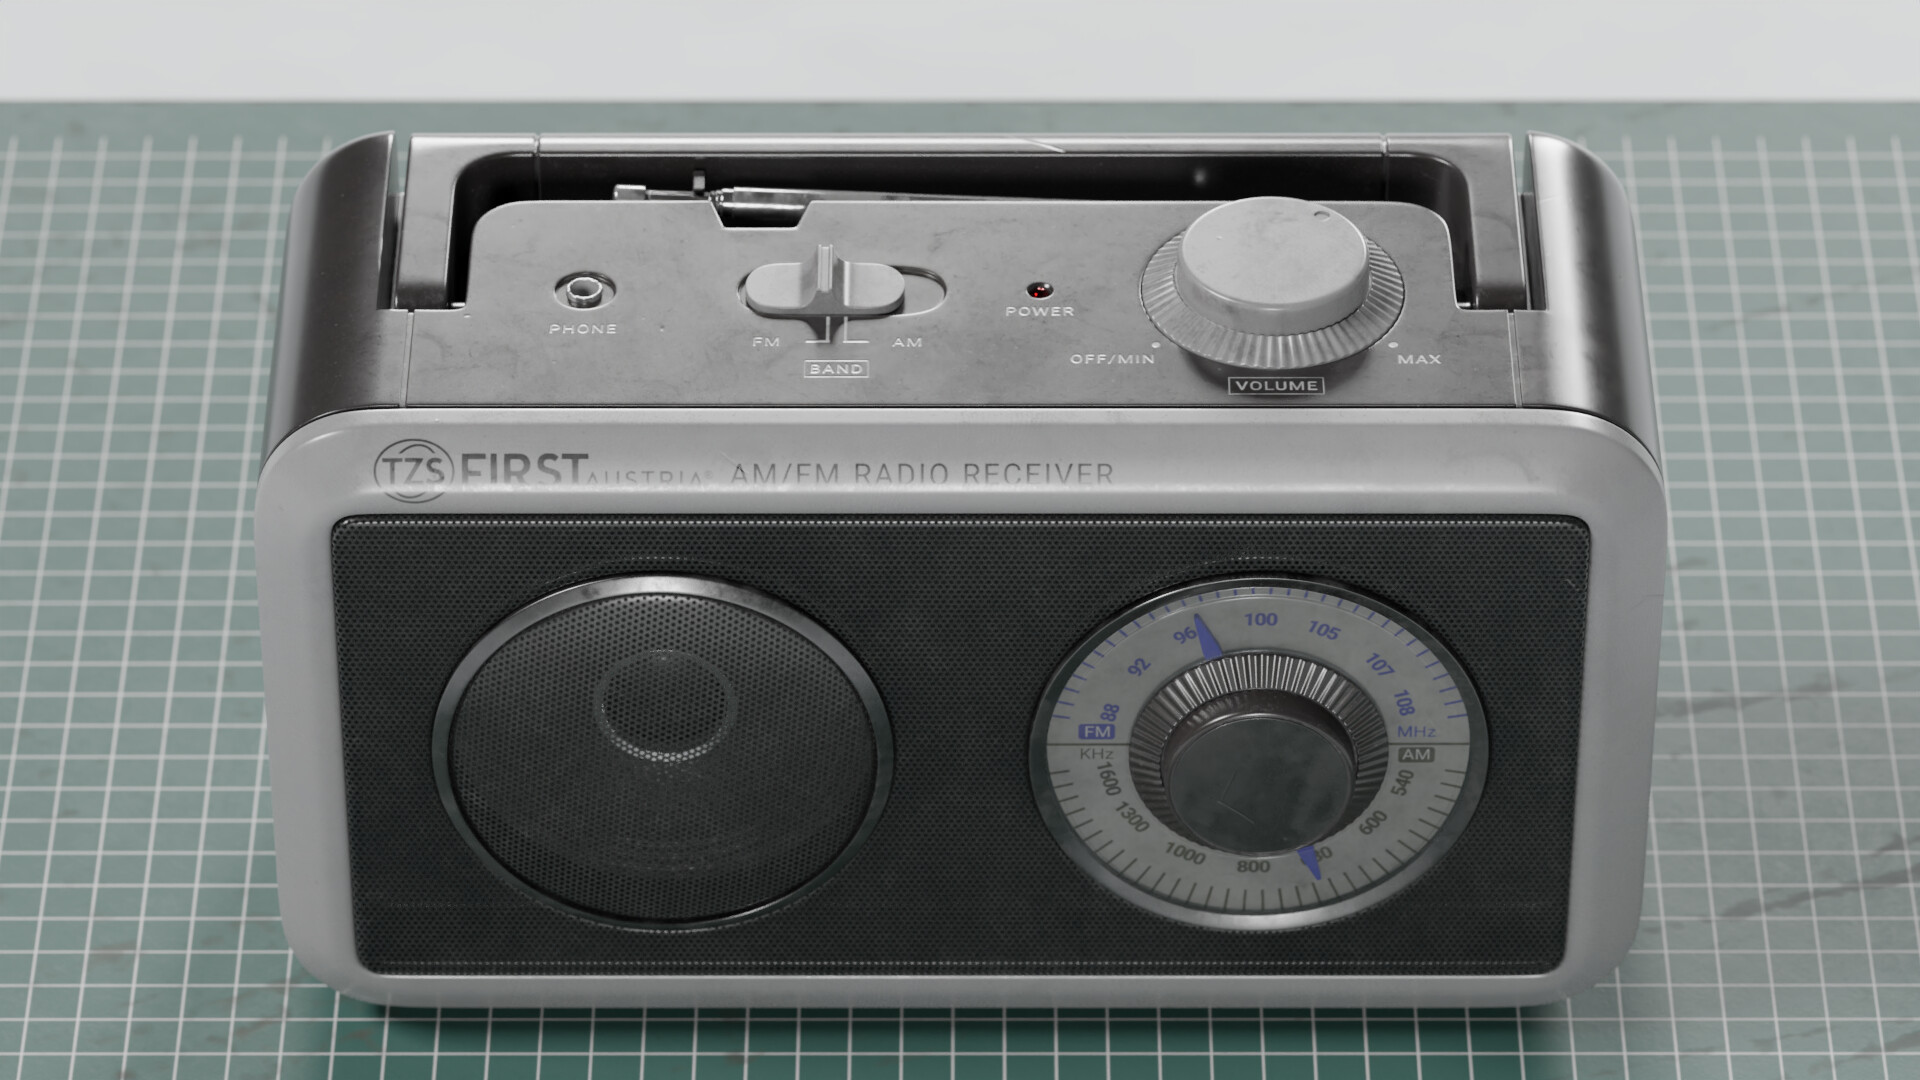
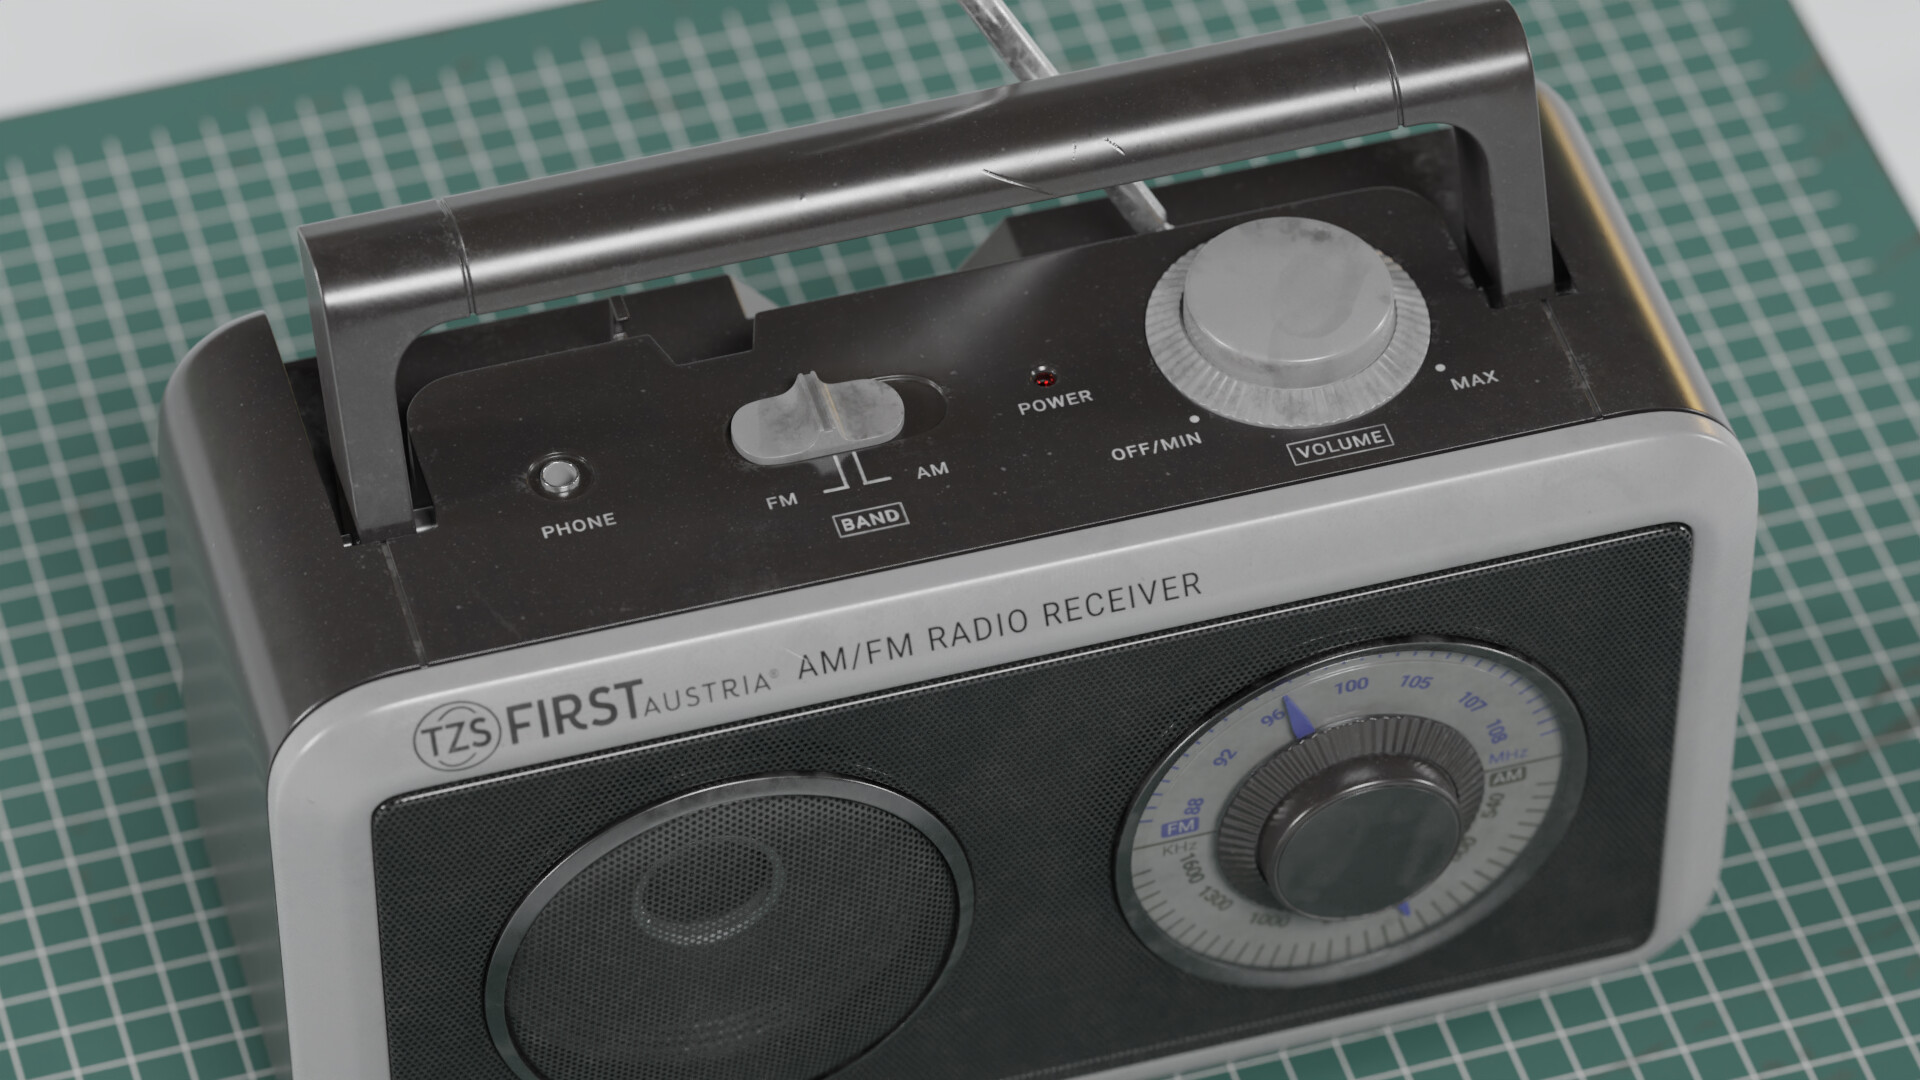
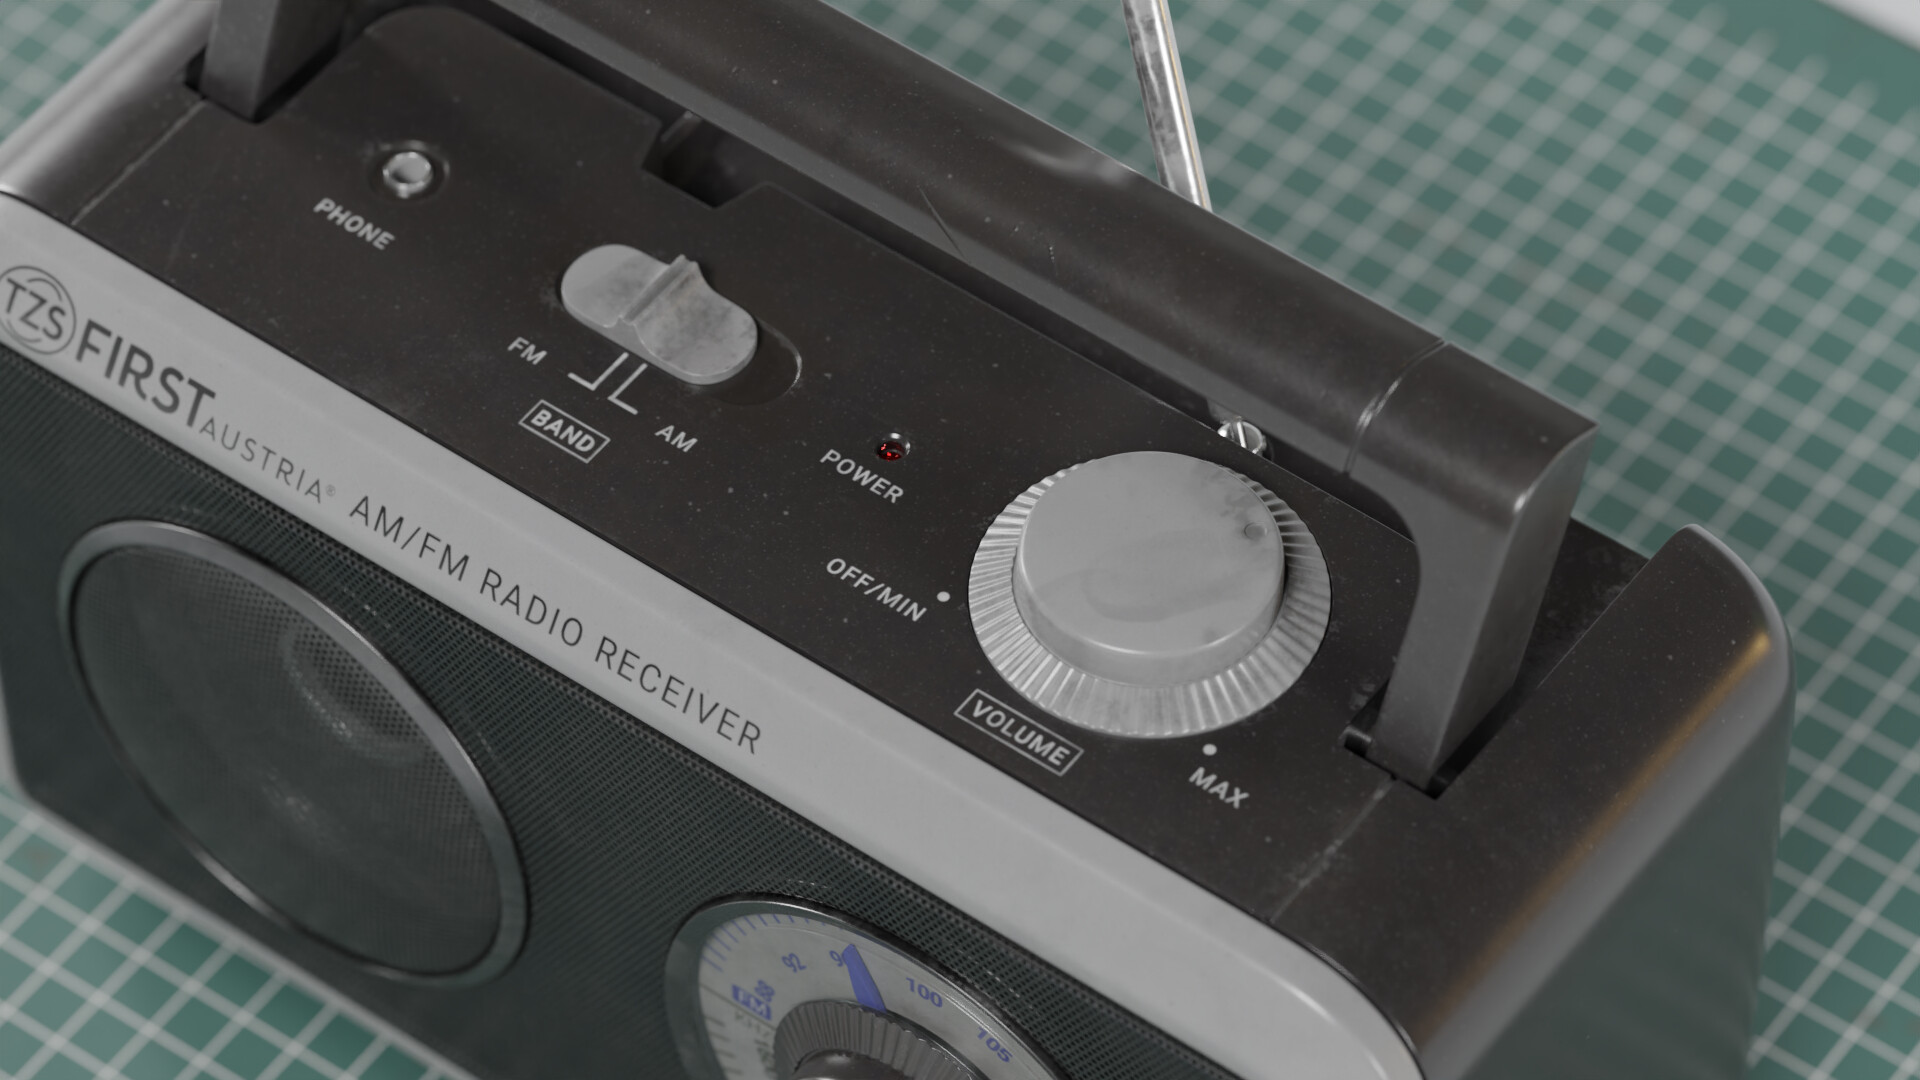
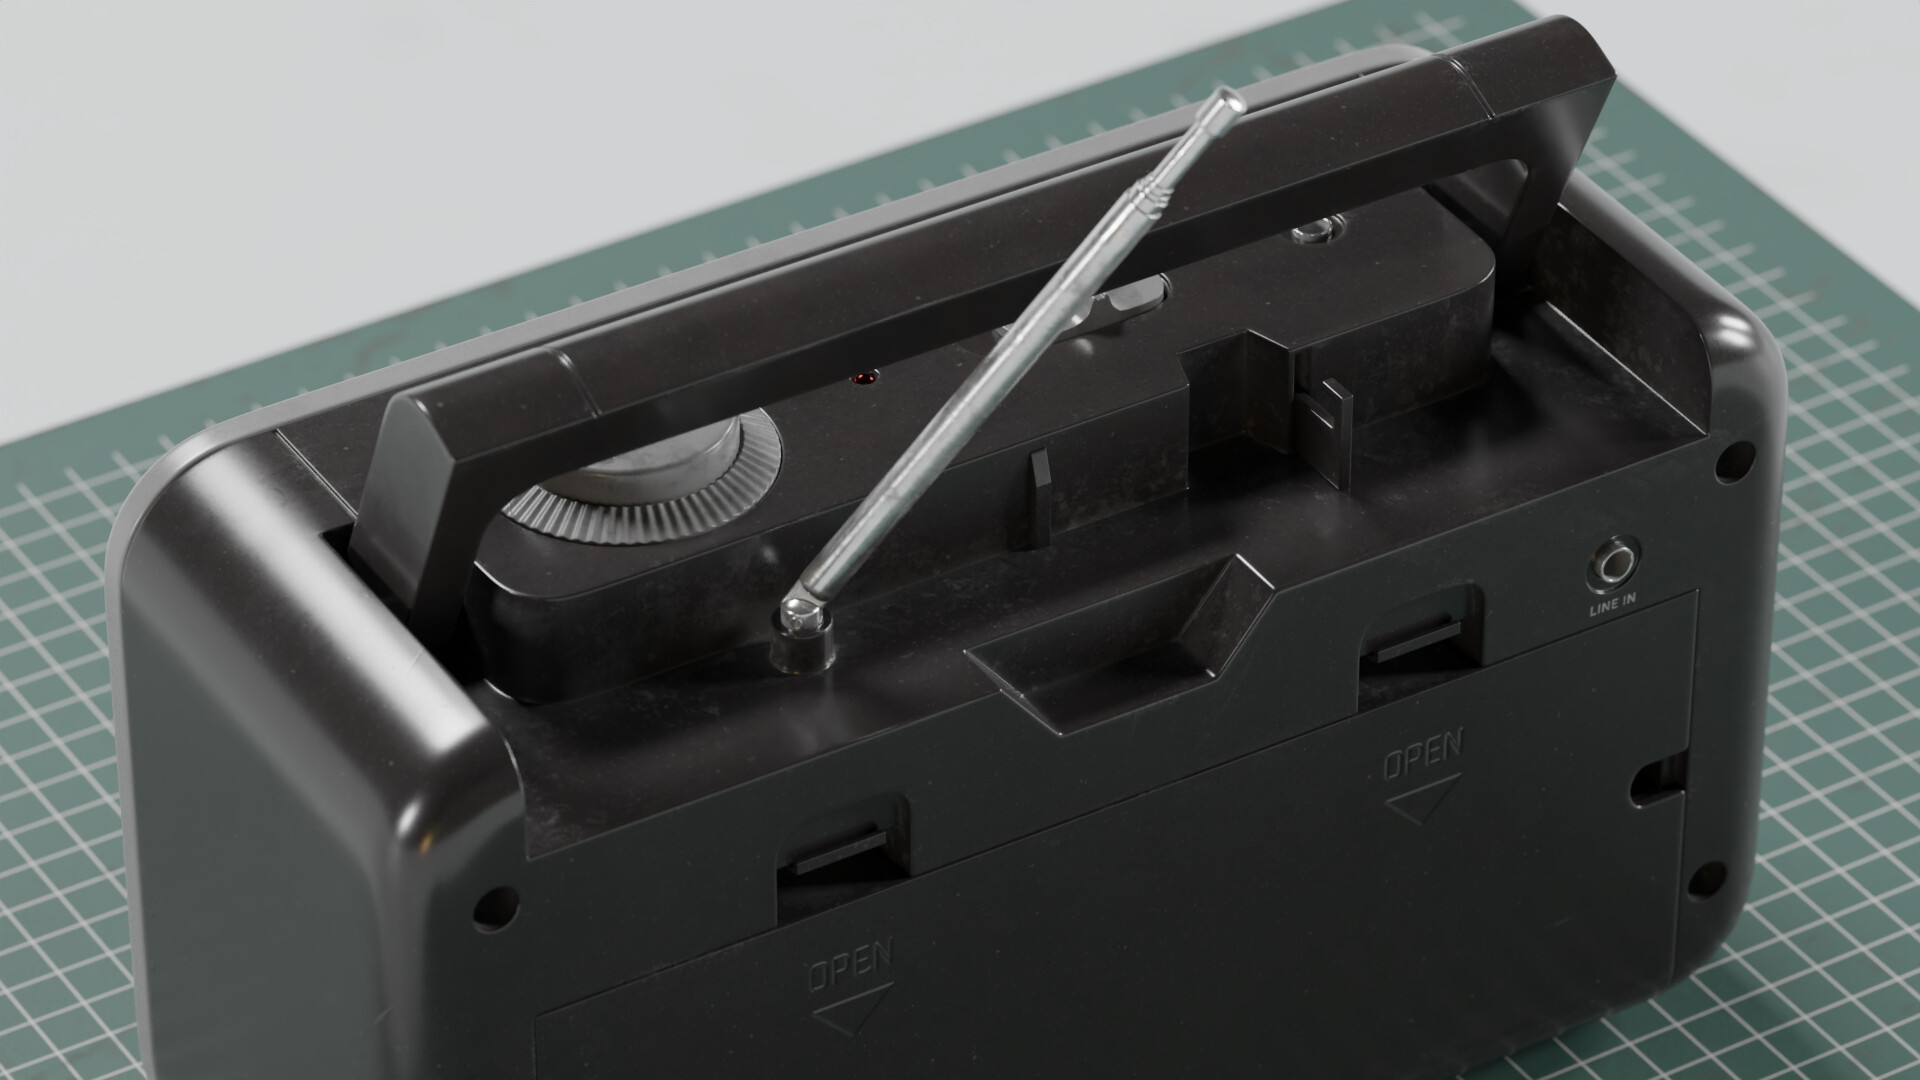




Modeled with Blender.
Texturing in Substance 3D Painter.
2D works done in Krita and Inkscape.
Postprocessing on scene renders done in Gimp.
For more: Artstation, Instagram