U.S.S. Shenandoah airship model and movie project

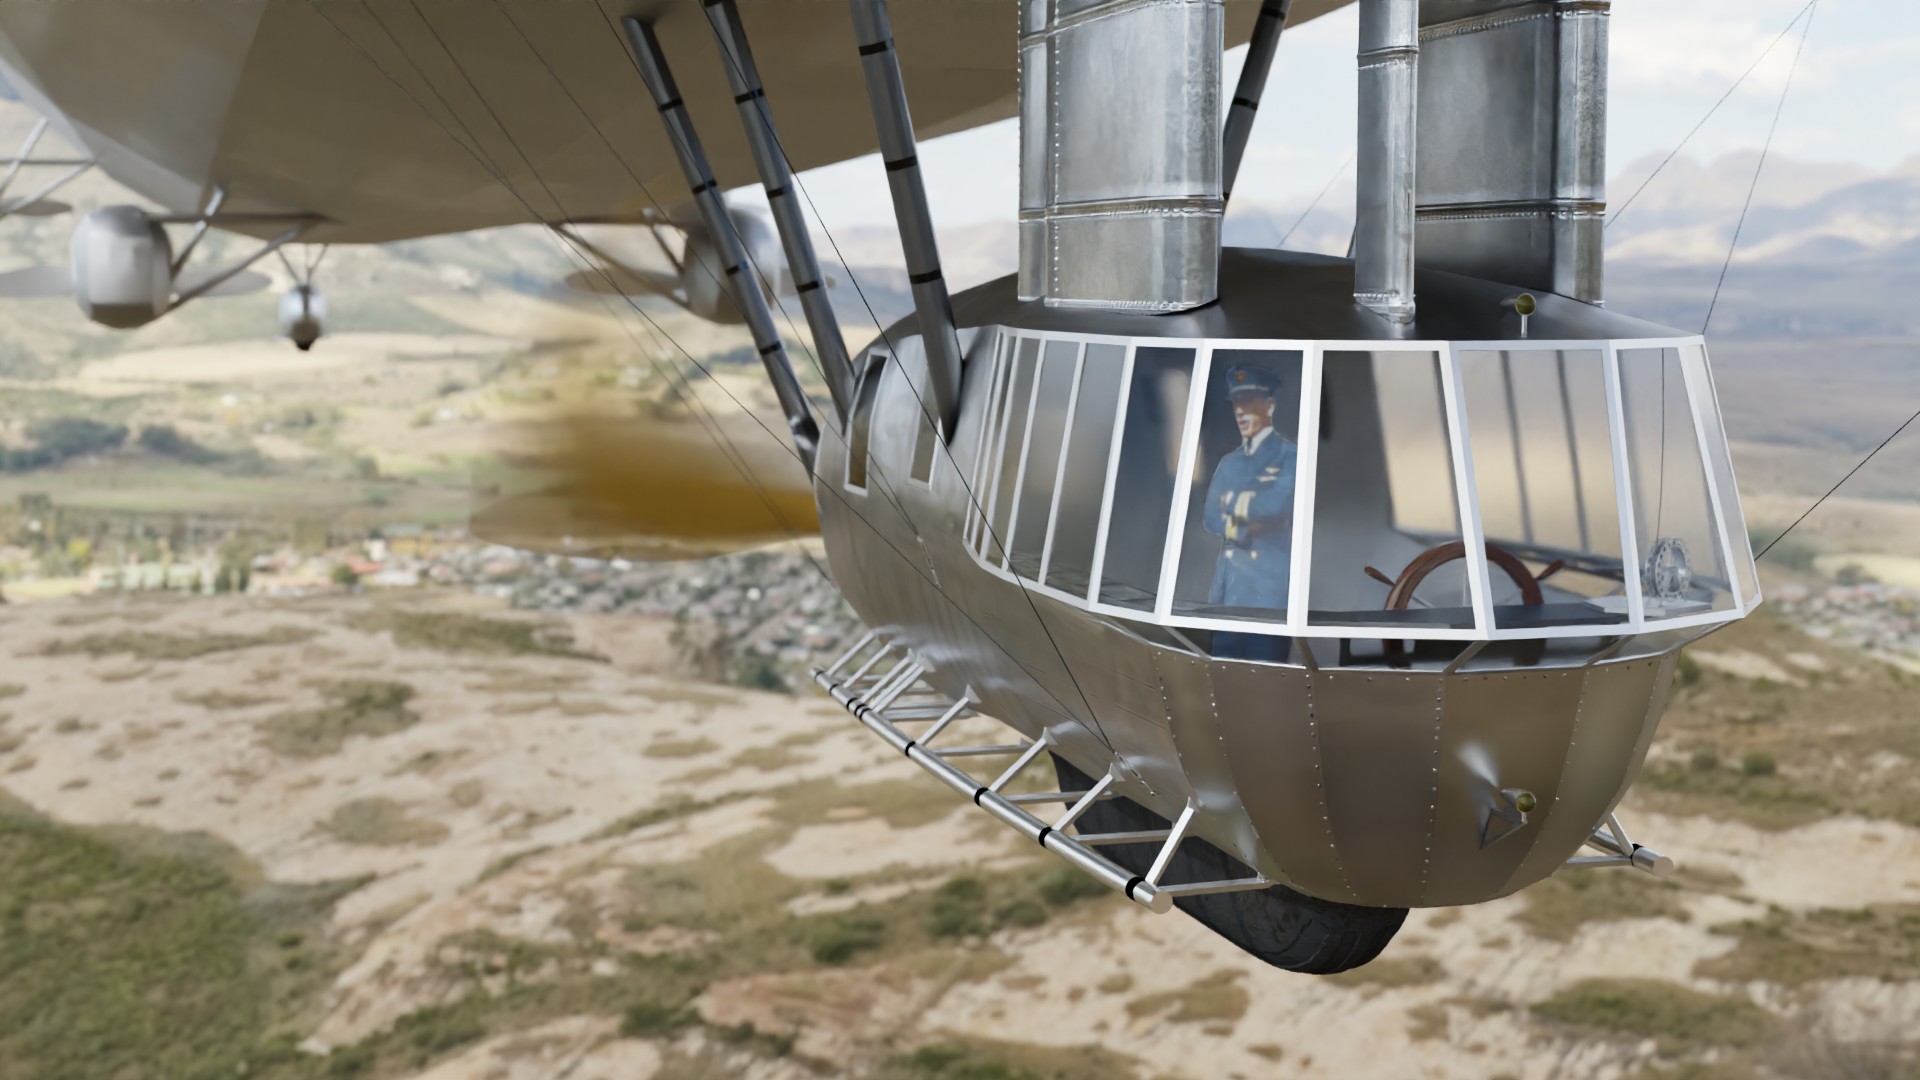
I started working on this way back in 1999 using Lightwave 3D and never totally completed it, or got very far with the movie I wanted to make. In the past two decades and since I’ve been working with Blender, technology has improved so much, the possibilities of doing this are so much better, I have decided to pick it up again, convert everything to Blender and make a serious effort to at least make a trailer for a film I would like to make.

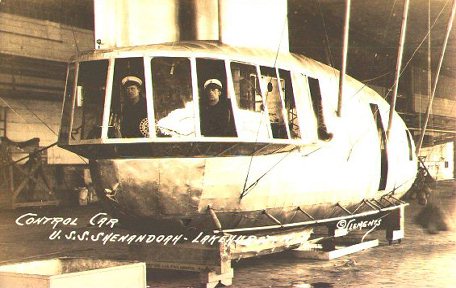
It’s the story of the little known U.S.S. Shenandoah, the United State’s first rigid airship. I live in Ohio, and Ohio plays a major role in its story, from its beginning to its demise in South Eastern Ohio. If you’re interested, give this a read:

I found out about it when read this article by John Toland and I was inspired to start creating, and I began doing intensive research by traveling to the crash sites, meeting people from the town, meeting the relatives of Commander Zachary Lansdowne, the Shenandoah’s skipper, ordering plan drawings from the National Archives, I mean, I really went into depth with my research. Anyway, that’s some of the backstory.

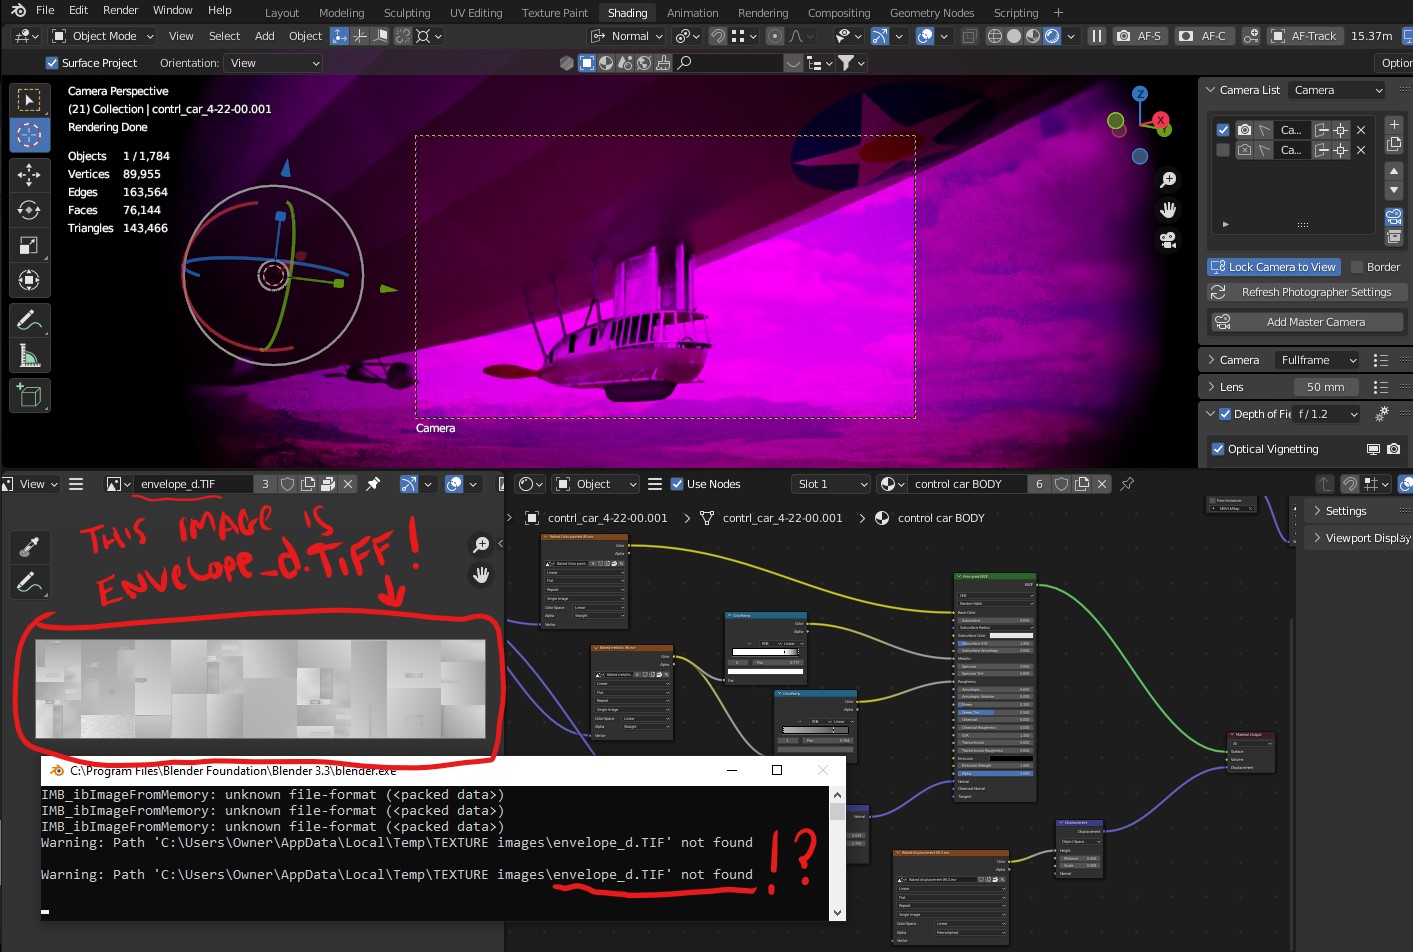
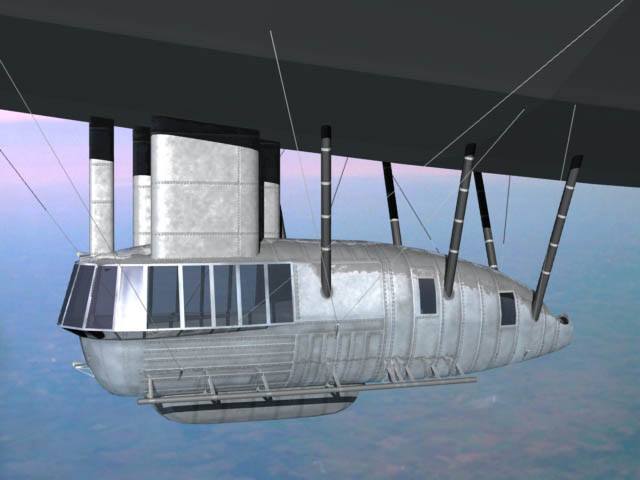
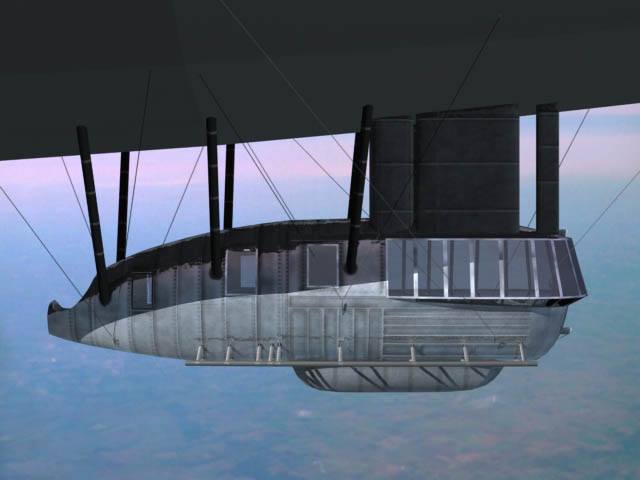
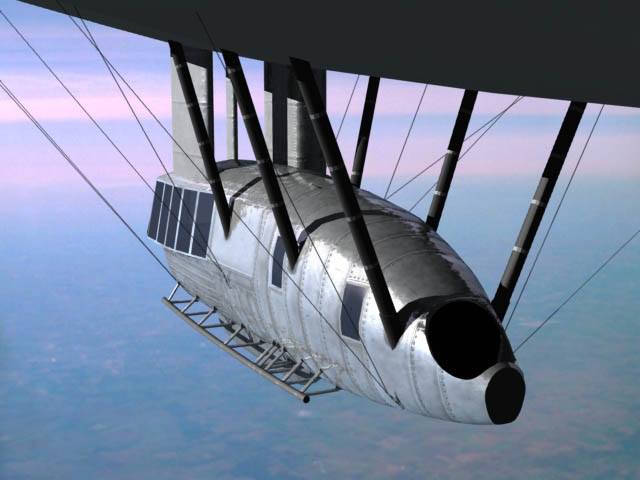
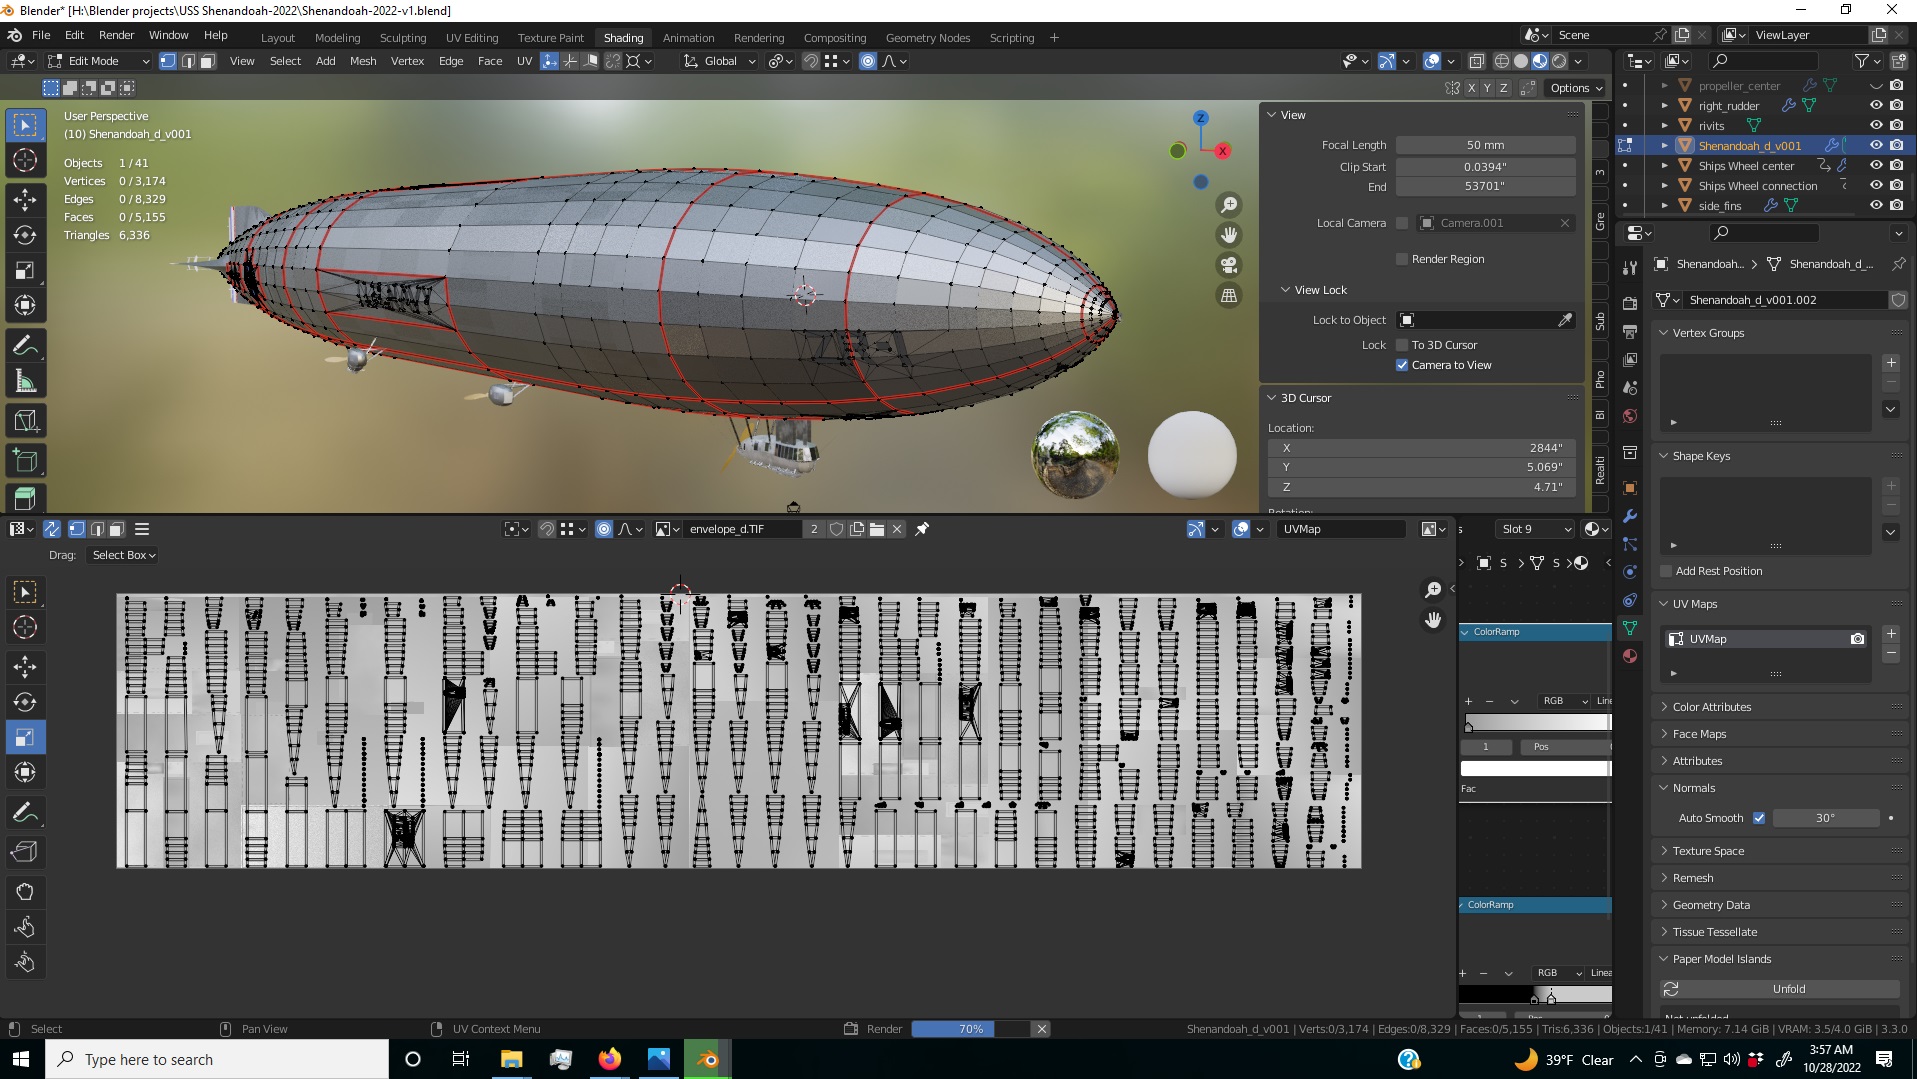
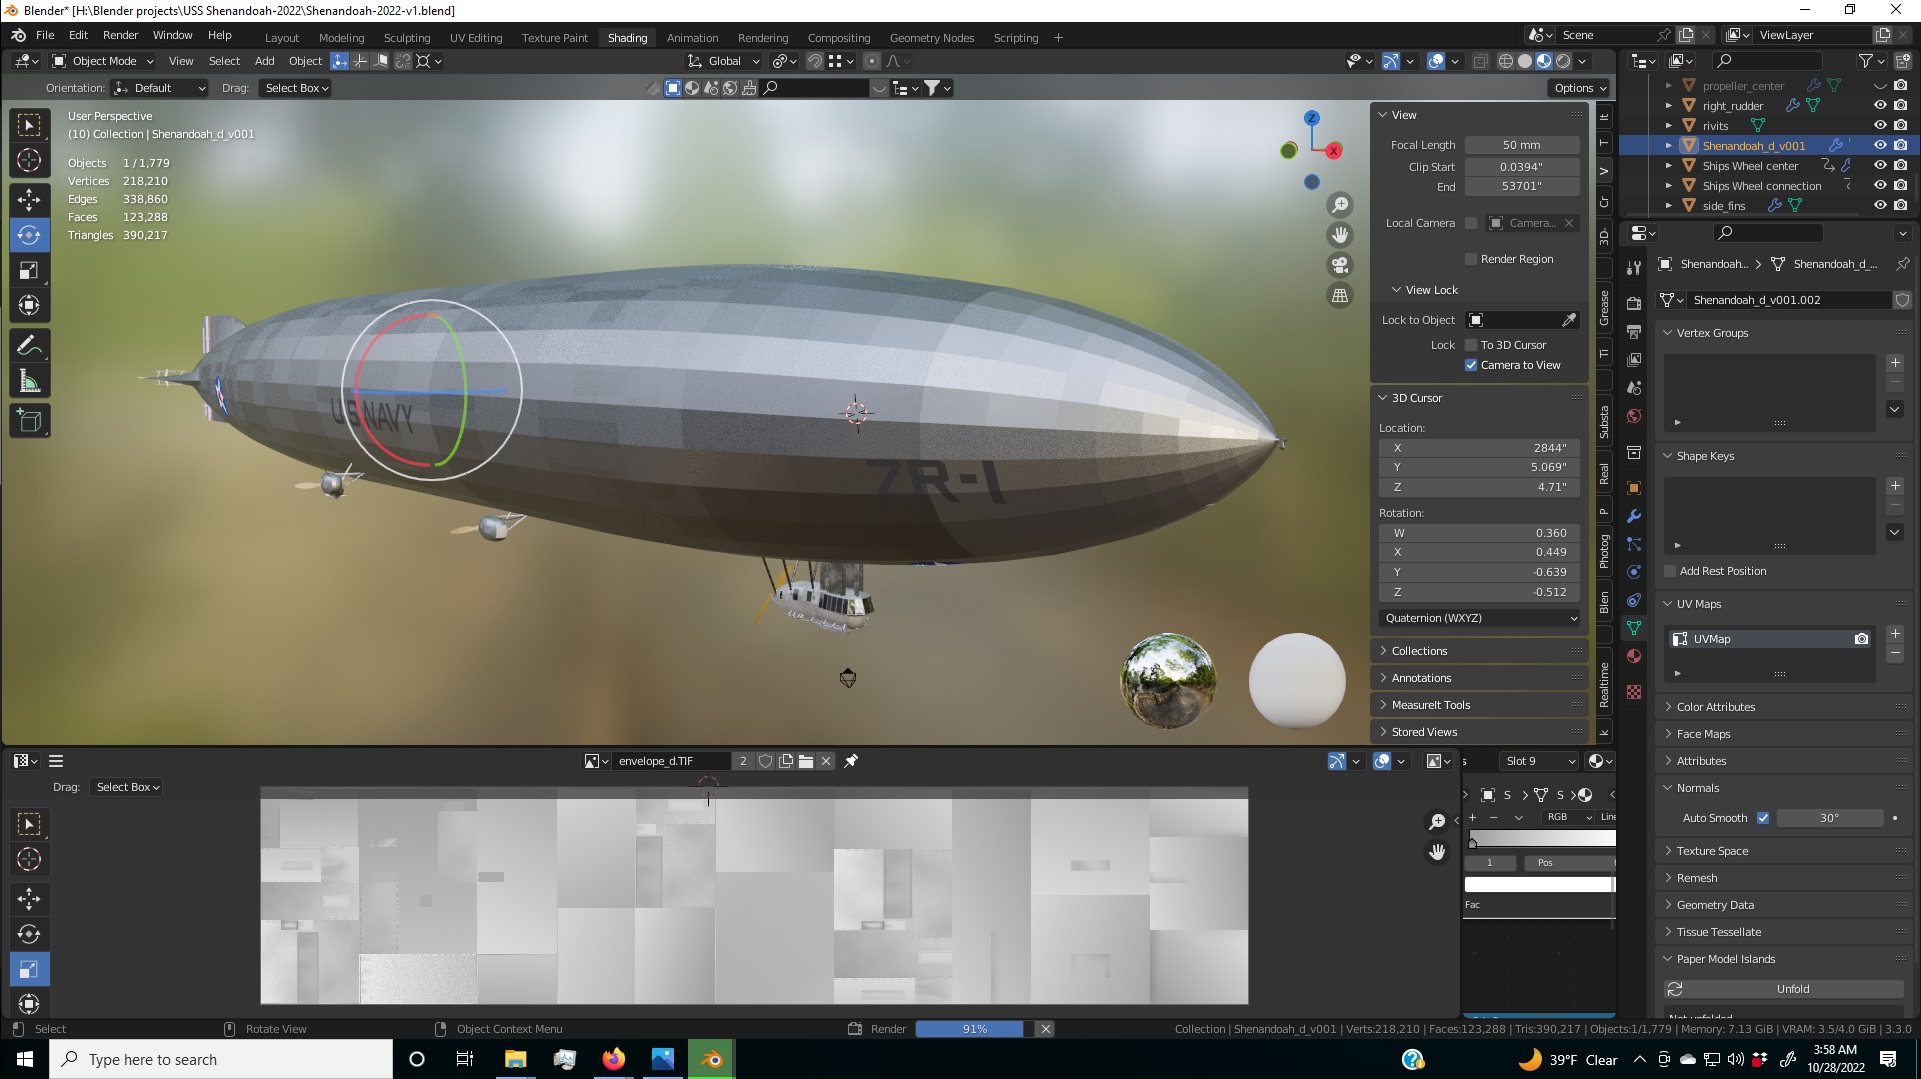
Recently, I’ve been converting this model from twenty-three years ago to Blender format and updating it. Lightwave didn’t even have UV mapping at the time. Like I said, so much has changed, so much more is possible now. Here are some renders from that time:
20517_n
60781_n
5458625_n
765307150_n

I am looking for help on this, and I’m seeking other 3D modelers who are also airship, history fans, and filmmakers. I think visual effects are at a point now where telling this story with computer animation is feasible for independent filmmakers. If you’re interested, please contact me.

Here’s a link to a very good documentary about the Shenandoah.

22 Likes

saw some TV doc may be a NOVA special on Airship with that model
which was own i think by the NAVY

anyway what kind of help do you need - can you elaborate !

help for what ?
modelling
texturing
animation
lighting
composition
special effect

so many things
i guess you would have to be more specific if you want people to help

happy bl

Thanks for responding. I am looking for all types of help, all of the above. I am looking for people who may be airship enthusiasts, history buffs, anyone with an interest. First of all, let me say that I don’t have any funding for this, yet, but I am hoping to eventually interest some producers somewhere in making a full length film about this. I think it’s amazing story that would make a very entertaining film. I think the idea of an “open movie” such as the Blender open movies is a great idea.

To start with I’m hoping to interest modelers in building key elements to the story, like the airship hangar in New Jersey, mooring towers, the U.S.S. Patoka mooring ship, Navy officers and airship crew members, landscapes, clouds, etc. Maybe some of this stuff has been modeled already. I found several models of Ford Model-T cars last night for example. I’m open to suggestions on everything from modeling, texturing, and general 3D advice too. I had a friend interested in helping me twenty years ago, but we didn’t get very far. He wanted to build a full size replica of the control car, which would have been great if we’d had a muti-million dollar budget, but of course we didn’t have any budget, and no plan for raising funds, so that was unhelpful.
I’m thinking that it’s much more feasible to produce an animated film, starting with an exciting trailer. After that we’ll see how much interest there is in producing a full length film.

I was working on this last night. One problem I’m having now is UV mapping. In Lightwave, I had a texture cylindrical wrapped around the body of the airship. For some reason I’m not able to duplicate this in Blender. I haven’t yet gone to YouTube to look for tutorials. What I’m getting is what I feel is odd behavior from the UV mapping. I started off trying to UV map only one section of the ship, then I decided that wasn’t right, so I selected the whole thing and selected cylindrical mapping. It keeps my my previous mistake, no matter what I do. That previous attempt at UV mapping stays, even though I had selected the whole model. I even found a command that says Reset. That didn’t work either. How do I clear that and start over?

can you show some pics showing this problem!

may be if you can a small sample file to work with and help you

there are many ways to work with UV in blender !

happy bl

Thanks. I decided the whole thing needed to be re-textured. I don’t know how it was before in Lightwave, but the texture map from way back then is too low res, and it doesn’t work with any UV map I can create in Blender, so I’m starting over. I watched some UV mapping tutorials to figure out why I was getting terrible UV maps. I worked out a better UV mapping solution, and used some procedural textures.

still show us some pics so we can better follow you

happy bl

When my father was a supplier for Goodyear, I actually got to take a ride on their blimp, the Mayflower II. It was amazing to see how small it actually was inside – not much bigger than a VW bus. It was really quite cramped. Plus, the pilot’s controls consisted of a couple of large wheels, and strings that you pulled. Very few switches. They demonstrated how you could simply shut the engines off and hang there, and how the lighted advertising sign-panel worked on the side of the ship. Unfortunately, many years later this blimp was blown off her moorings (with no one inside …) and wrecked. But, it was an experience I’ll never forget.

2 Likes

Here’s some pictures of what I did.
I had the surface divided up into sections to match what I see in all the photos. It was repaired several times, so the paint didn’t match over the whole thing. I may change that now with the new UV map. It could all be one material. This is far from perfect, but it’s getting there. I put lots of noise in the texture to depict the canvas texture painted silver. It kind of sparkles, however, when rendering, all of that noise gets smoothed away. I may have to make it more intense. The real thing was much dirtier too, so there needs to be another lever of noise in the color channel.


The control car is another matter. I found a method of putting actual modeled rivets on the thing instead of the displacement map. You can see the difference, they’re on the front. Since they’re all instanced, it shouldn’t be a problem adding them. It may even take less render time. But I need to work on the material to make it look better. Some of them end up looking black for some reason. I duplicated and subdivided the mesh to create more vertices to instance the rivets, and I used shrinkwrap modifier, but it’s not working totally well. The rivets don’t want to lay flat on the surface sometimes. I tried using only verts, but the rivets turned different directions, so I had to keep the faces. They don’t render, but they’re there. I didn’t want to subdivide the actual mesh.

1 Like

if you happen to have some high res pic you could texture paint it with PBR nodes
then add some bump or nor maps for rivets ect…

i got a few short tut for texture paint from Jayanam
let me know if you need some tut

happy bl

Texture paint with PBR nodes? Not sure what you mean by that. You can see on the rest of control car body that I’ve used texture maps, bump, and displacement maps. These are the same texture maps that I created back in 2000, so they need to be updated and up sized, but I think using actual modeled rivets will be a better solution than the displacement, which takes quite a while to render. The instanced rivets should be quicker to render and use less ram. I’ll still use texture maps and procedurals.
There are no high res pictures of the Shenandoah, if that’s what you mean. I’ve collected as many pictures as I can, but I haven’t found any that are very high res and detailed. In most cases, it’s difficult to see any details, so I have to extrapolate from what I know.

here is one tut stencil texture paint

just search web for Jaynama tut he has many short videos

but easier to work with if you have high res photos

i guess this is from circa 1920
high res photos did not really exist yet !

happy bl

may be if you check with US Navy they might have more photos to share !
or even blue prints for this air ship

happy bl

I ordered a plan drawing from the National Archives back in 2000. That’s how I got as far as I did. There may be more available, I don’t know.
This is about as good as it gets.
shngond5

check at the Smithsonian museum
might find more and asks them if they have more photos for this air ship

happy bl

I may look into it further. I think there are more documents.


Here’s my progress. I know it doesn’t look much different but I was able to take all of the separate materials for the control car body and combine them into one material with a much better UV map. I downloaded some scratch and grunge textures I wanted to try out, but I spent all day re-painting texture maps over and over again due to problems with saving the image files and Blender giving me a hard time and trying to make me think I’m losing my mind. I found that if I switched from Look-Dev mode to Rendered Preview, all of the textures that I had been working on were re-loaded from disk, overwriting hours of hard work! Also, when I saved one of the files, it defaulted to a very low quality JPEG unbeknownst to me since Blender cannot apparently save in Photoshop format which this file originally was. Blender was giving me some very odd behavior which was very perplexing. The preview viewport was showing me something that didn’t match up to what I was painting in the other window. Textures that I had completely disconnected or painted over kept coming back like zombies that wouldn’t die! I had tried a texture yesterday but decided it wasn’t right, so I painted over it, but it stayed around. This texture was not on any of the images I was painting, and not connected to anything in the material nodes. Then Blender crashed and when I started back up all my work was gone. The one file I had saved looked like Army “digital style camouflage”, completely ruined by JPEG. I re-painted everything about four times! so I didn’t get to add any scratches or grunge like I wanted. I wish I had known I shouldn’t switch back and forth between Look-Dev and Rendered preview. I noticed it said “updating images” as it was changing over, it was then I realized that it was loading them back from the hard-drive.

Look at this nonsense! This started happening with several images. There but not there. I lost what I had been working on.

Then the opposite happened! The image is there, but Blender can’t find it. It’s right there! I even tried re-loading it and replacing it.

Please tell me I’m not the only one who this happens to. Every single time I use Blender, it’s a different problem.

1 Like

Huh. I have never seen this problem before :thinking: hopefully someone else has and has a solution

1 Like

Maybe try opening a fresh file and appending the scene? Or alternatively using the “export to blend” addon? It’s all I can think of. Or maybe try isolating the problem by appending the objects that seem to be having the problem to a fresh file and see if you can reproduce the issue?

1 Like

Eventually, I managed to get the scene working again. I eliminated all the unused materials and images, and whatever was causing the purple haze just went away. I didn’t need that image that it couldn’t find so I just got rid of it. Thanks.

1 Like