Yo, I thought I’d share animation project I did real quick again and one of the highlights of the project being compositing that I’d like to share the setup around if anybody is interested in it, rendered in Eevee.
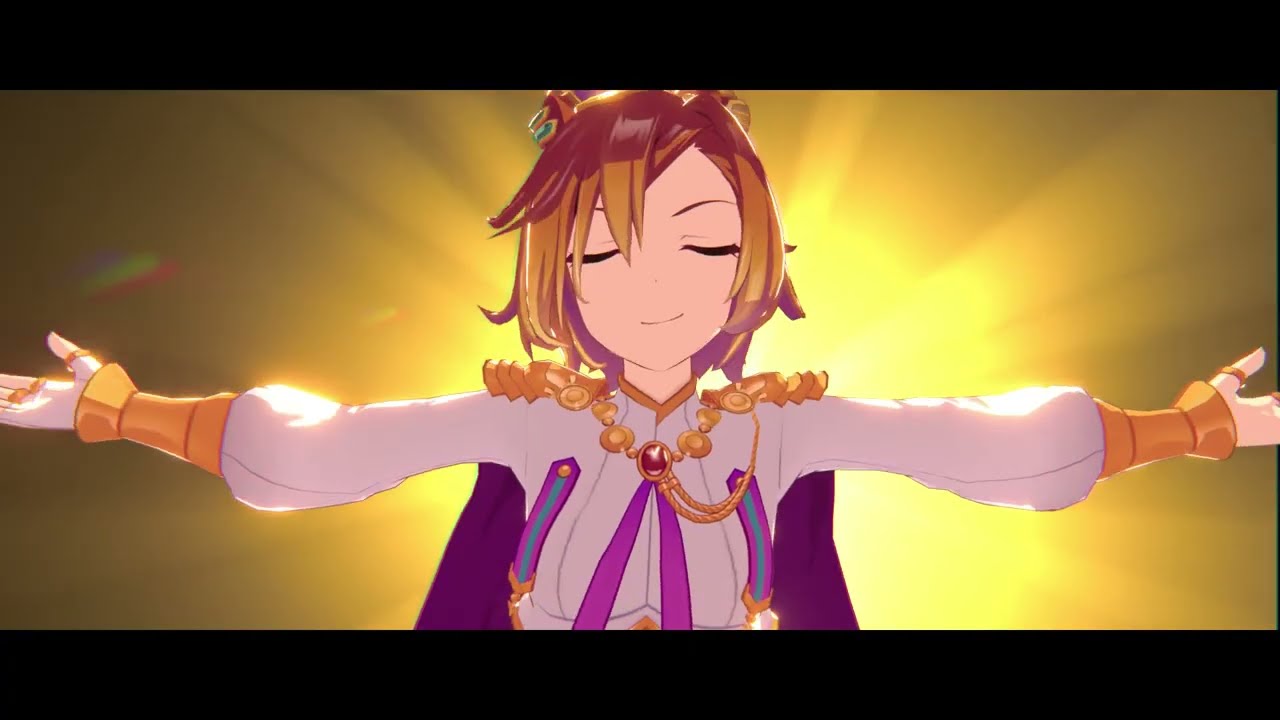
This project contained 12 scenes and the setup to the compositing for all scenes roughly be the same, with the exception being scenes that contained volumetric lighting needed a little more setup.
I won’t go to much into detail but I’ll just explain the main compositing setup without the extra things.
So the main compositing setup for all scenes not including scenes that contain volumetric lighting requires 3 layers. The Foreground (FG), Background (BG) and the Combined layer.
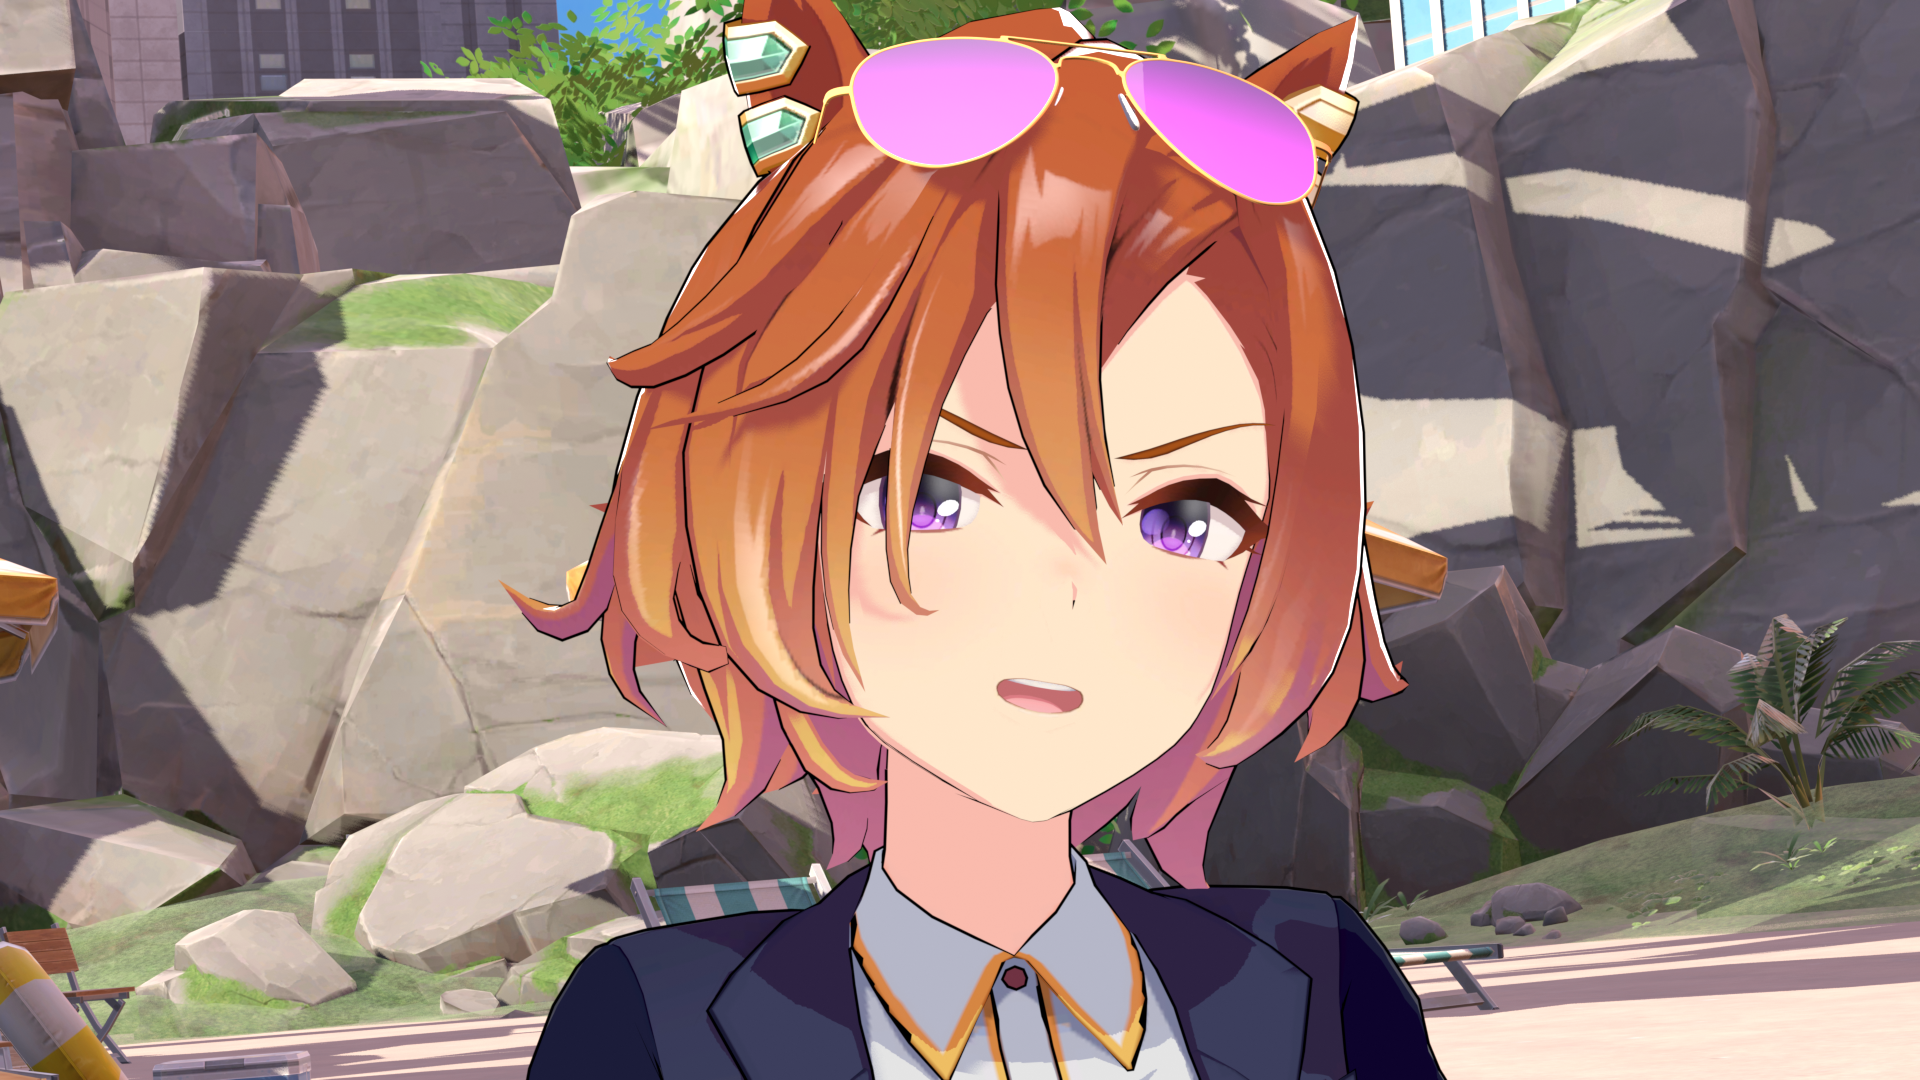
The Foreground (FG) which has the characters and all props they might have

The Background (BG) containing the environments and extra stuff that is not in the animation.
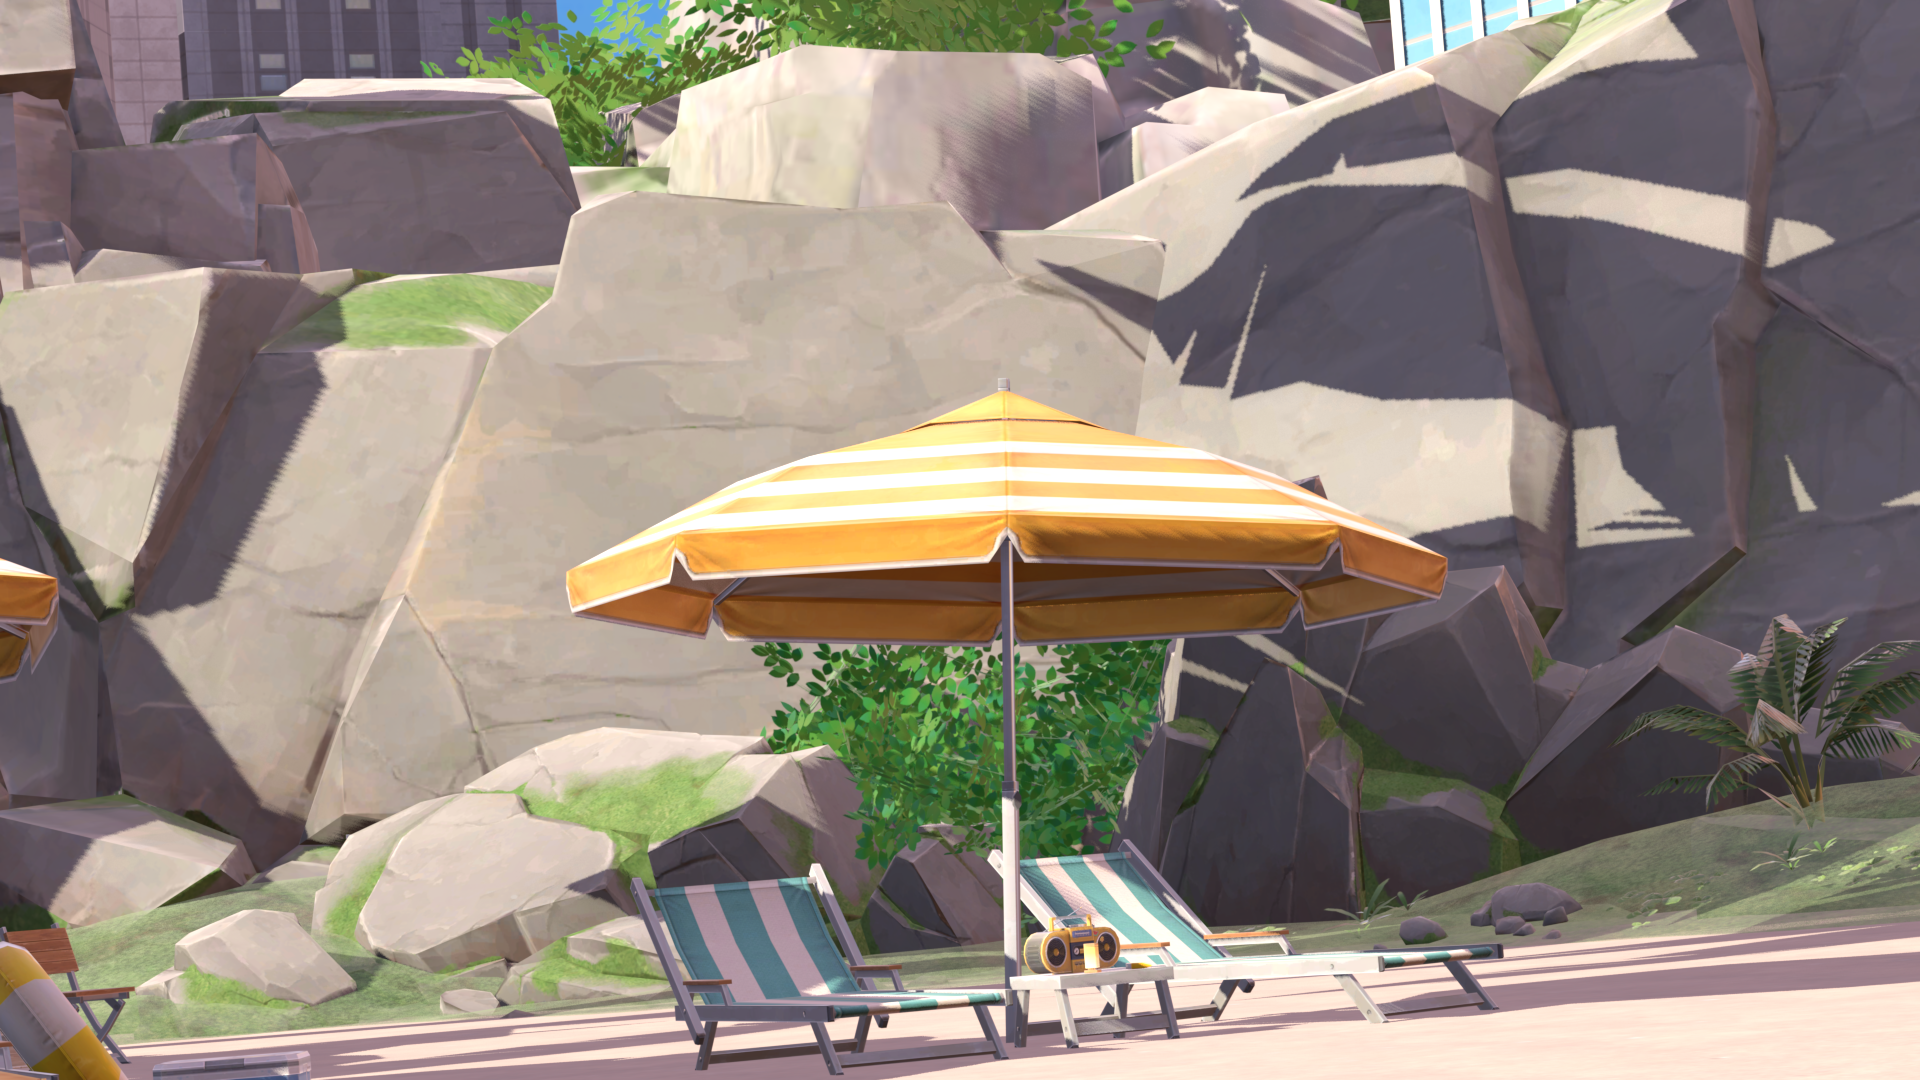
The Combined layer which is both the Foreground and Background.
However the Combined layers shadow pass is what’s needed and the full base rendered image
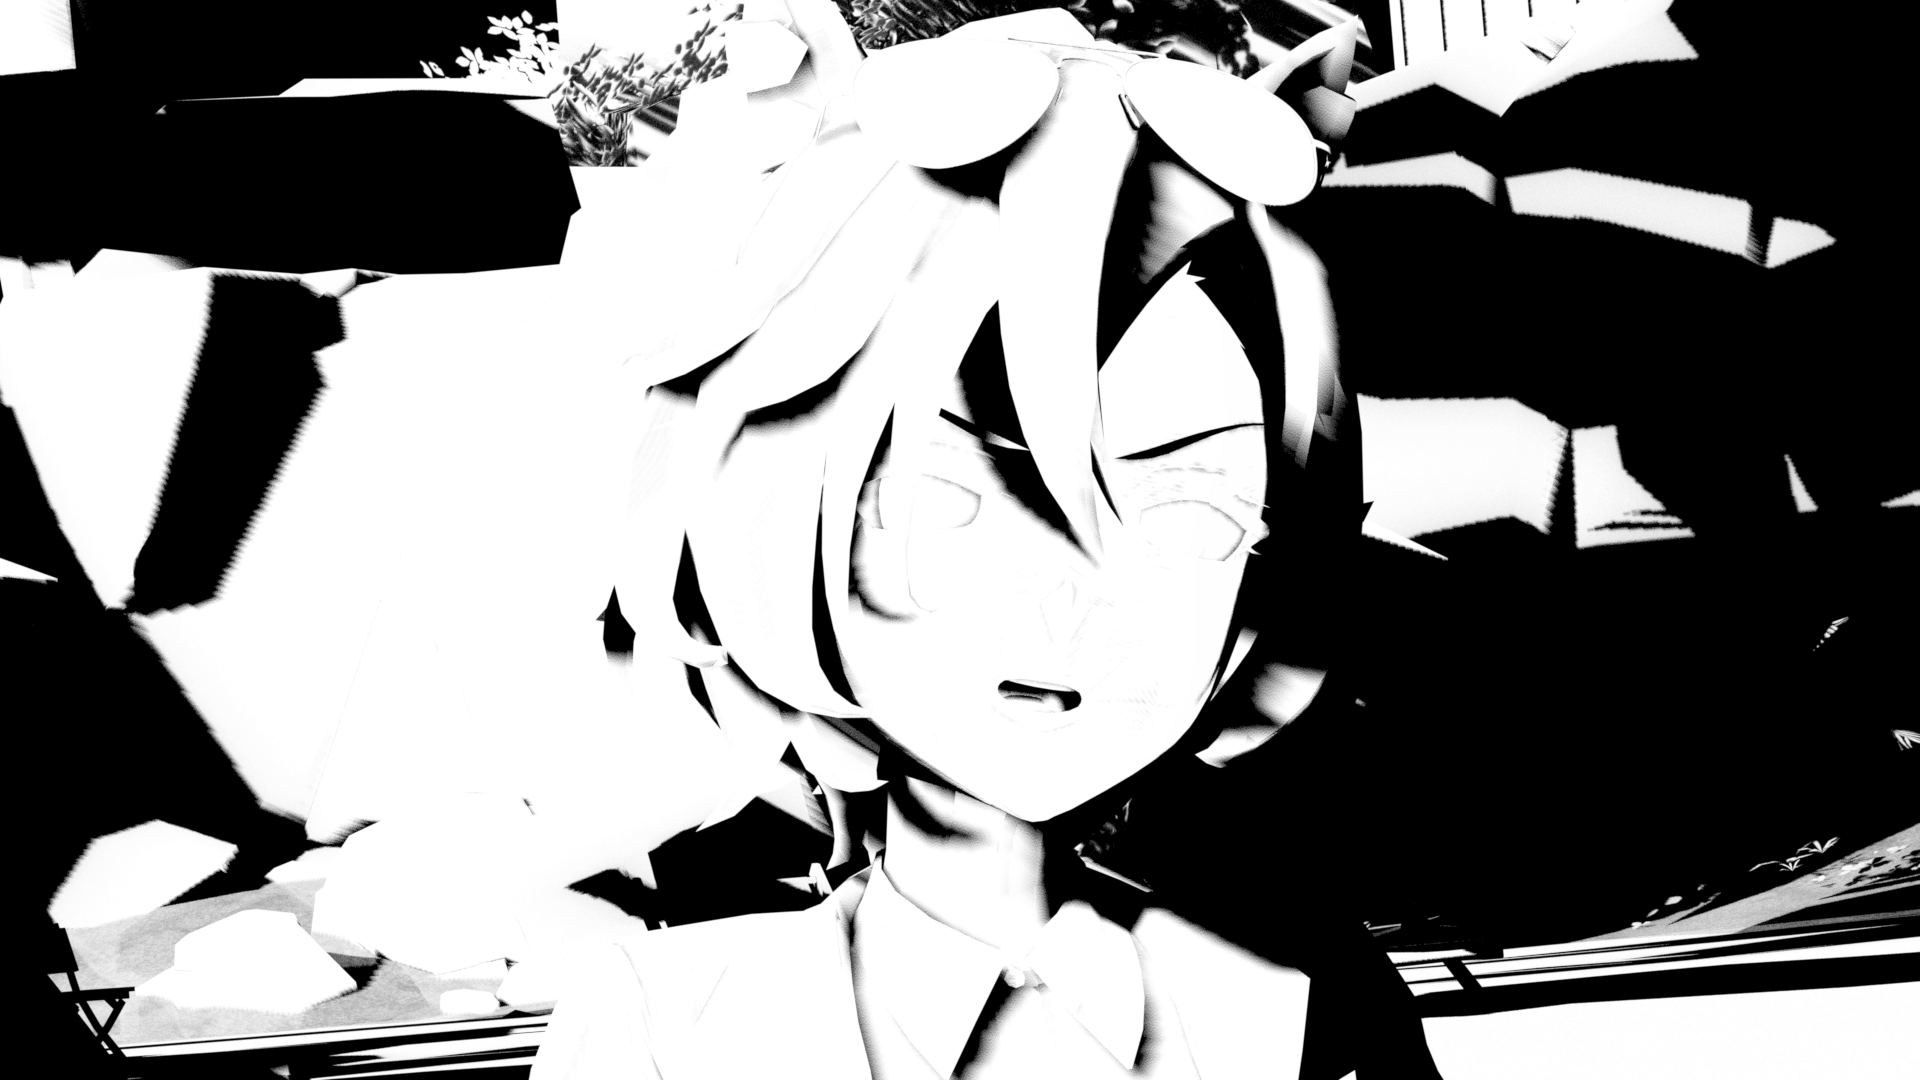
This makes it so we can tweak the shadows in the compositor a bit and mix it over the actual Foreground and Background layers. In the render I did though, I only tweaked it and mixed it over the Background layer.
The Setup for the Background layer and the Combined layer
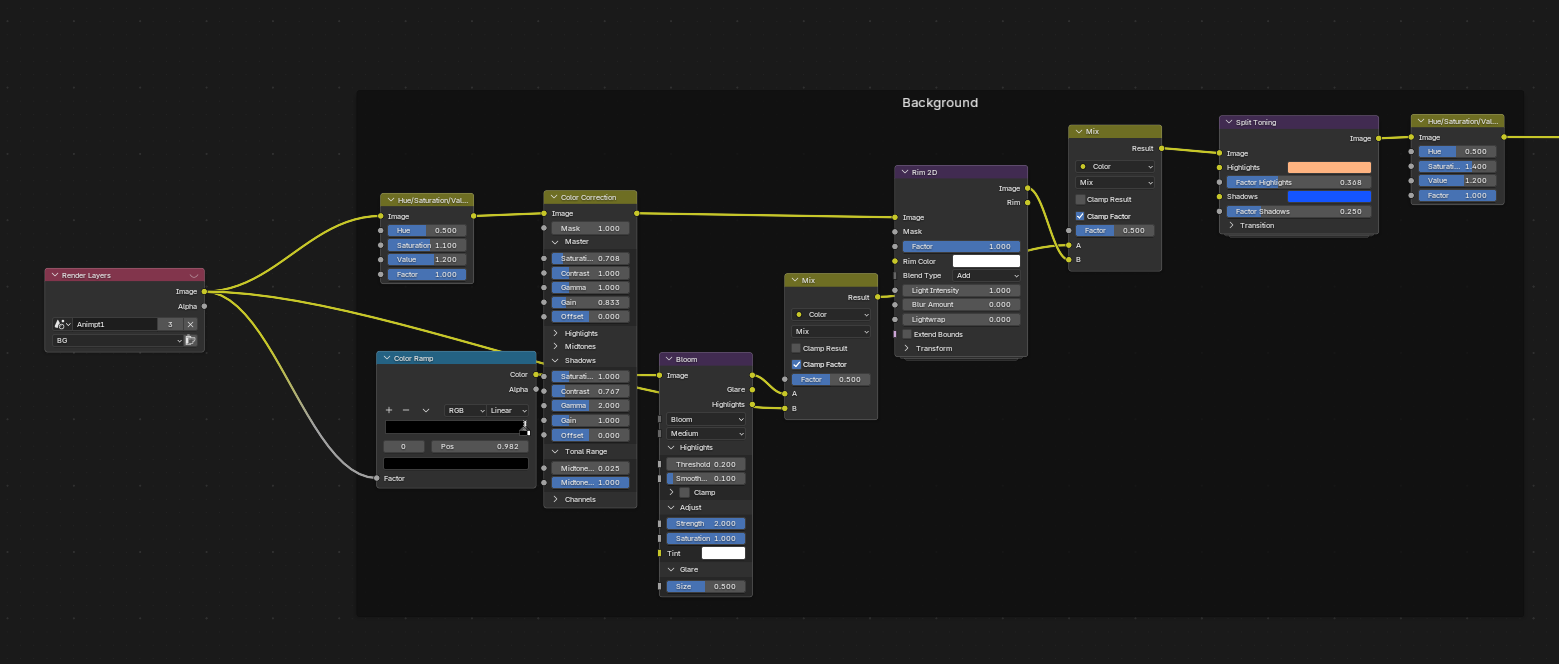
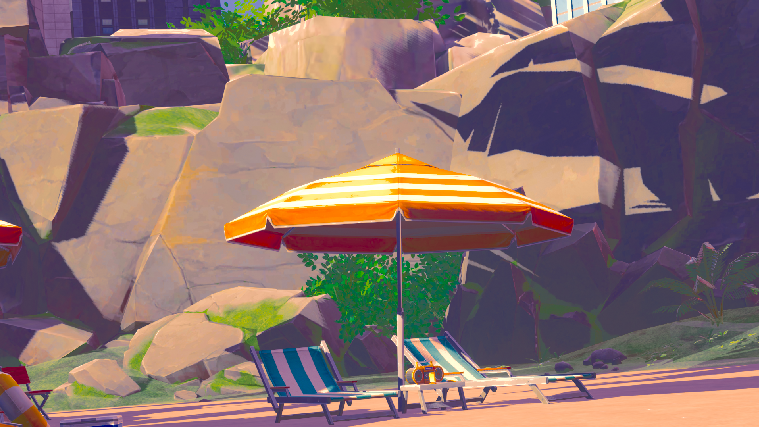
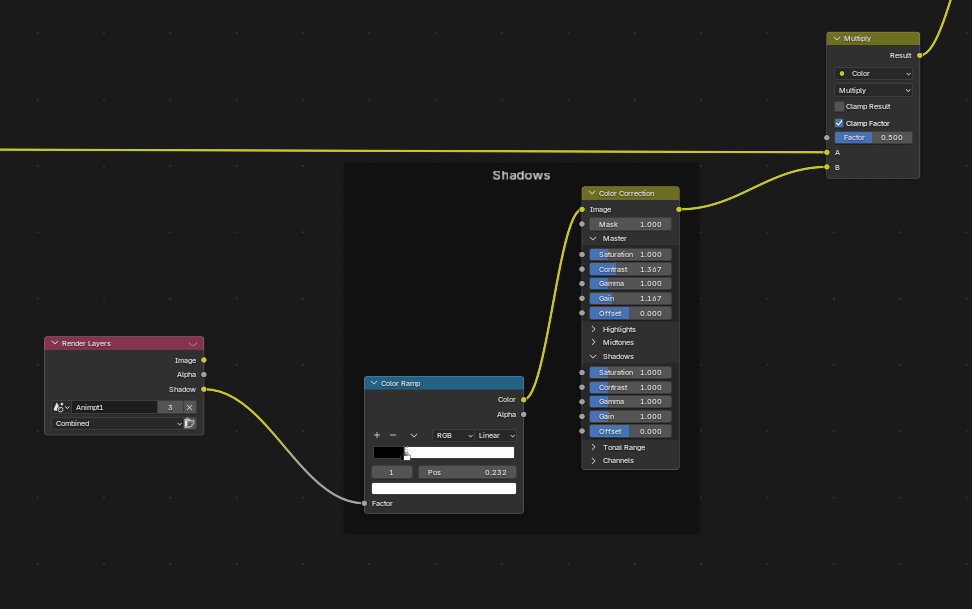
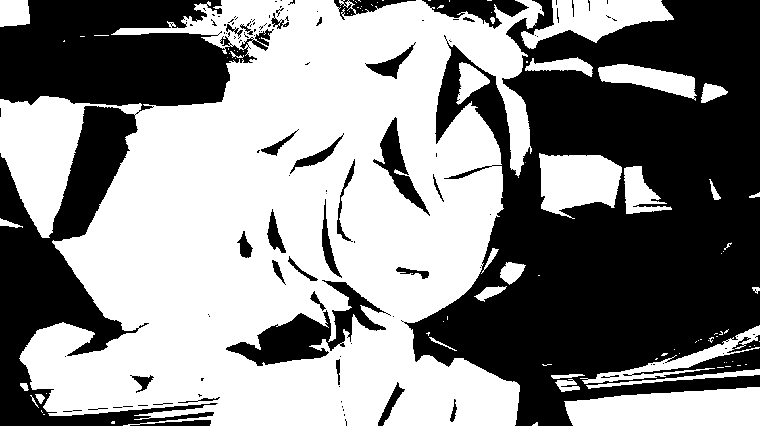
After Mixing both layers with the Multiply Mix node.

By mixing the two layers, the only benefit we get with this setup is a threshold I think on how much lighting and shadows is working in the scene. In this render I’ve only worked on the shadows but you can use the same shadow node setup, adjust the color ramp to only work on the lighting parts of the render. The main differences from the base render of the shadow pass and after the compositing is that the shadows is much more sharper and edges, harder after compositing.
We are also only targeting hard shadows, All black, not soft shadows that cast grey onto the objects. The setup differs with the color ramp to allow soft shadows or not.
Now the reason why I have decided to use the Combined layers shadow pass instead of the Background layers shadow pass is so that there is consistency with the shadows for the Background and Foreground layers evens though in the end I ended up not using the shadow pass to mix it with the Foreground, with the other reason being the lighting setup for the Background and Foreground be different. So shadows on the Foreground layer will be different from the Background Layer. Since this was rendered in Eevee the Foreground layer where the characters was did share the same Main Light as the Background, but there were extra lights using light linking to get the NPR shader to look good around the face and body, as well as the rim lights that is the NPR shaders output and not actual light sources. So in the end I did not use the shadow pass from the Combined layer to mix it with the Foreground and only mixed it for the Background layer.
I rather focused on making the main shadows in the Foreground layer look like they coming from the same direction so that the Background and Foreground shadows look some what the same angle, evens though it’s not the case and in some parts you can see that it’s not, and I went with creative freedom instead.
As for the Foreground compositing
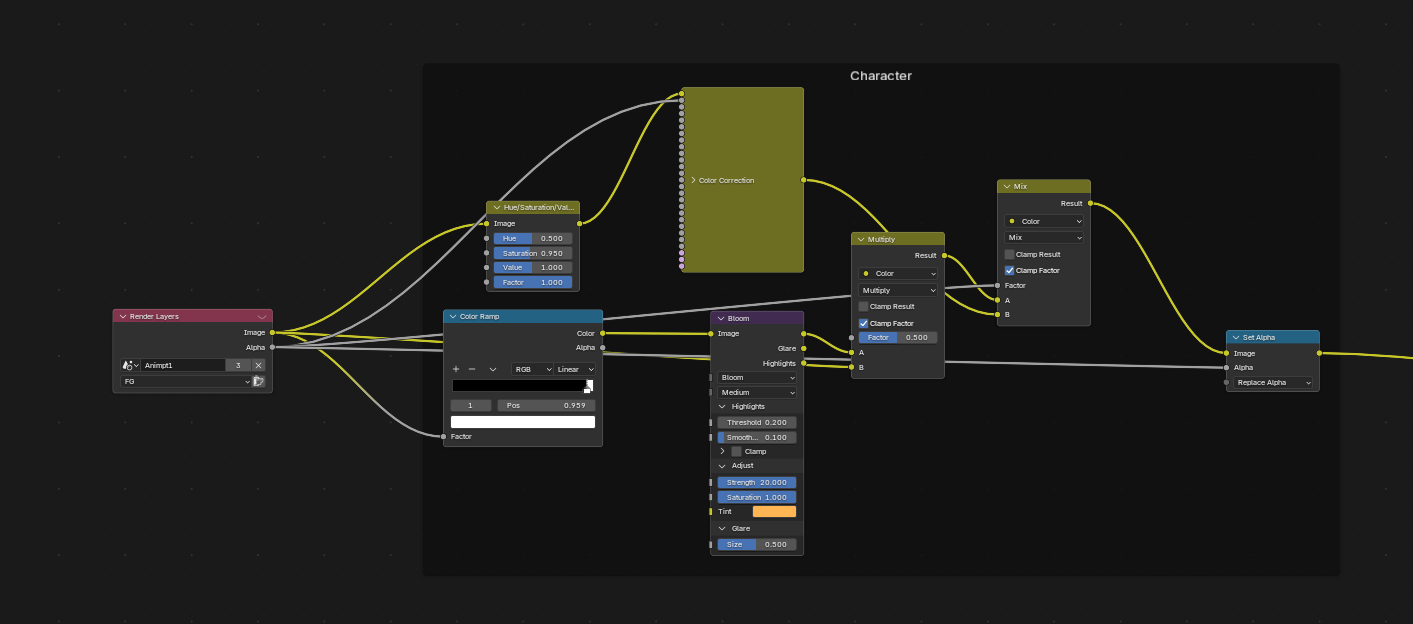
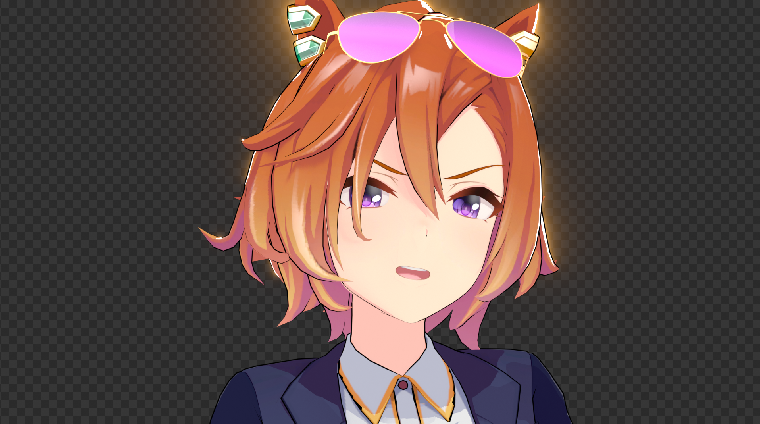
I think it be pretty standard, glow where the rim lights are, using the same method with the color ramp explained earlier for the shadow pass but instead using in this case it is for where the lights shine the brightest using the image pass instead the shadow pass. Minor color corrections to get the color out and it’s done.
Mix the 2 with an alpha over node, with some final touch ups overall and we get the final render
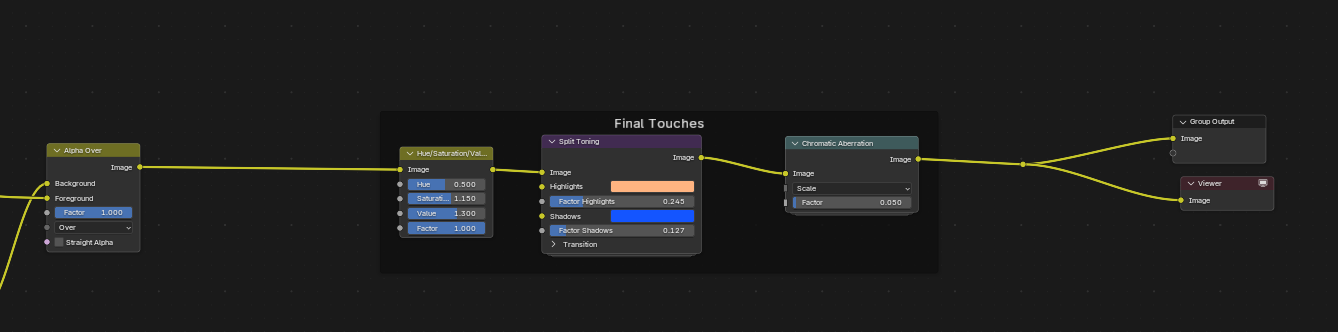
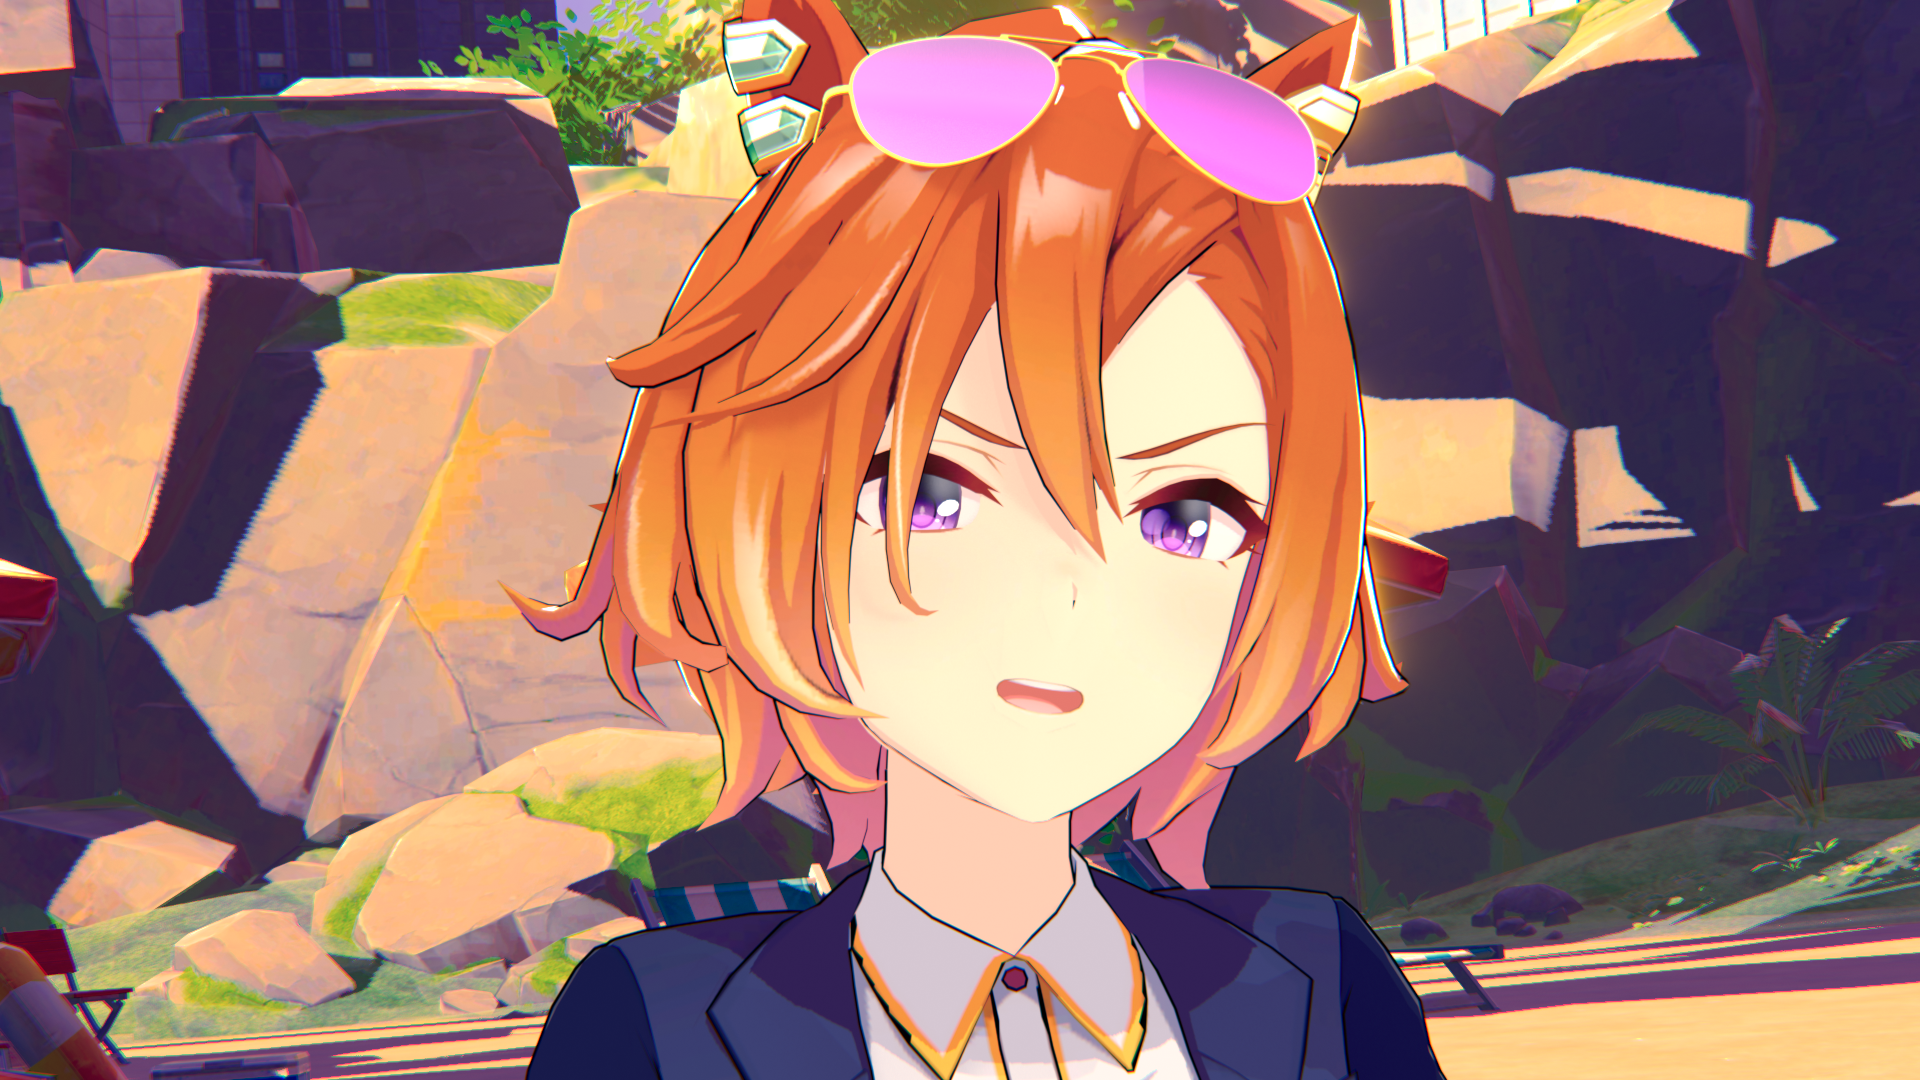
There it is, the Final Look. I was probably dum in some steps and there could be a better way to do it, but if anyone would like to try this compositing setup cause it be interesting maybe, there it is. This be the Main thing I wanted to share from this project cause it was fun making it. I think I did enough and not go over the top burning myself out polishing every little detail there was. It was honestly a stress free, fun project, as brain rotted as it was lol.
Final words, a lesson from a fish while making this project
Aye, Thank You for your time in reading, I hope this helps you and have a Good One 