~Unable to rig objects to head~

Hello,

I’m pretty sure that I am probably missing something simple but not sure what though. When I use With Automatic weights to parent the mesh to the Armature, the head will move but not the eyes, nose, mouth and horns stays in place. The objects are set to parent with the head (screenshot #3) but for some reason, they no longer move together with the head when I parent the head to the armature. I did try searching for myself and found this but Unable to successfully parent armature but if there are any posts or tutorials that you believe may be able to help me, I would appreciate any insight. Thank you for your time.

Try connecting to Bone

@oo_1942 Thank you for your response. When I connect to Bone, it now moves the whole body instead of just the head. Could it be that I did not create a separate mesh for the head?

Connect your body to the existing method, and connect your horns to Bone


ParentToBone.blend (129.7 KB)

If your objects do not line up correctly try Bone relative, also using the crtL+a to apply transform on your objects to zero them out helps

@oo_1942 and @Kragnour

Thank you both. When I use Bone Relative, it links to the Upper Arm L instead. I will just delete the Armature and start over clean. Is there a recommendation when rigging a mesh like this? (i.e. Rigify vs Single Bone etc.).

If the parts are separate they should parent to the head bone ok, if not separate objects you may need to check the weight maps for the bones that affect the parts you want to move .

1 Like

You can remove the existing settings and do it again. :slightly_smiling_face:

I think there is a mis-understanding someplace here… or confusion, or something…

Technically, the Horns, Nose, Teeth, Tiny Eye(r/l) and Tongue are children of the body mesh object. If you want these parts to just move around as the head bone moves then:

To connect the Horns to the head bone for example, un-parent the Horns from the Body mesh. Select the Horns mesh object, shift-select the armature object, enter pose mode and select the head bone, then do the CTRL-P → Bone. This will make the Horn mesh a child of the head bone.

I think here

You parented the Body mesh object to the head bone. I think this is where you went wrong.

To fix this, I think I would clear the parents of everything. Select the body mesh object, shift-select the armarture object and CTRL-P → Armature Deform → With Automatice Weights option. This should give you control of the Body mesh. Then select the Horns mesh object, shift select the armature object, enter Pose mode, select the head bone and CTRL-P → Bone option.

Care to post the .blend?

Randy

2 Likes

Thank you all for taking the time with your insight. I had followed some tutorials (links below) that were close to what I am trying to accomplish. It works now, not perfectly, but I plan to go back and try again from scratch at some point. I am providing my file for your critique IF you care to. Either way, thank you all again.

3D Monster2.rar (1.4 MB)

This is a rigging lecture. (Channel that created horned character lectures)

If you want to follow Fox’s entire lecture in the video, you can watch the morelling lecture or download it from the attached link.

1 Like

Hey, glad you posted up the file… I did some work to it.

3D Monster2_work.zip (2.7 MB)

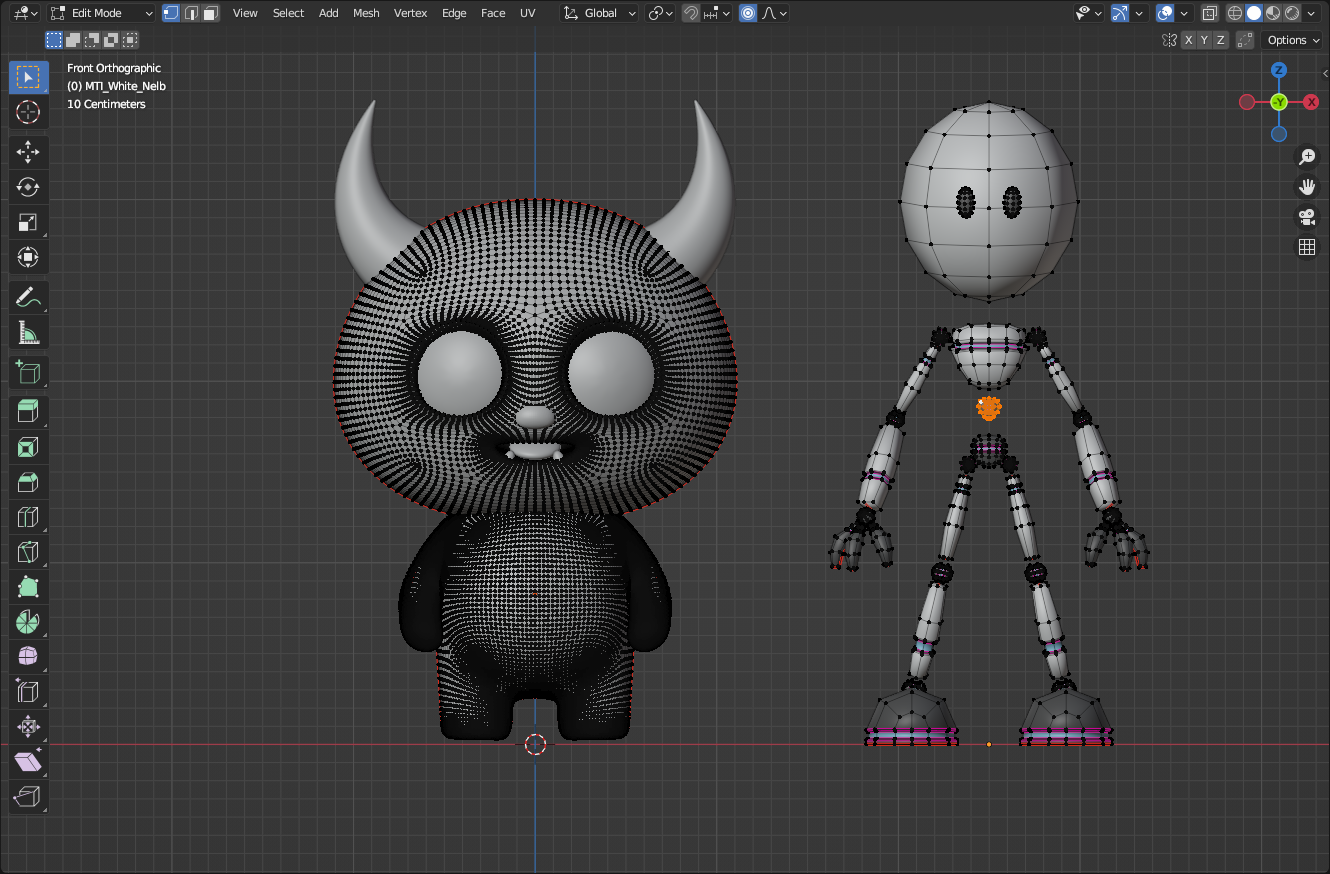
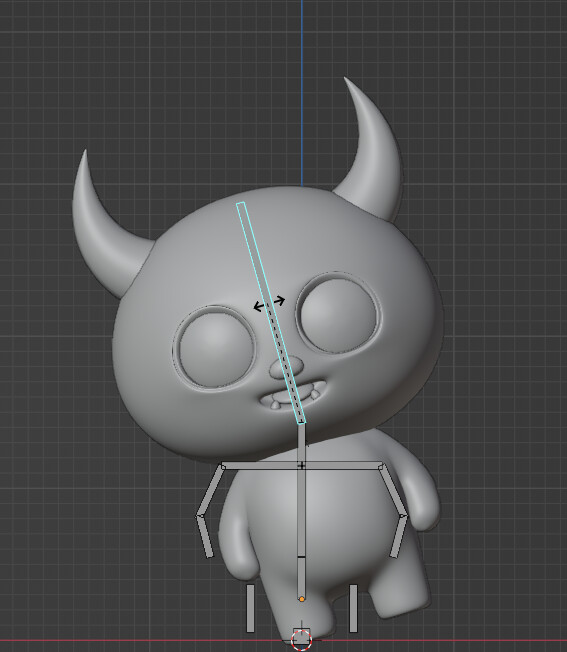
First, I worked on the eyes a bit, just the left one. Bones rotate around the root - the fat end of the bone. You had the root of the eye bones positioned at the back of the eye, so now the eye rotates from the back of the eyeball. Normally, you’d want the eyeball to rotate around it’s center. I removed the bone from being the parent of the eye mesh. I selected the top center & bottom center vertices of the eye mesh and snapped the cursor to it. I selected the root of the eye bone and snapped it to the cursor. I then selected the center vert of the pupil, snapped cursor to it, snapped the tip of the bone to cursor. I also moved the controller for the eyes out a bit from the face, doesn’t matter, I just like the controller further away from the face.

I also worked on the leg a bit, just the left one. You had the leg bone going in the wrong direction. The root was at the bottom of the leg, so I switched direction of that bone and split it into 2 bones. Leg L and Lower_Leg L, then I also added in a Foot L bone too. This way you have an upper leg, lower leg, and foot bones. Next, I re-weighted the mesh since I added in new bones so they will deform the mesh. I then set up the IK constraint to use the same controller bone you had, but re-positioned it. I also added a copy rotation constraint to the new Foot L bone targeting the controller bone. Also, when I split the leg into 2 bones, I moved the junction of those bones forward a bit.

Now when you grab the Leg IK L bone and move it around, the leg works as best a stubby little leg can. Rotating that controller will rotate the bottom of the foot around too.

When using IK constraint, your target always wants to be in front of the tip of the bone, unlike the postition of your arm controllers. IK makes the bone want to go to the control bone, so the control bone can’t be in the midde of the IK bone. IK also wants a little bit of a pre-bend to know what direction to work in. That’s why I pre-bent the leg.

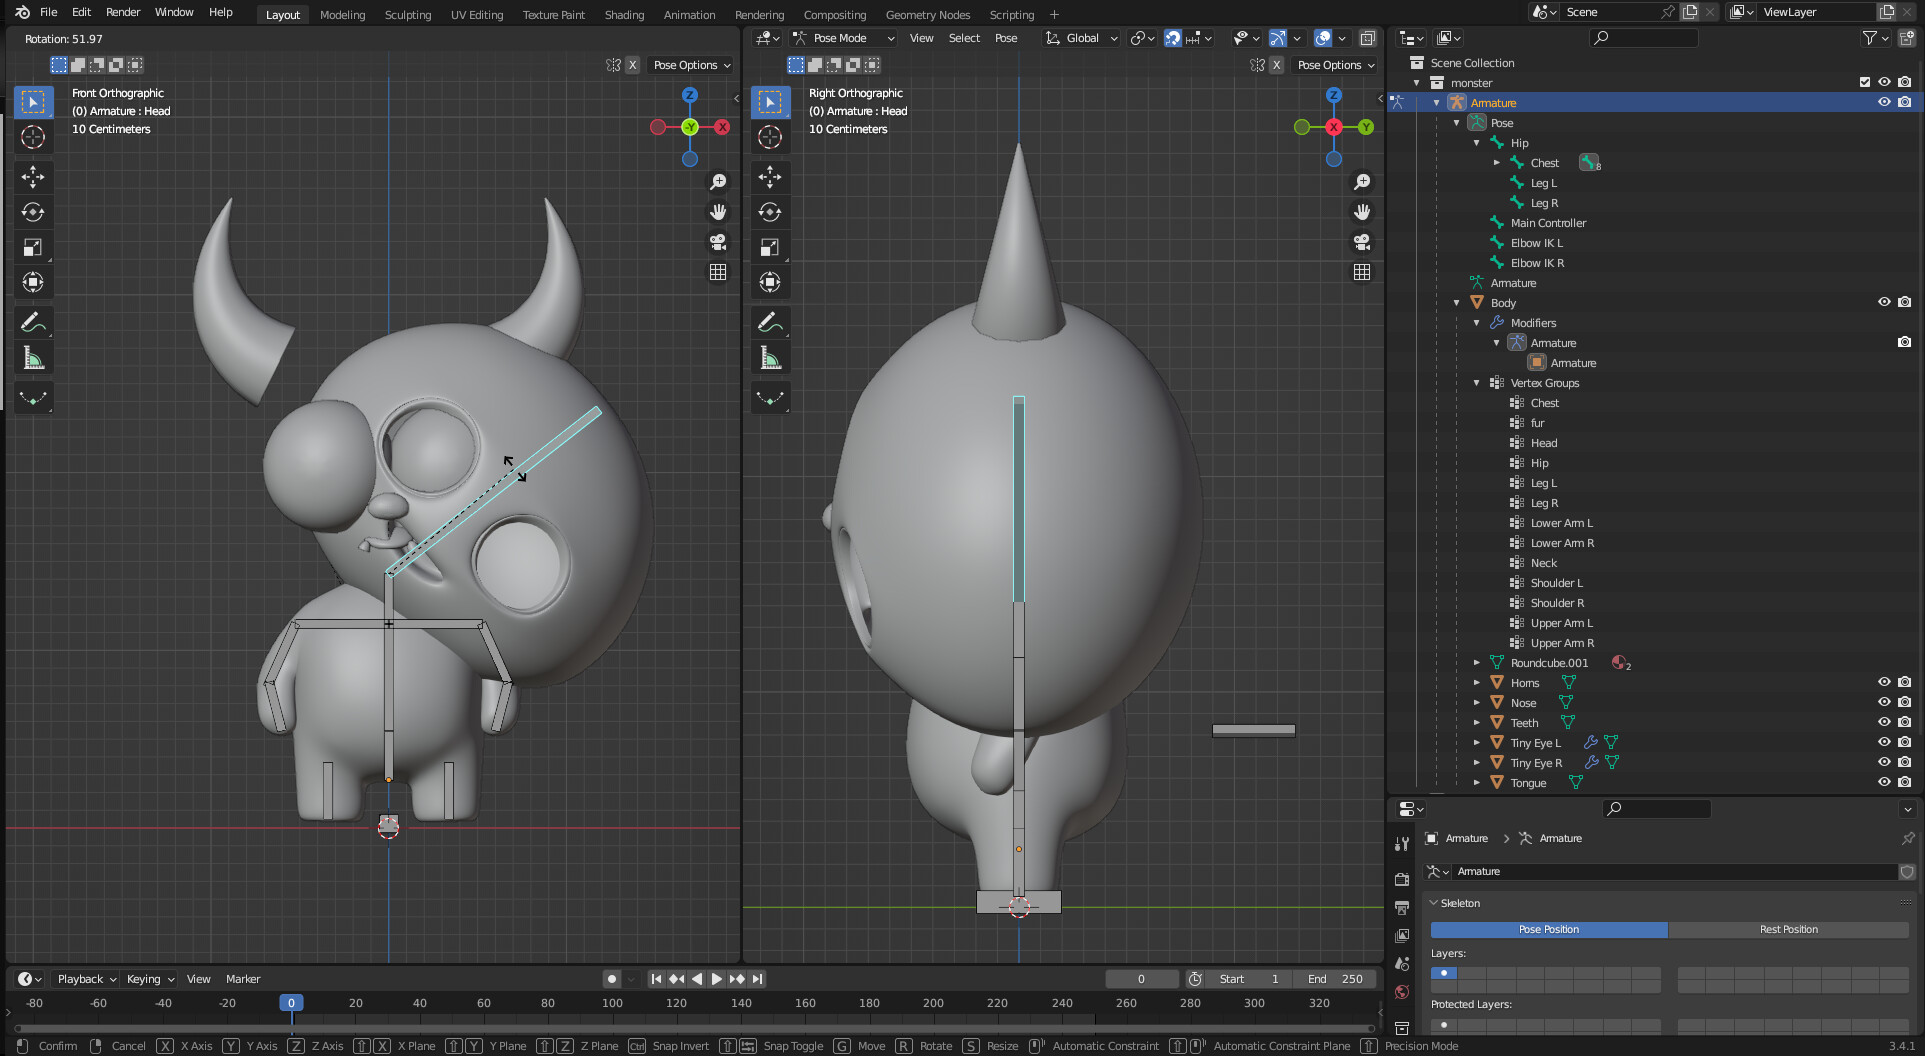
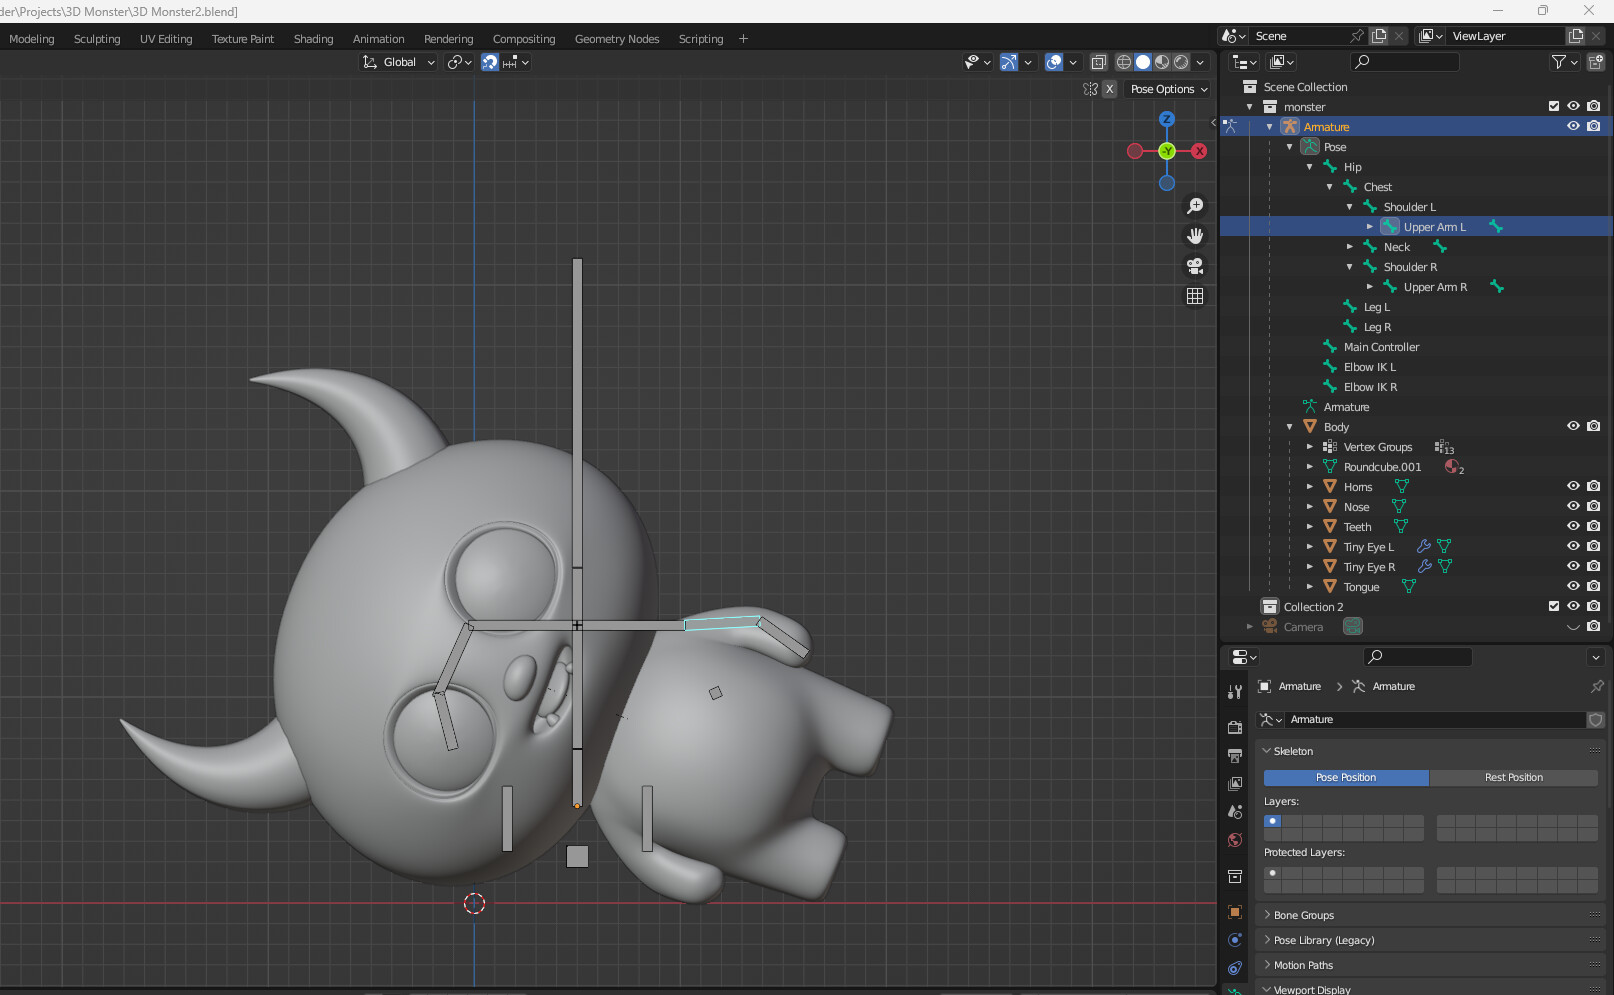
I also noticed, if you select the armature in object mode, look at it’s scale values, they aren’t 1. The mesh, in object mode, also has scale values that aren’t 1. The golden rule of rigging in blender is both object should have the same location, rotation, and scale.

I have more advice and info for you, if you’re interested, but I’d rather be animating right now…

Randy

1 Like

@oo_1942 I will take a look at the lectures @revolt_randy along with the file AND you taking the time to explain. Thank you all so much. I am truly grateful for this forum.

1 Like

Some more thoughts that I didn’t post because the last post was so long…

When I re-did the leg, adding in bones and re-weighting, the head deformed strangely. The bones that move the eyes around are set to deform, (check box, bone properties), I turned that off and it fixed the head deform. Because the eye bones are just moving the eyes around, not changing the mesh shape, the bones don’t need to be set to deform. At some point in time, you should clear all vertex groups and re-weight to get rid of the weights it created for the eye bones.

The mesh is also very dense, lots of verts for such a simple character. Did you apply a subsurf modifier at some point? If so, you don’t want to do that. Leave the subsurf modifier in place and position it after (below) the armature modifier. This way, the armature will have less verts to move around. This will make animation playback much faster because the computer has less work to do.

Also noticed IK on the head, you can get rid of that, it’s not needed or useful. Here’s an old video I did of FK & IK - https://vimeo.com/manage/videos/15309972 Which should explain when & why we want to use IK.

Hope this helps,
Randy

1 Like

@revolt_randy I do/did have a subsurf modifier but had already applied it. But now I understand why there are so many vertices in the mesh. Thank you so much for the valuable feedback!

I meant to post this before, but here’s a comparsion of your character and the one I’m using for animation now

My character can play thru animation at 24 fps on my computer, you’re character would drag my POS computer to a slow grind…

A good habit to get into is saving files with incremental file names. Start modelling low poly with subsurf & mirror modifiers When you make a major change, like applying the mirror or subsurf modifiers, save the file before this with a number at the end of file name, character_1. Apply modifiers and save as character_2, then work on. This way you can always back up to before you made the major changes.

Feel free to ask questions,
Randy

Ha, mine isn’t much better. The refresh rate is slower than molasses. This is great, I will start doing this. You don’t know how many times I have to remake a copy and rename the file because I made a big change and couldn’t go back on. Thank you. If you don’t mind me asking, what kind of animation are you doing? Like, does it involve VFX?

Sorry to say then that you might want to re-model in lower poly. Model low poly with mirror and subsurf modifiers. Once complete, save with filename ending in a number, apply mirror modifier, save with filename ending in a new number, then start rigging. Leave subsurf modifier alone.

Just stupid little ones right now, like this and this that I did for the weekend challenge contest here on the froum. I actually like the rocket man one and have kept going on it, modeled out a scene for him to fly around in. Smoke sim for the rocket pack. I guess you could say some VFX in that I’m trying to make it look like a 90 year old film. Current rocket man animation file ends with ‘_5’, btw…

Anyway, keep at it! Everyone stumbles now and again, I’ve had to step back a few times too on this animation.

Randy