So I wanted to UV unwrap it so i can “color” it. But when I go to edit mode I get a cube from my face (that was my starting mesh).
The question is: how do I UV unwrap the face? What’s wrong?
I think it’s kinda obvious but I’m missing something :eek:
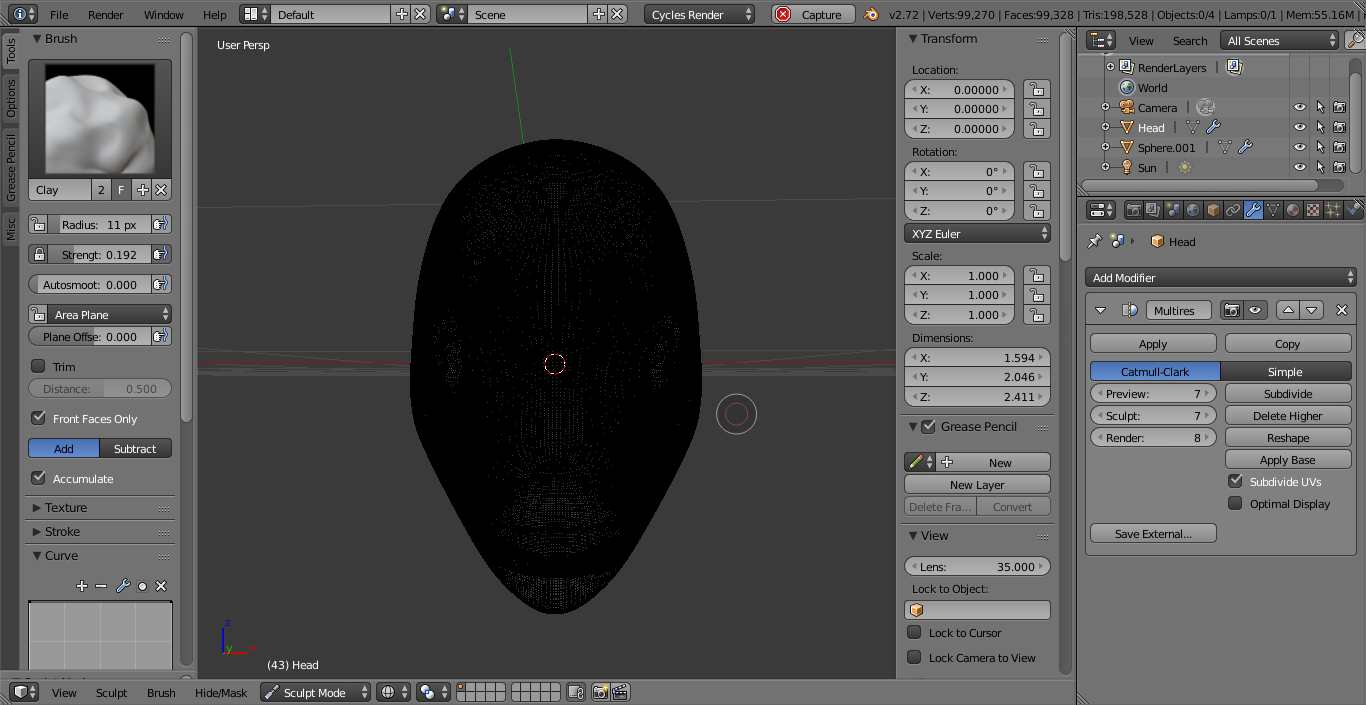
I’m making some assumptions here: You used sculpt, and multires, and have not ‘applied’ the sculpting to the base mesh yet, so Blender only ‘sees’ the original cube. If this is the case, then ‘apply’ the multires modifier to the mesh.
Then you will have another problem on your hands, because the topology from a multires sculpt is horrible.
Anyway, people here will probably need more information to diagnose and help fix this problem. A simple ‘beauty render’ of the model doesn’t provide much to work with, since you aren’t asking any artistic questions about the work, just technical questions about the mechanics of the software.
So, can you provide a screen shot of your blender workspace with the settings and so forth that you used to get to the point your at now? Ctrl+F3 takes a screenshot.
Thank you, that was exactly what I was looking for. I haven’t applied the modifiers, and again you’re right, the topology will be horrible.
I consider this problem as solved, but then I get another problem related to this: if the topology is horrible with multires, then what will be the best for creating pretty realistic human face?
That’s how it looks…
[ATTACH=CONFIG]351597[/ATTACH]
Thank you, that was exactly what I was looking for. I haven’t applied the modifiers, and again you’re right, the topology will be horrible.
I consider this problem as solved, but then I get another problem related to this: if the topology is horrible with multires, then what will be the best for creating pretty realistic human face?
That’s how it looks… You won’t see much of the face because of the count of verts, but yeah I guess it doesn’t matter since I’m not asking for artistic review
There are two main approaches. The first, you are half way there: you have your shape done. Now to get a good topology, you use the re-topology tools. Look for tutorials featuring ‘retopo’. Here are a coupleof them.
The second approach is to model from reference photos or drawings, and use good topology as you go. This is the more traditional approach, used before the sculpt tools were improved. See the first few videos of the ‘Blenderella’ series to see how that works (look for chapter 2 videos). There are also other tutorials available on the web if you search for “blender+head+model”.
Dont draw the texture when your object is still modified with multires, The best way is, make a low poly of it, bake and apply the normal map of the original mesh on that , then you draw on the lowpoly.
The best way to unwrap is like following picture, this is one of my human models. I followed this structure in most tutorials of modeling human on internet. With that you have all faces with the same stretch/ quality.
The model with texture is the low poly one.
I am a newbie in designing human model just like you. Hope this help. Anyway, dont sculpt with multires modifier, it doesnt help much to create details. Start to sculpt a base mesh, and apply Dynamics in Topology in tool tab of Sculpt mode.