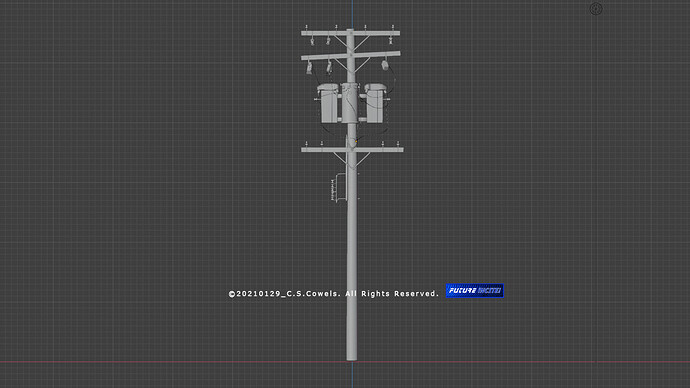
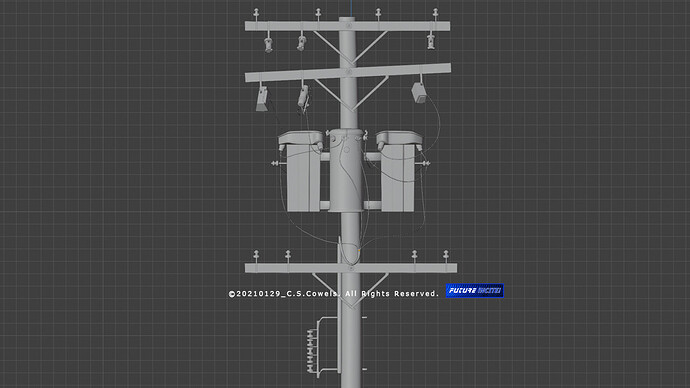
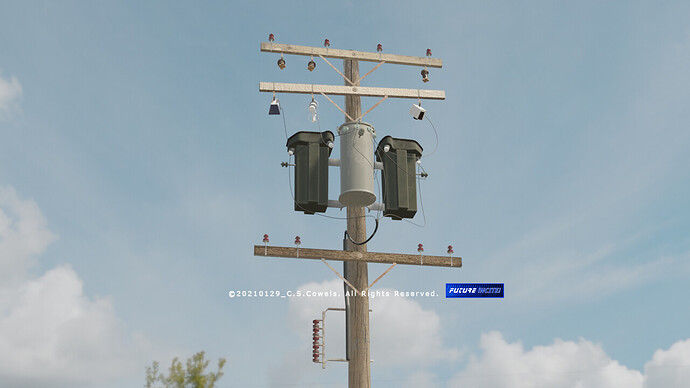
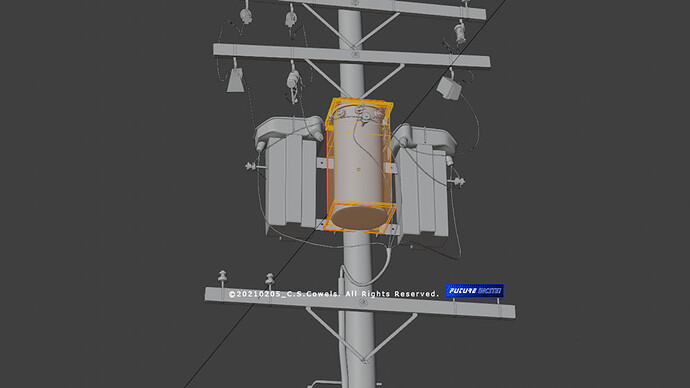
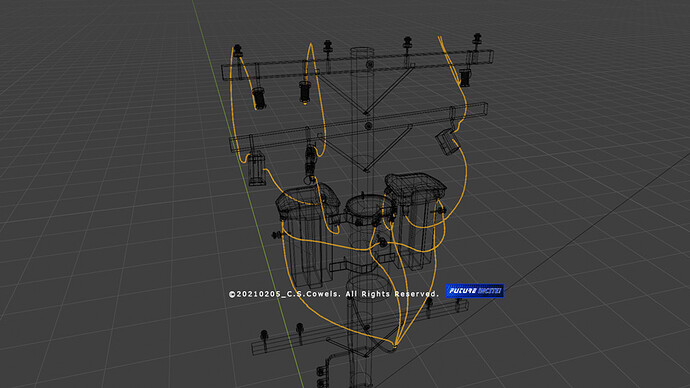
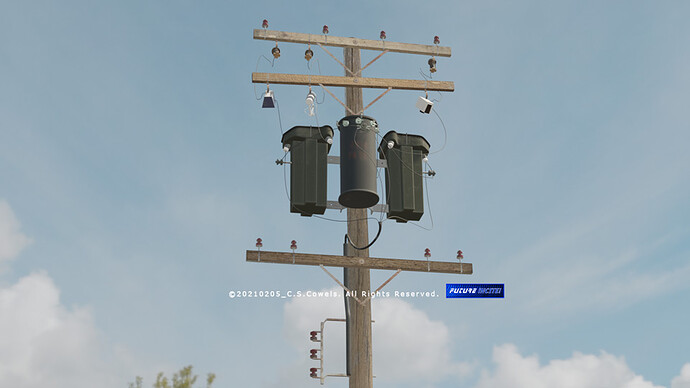
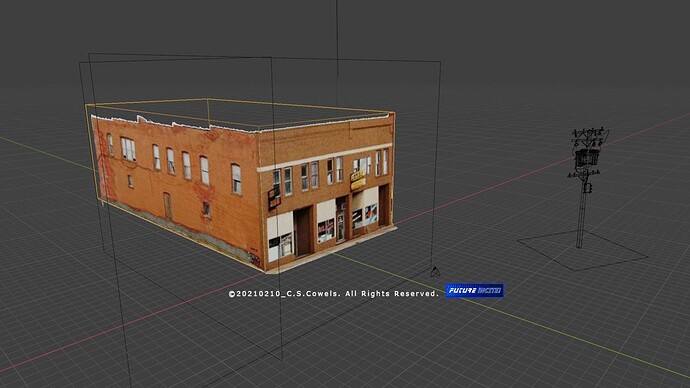
I created a utility pole with transformer assembly as part of my OPFOR scene. Nothing fancy here, all just basic cube shapes with subdiv applied, and that goes for the cabling as well.
from which country are these use ?
what are the 2 greenish box ?
nice beginning
happy bl
That looks great!
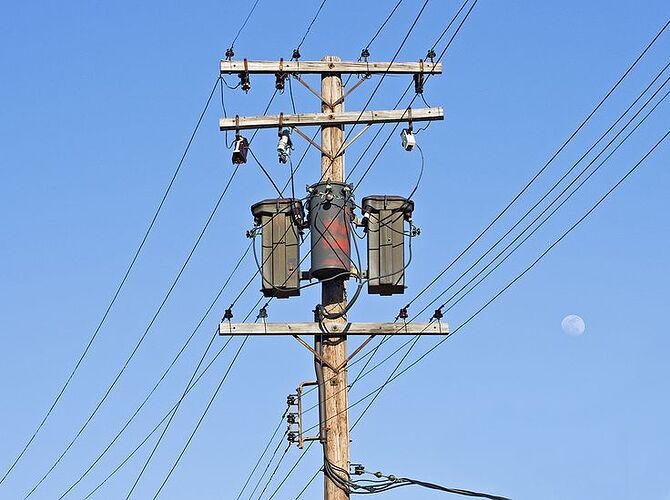
Thank you FellowBob and RickyBlender for the compliments. The two green “trashcans” adjacent to the main distribution transformer are also distribution transformers housed in those containers. I based my model off of an image I found online (see second image below). For me, it gives the pole more of a “jury rigged” or homemade look. Normally distribution transformers are three of a kind, whether they be of the brick/square variety or cylindrical in shape.
What I do find interesting with the reference I chose, is that there are no primary inputs coming from the center cylindrical transformer that connect to the main fuse unlike the image above.
It’s perfectly okay to call the local power company to ask them for details about how the things are actually wired. I’d vote for putting the two top-bars parallel to one another because that’s how they would mount them. If this is to be a “prop” in a larger scene, I’d say you’re good to go.
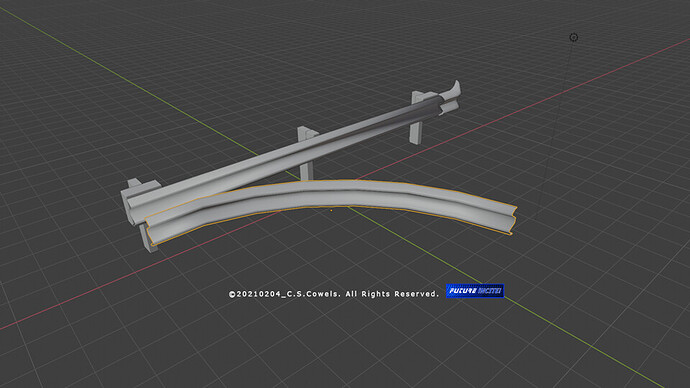
Hey, thanks sundialsvc4. Great suggestion. Will do, but I do find it a lot more interesting that this particular utility pole is different. I’ve since noticed some items I need to fix on the pole, in addition to the textures… In the mean time, I’m working on traffic guard rails. I appreciate the input, one and all. I can’t update/upload as much as I would like to, so this constructive feedback means a lot.
i think you should replace your green can TX LOL
i’v never seen TX like that in North America
but at 480 that is probably USA
*note: i’m in electrical mostly industrial but on occasion *
have done some TX line like that !
happy bl
So I took some time to work on the Utility Pole model and finesse the details a little more.
I added to the wiring/cable harness by simply duplicating a face of one of the extruded cubes, repositioning it into a new place and extruding from there. All the cables share the same texture and are basically the same “cube” spread out over different places on the transformer.
The distro-transformer support rails have cut outs and the cables have been re-attached to the stand-offs. The mid-level, side mounted high voltage connectors have been reduced in number from 5 to 3. In addition, I also multiplied a base color to make the second cross beam darker and increased its roughness to make it less reflective. And lastly, added some spray paint “stains” to the center cylinder.
At this point I think its ready for placement in a larger scene.
I’m wondering if the reference photo I used was taken of a utility pole on a construction site. Possibly providing temporary power to a construction office trailer before the “real” unit arrives? Anyway, I thought it was an interesting variant of something many of us see everyday.
The utility pole in “place.”
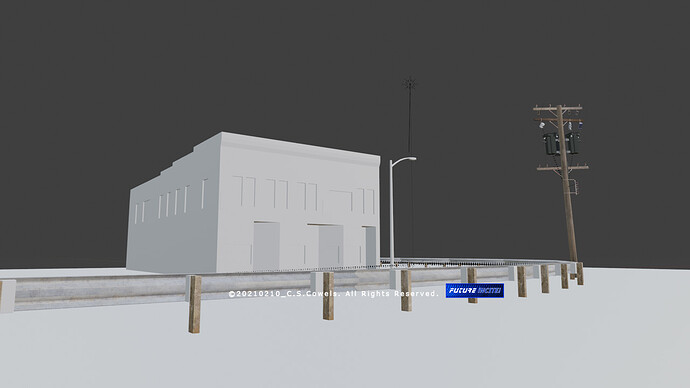
Blocking out the guard rails, lamp post, building and other items for the larger scene.
This will ultimately be an animated scene, so I don’t intend to make a complete interior for the building structure.
To be continued…
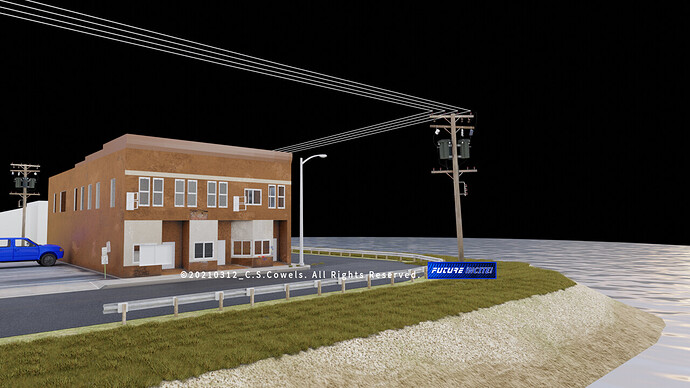
When set in place it looks both plausible and accurate. 
Not much of an update but an update nonetheless.
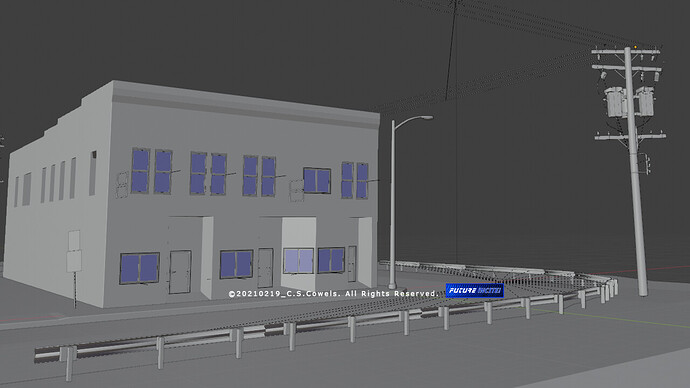
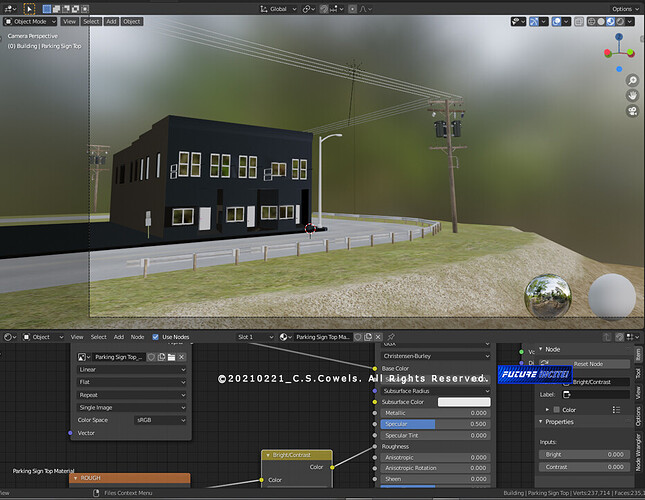
Power lines have been added to the top high voltage fuses, a rudimentary road and ground form have been placed, lamp post added, traffic/parking sign added, traffic guard rails have been resized and basic interior wall forms for the second floor are all in place. Also added planes for the first floor ceiling, second floor and second floor ceiling.
Doors and windows are also in place (may decide to remove them later on).
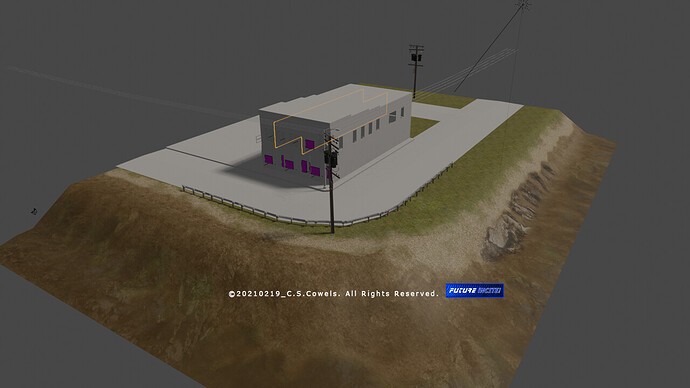
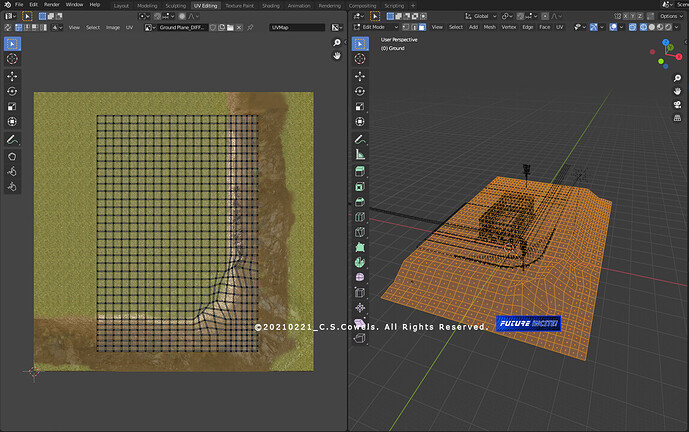
The ground texture for right now is just a diffuse placeholder and does not include any PBR goodness at this point. I just wanted to see what actually shows up in the camera view and what doesn’t. I need to move the sandy area in front of the building farther away from the road to match the area on the building side (This was actually a borrowed texture from an earlier UV MAP version).
Sundialsvc4, thanks for the thumbs up!
can you explain how you did the ground part
is it painted or some special nodes set up ?
looking good but a bit isolated
almost like an island
keep up the good work
happy cl
Hi RickyBlender (and to everyone else who is following this thread),
The ground part is just a plane that I subdivided a number of times (and not even equally) and then using a bit of ,not so proportional editing, pulled it down to create sloping edges on two sides. In other words, nothing fancy.
The ground texture is created from many layers in Photoshop of rocks, grass, dirt etc. I’m trying to keep this as simple as I can to minimize rendering time. Ultimately this will be part of an animation.
The isolation of the scene comes from the fact that I have already “locked-down” the camera , so there is no need to model anything outside of its viewing angle.
I have set up the nodes for the building, sidewalk and parking lot textures (which will be created again from images) but I haven’t created the textures yet, hence the black covering.
Thanks for the encouragement. More to come!
Running out of memory!
So I’ve learned a valuable lesson - not ALL textures need to be 4K resolution.
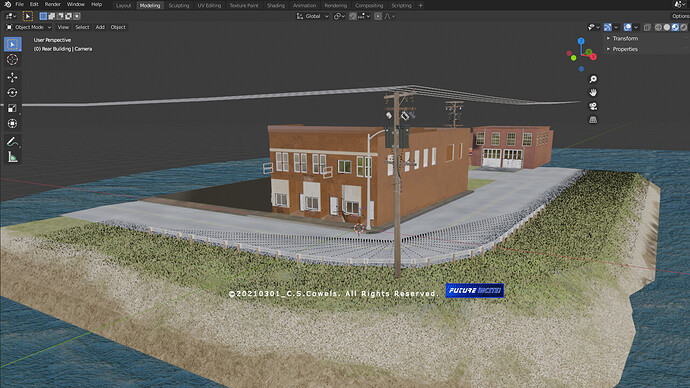
The image below requires 6GB of GPU ram just to view. And I haven’t added all the items to the scene yet (which of course all have 4K textures).
So next steps are to reduce the fidelity of the textures on the rear building (if not just project textures onto a cube surface- gee, there’s a thought!), replace the “hair” grass with blades and clumps of weeds and texture them with nodes instead of an image,
The water texture is a placeholder at this point, an image that was used as a displacement map and base color all in one.
Onward…
