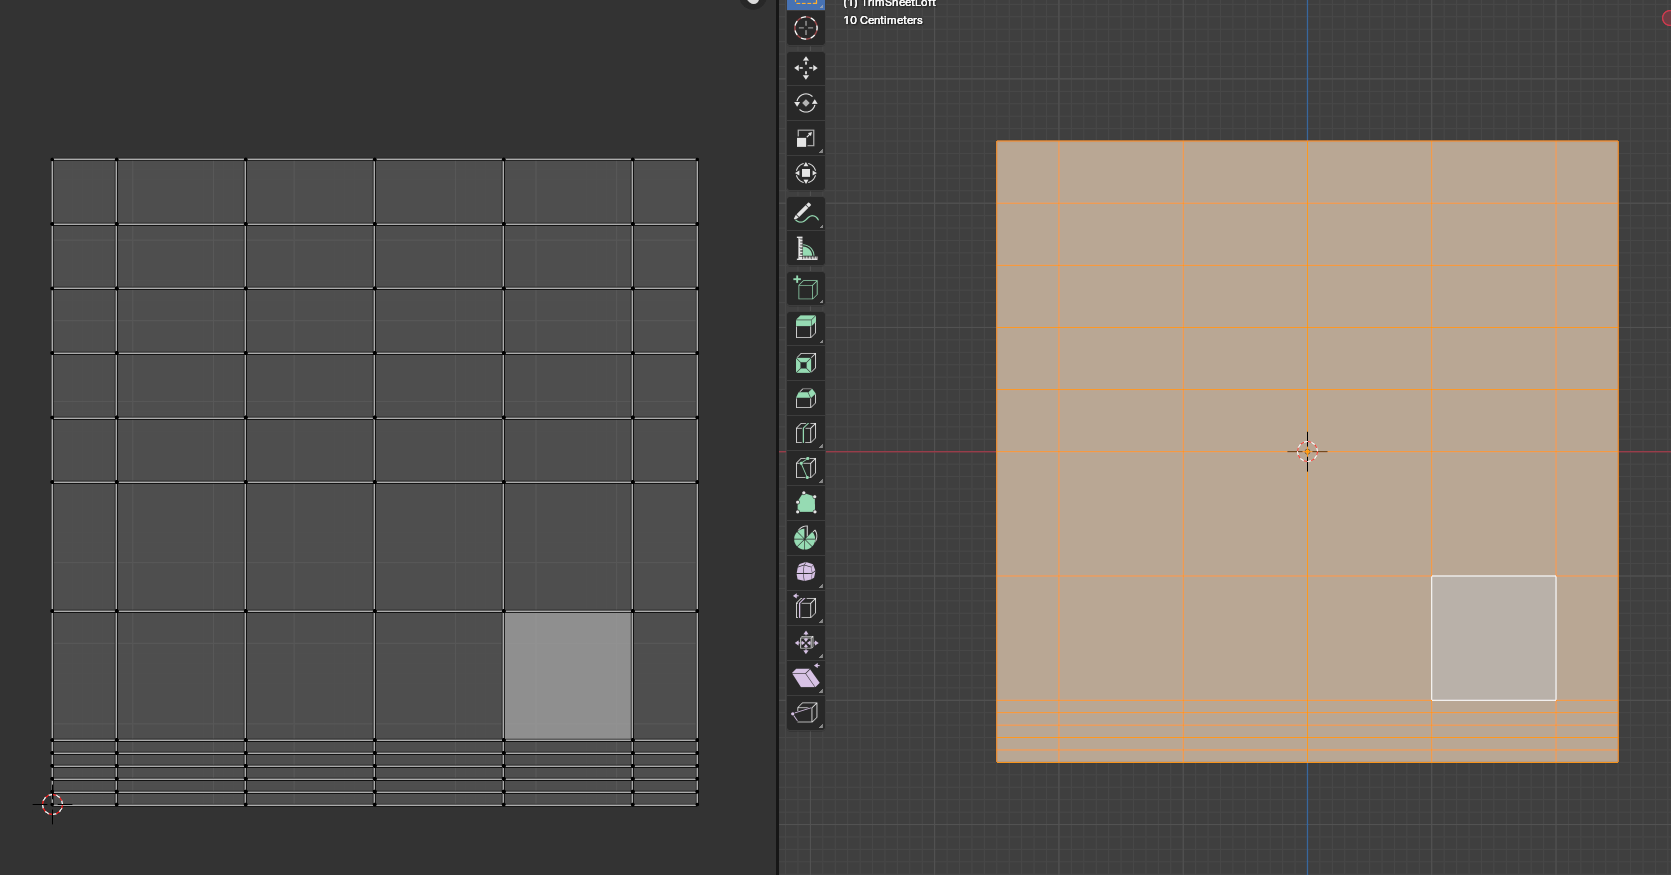
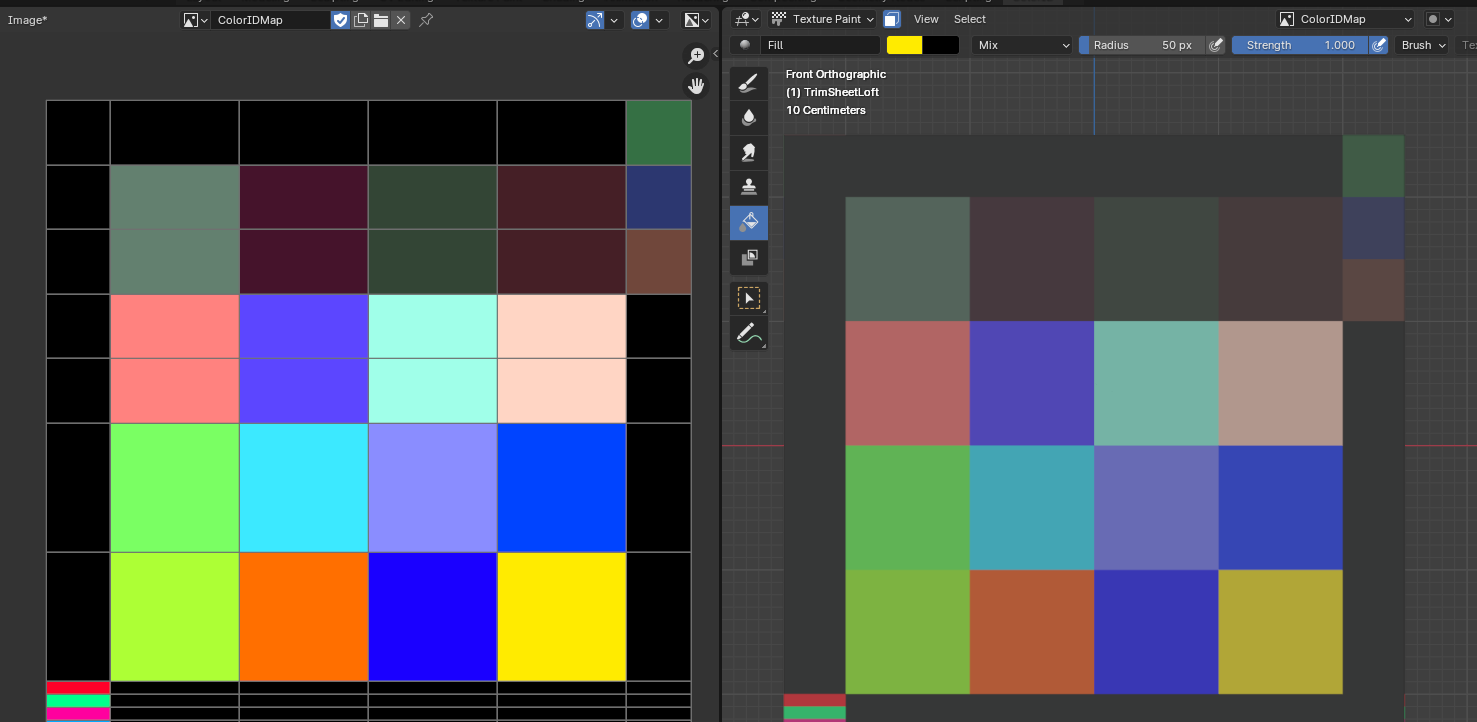
Hey guys, I want to create a TrimSheet for my project, which is why I first want to create a color id map. I have what I think is a simple object, namely a plain with a few cuts. I simply unwrapped this and then marked individual faces and filled them with a color in “Texture Paint” mode.
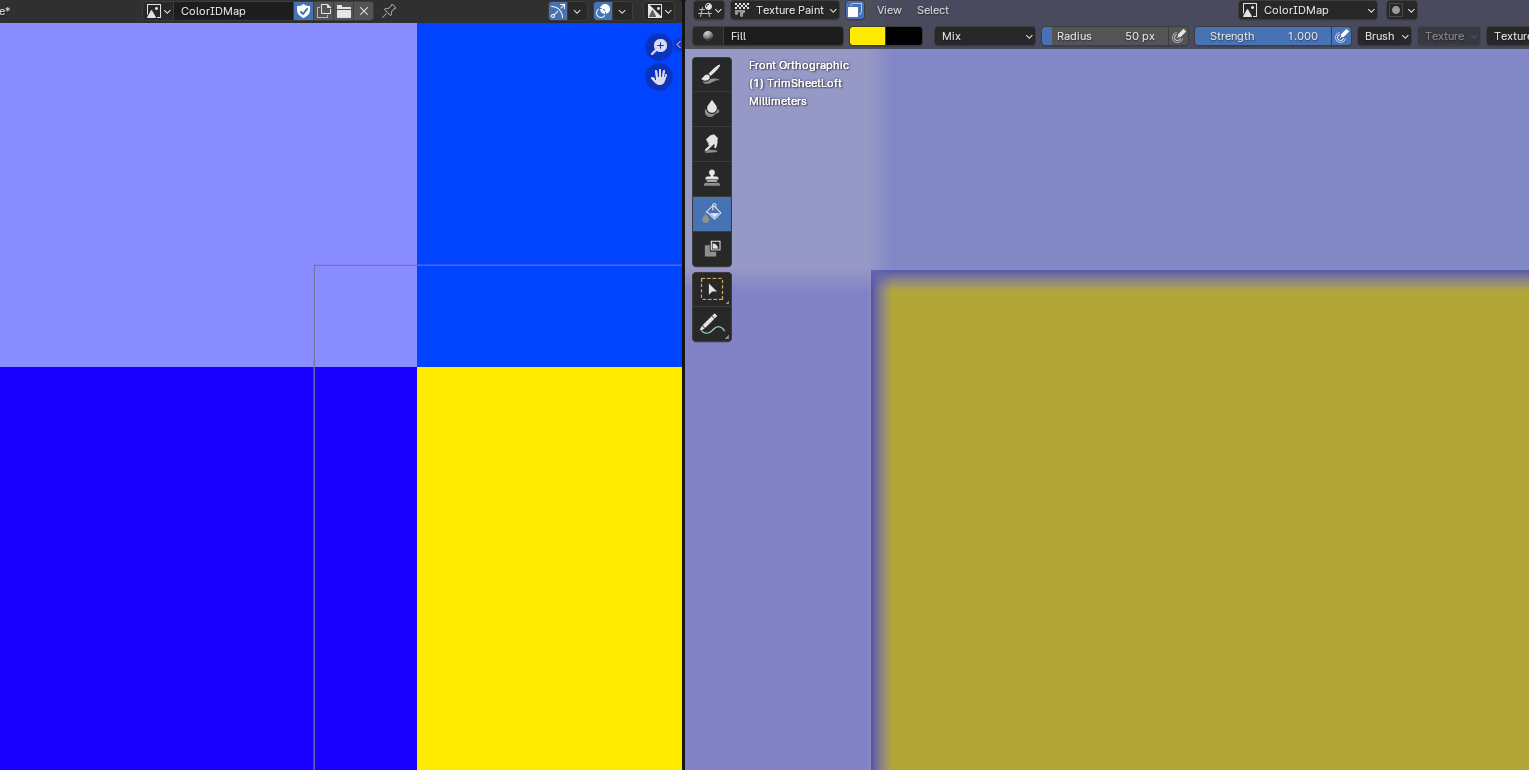
But now I notice that if you look closely, the areas of the UV map are slightly offset from the faces on which I painted the texture. That for “bleeding-edges”.
I can’t explain what I’m doing wrong.
Can someone please explain this to me?
I’ve attached the blend file here. trim-sheet-loft.blend (1018.6 KB)
Thats aliasing.Thats not particularly a trimsheet problem. Its generally a value problem when you convert a floating point uv to a discrete number for a specific texel fetch. Its generally more prominent with low texture resolutions like it happens in mipmapping. Thats the reason why uvpatches should have a gap between them
You mean a bigger texture resolution? Yes it will get smaller / less visibible with a higher texture res. Its influenced by the texture resolution the amount of pixels of the screen area it occupies, the difference in color of your neighboring patches in the texture and specific underlying texture filtering / interpolation method.
So try to increase the image res and change the interpolation method used in the image texture node.