Hello! I have done brief modeling work (mostly in Blender) before but I’m mainly a programmer and I feel like I’m losing my mind trying to do basic things.
So, in Unity when you apply a material/texture to the default cube it will automatically scale the material to the shape of the cube (no matter the original dimensions of the texture) and will apply the entire material to every side. I have done most of my work so far under the assumption that my materials would be applied like that, because I only needed to use the default Unity cube up until now. However, objects exported from Blender do not achieve the same functionality. Even exporting the default cube yields an object where the texture is split between every face on the cube.
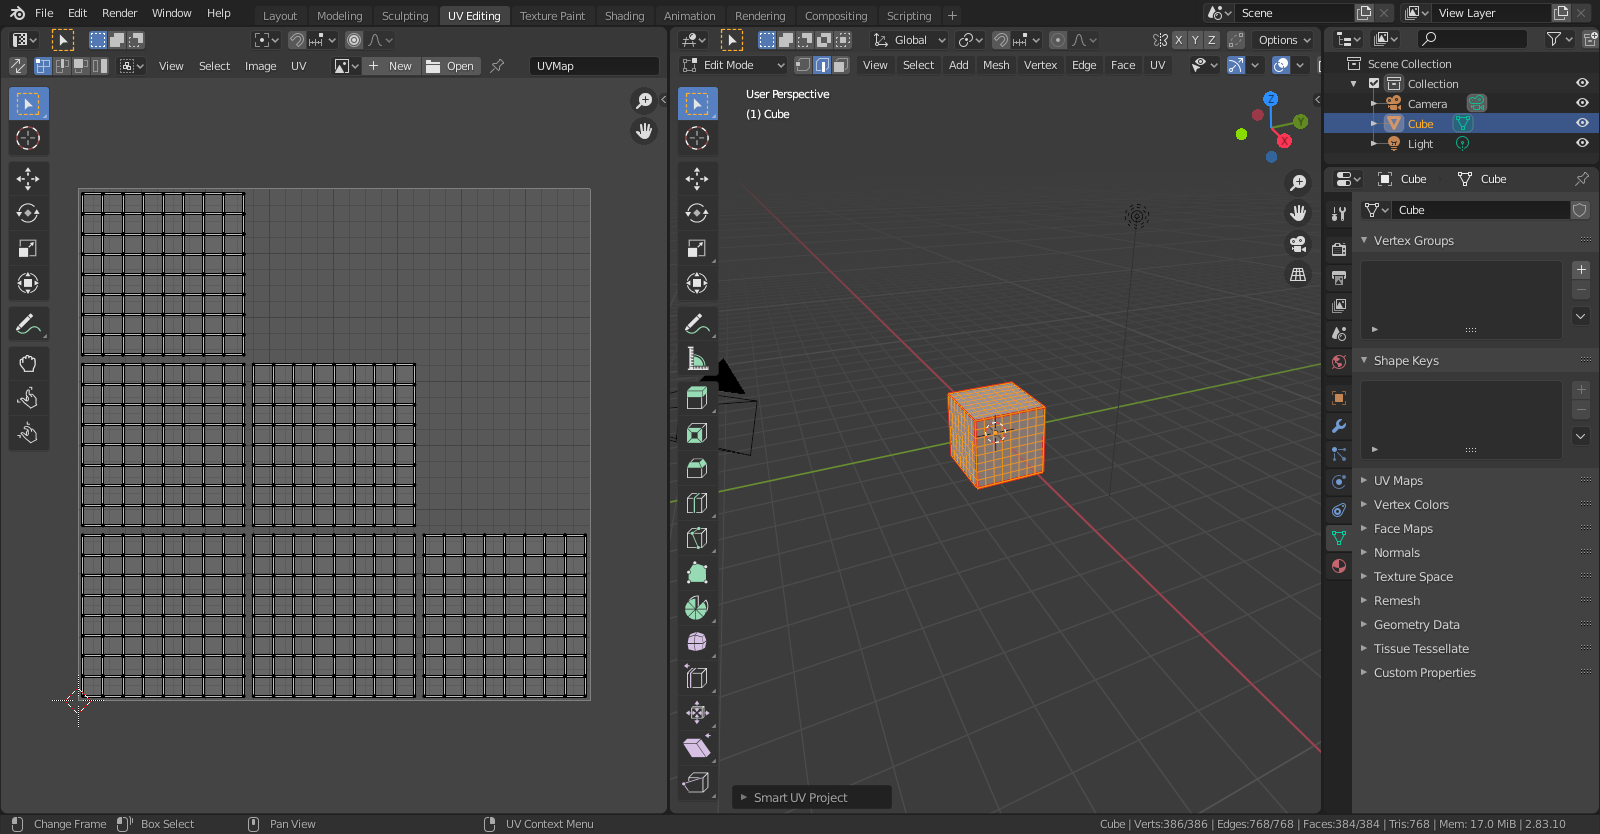
Now, the reason I’m using Blender is because I need a cube with way more vertices than the default cube for the shader I plan to use. Attached is an image of the cube I’ve subdivided. I really just want to recreate the functionality of the default cube in Unity, where I apply a material and it applies the entire texture (scaling it to fit the dimensions of the cube) to every single face. From my limited knowledge, I assume the issue is with UV Maps, but I don’t know how to make the UV maps scale the texture to fit the entire thing regardless of texture dimensions, nor do I know how to apply one UV map across many different faces. Any help would be greatly appreciated!
The behavior of the default Blender cube imported into Unity vs the default Unity cube when applying the same texture:
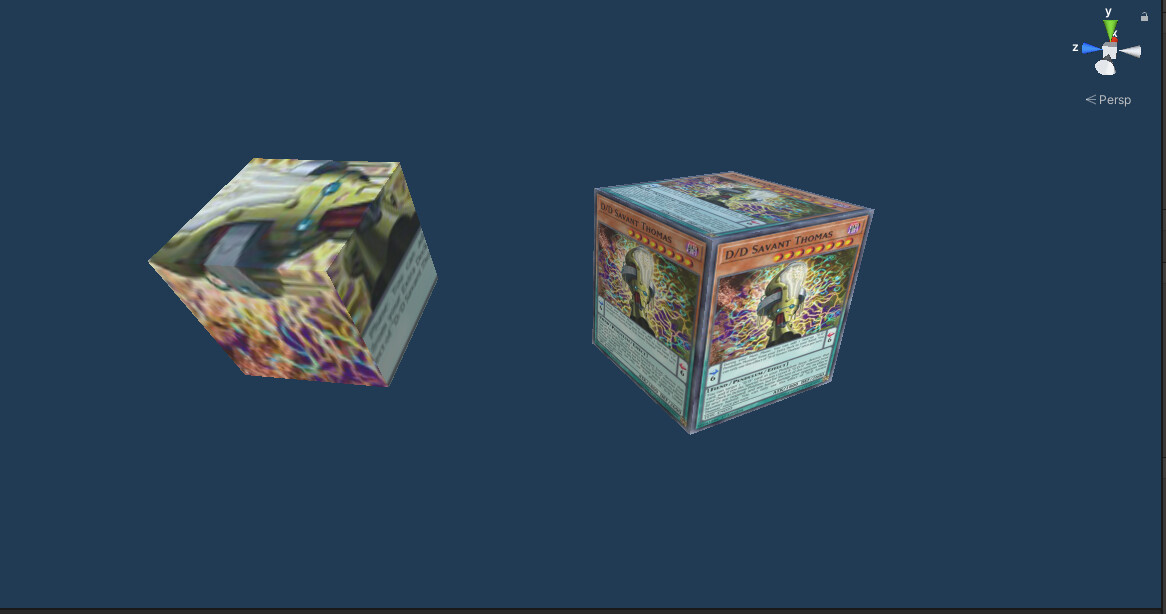
This is just a texture of a random card from Yu-Gi-Oh, but as you can see, the Unity cube scales the rectangular texture to fit the entire thing on the square cube face. The Blender cube not only doesn’t scale the texture, using only the portion of it covered by the UV map, but spreads the texture out over every face.
It will only let me embed one picture in this post, so here’s a hyperlink to the subdivided cube I’m trying to import eventually once I figure out how to UV Map everything properly. Basically four of the sides just have way more vertices, dividing them into many more parts than a normal cube so that I can adjust the object more finely using a vertex shader.
Thank you in advance for any assistance!!!
Edit: Sorry in advance if this is posted in totally the wrong section. I’m new to this forum.
