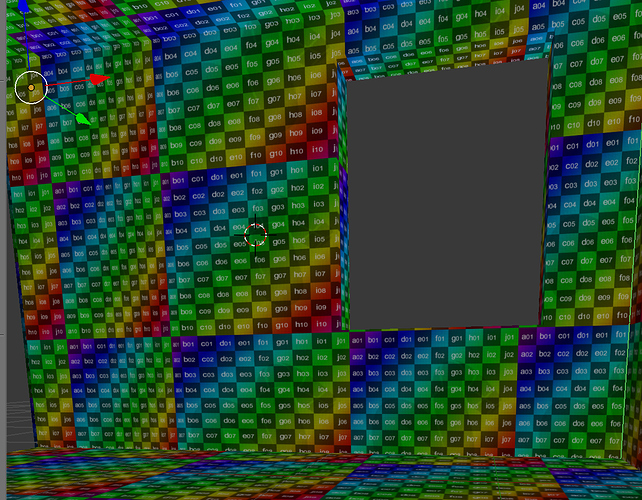
Hi, how do I fix the wall’s uv map easily? Some faces are stretched because I used loop cut and separated one line of the faces in the wall. How do I connect these faces back to one solid object with the wall? In UV edit mode it’s not a full solid object. Thank you for the help!
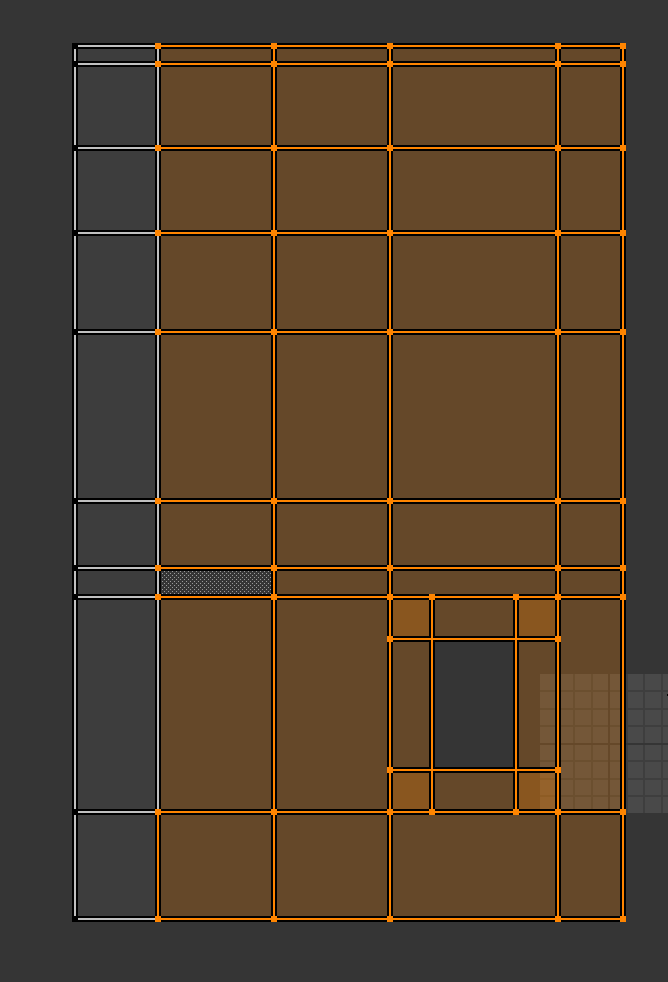
Here is a screenshot of UV map how that wall looks like when one line of faces is separated. How to connect the rest of the wall to one?
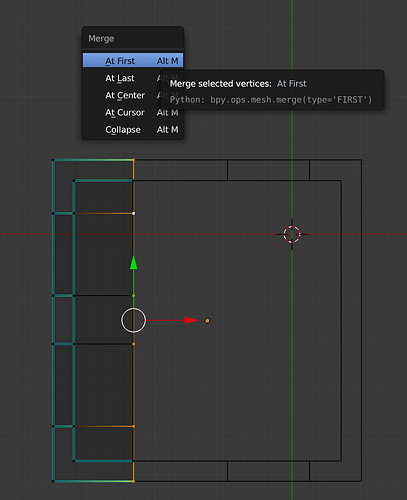
In edit mode of the 3d layout select the separated verts and alt+m to merge them together. Then unwrap again and there should be no separation at the sections you merged together.
Hi,
Thanks! Do I only have to choose vertices from the separated one or do I have to choose the object/island’s verts that the separated one will connect to that? I will try out.
I have heard about stitch, but dont know what it will do actually.
Thanks!
I tried to choose verts but my merge options are just merge at first, at last etc and it won’t connect to the object (house) on the left.
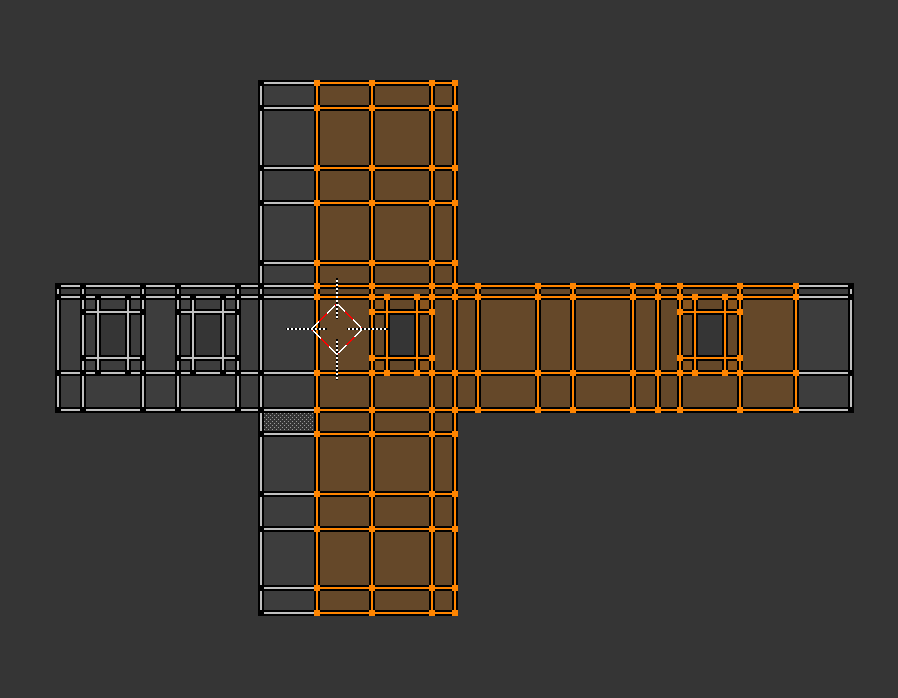
I used ctrl + j to join these two together. It worked but uv map is still separated… how to fix that that these are together again?
First make sure you don’t have doubles. In edit mode select all and W menu, remove doubles.
Then if you still have two UV islands select the border edge loop. And then use the stitch feature.
You can also unwrap again. But I would recommend making seams along the windows to cut those out or you will have unnatural stretching there.
Hi,
Thank you for your answer! I will check is there any doubles and let you know did it work out.
You told me about making seams along the windows. Do you have any example on this how does it work? Thank you.


