It’s the first time I’m UV mapping, and I was wondering: Is there a way to turn off the yellow wireframe in the Edit Mode window? I’m trying to fix the coloured squares deformation but the bright wireframe of the model gets in the way.
Thanks.
Hi Etxcd_Summ,
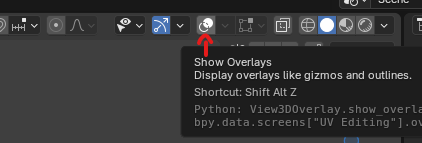
you can hide the overlays by disabling this button here:

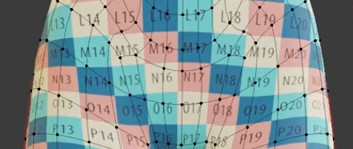
The guide I’m following does something lke this:

any idea?
Do you mean the numbered squares? If yes - in the UV window, add a new image at the top, and in the New Image settings change the Generated Type from Blank to Color Grid.
edit:
Remember to plug the new texture in to the material, and be in a mode that shows the texture.
What I mean is, as you can see, that the model has the Edit Mode grid, but it’s not the usual bright yellow one. How would I do that?
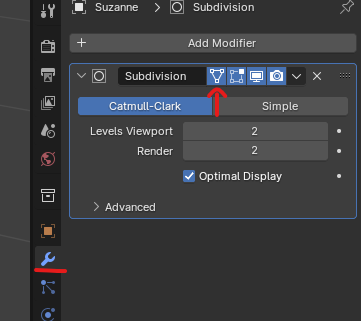
In the Modifiers tab, activate this button from the Subdivision Surface Modifier:

No it’s not it. On the Mesh Edit Mode Overlays, it’s possible to uncheck Edges, Faces, Center. But the problem persists. When I select the seamed part the bright orange wireframe makes really hard to check for UV distortions. Would be cool to being able to keep the wireframe but turning off the brightness.
You could try and activate UV Sync Selection so you don’t have to select anything in Edit Mode. You just select the face corners you want to modify in the UV Editor:
This however will still highlight the corresponding vertices in Edit Mode
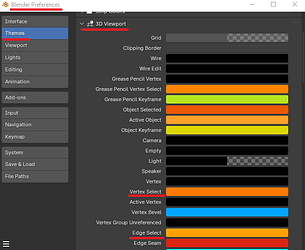
Or maybe you want to change the colors in the preferences?

