I am a Blender noob and I am seeking help with UV Mapping.
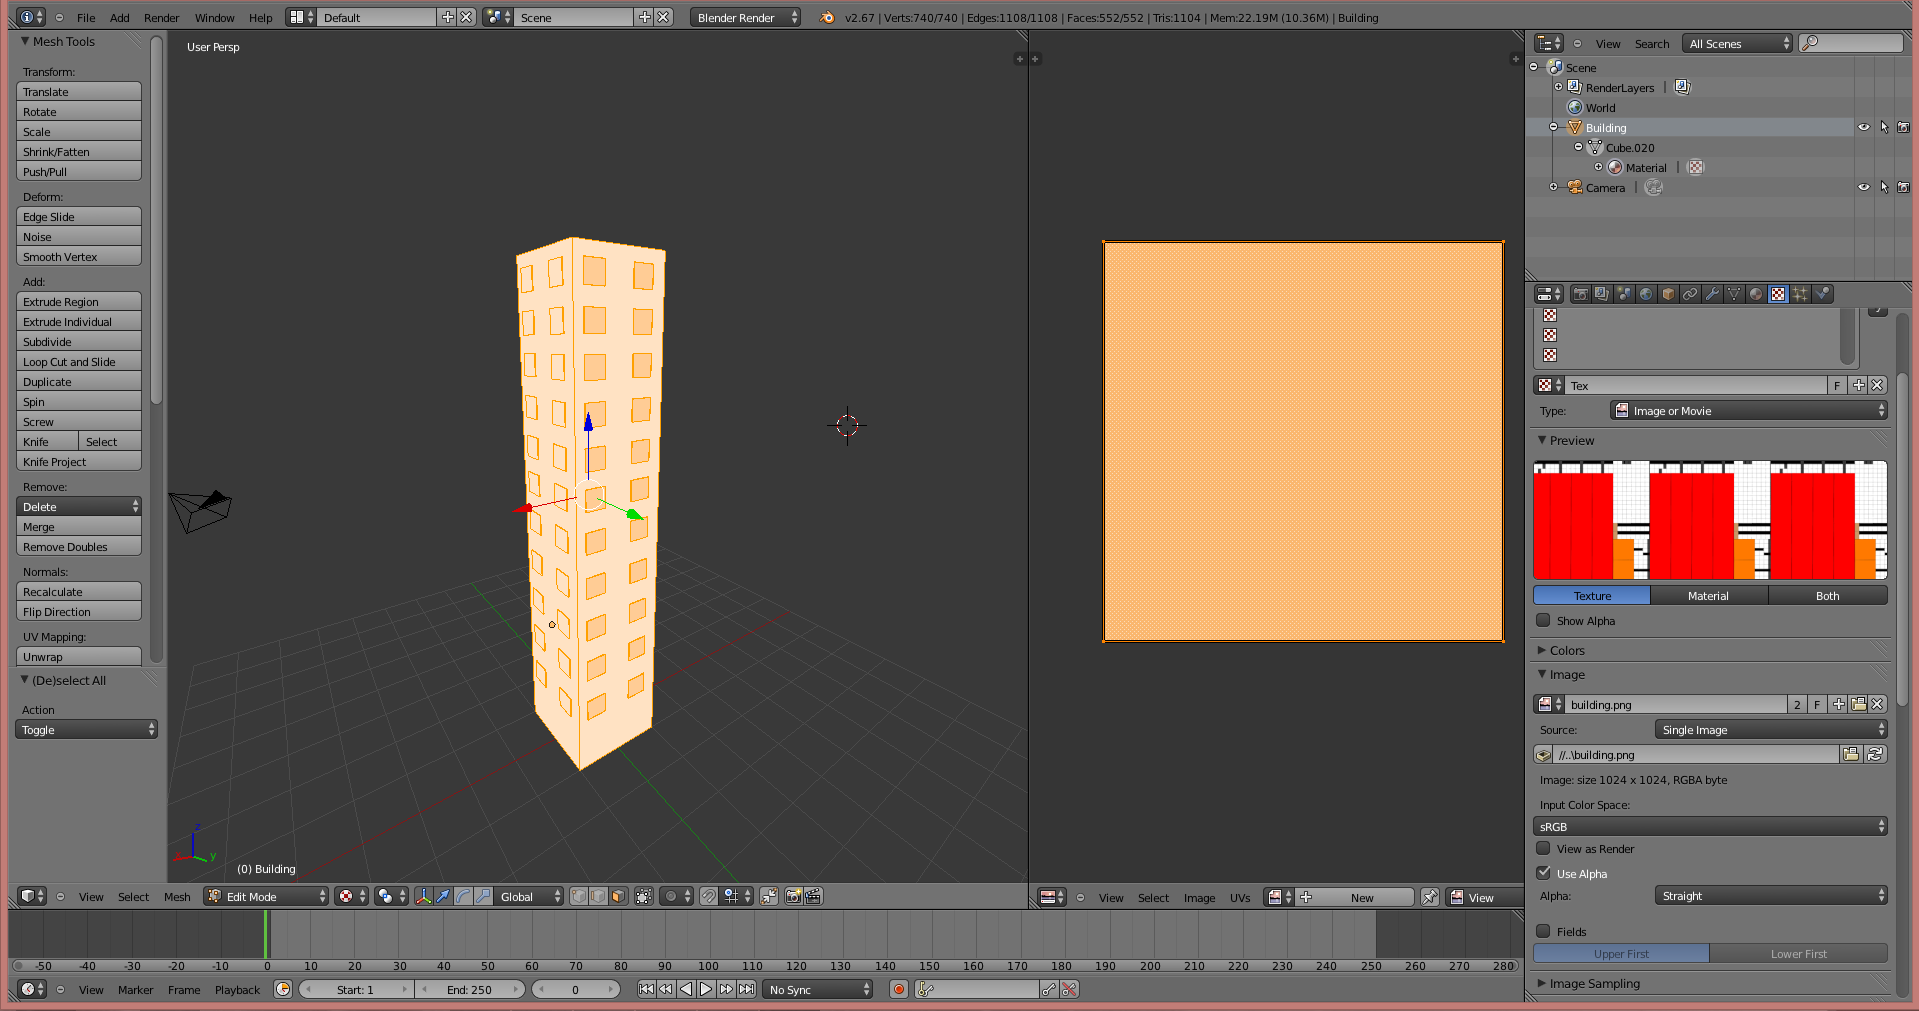
I made a building in Unity that has 88 windows, I was wondering if there was a easy way so that on the UV Map all the windows are in the same place because they will be aesthetically identical.
Are you saying each of the 88 windowsis not just an instance of the one mesh in Unity? When you say thatyou made it in Unity do you mean you placed 88 instances of a windowin a scene and then used something like an obj exporter to export themesh out of Unity?
If so can you not just uv map the meshyou instanced in Unity then export?
If you didn’t create the windows like Isaid above, did you use some Unity addon or did you create the meshes in script?
I used UV Smart Project to generate a UV Map but all of the windows were in different places, but I want them to all be in one place because they are identical.
I don’t think there is a simple way to do this but if the windows are separate shells/elements then it would be possible to create a script that could compare mesh elements (i.e. it would need to compare them because each element would have a different vertex order) and then copy uv’s over to them.
I know you can use object->make links->Transfer uv layouts but it only seems to work with duplicate meshes a script that worked like I mentioned above would be useful but I don’t know if anyone has created one or if I’m just not seeing the option to do it in Blender.
Anyway this is how I’d do it:
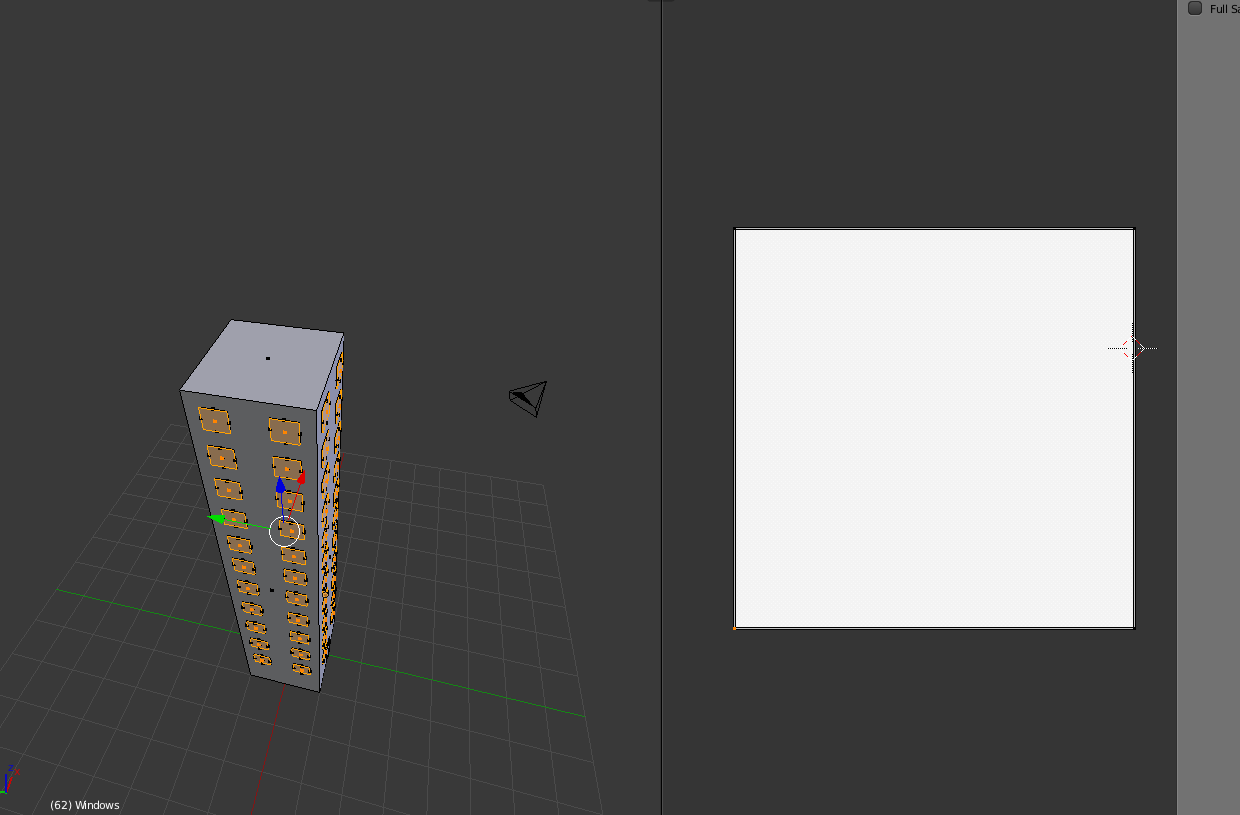
I would simply select the faces of just one window (you can do this by selecting one face and using ‘select linked’ which will select the whole window as long as the window is a separate shell/element) and then separate it.
Next separate the main building and delete the remaining mesh that contains all the other windows.
UV map the window and then attach some array modifiers to the window to create all the duplicates.
Next apply the array modifiers and join/combine the meshes back into one object (Note! I don’t know why Blender doesn’t apply modifiers automatically when you join meshes.).
Select the faces of the main building and uv map them and then move all the uv islands into places.
Also sorry about my first post, don’t know why it removed some of the spaces between the words.