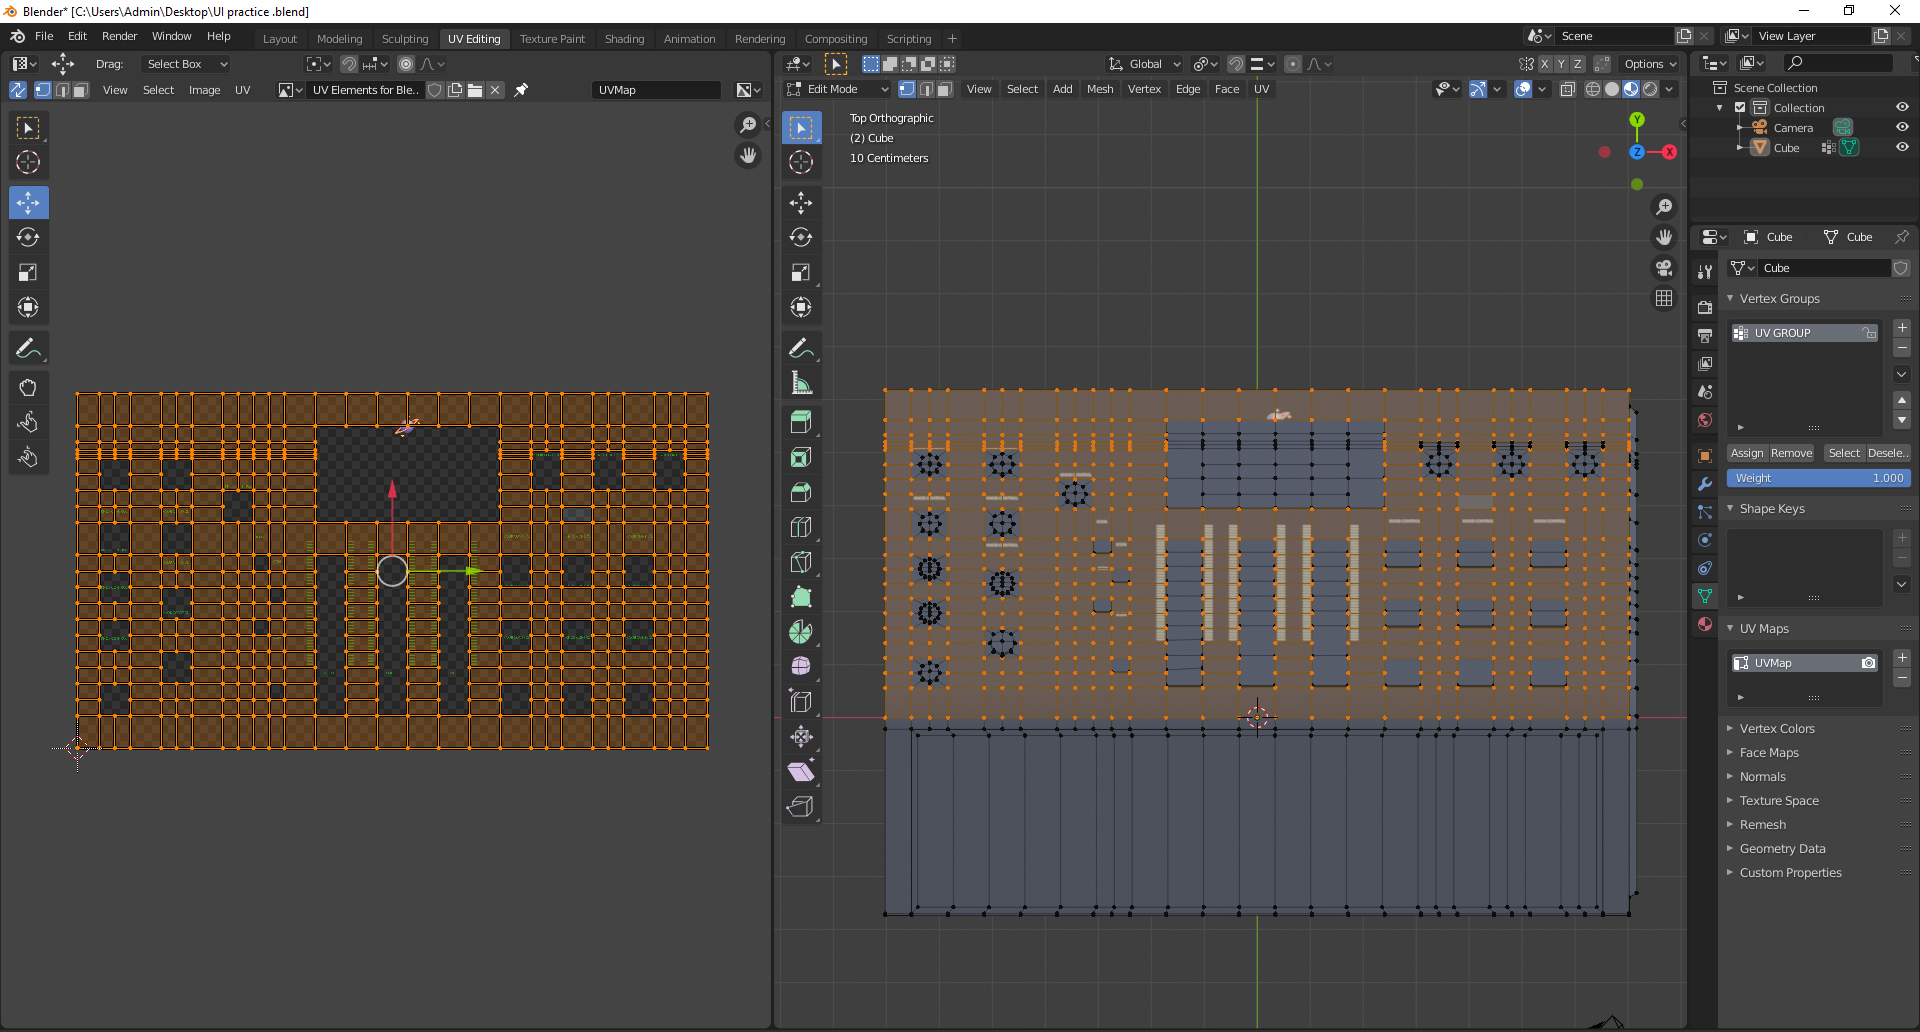
I have a question which is confusing me. I’m trying to find a method/technique which can relieve some stress from a particular approach I’m trying to achieve when it comes to UV mapping.
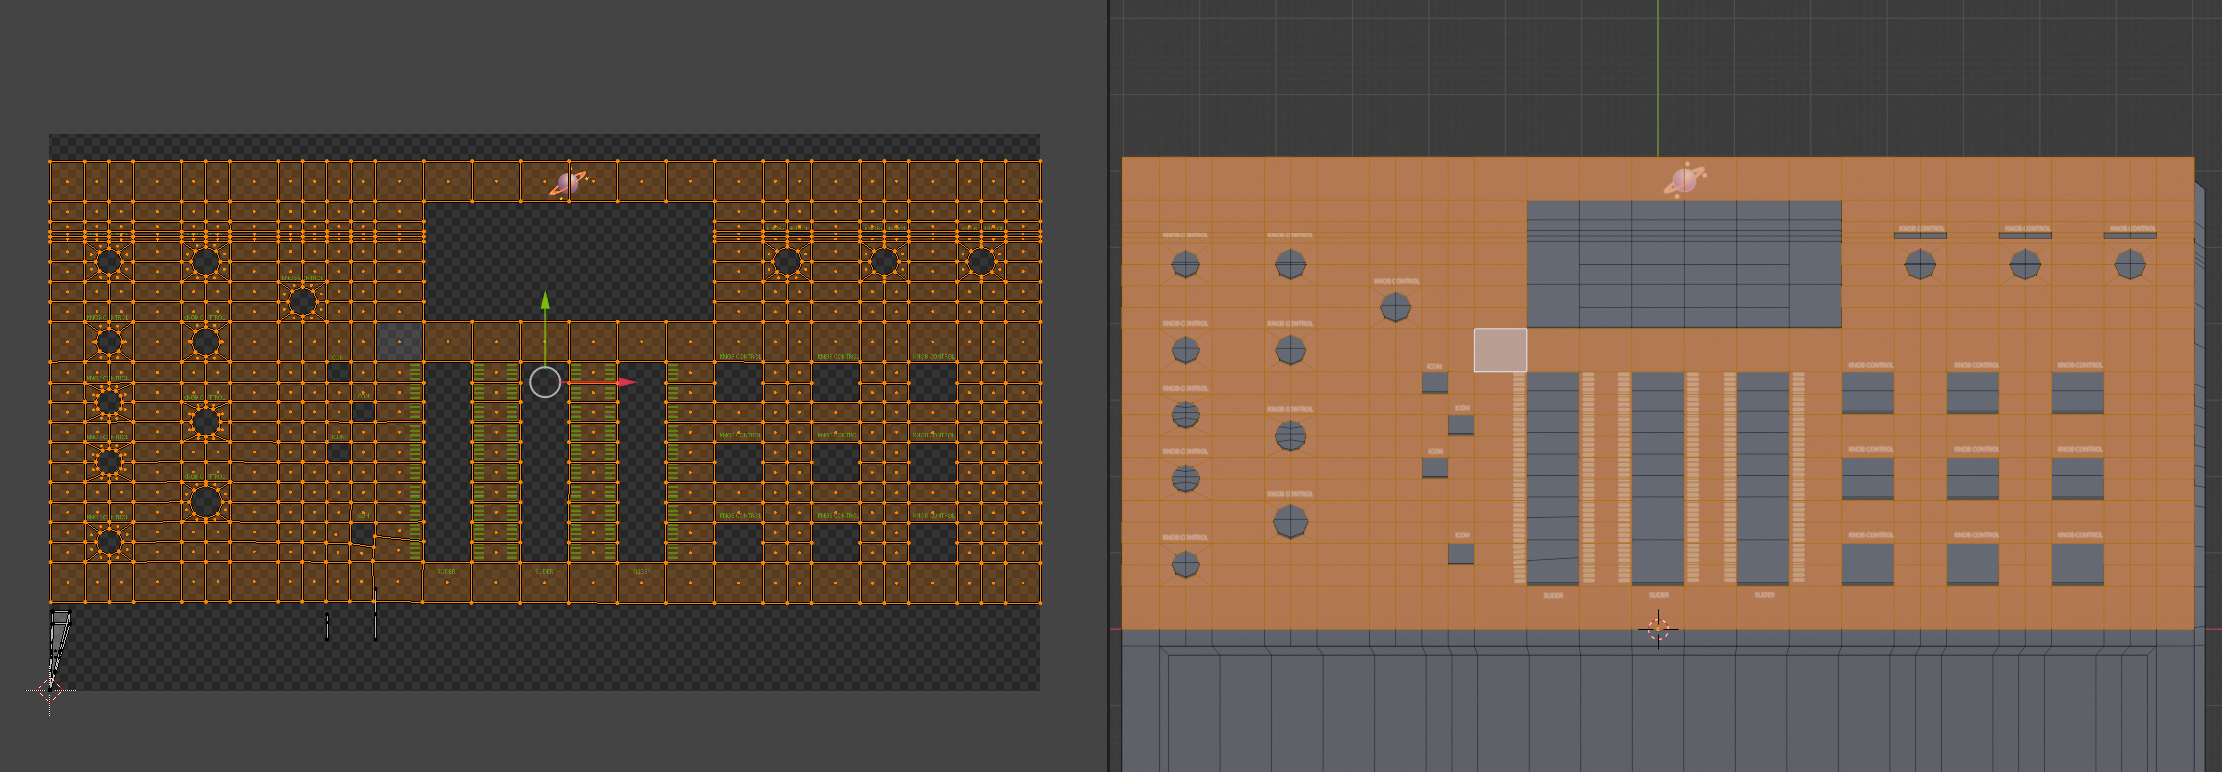
I have selected my UV mesh, all quads clean topology and placed my PNG file which contains the dummy images and text onto my mesh. But once placed onto the model, it’s not fitting accordingly like the UV exported layout. I have to start moving the UV mesh around, scaling up and down, and then selecting every face individually to place it where it should be located, and it’s a tedious task, because scaling elements individually changes the scale and don’t look 100% correct.
So what am I doing incorrect that needs to be taken into consideration?
I have a blender file, I can share if someone could please take a look, to give me some feedback.
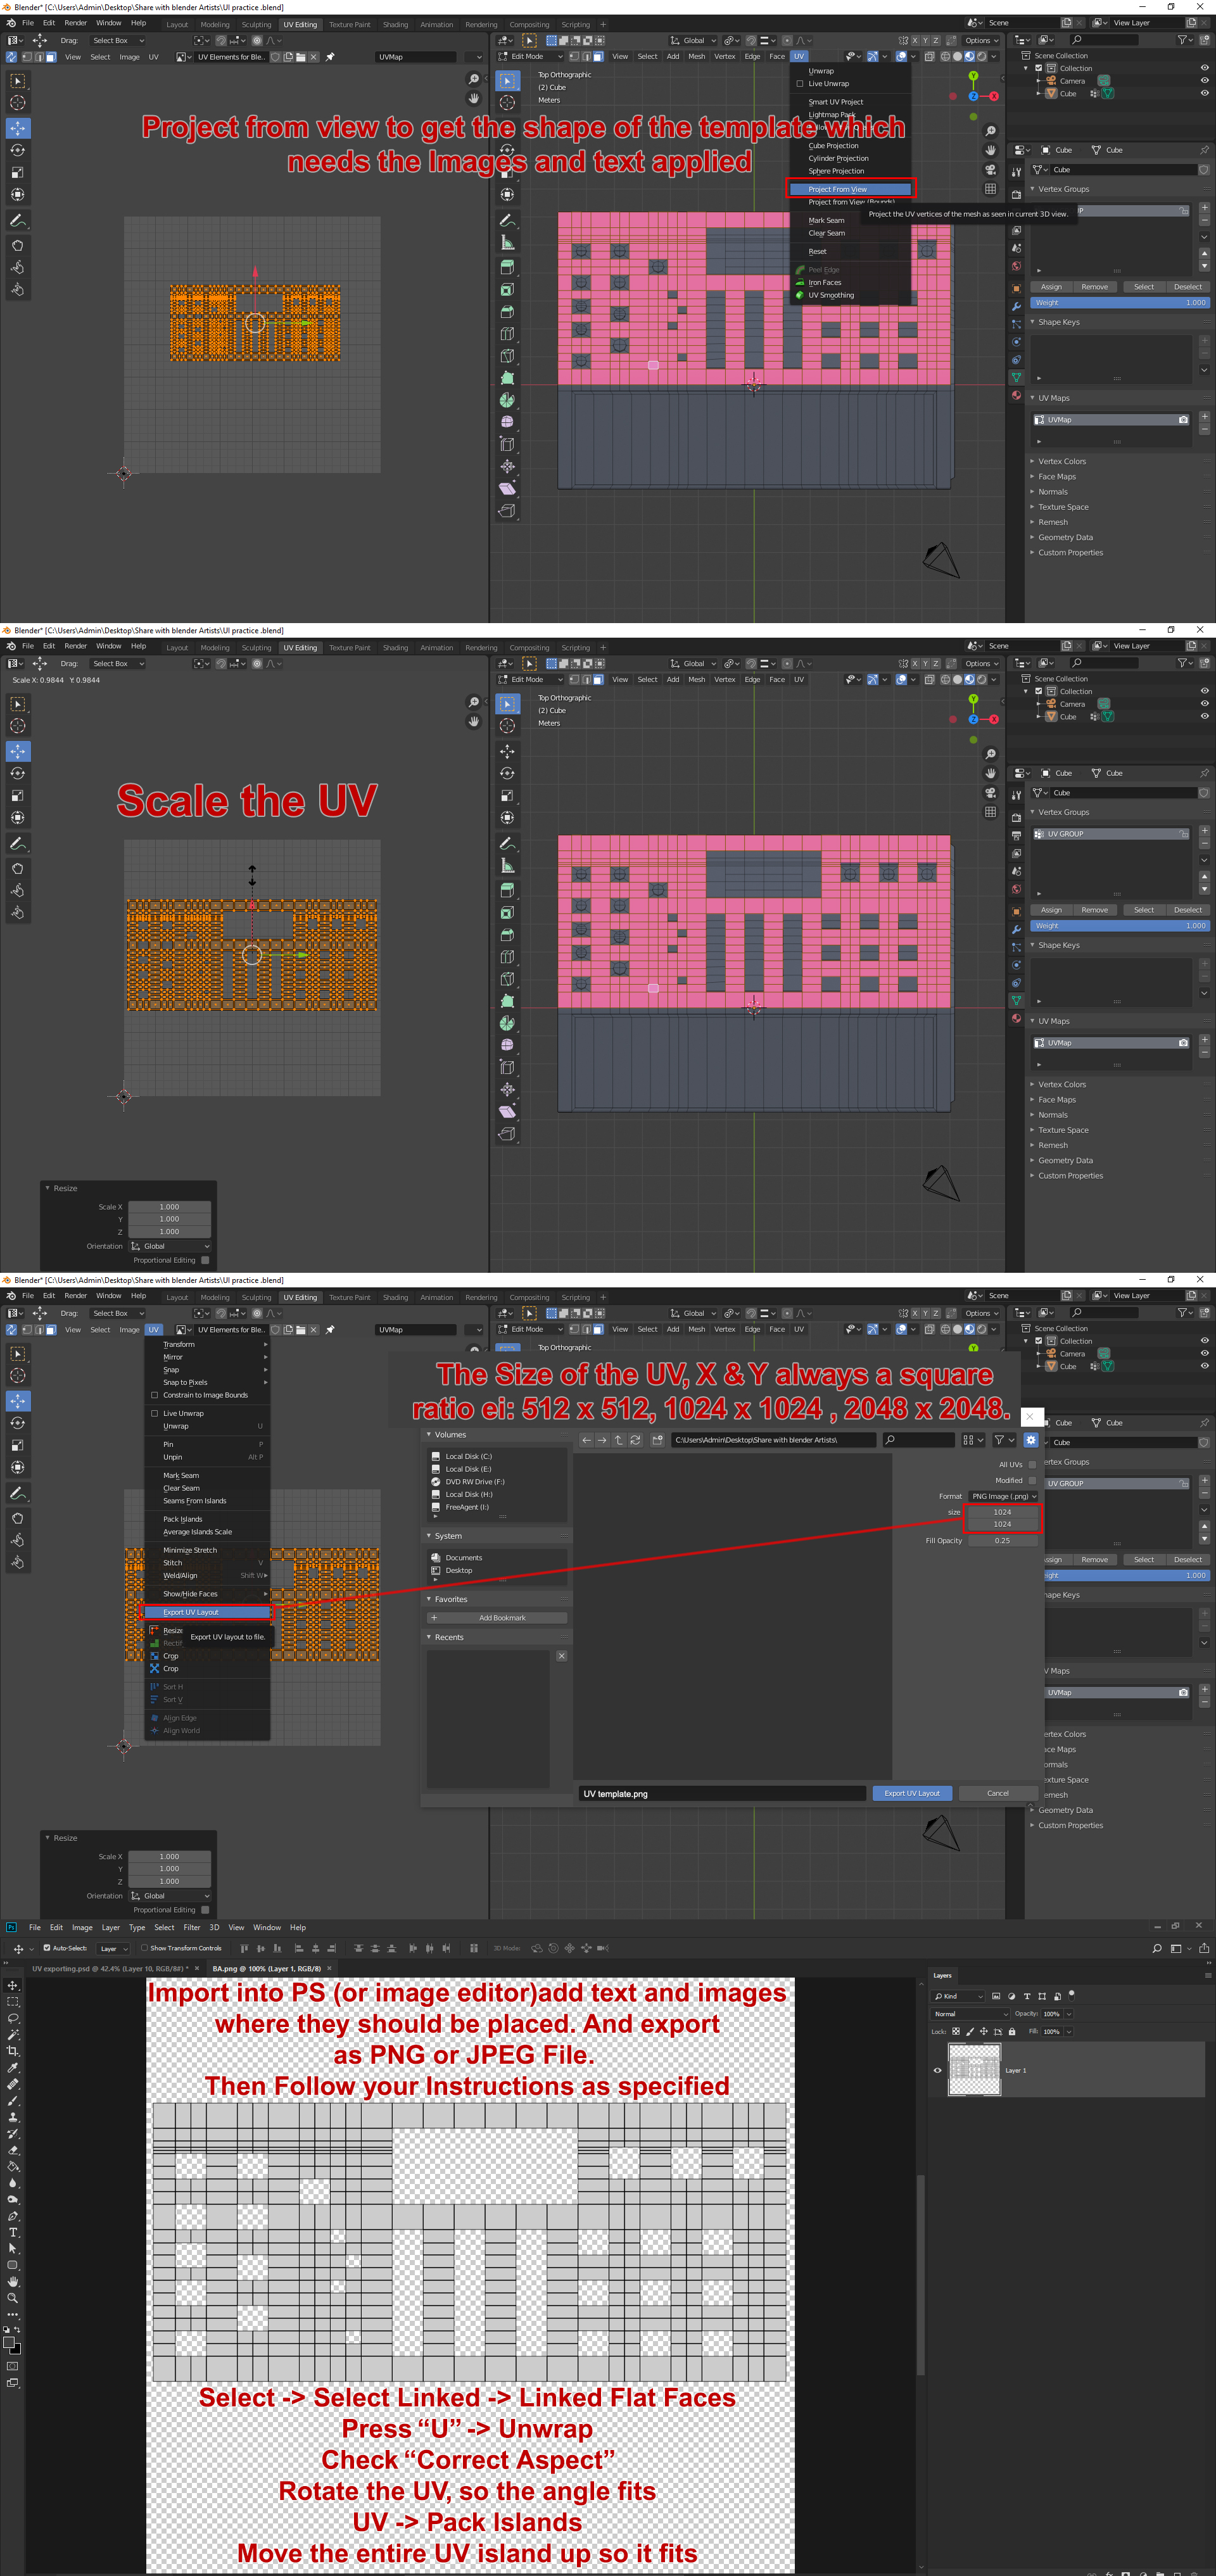
A quick way to align the UV from your file is to select one of the faces and then:
Select → Select Linked → Linked Flat Faces
Press “U” → Unwrap
Check “Correct Aspect”
Rotate the UV, so the angle fits
UV → Pack Islands
Move the entire UV island up so it fits
As you exported the UV layout from Blender did you make sure the texture you made and the UV layout had the same resolution? If they have the same resolution, you should not get any problems applying the texture to the mesh, but if the aspect ratio is different between the two, they won’t match up.
Yes, it had a good result from your instructions, it all adjusted well. I wanted to make sure that before I’m doing your instructions, that I also do a correct preparation of the UV. So I added the steps I take for the UV mapping, so please tell me if what I do is correct or is there a better way which you can recommend.
That’s great to hear. Actually, the steps were supposed to fix the UV’s you uploaded in the file. Normally, you would only need to unwrap once, then scale/transform the UV so it fits the UV space, then export the UV Layout, create your texture in PS and import the created texture to Blender. No need to unwrap the mesh again when you import the texture as it was already unwrapped before you exported the UV layout. ^^