I don’t have TexTools, so IDK I can give it a try. That being said, I love UVPackMaster and use it a lot, so I’d love if I could use it for everything, and not have 2 addons to do one thing
I assume if I wanted to code that. I’d define UV axis to align the islands with, let’s say X, and then loop over each island, get the island bounds, and if the bounds X size was larger than bounds Y size, I would rotate the island 90°. I guess that would suffice
Any chance you could introduce presets, @glukoz?
This way I could have one set up for long-term searching for a perfect solution, one for quick bakes, one for bakes without rotation…
I was able to try this Addon, on a complex weapon model , containing 80 separate objects with something like 350-500 UV shells in total. I was very impressed with the overall packing job and speed of this tool! It saved me 1-2 days of work! It paid for itself instantly.
Is it possible in the future to have it be able to pack shells by Mesh/Object, but then also at same time/after that, use Heuristic / Advanced methods to fill in gaps/try and get the best pack after that?
I tried to pack the weapon at first , keeping similar parts/shells together, but only got about 50% efficiency, which makes sense I guess… Unless there is a way to improve that in the future. But I know the best pack will probably be when the islands can move/rotate/scale anywhere in the UV 0,1 space and not be constrained.
Also, I noticed when I import a mesh from 3DS Max for example as FBX, I’m not sure if it’s Blender doing it, but overlapped/matched UV shells seem to get stitched together…! So I had to fix that later/delete the overlap and re-mirror/stitch after that fact. Do you know anything about that?
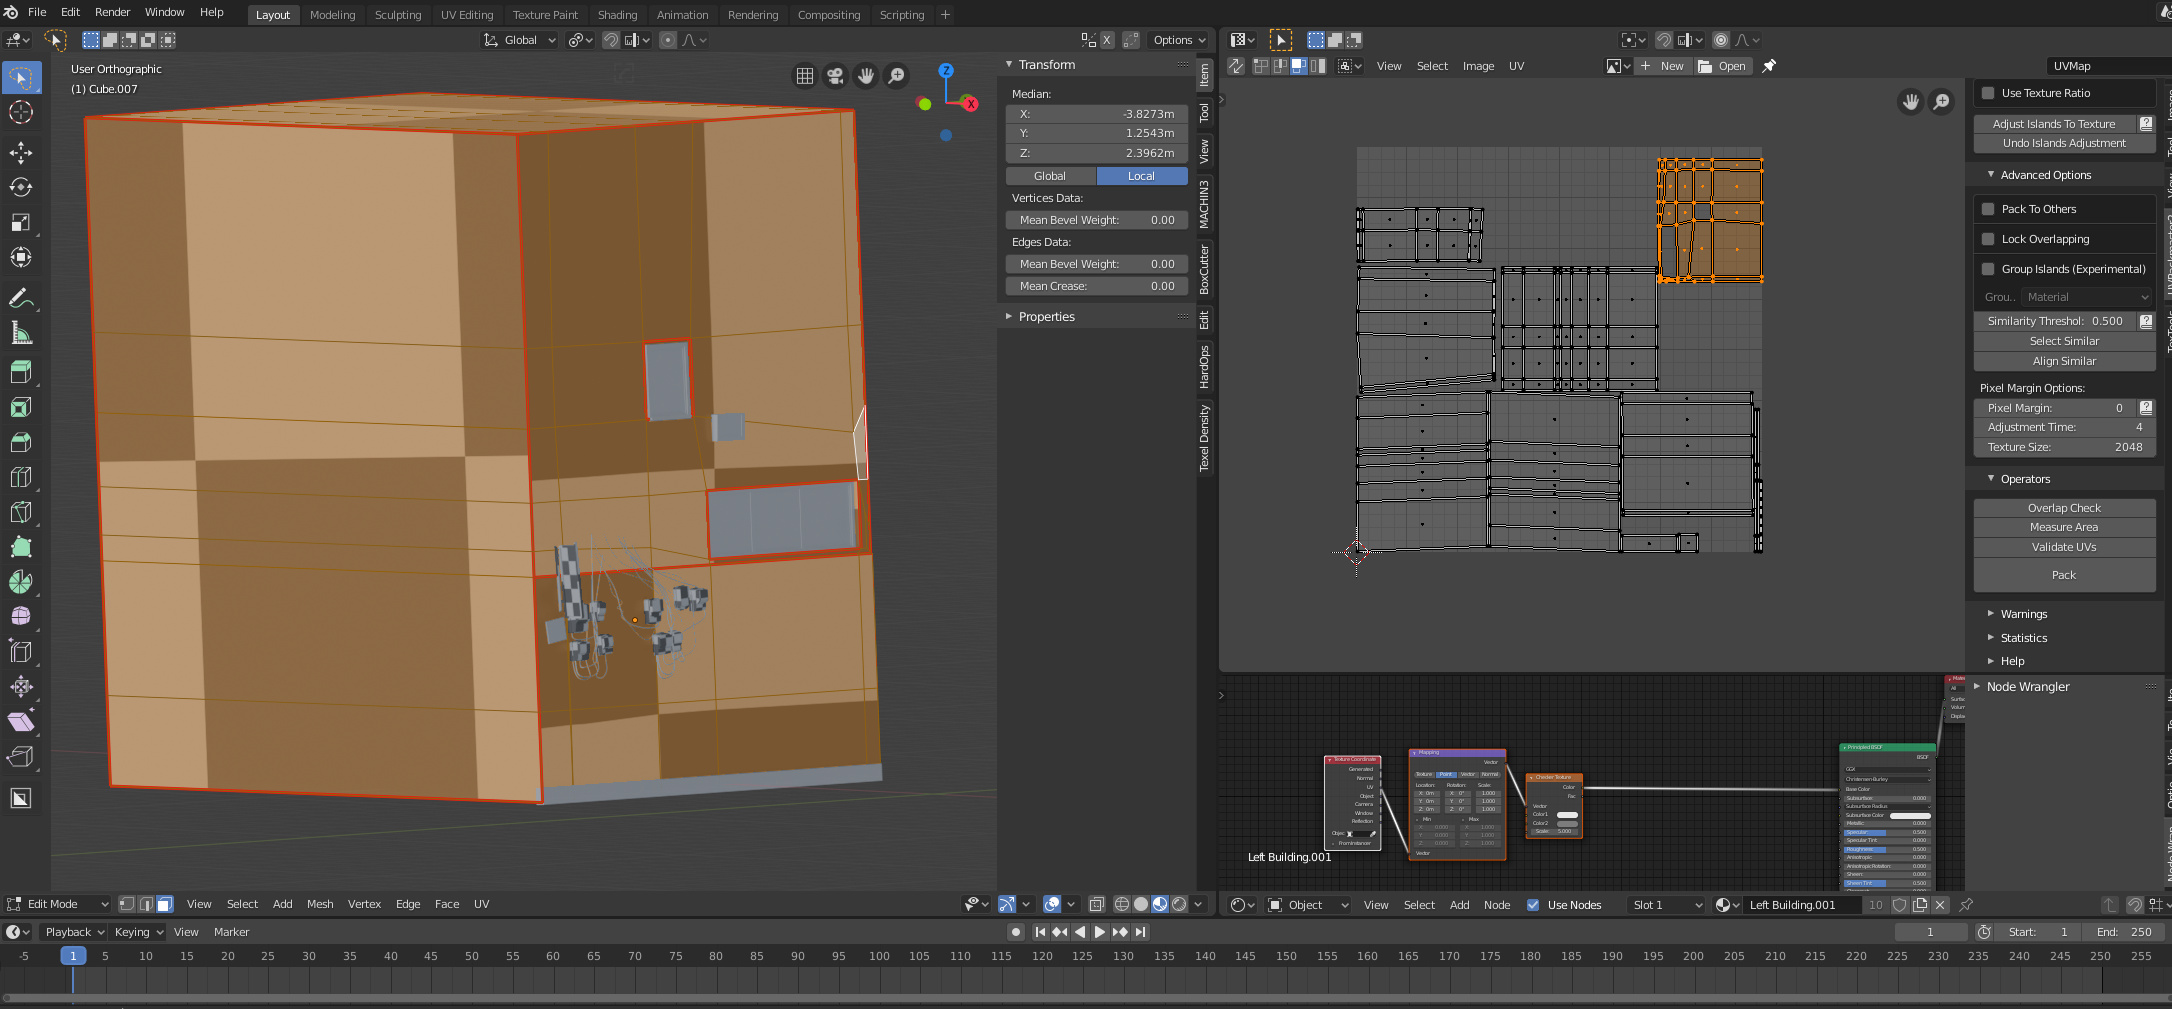
Hi, I’m fairly new to UV stuff but I’m using an add-on called texel density checker and after I’ve applied my TD and hit Pack my TD changes to a different value and my islands scale out of the UV space, am I going about this correct?
Is it possible in the future to have it be able to pack shells by Mesh/Object, but then also at same time/after that, use Heuristic / Advanced methods to fill in gaps/try and get the best pack after that?
Not sure if I understood your scenario well. Did you check the ‘Pack To Others’ mode? It could satisfy your needs. If not, please clarify.
Also, I noticed when I import a mesh from 3DS Max for example as FBX, I’m not sure if it’s Blender doing it, but overlapped/matched UV shells seem to get stitched together…! So I had to fix that later/delete the overlap and re-mirror/stitch after that fact. Do you know anything about that?
Such things may happen due to the way how Blender processes UV islands. You can do the following test: if you see that some overlapping UV geometry is being packed as a single part (even when the ‘Lock Overlapping’ is off), then check whether the given geometry is treated as one island by Blender. In order to do so simply use the ‘Select Linked’ option in the UV editor (‘L’ is the shortcut, I believe). If you see that entire UV geometry of interest is being selected by Blender when you press ‘L’ on a single UV vert, then it means that the geometry forms one island and it is expected that it won’t be split during packing. If you see the opposite (‘Select Linked’ doesn’t select entire geometry, but it is still being packed as a single part), then please consider sending me a blend file - I will take a look.
The main point behind UV packing is changing texel density (increasing it, to be more exact ) What packing does it tries to place all your original UV islands in the smallest square possible. Thanks to that the islands can be scaled up after packing so they fill entire the [0-1] UV square (in result they fill entire texture). That is what the add-on does by default, because scaling up increases the texel density. If you want to preserve the original texel density of your islands you can disable the last scaling step by checking the “Post-Scale Disable” option in the “Basic Options” subpanel.
Yes. They are overlapped and stitched but not by choice. I had them separate shells in 3ds Max, but overlapped on fbx export. But it seems either blender or something causes the UVs to be stitched at the shell borders. So they are not 2 shells anymore but 1…! So you cannot easily fix that , at least in the 2d view. That I know of anyways?
It also seems like blender doesn’t always display your UVs seams as id expect. I think Only if you mark Seams manually ? Also can’t see seams in the UV view ?
Sorry, I’m still confused. From my understanding the only way to increase the texel density of the building is by scaling out of the UV (0-1) space but in doing so, bakes such as AO or ID won’t be picked up? What other ways can I solve my dilemma and does this occur due to the size of the object? because compared to the fuse boxes and other objects the TD is way different. Again thank you for taking the time in helping my slow self in understanding.
My initial goal was to export (fbx) the building into substance painter and make a custom texture for the design of the building, but after hearing about texel density I’m trying to understand if I’m doing things right
UVPackmaster has become an important part of my workflow by now. I’m really impressed with it, I especially like the Heuristic option (find the best way to pack it while I make some coffee!).
What I think could be better though is how it handles errors.
It is not quite uncommon that the packing process is aborted with an error without any hint on its cause. So I need to check all the objects I want to pack individually, often without finding any issues, just to discover later on that it suddenly works.
Sometimes an error occurs during Heuristic Search (after several successful iterations). When this happens, any progress it made before is lost. It would be nice if it would fall back to the last successfully calculated result instead.
I think the issue I was having otherwise, is that Select Linked doesn’t seem to work on overalapped Faces well… it will only grab 1 full shell and part of the verts of the other below it… Unless I’m doing it wrong… I’m not sure of any other way to select full shells, unless I Marquee select them??
Also I noticed sometimes when I click Pack, it says No UV Faces Selected, even tho all mesh faces/UV faces are selected. I don’t see it too often, have a few times, and just de-selected the object and all faces and tried again, then worked…
In future, would it be possible to pack/overlap UVS with same topology? Like if the UVs are NOT already overlapped, have it detect the topology and auto-overlap/locked together when packing? Or would that be too expensive to calculate? Or maybe could be a pre-calculation option, like the Validate Button does? That would be awesome
I have to say though otherwise, this is probably the best UV Packer I’ve seen/used for space used/shell rotations and such. So much so, that another guy and I might have gotten you another 3-5 sales from people at work, because everyone is impressed.
Guys, I just bought UVPM Pro yesterday, and I am effing loving it, but some tests I just did with a checker map seems to be yielding texel densities that are not consistent across my islands…If I use Blender’s UV > Average Islands Scale, and then repack with UVPM, this does seem to fix this, but I would think that UVPM would keep stuff scaled consistently in my UV in the first place… Am I doing something wrong? How do I ensure everything has consistent texel density right out of the gate?..
Edit: Okay, I think that having Post-Scaling Disable unchecked was my problem (says not recommended in most cases, for some inexplicable reason :-/ ) but now my islands are sticking out the side of UV space… How do I fix that, please? (aside from manually scaling all islands to fit)
You need to apply Average Island Scale prior to packing. UVPM does not do that. Which is a good thing btw. because sometimes you don’t need the same texel density on every island.
The Disable Post-Scaling option prevents UVPM to change the island’s scale at all, so, just as the description says, it is not useful in most cases.
hi. I wont to ask. if I buy pack master pro before. I must buy pack master pro 2 again?
No, you only have to pay the difference between the UVP2 price and the amount you paid for the first version. Send me an e-mail to [email protected] and I will send you back a discount code.
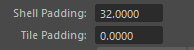
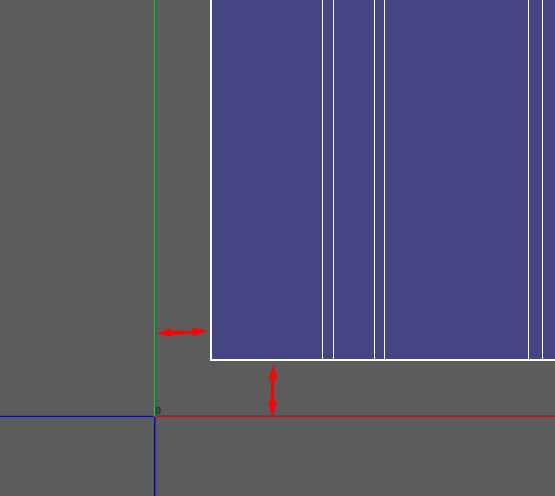
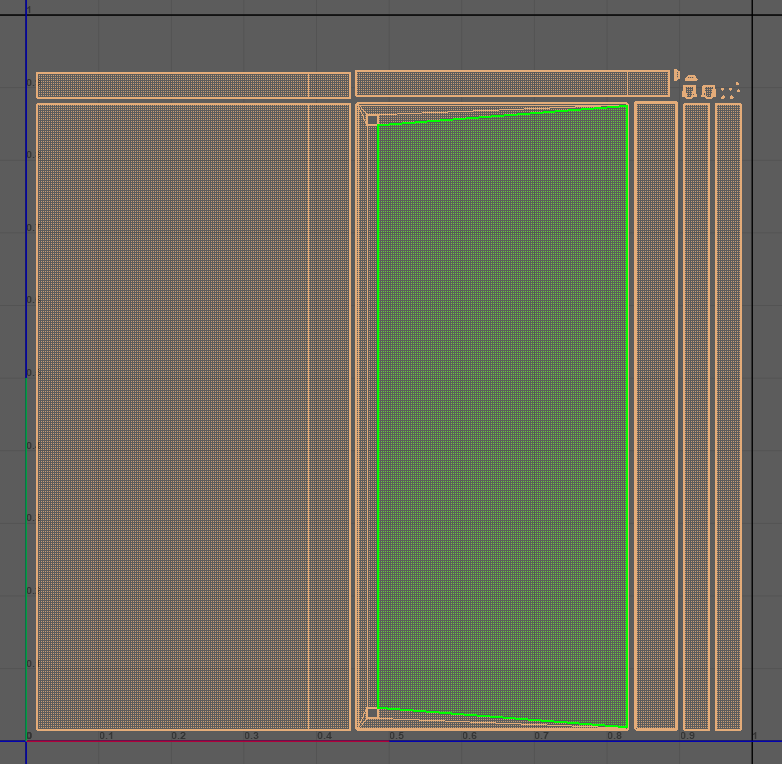
Could you add an option for Tile Padding like in Maya?
It pins islands to the edges of the UV square so there is only padding between shells itself.
With tiling padding 0:
 I can give it a try. That being said, I love UVPackMaster and use it a lot, so I’d love if I could use it for everything, and not have 2 addons to do one thing