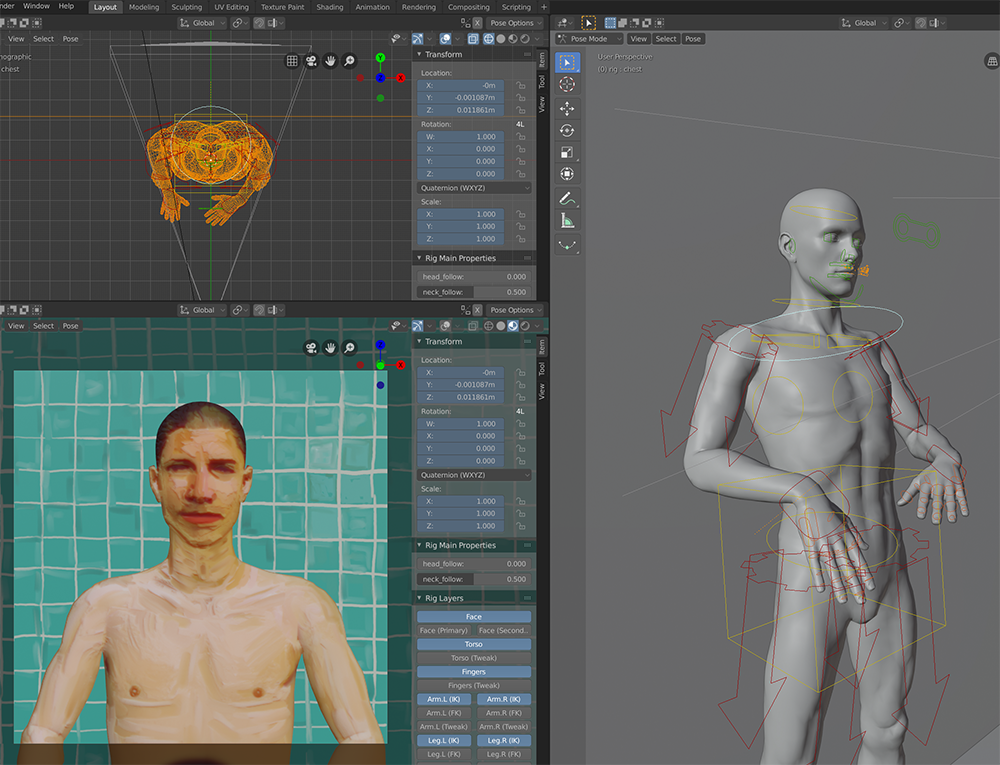
Hi there, I’m currently trying to animate a digital painting I made by attempting a process whereby I lineup a basic human rig and then UV Project onto it. The problem i’m running into is that when I apply the UV project modifier it uses the human model when it’s in Edit mode so it doesn’t align with the way its been moved/rigged with the armature (see Before and After results below).
I’ve tried applying the armature which then gives me the result I’m after, but I then run into the problem that my model is no longer linked to my metarig. Has anyone got any suggestions for how to get around this or how I could possibly re-parent the model to my existing rig after I apply the modifiers?
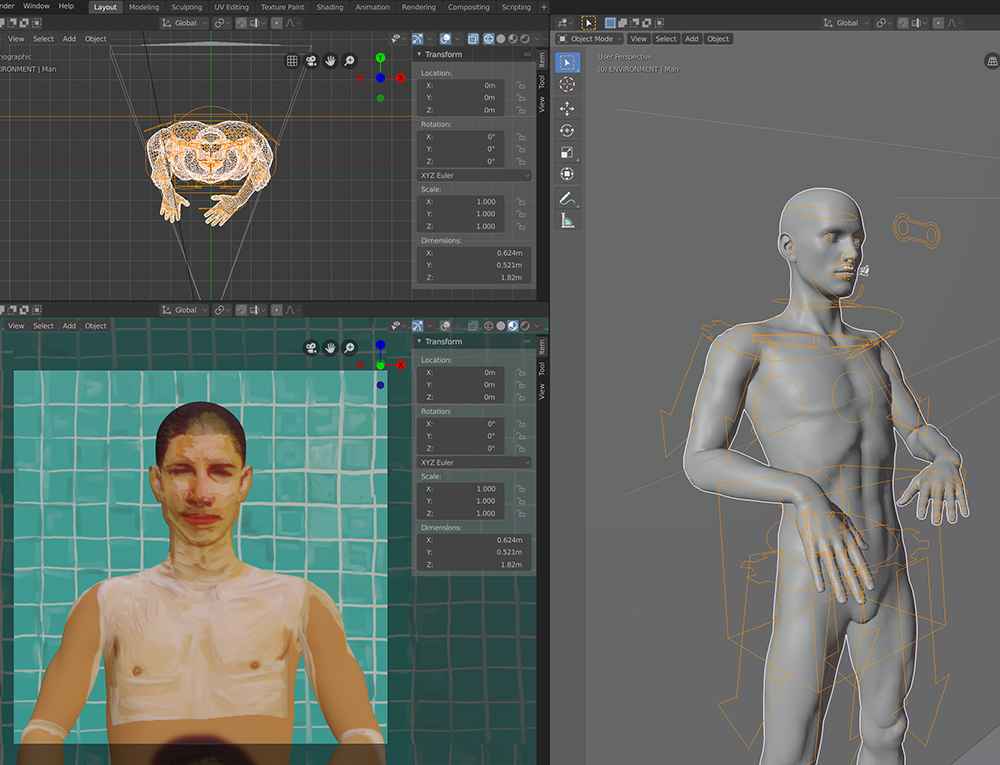
You can transfer UV maps from one mesh to another if both meshes have the same geometry/vertex order. Knowing that, if you create an unrigged mesh in the correct shape and uv project on to that mesh you can then copy uvs from the unrigged mesh to the rigged mesh.
More detailed steps:
Select and duplicate <Ctrl D> your mesh. Leave the new mesh at the same position. Go to the modifiers panel, apply the Armature and then apply the ‘UV-Project’. You now have a mesh to copy UVs from. Move the mesh to the side so you can see both meshes.
Select your original mesh. Go to the modifier panel and delete the ‘UV-Project’ modifier. Keep the rigged mesh selected and also select (Shift Left-click) the unrigged mesh. Press Ctrl L to bring up the ‘Make Links’ menu and select the ‘Transfer UV Maps’ entry.
You should now have a rigged mesh with the correct uv.