Hi
My experience with UV unwrapping and texturing as always been as follows:
First UV unwrap the geometry (using seams and u>unwrap)
Create a texture based on UV islands
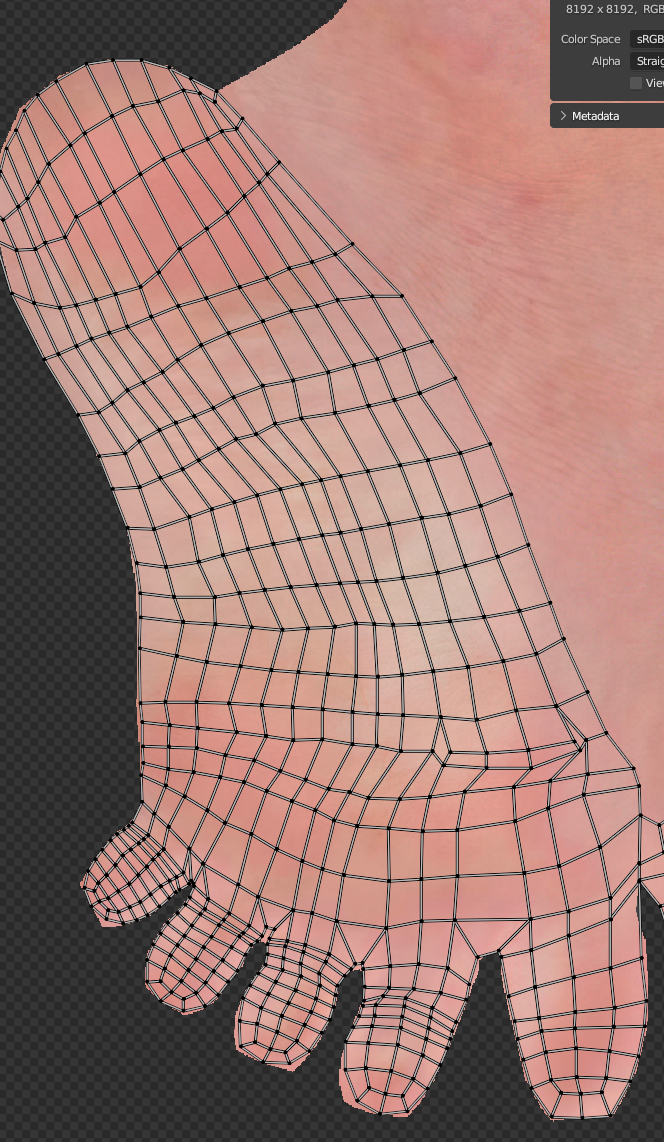
I’m in a situation now where I have an existing image which I want the UV map to follow. But since the existing UVs don’t match the image, I have to redo the UV unwrap. I’m really lost on how to go about doing this effectively, I’ve been spending hours meticulously moving the UV vertices around manually. While I’m making slow progress, my biggest concern is how sloppy the UVs are due to it being done by hand.
Can someone advise me on how to do this more efficiently, or ways to “clean up” the UVs after I’m done the manual placement?
Thanks
I’m afraid trying to line up to an existing UVMap, you’re just going to have a lot of work to do. The most you can hope for is trying to set your seams to be in what you think is a similar place. Even so, it’s a lot of work and I’d be more inclined to use the UVMap as a stencil to create my own texture using something like Blenders texture paint, substance painter or a paint program.
Sadly I think it’s going to be a pain no matter what…
Here are a few other options, ideas :
The way to clean up the UV is basically relax tools.
Paint tools might allows to clone parts or clean the seams.
if you have access to the original mesh it’s possible to do a bake to a new UV.
Basically you unwrap your mesh with a clean UV Map
then you manage to have your original mesh roughly matching the new one , then bake.
This will probably get complex for fingers but some parts might be easier to pull out that way…
You might try to project paint…
Ask yourself how clean you need that to be, I think I’d make a rough pass and see how I can patch some parts using either 3D or 2D paint ( in another app).
Good luck and maybe someone will have a better idea,
I don’t do a lot of stuff like that I have different means to suffer
Ah oh well, I was expecting that to be a reality but thought I’d ask anyway before going too deep. I originally thought I could do it with seams but results weren’t too great, even on a more simple area like the arm. That’s probably the more sane approach, but I feel like I wouldn’t be able to make a good skin texture if I was to do it myself. Been interested in seeing what substance painter is all about though, so maybe now is a good reason to try it. Thanks
For sure, but I can see the light at the end of the tunnel
Thanks for the tip about the relax tool, wasn’t aware of that one.
The baking idea sounds like it’s worth exploring, I’m interested in trying that if the manual unwrap doesn’t work out.
I’d like to get the UVs relatively clean, but since it’s a skin texture I think I can get away with some imperfection. I’m prepared to do a second pass as well, and expecting a bit of work in GIMP to fix any seams.
Thanks.
Use Stencil mode in blenders texturing to paint over the seam & errors.
Brush Settings > Texture (Pick the texture image) > Mapping >> set to Stencil. Then the texture becomes a floating transparency you can move/rotate/scale and use as a brush.
Yes you could use this to repaint your entire model far quicker than point by point tweaking the UV map.
Go research Stencil painting…
Thanks for the suggestion, that does seem like a powerful technique. Going to try that now and see how it goes.
Edit: Wow that works out really great, and is incredibly fast. Not sure what the etiqutte is regarding changing which post gets marked as the solution, but I think the stencil painting technique is the best one to use for anyone else who finds themselves in a similar situation.