UVgami - Automatic UV Unwrapping Add-on for Blender

Launch sale for the remainder of January: Use code JANUARY_SALE or click here to get 40% off!


UVgami Compressed

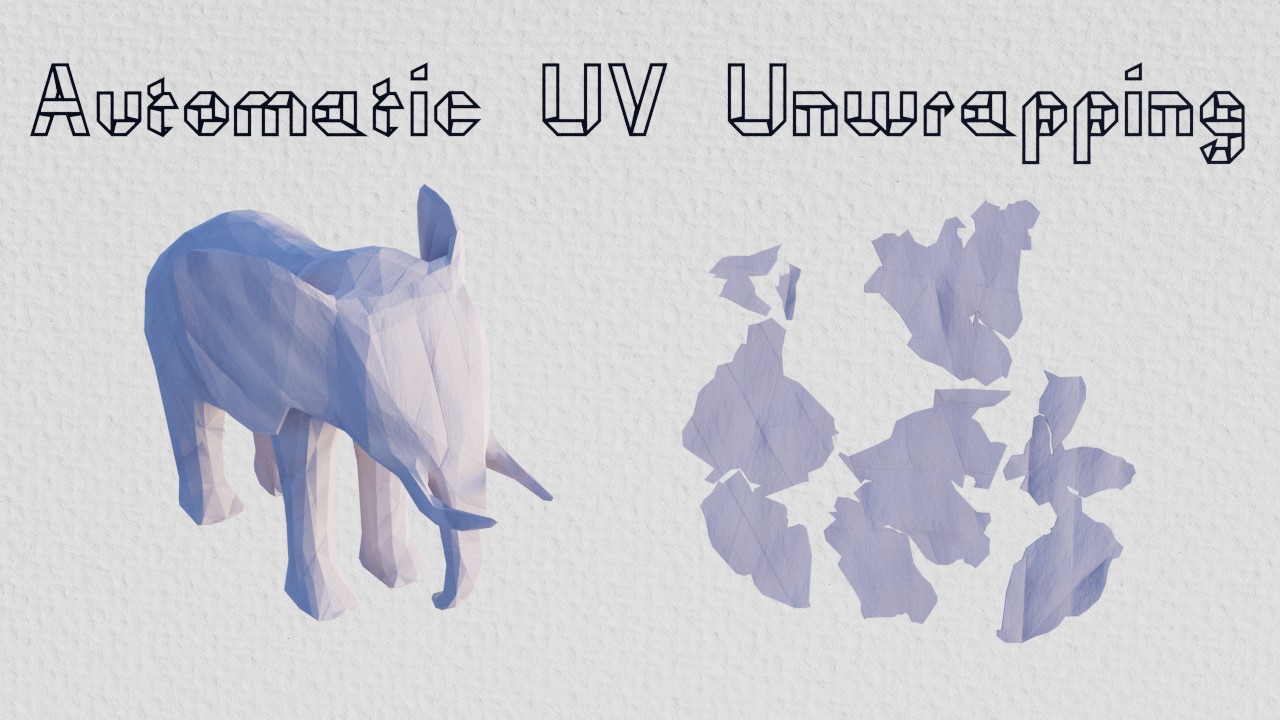
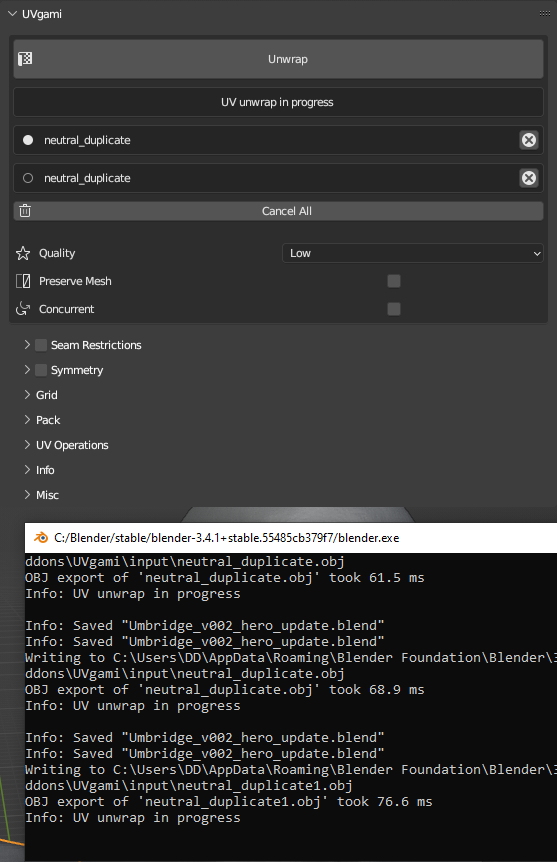
Effortlessly unwrap your 3D models with UVgami! With just one click, this powerful add-on applies an advanced algorithm to automatically UV unwrap your meshes, minimizing stretching and seams. Plus, the concurrent batch unwrap feature allows you to unwrap multiple meshes simultaneously, saving you even more time. If you want to simplify the process of preparing your models for texturing and streamline your 3D modelling workflow, give UVgami a try today!

Seam Restrictions:

Add seam restrictions by drawing on the mesh! Seam restrictions allows you to control where seams appear on your 3D models, making it easy to get the result you want.

Symmetry:

This feature allows you to optimize texture space by overlapping symmetrical UVs. This will significantly reduce your unwrap time and produce better seam placement that more closely resembles how an artist would manually place seams.

Add UV Grid:

UVgami’s Add UV Grid feature is a time-saving tool that allows you to quickly and easily add a UV grid to your meshes. With just one click, you can add a grid to your model, making it easier to see how your texture will be mapped onto your mesh. You can also have a UV grid added automatically after the unwrap process is complete.

Other features:

There are several other features included with UVgami, such as:

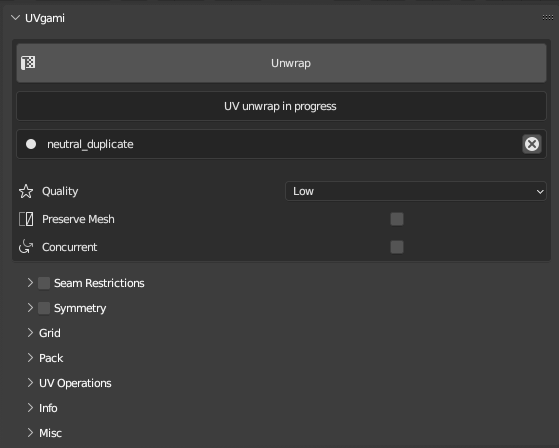
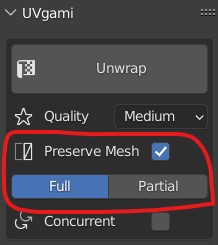
  • preserve the mesh while working with quads

  • tune the quality of the unwrap

  • UV operations

Limitations:

  • UVgami is meant to work in the background. High poly meshes are slower to unwrap, but you can continue working on other tasks while the unwrap is in progress.

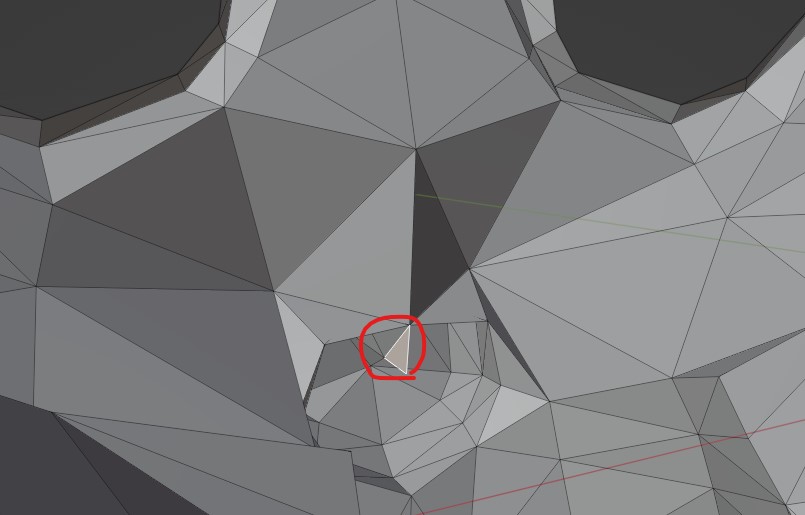
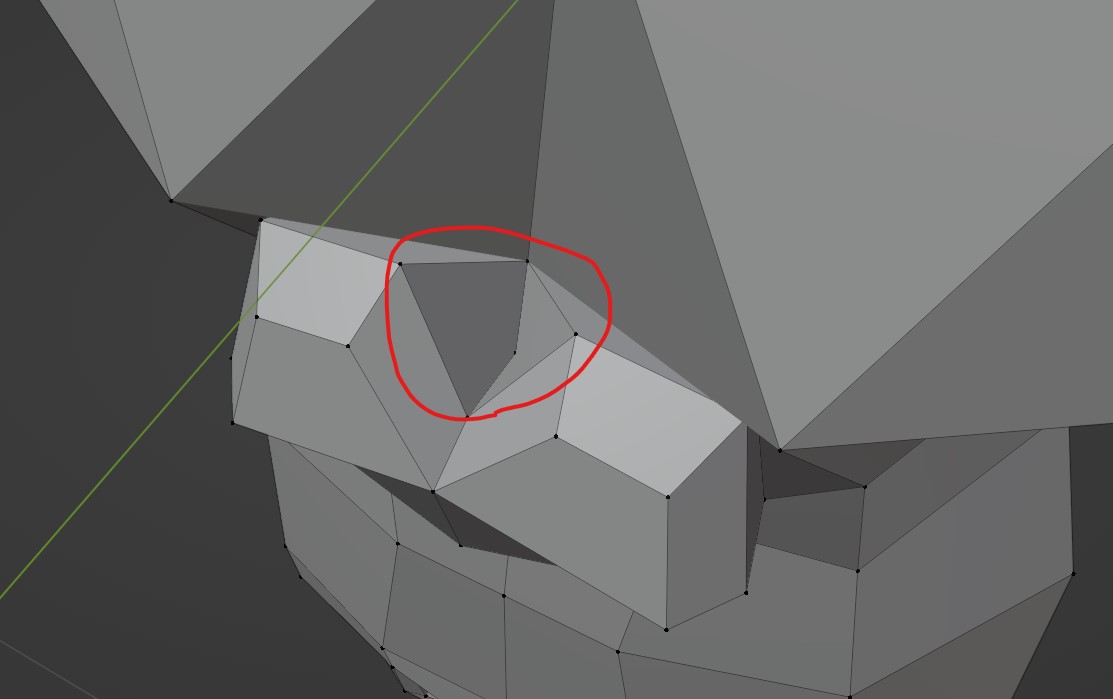
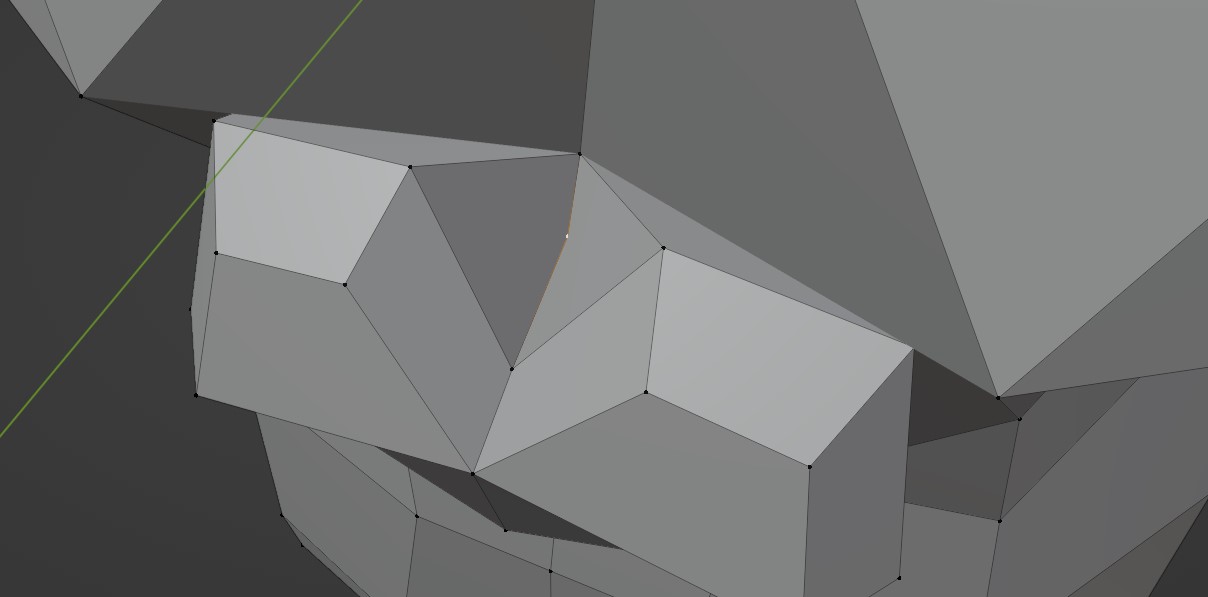
  • Some non-manifold geometry will have to be manually fixed before automated unwrapping.

  • UVgami produces better results with organic models than hard surface models. Hard surface mode is not complete yet and will be added in the future.


The “Low Poly Animals” 3D model by EdwinRC, which is licensed under Creative Commons Attribution (http://creativecommons.org/licenses/by/4.0/), was modified by me to have a paper texture on each animal. The original model can be found at https://skfb.ly/6D7xI.

The “White paper texture” background by kues1 can be found at https://www.freepik.com/free-photo/white-paper-texture_1012270.htm.

9 Likes

Hi! Bought Your addon but when I wanted to test it out on Suzzane I get Non-Manifold error. I deleted eyes and closed eye holes making it manifold but error is still present. How to Fix that?

Btw do you have any estimate for hard surface mesh algorithm?

uvgami_test.blend (163.5 KB)

1 Like

Hello, thank you for supporting the project!

Not all non-manifold geometry will cause problems with the add-on. For example, holes in the mesh will generally be fine and you won’t need to fix them. With Suzanne, the holes aren’t the problem. You also don’t need to delete the eyes; they will unwrap without any errors.

To find the non-manifold geometry, you will need to use the mesh added to the “Invalid Collection” (Suzanne head). In edit mode, deselect all and then click “Select → Select All by Trait → Non Manifold”. This will select the eye holes, but it will also select this area:

Looking inside the mesh at the nose area, you can see this flat triangle:

If you delete this (there are two faces here), you can now unwrap the Suzanne head and join it to the eyes which should have been unwrapped.

However, now that you know where the problem area is, you can also fix it in the original mesh. When looking at the nose on the original mesh, these two faces are not flat (concave quads).

Also, when moving the center vertex far enough up, you get this weird artifact.

The easiest way of fixing this is moving the vertex up by a bit, so the faces aren’t too distorted, or merging it with a vertex close by. Once this is done, the mesh will unwrap properly.

What it looks like when the vertex is moved up:

As for the hard surface mode, it’s difficult to estimate when it will be done. I will post updates here when I make some progress on it.

1 Like

Thanks for help! Good luck with the project :wink:

1 Like

@_J03 Any chance this might be available on Blender Market? I prefer to have my purchases consolidated as much as possible.

1 Like

Sure, I’ll look into putting it on Blender Market

1 Like

@_J03 Bought it as well. Is it possible to see the unwrapping process that’s in the video? For me there’s a progress bar and the UV only updates when the algorithm has finished its job.

1 Like

Thanks for buying the add-on! :smiley:
If you click the eye button beside the unwrap name, it will show the unwrapping process (press Esc to exit viewer mode)

visual_button

This opens the UV editor by default, but if you want a specific UV workspace to open, you can change the Viewer Workspace field in the preferences.

1 Like

Fantastic addon! The final thing I wonder, is whether it has to triangulate the geometry once finished, or if that can be disabled? I know I can “quadrangulate” afterwards, but that disturbs the UVs.

1 Like

Really cool addon! Auto unwrap is something I use quite frequently, mostly on pretty highpoly geo though.

To show the unwrap process, do I need to enable something to see the eye button? I can see my object name and the cancel button, no eye though.

Screenshot 2023-01-23 145858

1 Like

Just hit the Unwrap button and the eye will show.

1 Like

It’s in progress already. I pressed it again and I got a second job queued up (I think) but no eye still.

1 Like

Made a demo video showing how/when the eye pops out up :slight_smile: https://www.youtube.com/watch?v=wrI9NYLiMac

1 Like

Yep, I get the concept. Must be doing something wrong though -

UV

1 Like

The eye icon won’t show up until the unwrap starts. There is an initial step that takes longer the higher poly a mesh is. Are you using the WSL version? You can get much faster unwraps that way (instructions are in the docs)

1 Like

Ah, got you.

I would use the WSL version but I don’t have admin rights on my workstations at work so my hands a bit tied. I’d mostly use it for 500k + meshes so might just let it run in the background.

I was using zbrush/substance auto UV but they tend to crash or just hang with anything higher than a couple 100k polys, so I’m pretty much trying anything that’s out there. :slight_smile:

1 Like

Yeah the Windows version is much slower and almost unusable for high poly. Hopefully it can be sped up in the future, but for now the best option is Linux / WSL.

I’m not sure how long a 500k poly mesh would take, so I wouldn’t recommend waiting for it. I’ll probably do some benchmarks later just to see how well it would work.

Important: If you do switch to WSL or Linux, you’ll have to wait a day before registering the license again

1 Like

Unfortunately the triangulation is necessary for the unwrap algorithm. If you want to work with quads, you can use the Preserve Mesh option:

preserve_mesh

Preserve Mesh: Full will fully untriangulate the mesh and reroute the seams. This is good if you want 100% quads on the final mesh, but this option can cause some areas to have a bit more distortion and there might be some small overlap. If you get any overlapping areas, they will be easy to fix manually. Also N-gons aren’t supported so they will be left triangulated.

Preserve Mesh: Partial will remove all triangles unless there is a seam. So if there aren’t any seams on added edges from the triangulation, the mesh will be fully untriangulated. This option won’t change the UVs at all, so it can be useful if you don’t need the mesh to be all quads.

1 Like

Thanks for the pointers! I’ll keep that in mind. I’ll try to give WSL once I’m home from work.

1 Like

Alright cool!