well, i gotta say, i’m no expert. there are a crap load of things that i still need to learn. we do seems to have a similar idea for the future, so here’s a few things to get started. get ready to do some reading…
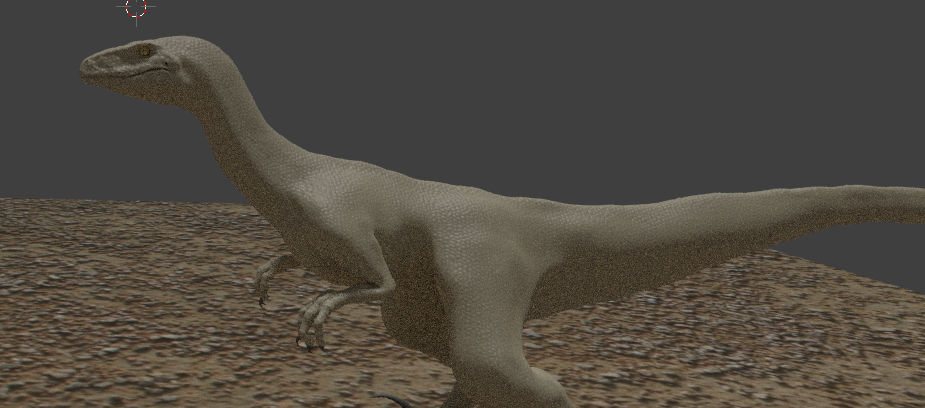
the first step is to learn how to model, you probably already got the basic, but practice makes perfect. a mesh with a nice topology is crucial for anything else to look good. through out 4 years of using blender i have made almost 100 animals models, and still there are flaws in my meshes. so keep cranking out more and more models.
then comes sculpting. now, most people use it extensively, but for my dinosaurs, i don’t actually use it that much. only for a few extra details to be used as a normal map. the main reason being that my laptop is not a very powerful one, so i cannot affort to crank up the sculpt level as high as i want it to be to achieve the level of details i desire. work around, texturing. (you can of course, sculpt as much as you like/can)
one thing you should know about me, i used to be a game modder, for a small kid’s game about managing a zoo, adopting animals and what not, and that’s where i got started ( you can check my blog post to read all about that). and in gaming, or at least, old ones, texture is very important as every thing is rely on it to look good. bad texturing result in bad graphics. here’s how i go about texturing my dinosaurs.
-first i make a color map for the diffuse, using basic color brush to paint, maybe combine it with some procedual textures like voronoi to get an interesting pattern (recently i got the idea to seperate the pattern as a “pattern map” so i can some how tweak it using the nodes setup and i can easily get variations, but i haven’t try it out yet)
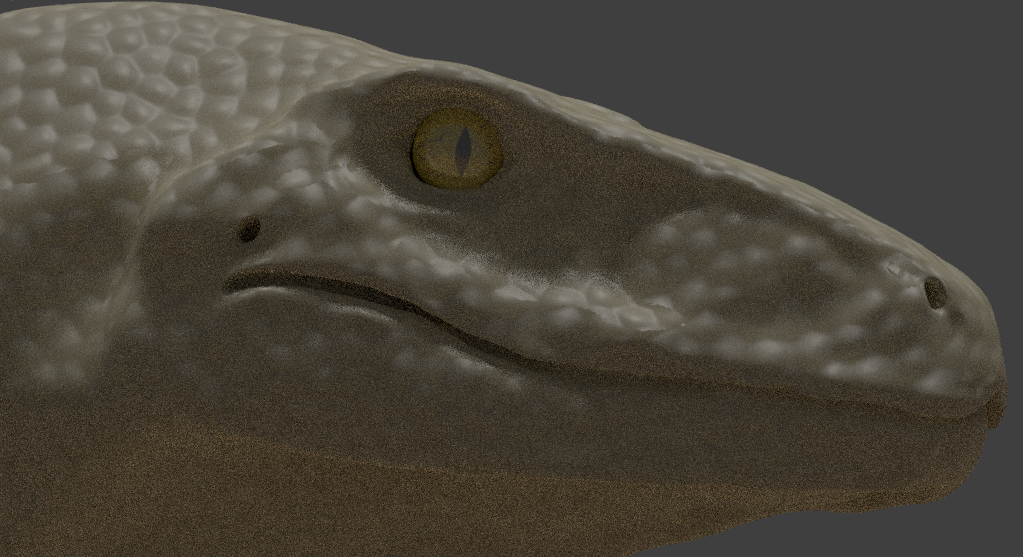
-then comes the texture map, this will be all the details like scales, wrinkles, osteoderms, all those stuffs that i wish i could have done with scultping, but i’m putting it all on the texture map. make a new image, set color to be medium grey. use a paint brush with white color, set to overlay, load in a texture for the brush (seamless would be better) and start painting away.
-depends on the usage, you can have as much map as you want, so long as you know exactly what’s you’re gonna do with it. for a recent project of my, i made a crevices map to amplify the gap between an ankylosaurus and it’s huge osteoderms, rock like features on it’s back. i use that as a displacement texture for the displacement in the material
back in the modding days, i made all these maps with photoshop, but combining them all into a final texture file which the game will use. and i still have a habbit of doing that now. i usually go to photoshop once i have painted all the maps in blender, put each map on a separate layer, change the blend type of the texture map (as well as any other maps there might be) to overlay and now i have myself a “combined map”. i find using this map as a diffuse looks better than just the color map. use crazybump to generate the 4 additional maps as per usual, and we can call it done with texturing.
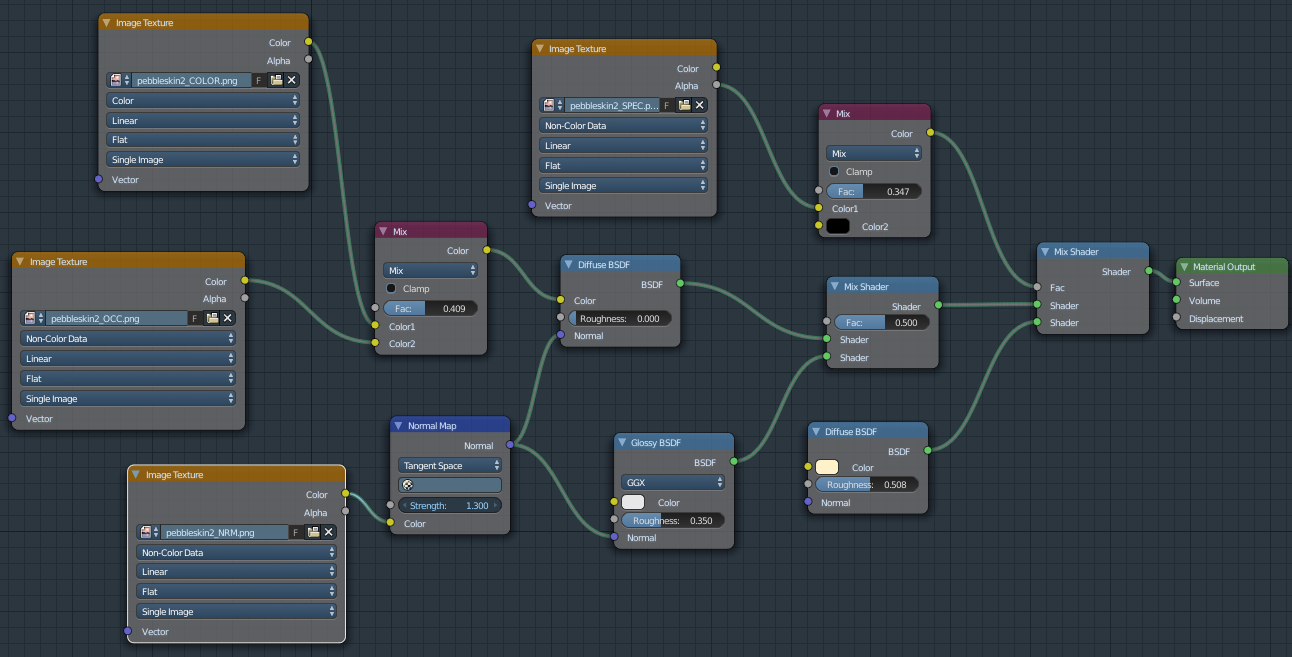
than comes material, if you heard of Crazybump, i’m guessing you might have watched BlenderGuru’s tutorial on realistic texturing, so you probably knows how to set the maps up. but remember to add in Subsurface scattering too. when it comes to skin materials, that’s a must have.
then it’s the rigging. that’s still a big myth for me actually. i know how to set up a basic rig, weight paint, IK and all. but how’s IK really work i haven’t yet to fully understand. too many constraints and i got lost in my own project. so that’s still something i need to look up.
and that’s pretty much all i have to say, kinda anti-climatic and way too long. i apologies if i bored you.