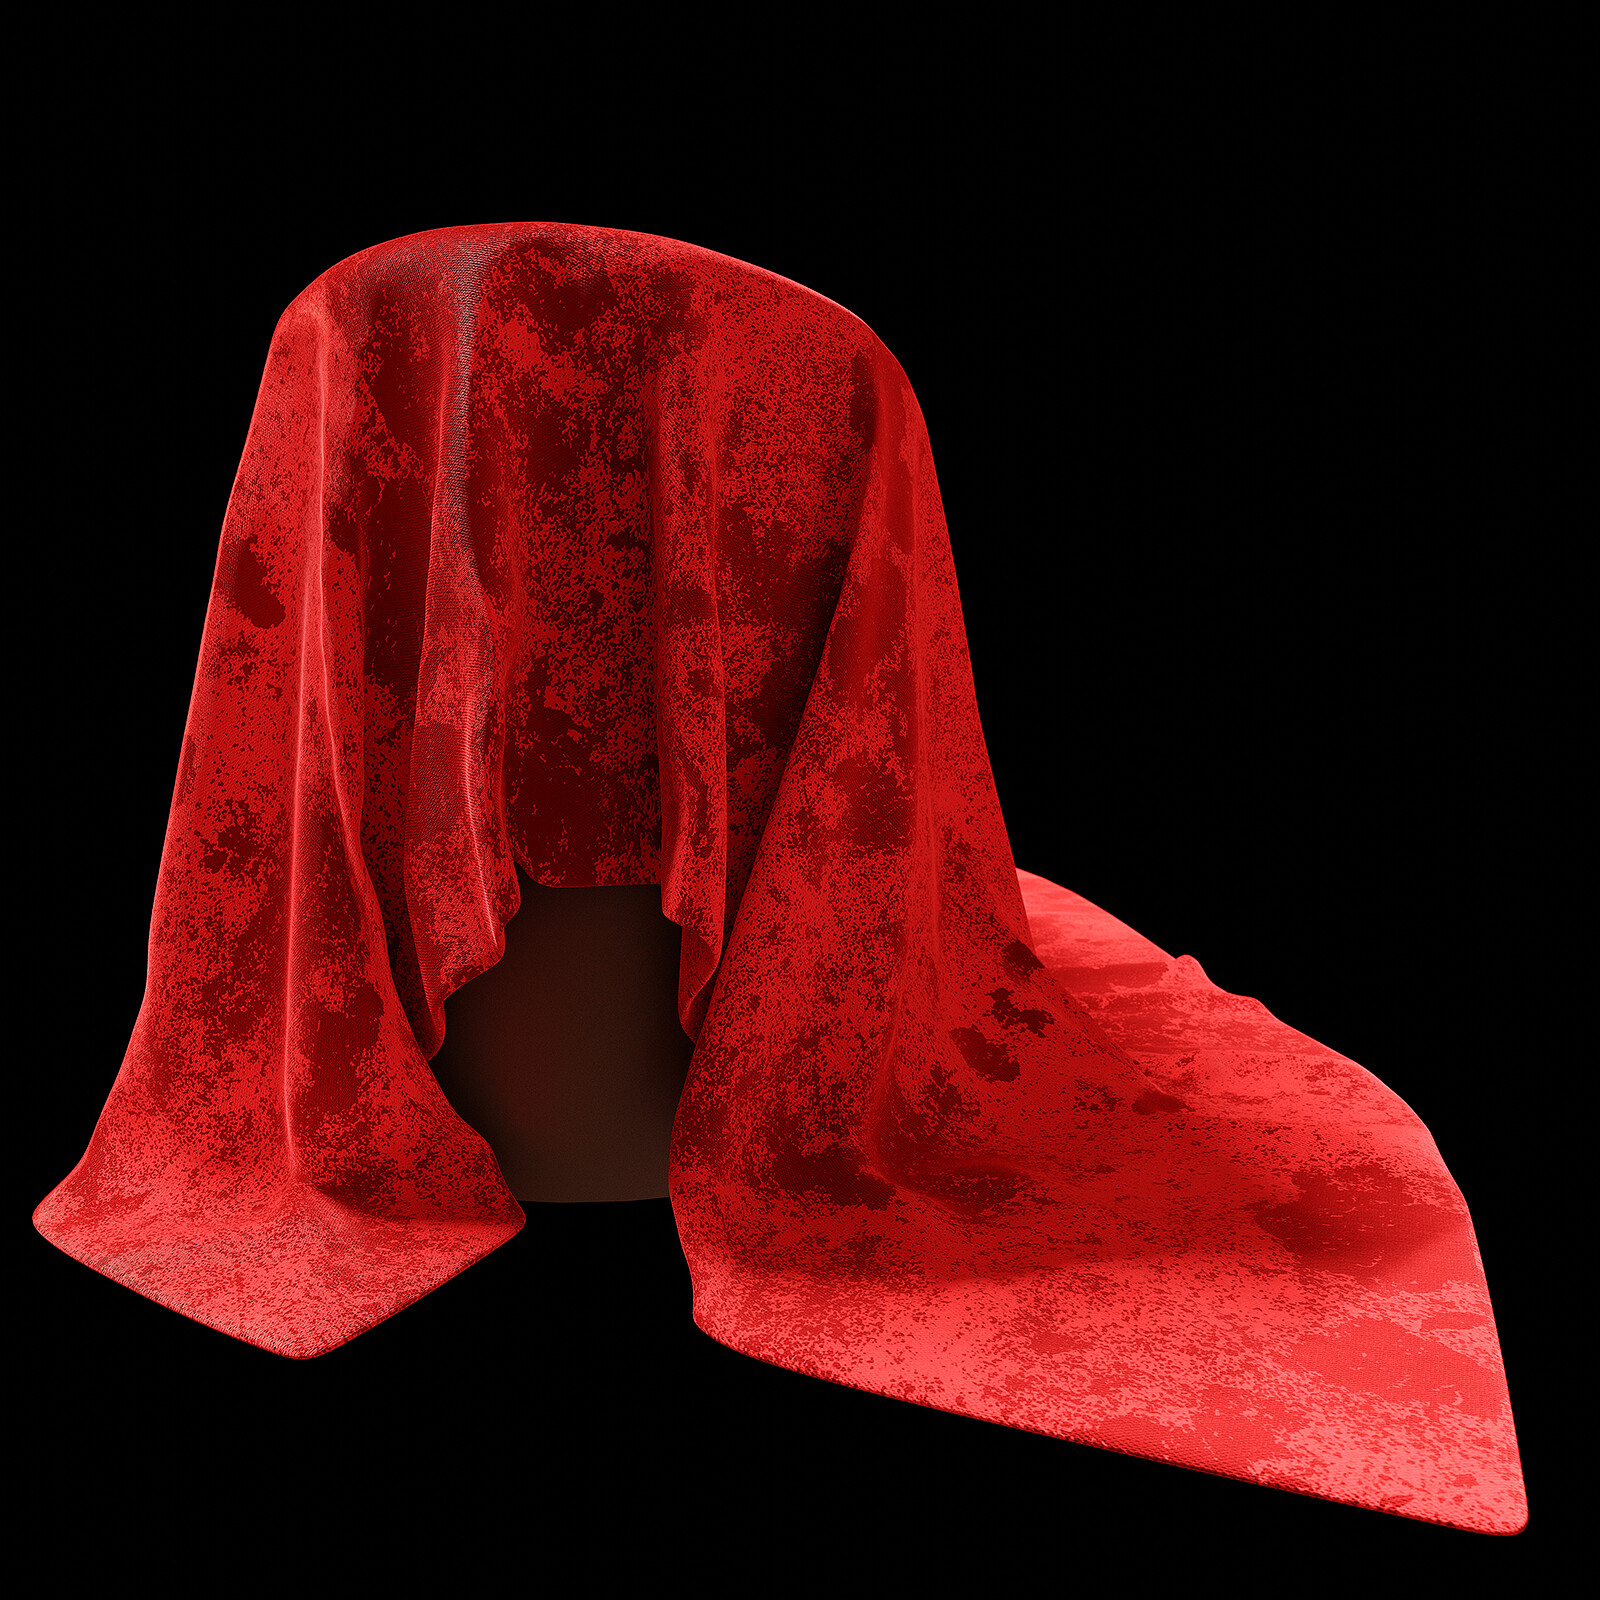
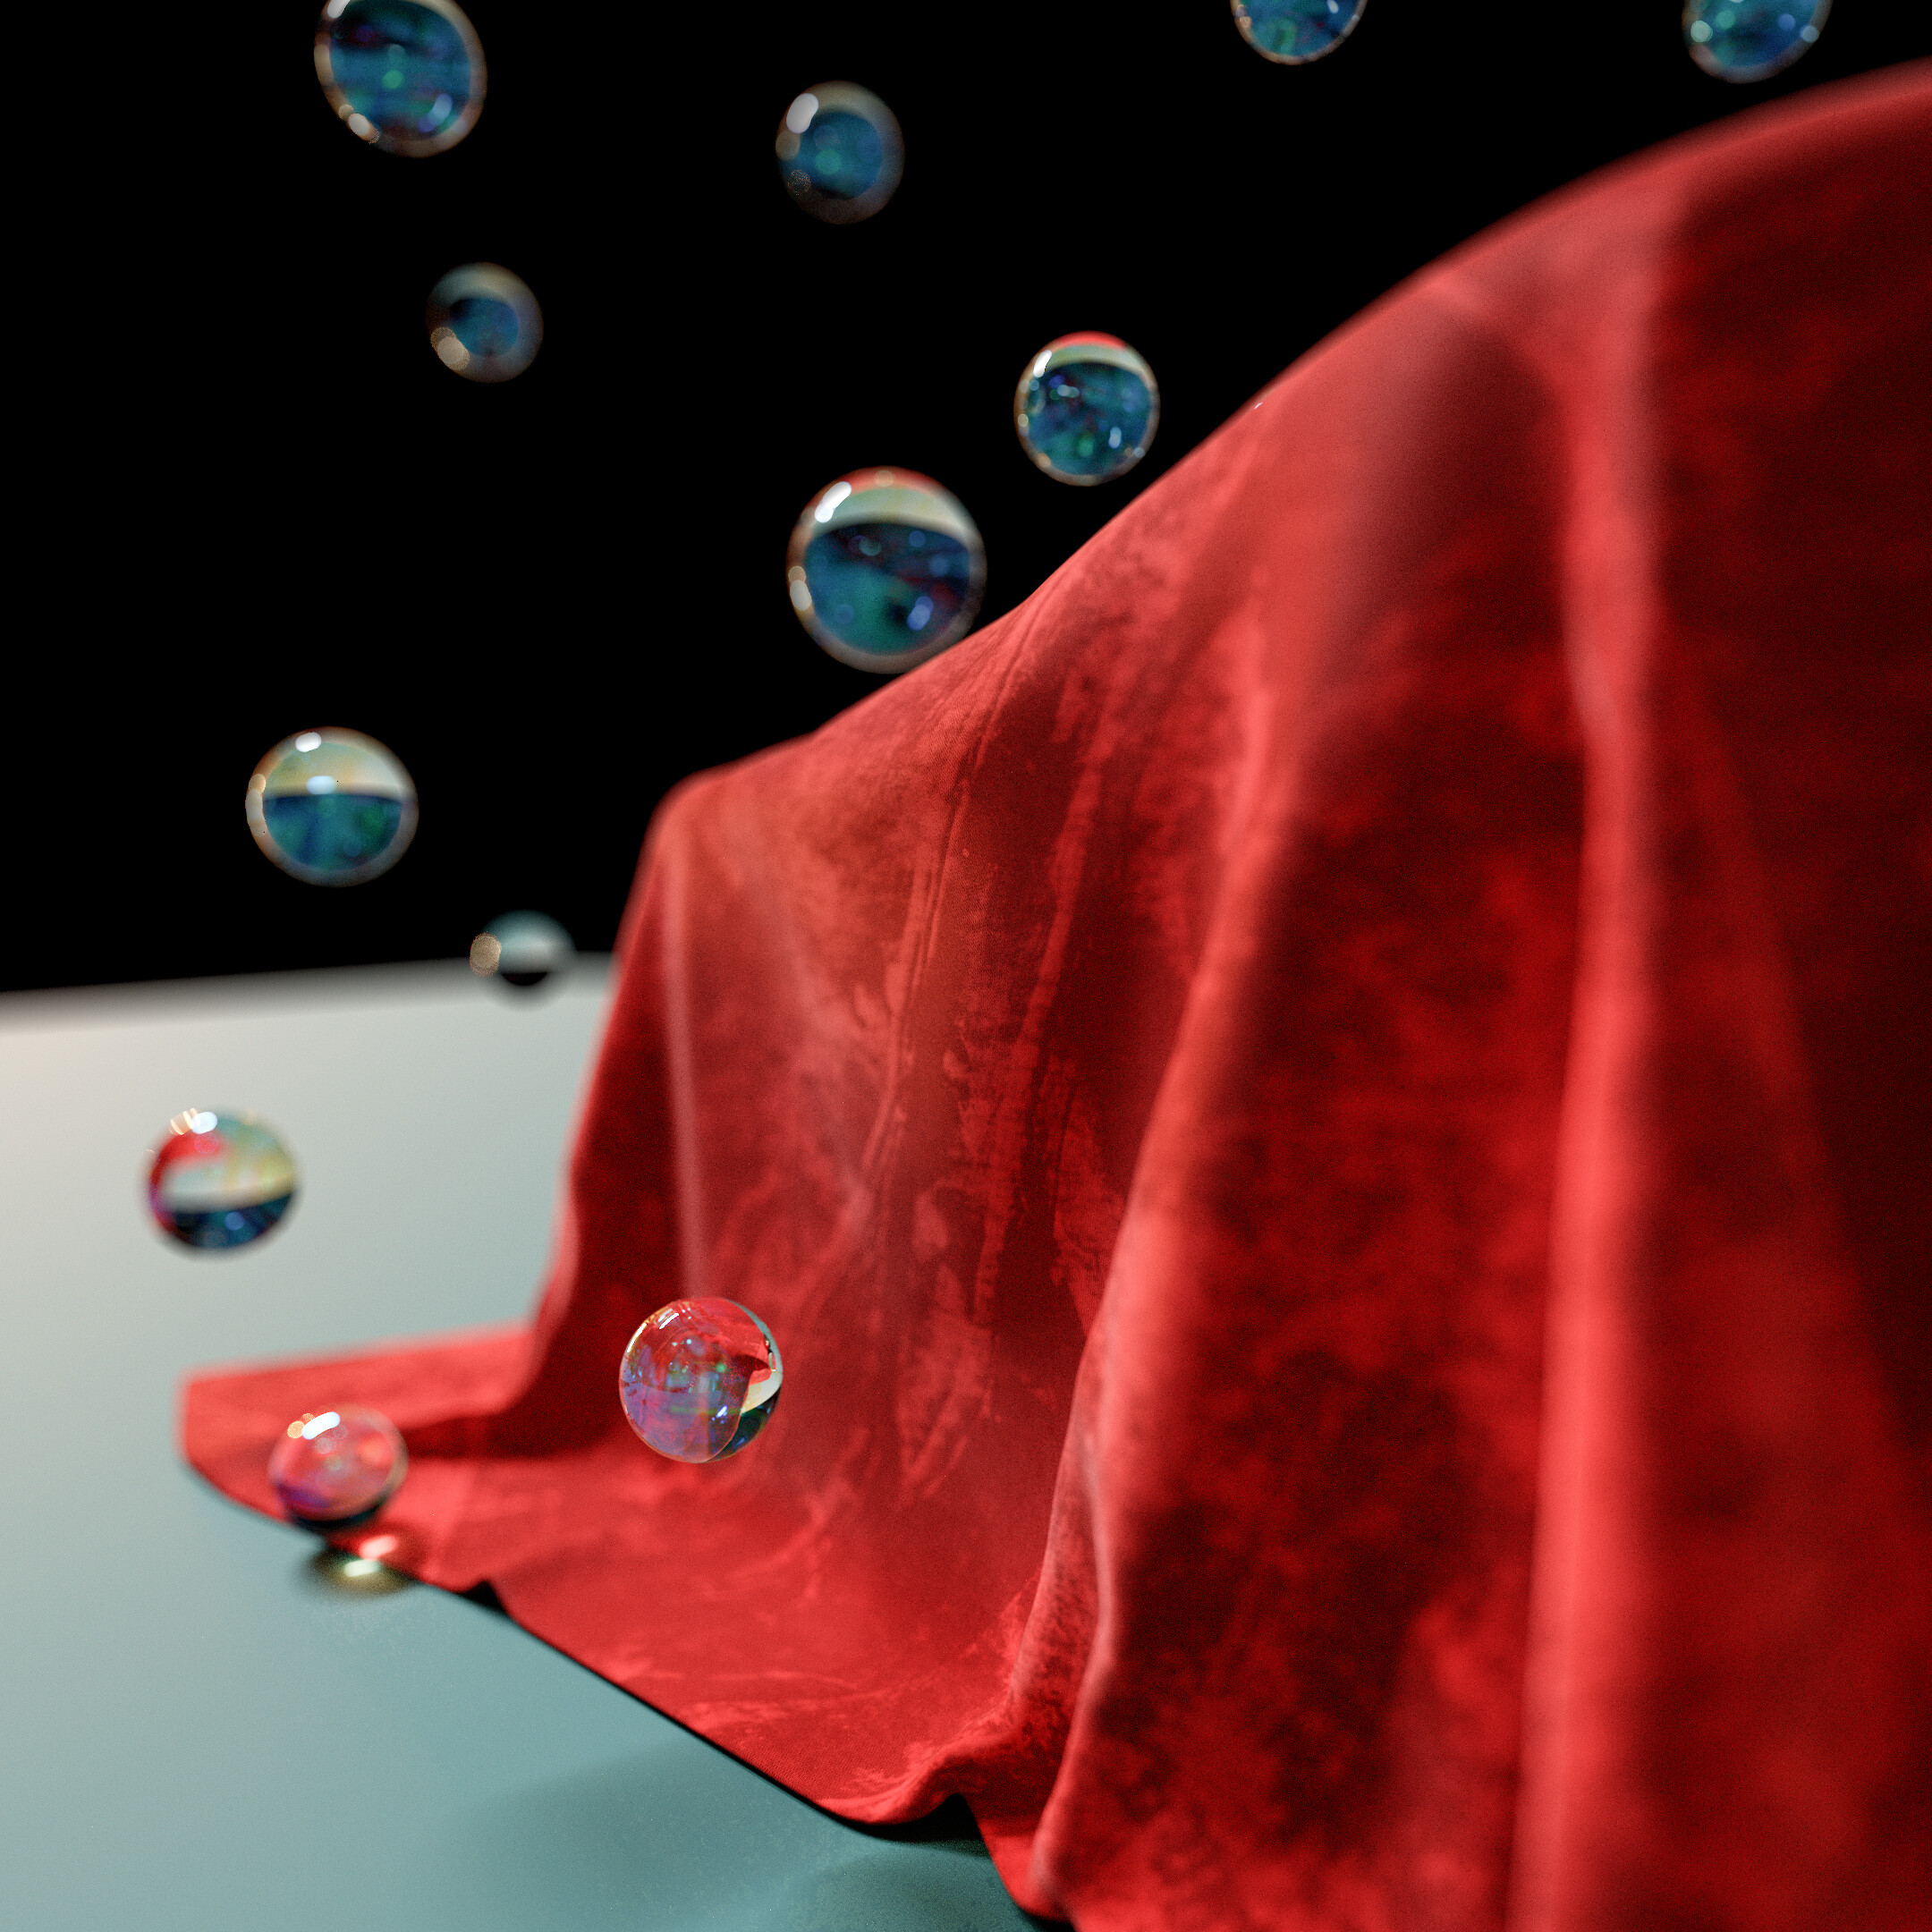
Here im trying to match reference images for crushed red velvet, using the new BSDF of the alpha branch.
In the end i had to use a value of 2 for the sheen and approx 0.3 sheen roughness along with .3 roughness for the diffuse. I had to use a strong clearcoat tint which luckily works as sheen tint, because without it the bright parts of the sheen would always be white or reflecting the world light, but looking at references silks and velvets definitely have a sheen tint from their fabric color.
Im also using AGX color transform rather than filmic which seems to stop whites blowing out and has a more natural exposure falloff.
The other stuff can be done in standard blender its just a mask to mix a darker version in to get the crushed effect, and some kind of stitch normal or bump map and the trick is to get the scaling right.
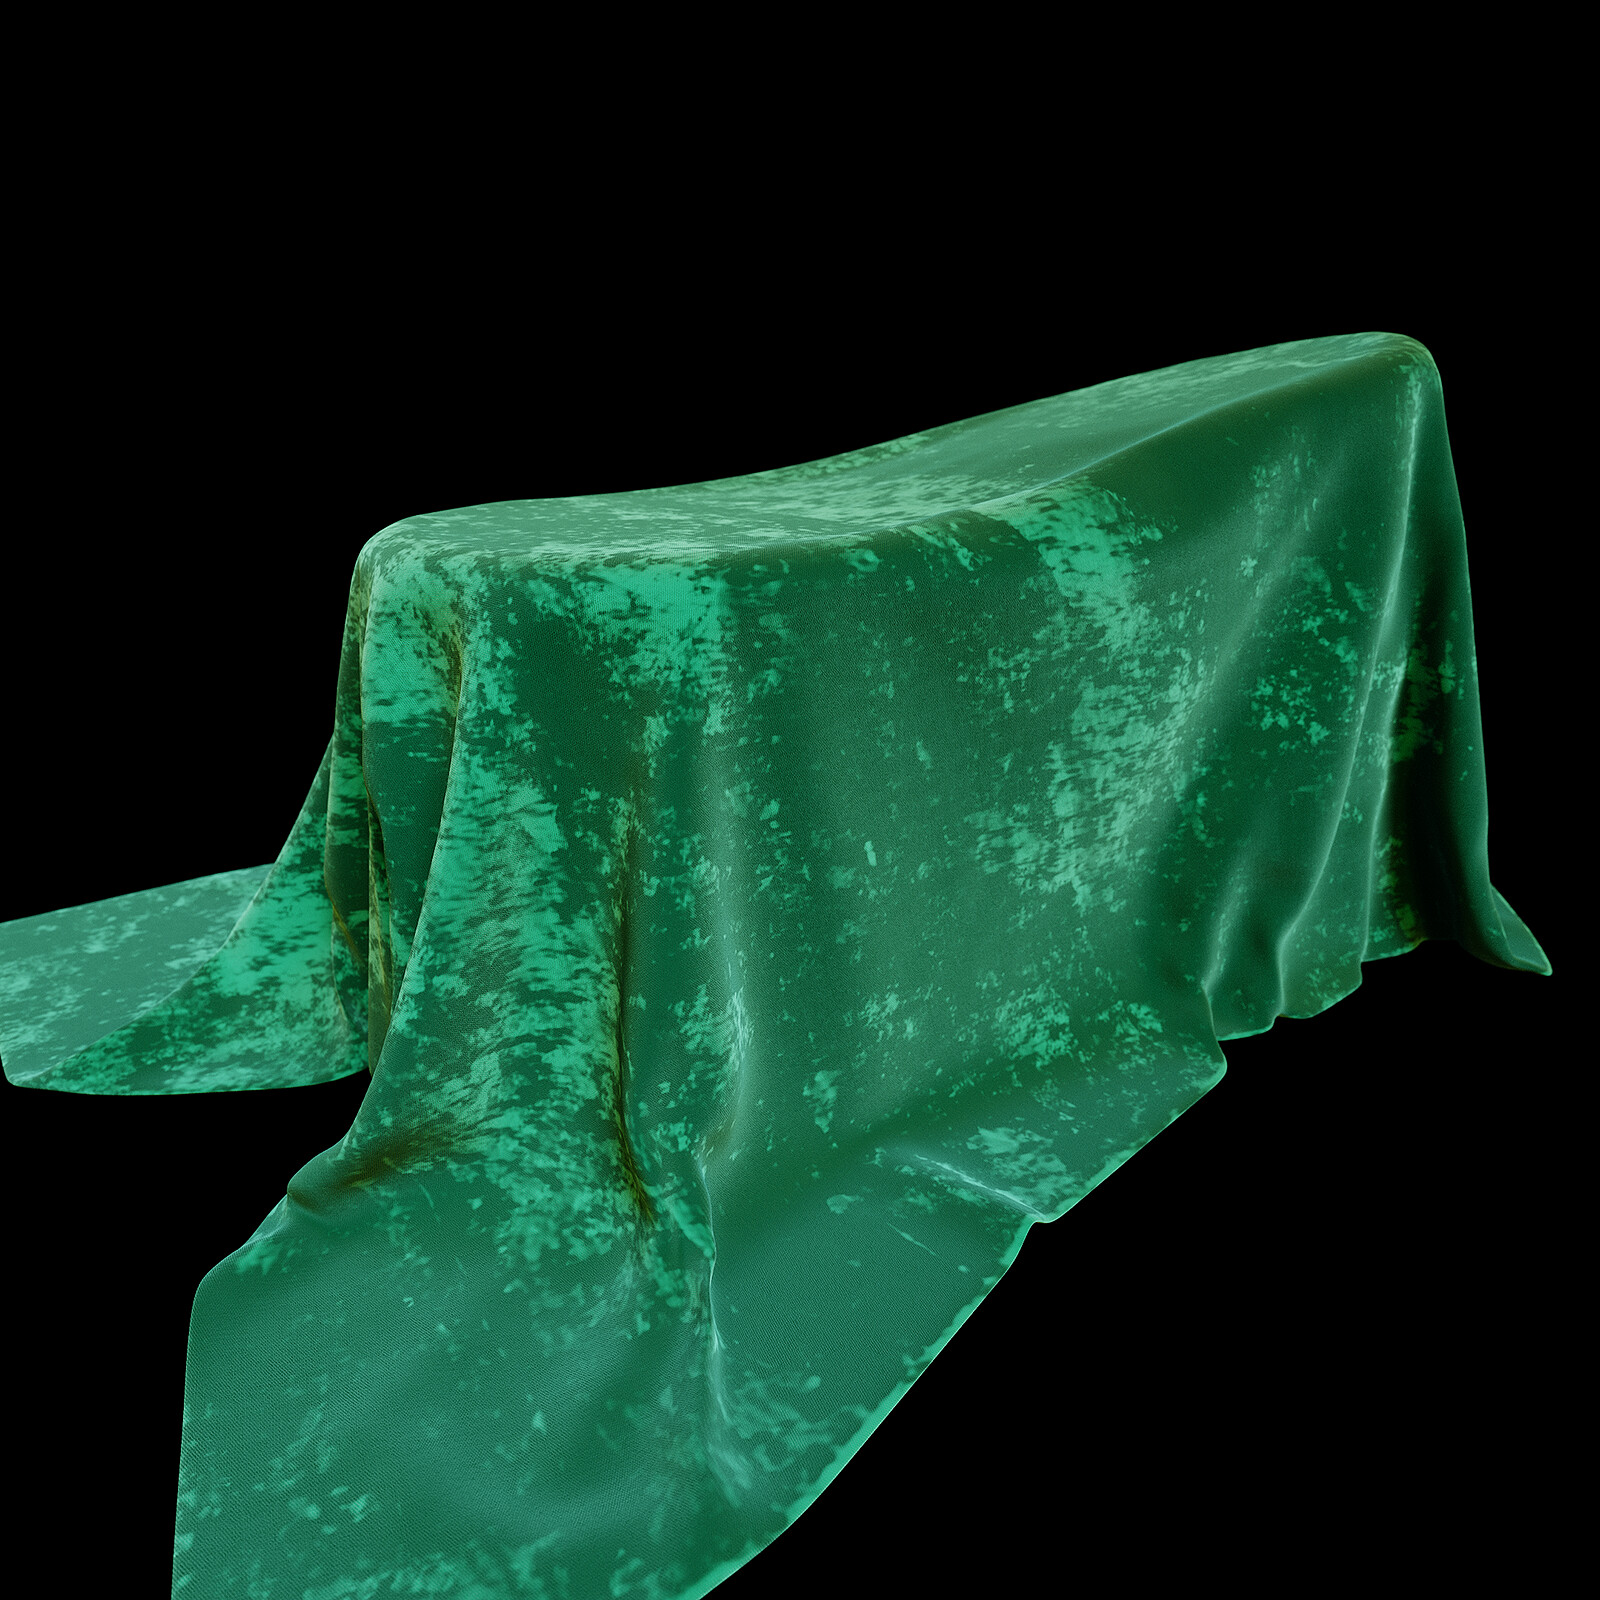
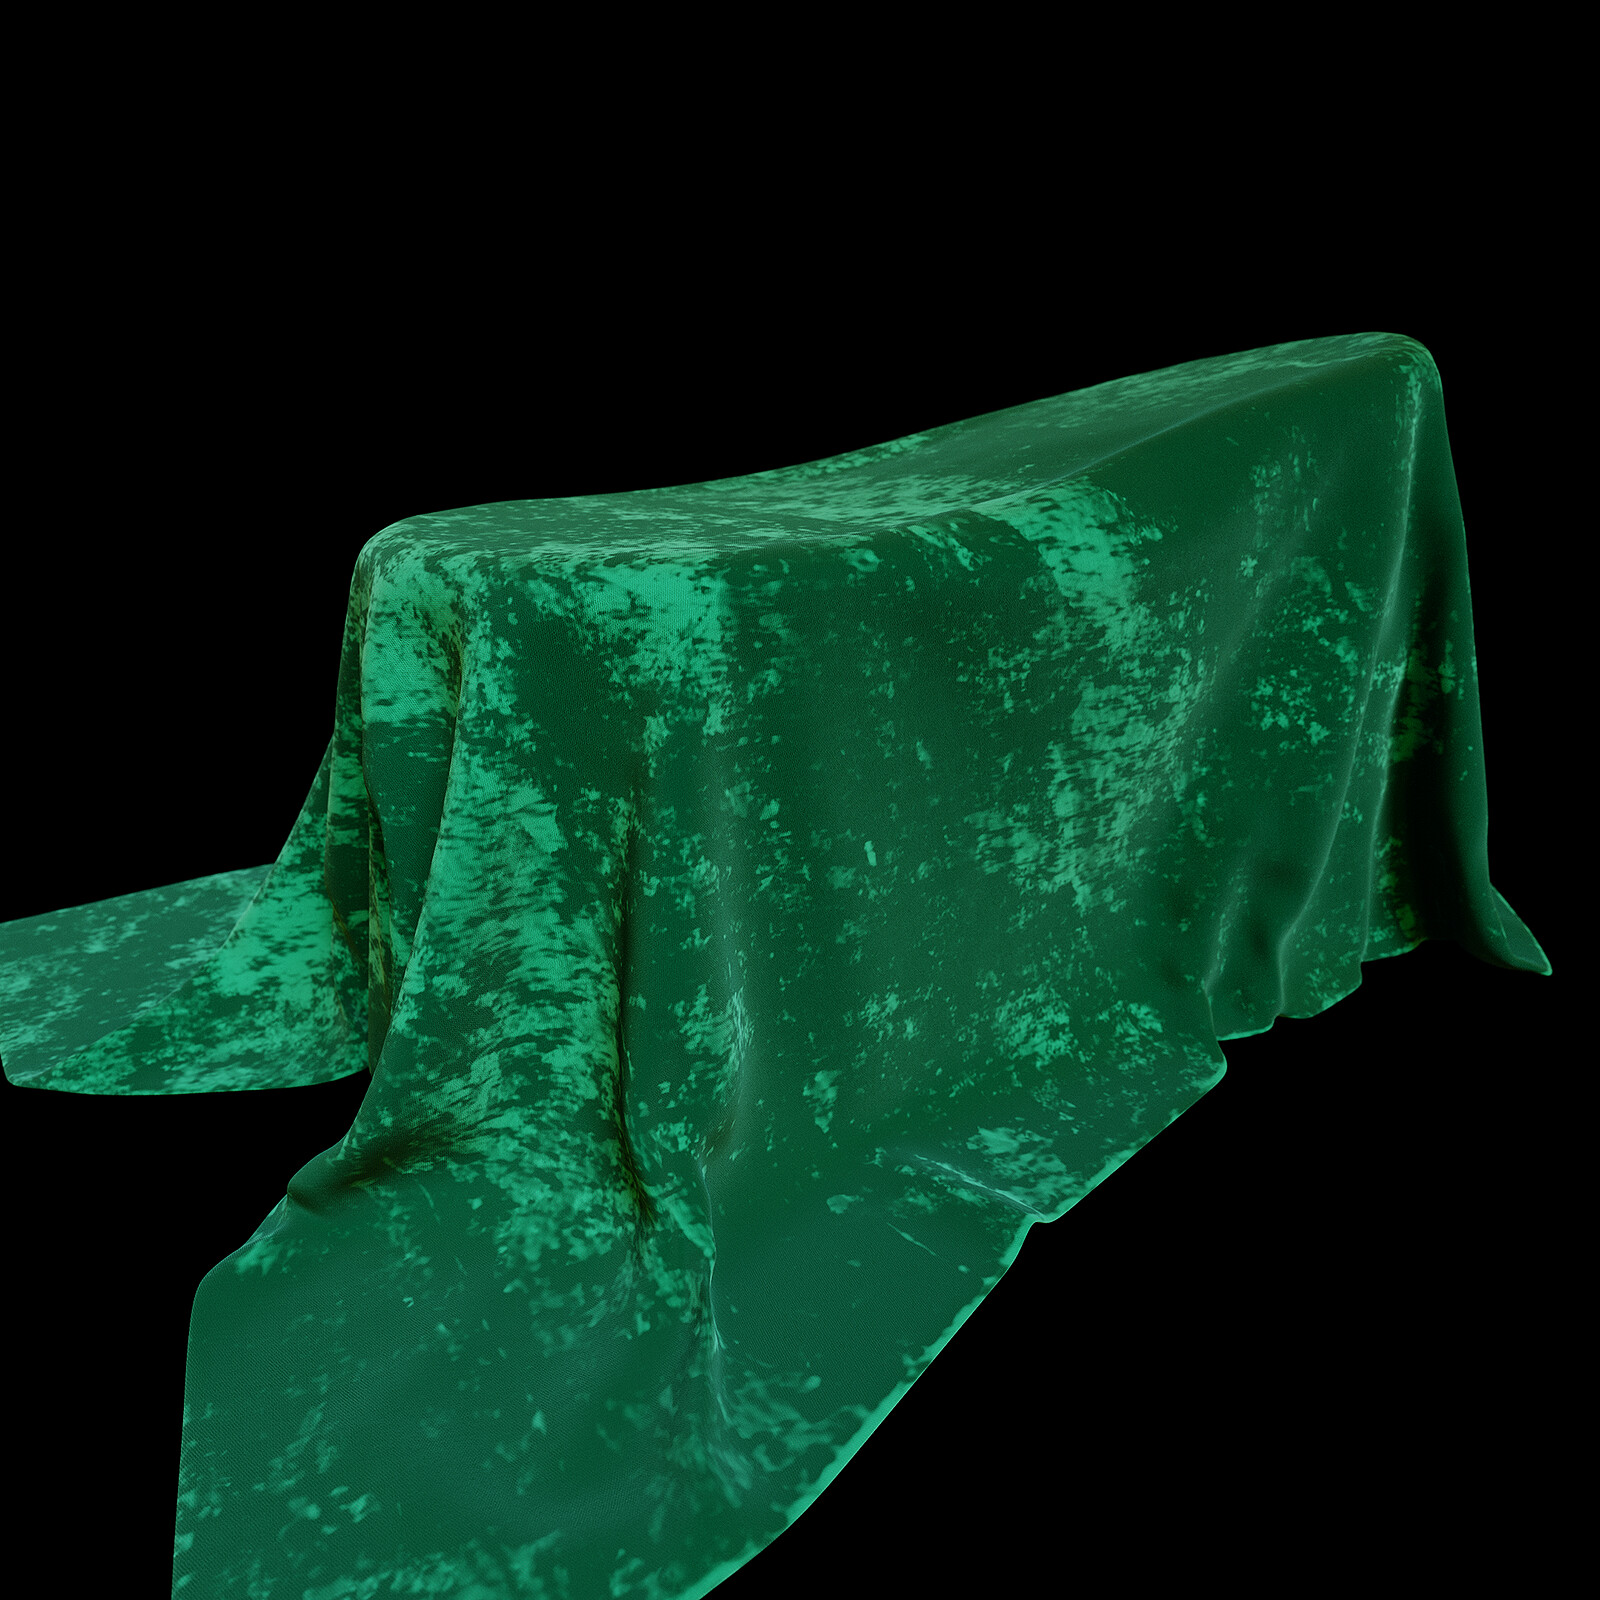
New comparison. I checked that seen value of 2.0 was working/necessary and conclude that yes sheen at 2.0 looks better, below is the comparison of sheen 2.0 vs sheen 1.0
If the developer sees this it would be nice to have the default sheen scale changed so that 1.0 represents a higher sheen level, because many people don’t know some of the slider scales can go past 1.0
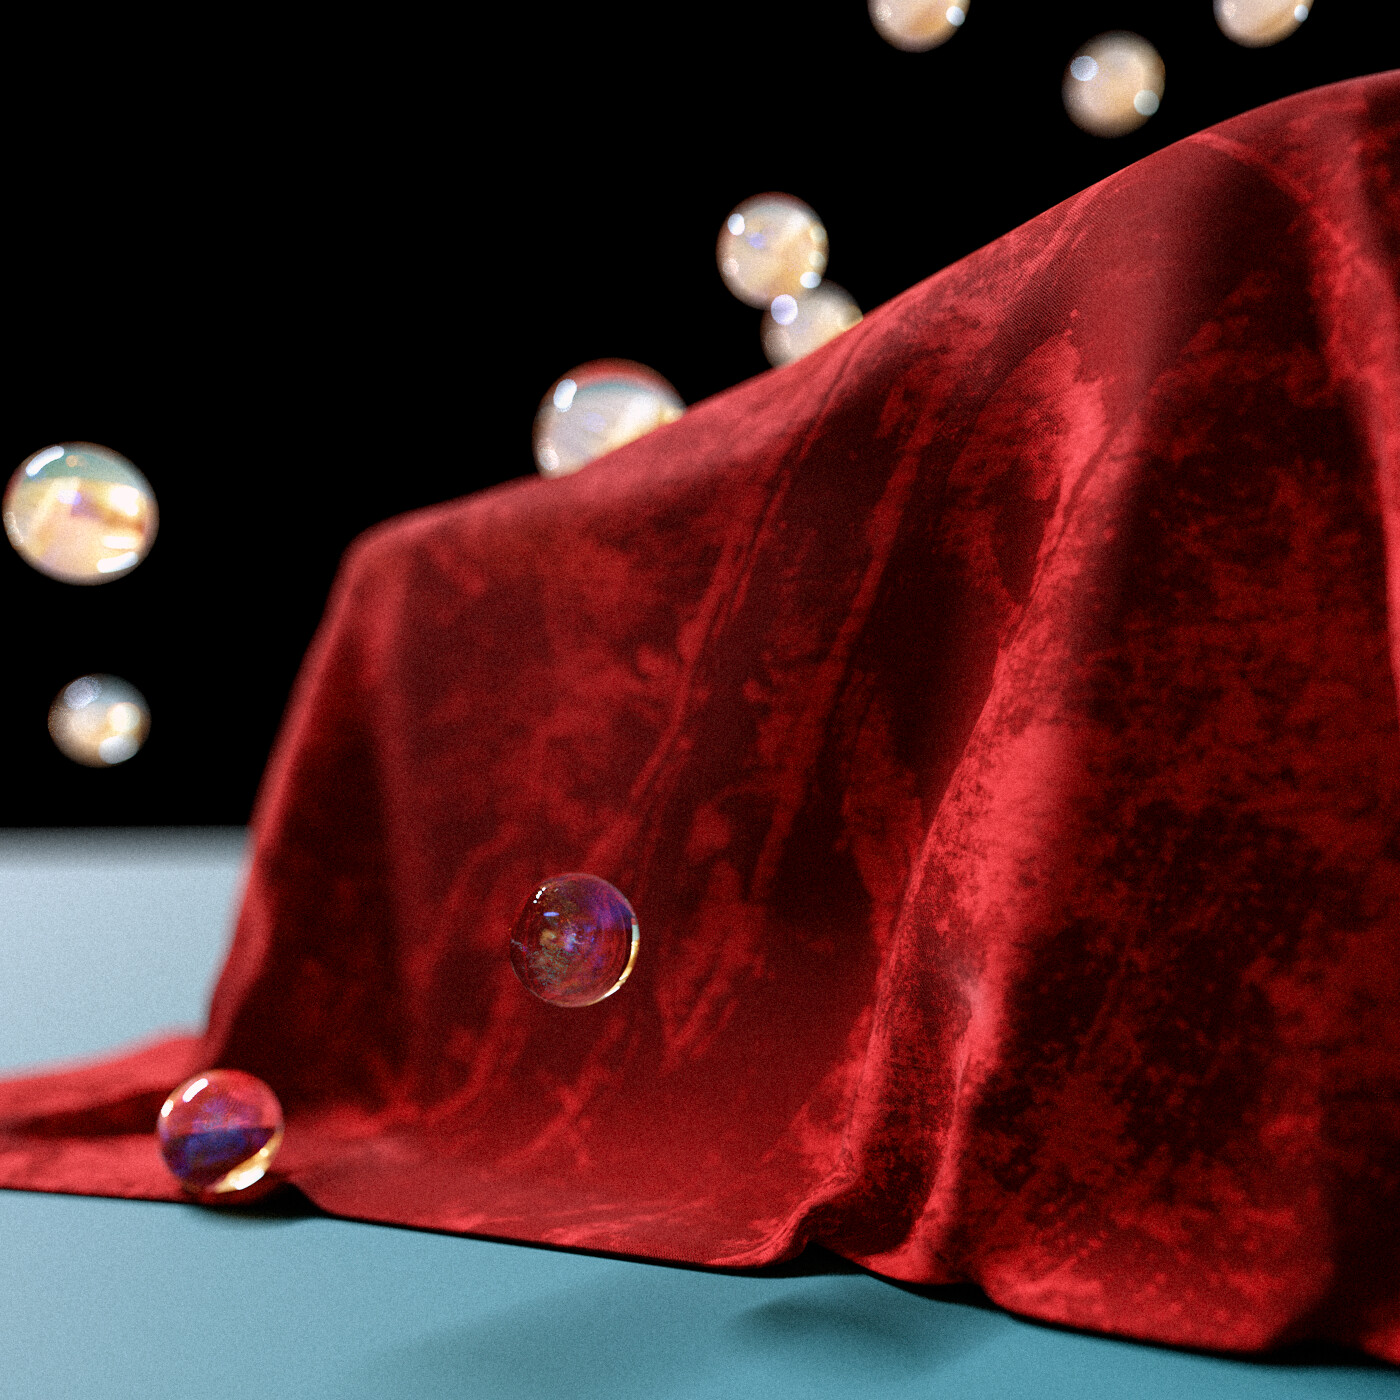
The thickness of realistic soap bubbles is 0-1000nm, and the purpose of the thin film shader is to calculate the interference rays of this thickness. The process of expressing soap bubbles in shaders does not use the solidify modifier. In the Principled V2 BSDF, the IOR of the object itself is set to 1 to indicate that the object itself is air, and the thin film is set to a value other than 0 to indicate that there is such a thick interference layer around the air. This is the structure of soap bubbles in reality, and it is also the correct way to represent soap bubbles with Principled V2.
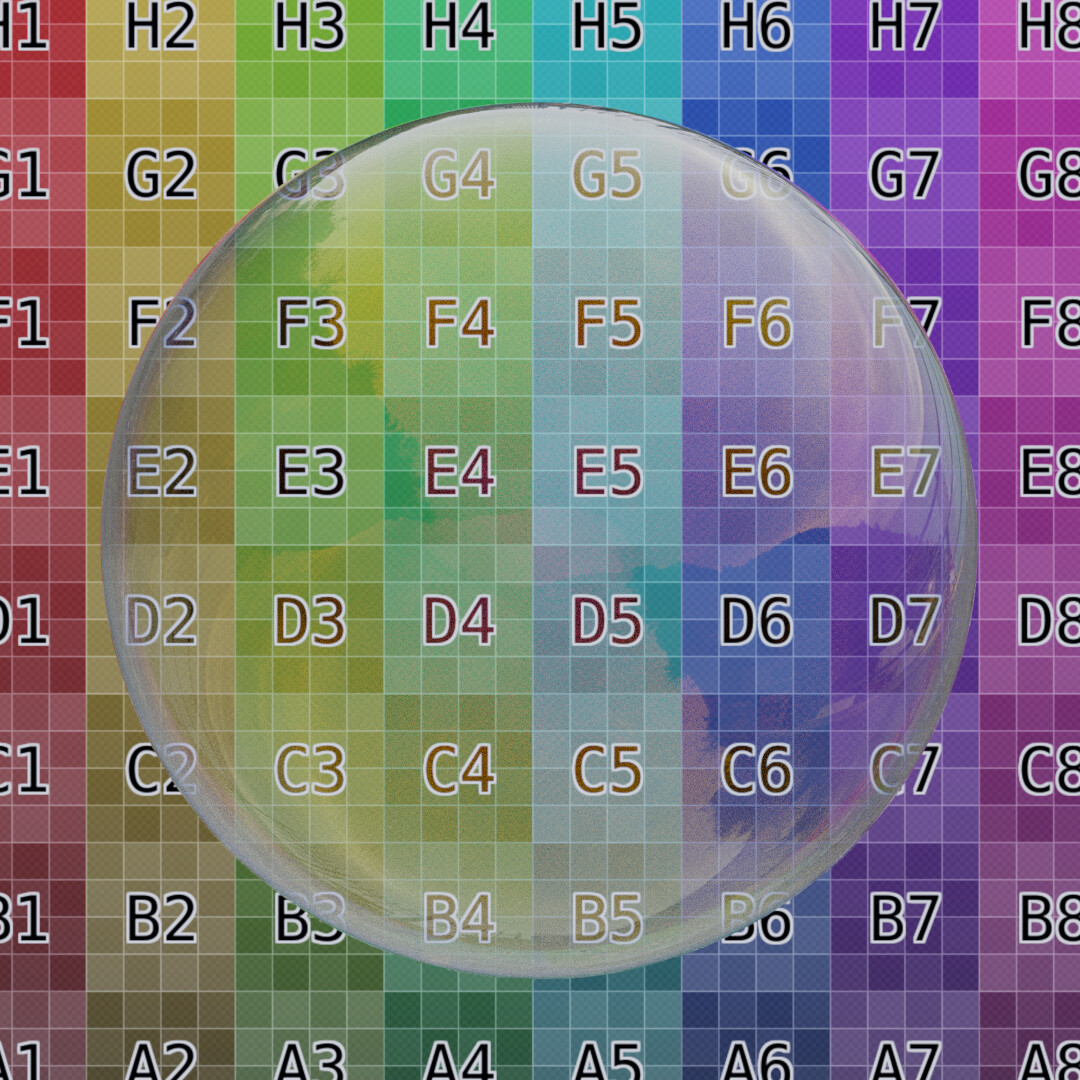
Look at the sphere in your first image to the middle left. The cloth is refracted in the sphere - flipping it to the left hand side of the sphere.
Soap bubbles don’t refract light like that, only solid refractive objects do - so something is wrong.
Look at the difference in my image - top is a solid sphere, bottom has the solidify modifier added. Notice how the red dice is refracted in a similar manner to your cloth.
The sphere to the bottom right in your first image also gives it away - you have a focussed refractive caustic being cast by that sphere onto the cloth. A thin film soap bubble wouldn’t do this, focussed caustics only occur when light passes through a solid refractive object.
If it’s supposed to work as you state - is it possible the V2 shader has a bug and isn’t working as intended.
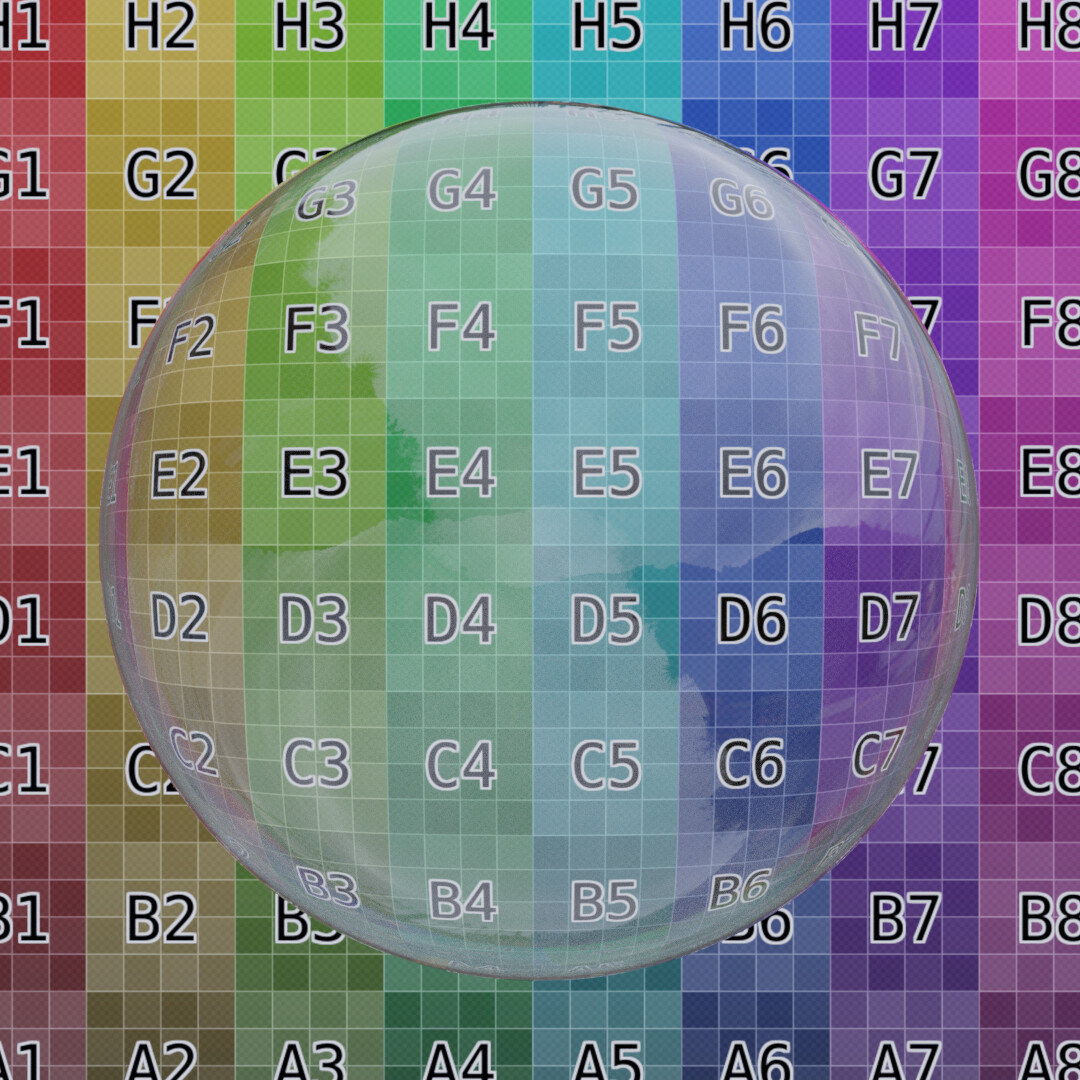
Hello, you may have misunderstood me. I’m not saying that Thesonofhendrix’s shader settings are correct, I’m saying that Principled V2 doesn’t need the solidify modifier to express the thickness of the soap bubbles.
Follow the settings I said above, using only Principled V2, 500nm thickness:
Technically no shader does. IOR of 1 is the same as using a simple glossy/transparent mix - with layer weight driving the factor. In that regard, principled is no different to using atomic shaders.
Yes you get the colour grading with principled V2 that hasn’t been available before (outside custom built nodes), but that’s not the effect i’m trying to address here.
Hello, the color in the picture is not color grading, it is the interference of light when it passes through a thin transmissive film. I suggest you to learn about the thin film shader and the interference effect of light. In addition, in order to ensure that when IOR=1, the inside of the interference film is air, it is necessary to set the base color to pure white and the roughness to 0. At this time, this shader is equivalent to the transparent shader. The fork of Principled V2 is already available for download, and you can try to achieve the soap bubble effect using just one Principled V2 shader with the setup I said.
I used the term colour grading - because that’s what it seems to be at first glance. It’s calculating a colour grading based on the angle between the camera and object. It’s just that the colour grading is calculated based on an approximation to real world iridescent phenomenon.
True thin film iridescence/interference depends on the position of the light source as well as the camera - which I don’t believe Cycles has access to (at least it didn’t have in the past when I was creating the node group in my link above).
As far as I can tell - the thin film effect doesn’t change with changing angle of incident light in principled V2
It’s also not a true interference model either, because cycles isn’t currently spectral. It appears to be an approximation along the lines of what I created using RGB gradients and sine waves in the link above - but probably more accurate since I was merely eyeballing, not using the underlying maths.
For more information my bubbles were using an IOR of 1.370 (a bit high for water?) also adding the solidify modifier is not a bad shout at all and im running tests, although its going to be 2mm which i guess is miles too thick for a soap bubble wall , but then you have to ask how thick is a soap bubble wall vs the thin film, and then you have to decide do you want the thin film to be on the inside as well as the outside of the bubble or do you want to separate the materials?
im just waiting for a 200000spp render to finish then we shall have the comparison. I just dont like using any filter glossy anymore or denoiser so getting the accurate bokeh DOF takes a lot of samples. But i cant tell you there is a drastic difference between the solidified and non solidified, it looks good. I have a texture driving the thin film IOR btw it looks phenomenal compared to just one flat IOR.
I’ve been checking the daily 3.5.0 alpha builds, and although the Principled BSDF node has Subsurface Anisotropy now, none of the new Clearcoat stuff’s popped up yet. Anybody got info on when/if they’re likely to show up in the main branch?
Yes I know - but not just on thickness of the film, that was my point.
There are many factors, film thickness, film material/IOR, number of layers, angle of incident light, spectral makeup of incident light.
Cycles doesn’t have access to all of this information (particularly the angle of incident light and spectral characteristics of that light) - so any solutions are usually approximations based on viewing angle of the camera to the object normals and a calculated colour shift based on pseudo thin film thickness.
Years ago i worked with Thea Render, which is a full spectrum render engine. It has a proper implementation of thin film and coating. I also helped the blender addon get better. Sadly they stopped support for many 3d applications. It’s still a nice engine but currently i can only use on CPU with the older version