Ah i only do sculpting for heads. I also recommend having reference from all angles from down below and so. You can see from it the curvature of the eye or mouth and the right placement.
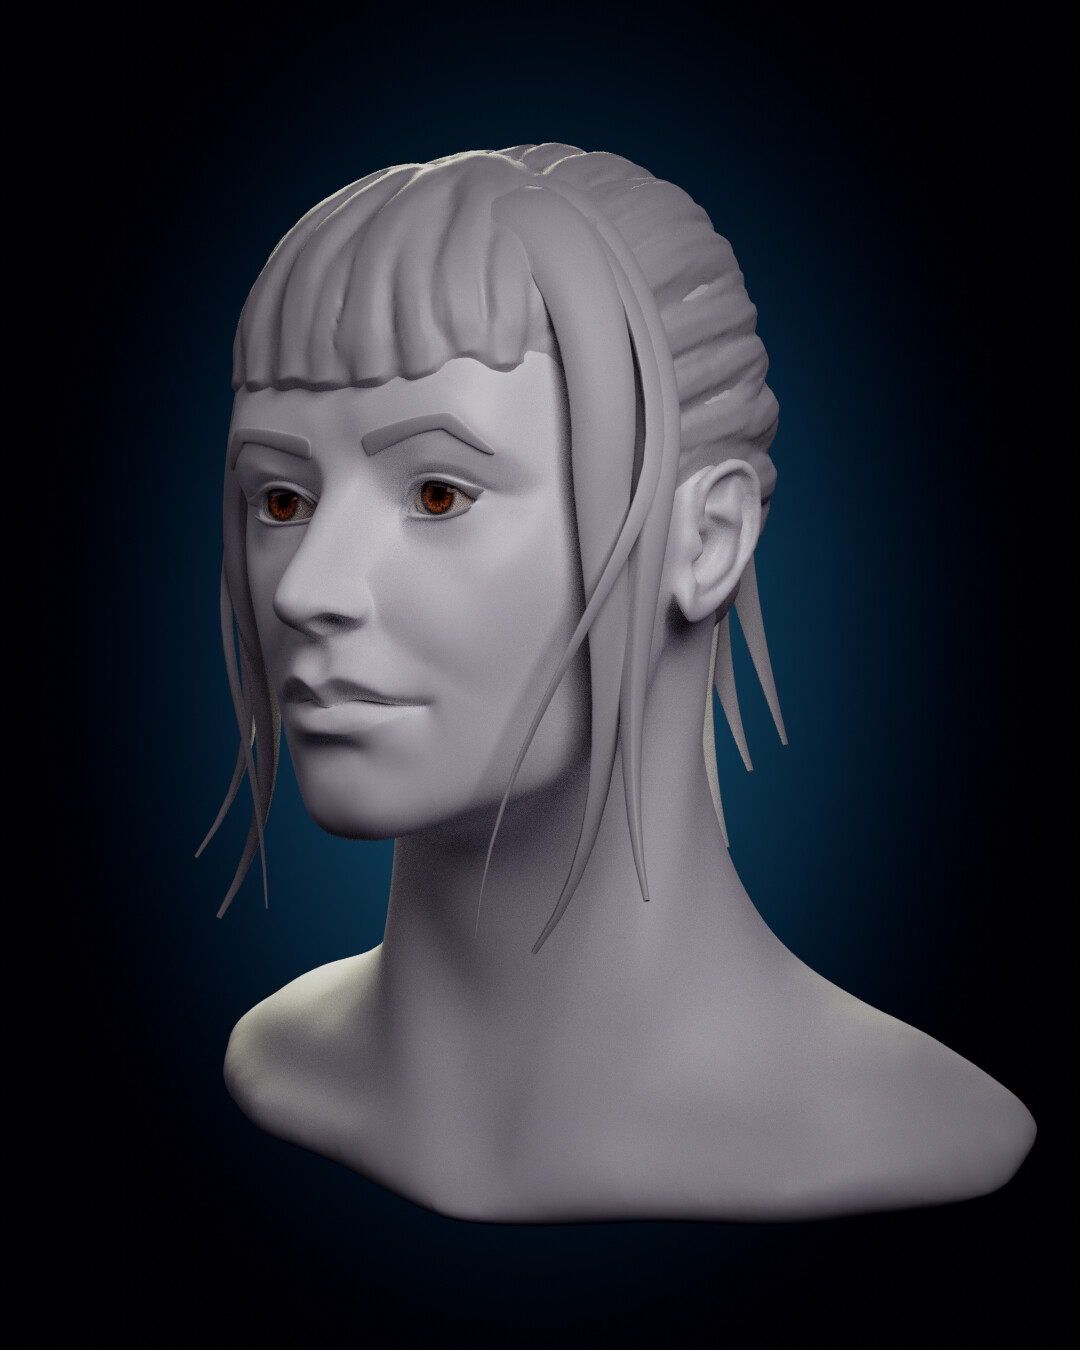
My latest head is this one. Female
Male
Ah i only do sculpting for heads. I also recommend having reference from all angles from down below and so. You can see from it the curvature of the eye or mouth and the right placement.
My latest head is this one. Female
Male
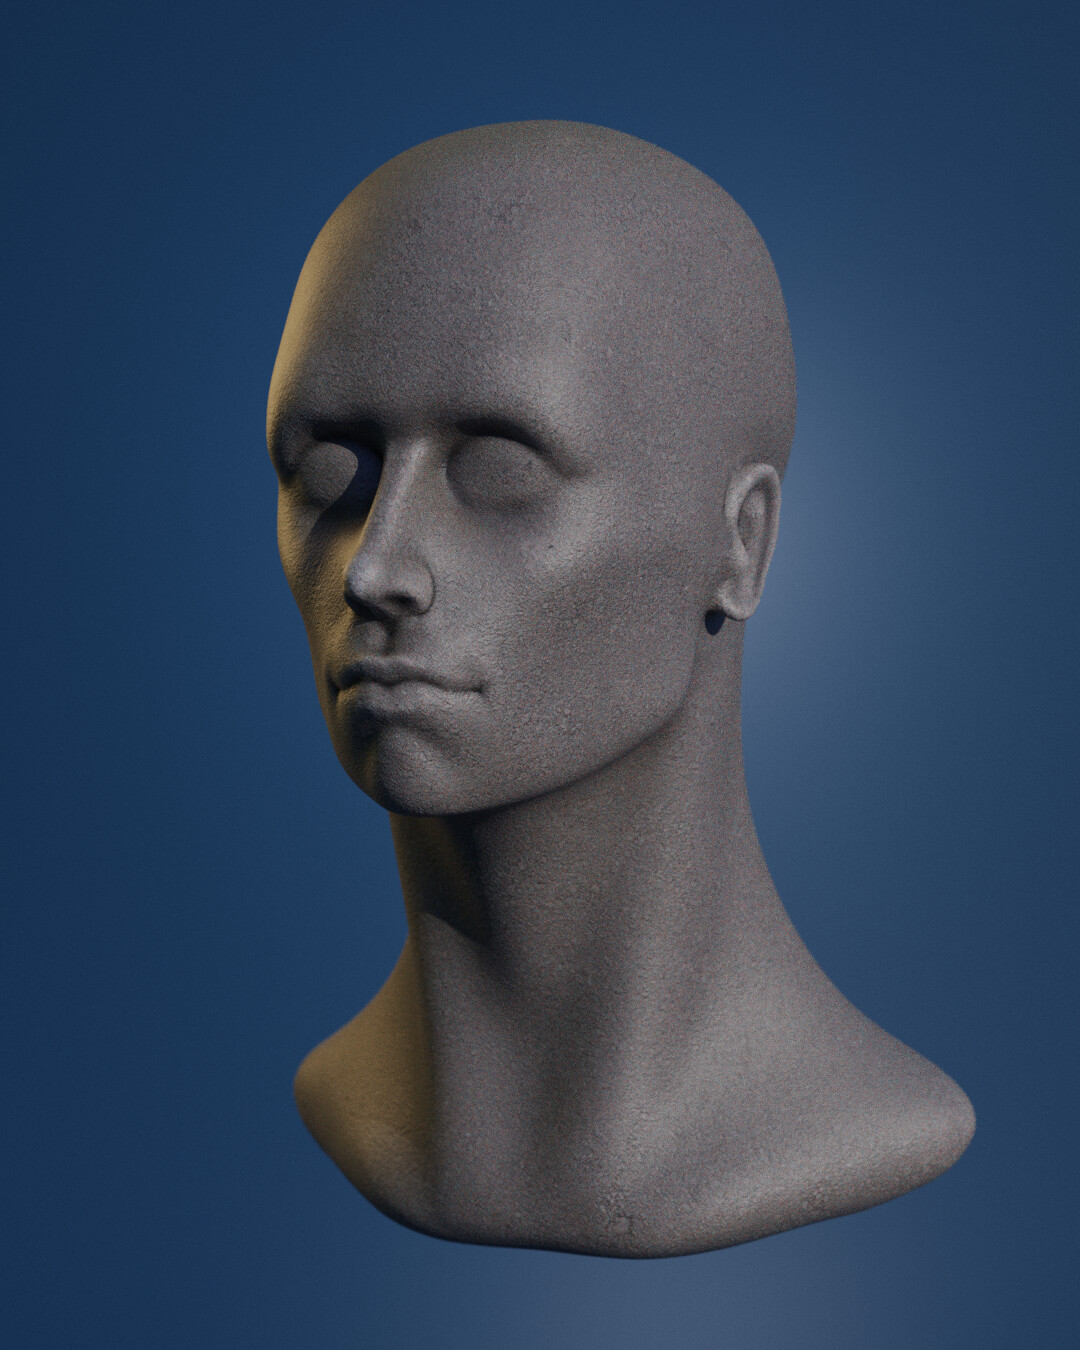
Mind if I grab your version of the eye-less look for a horror thing later? ![]()
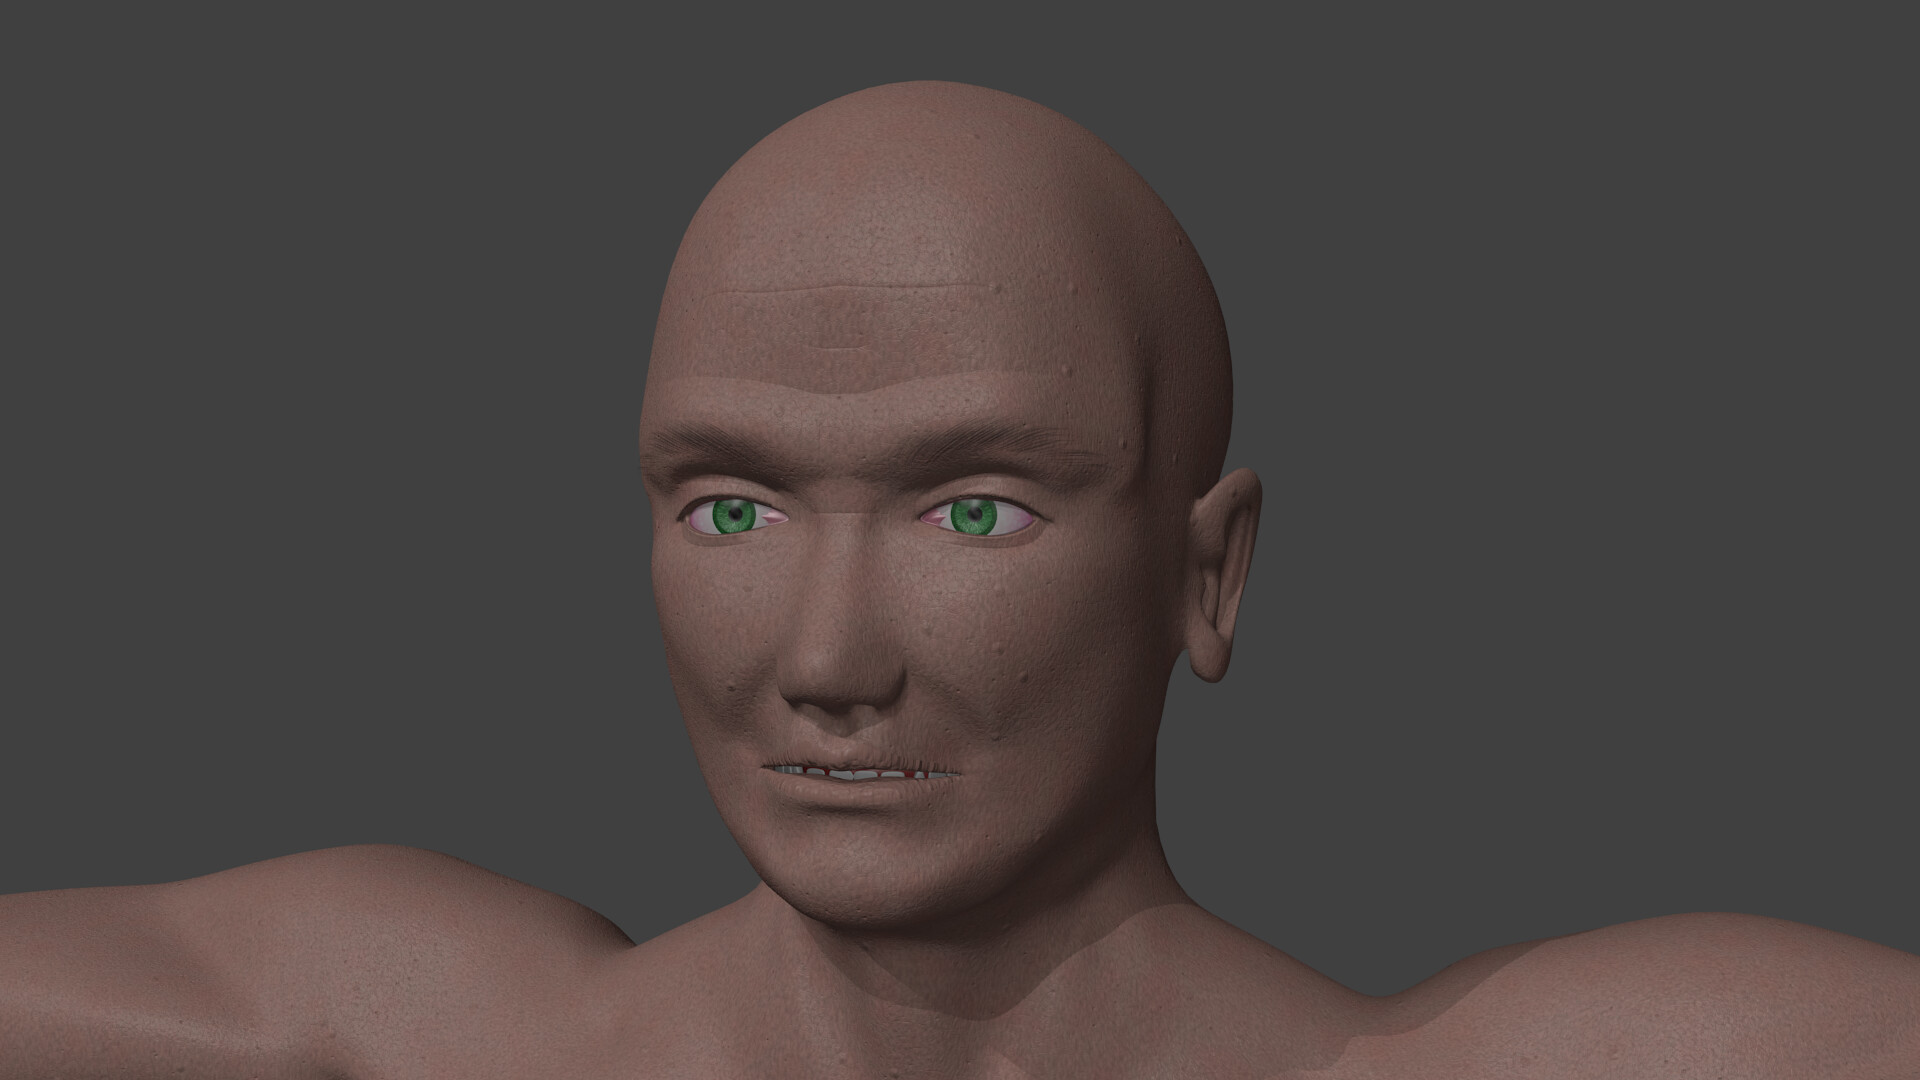
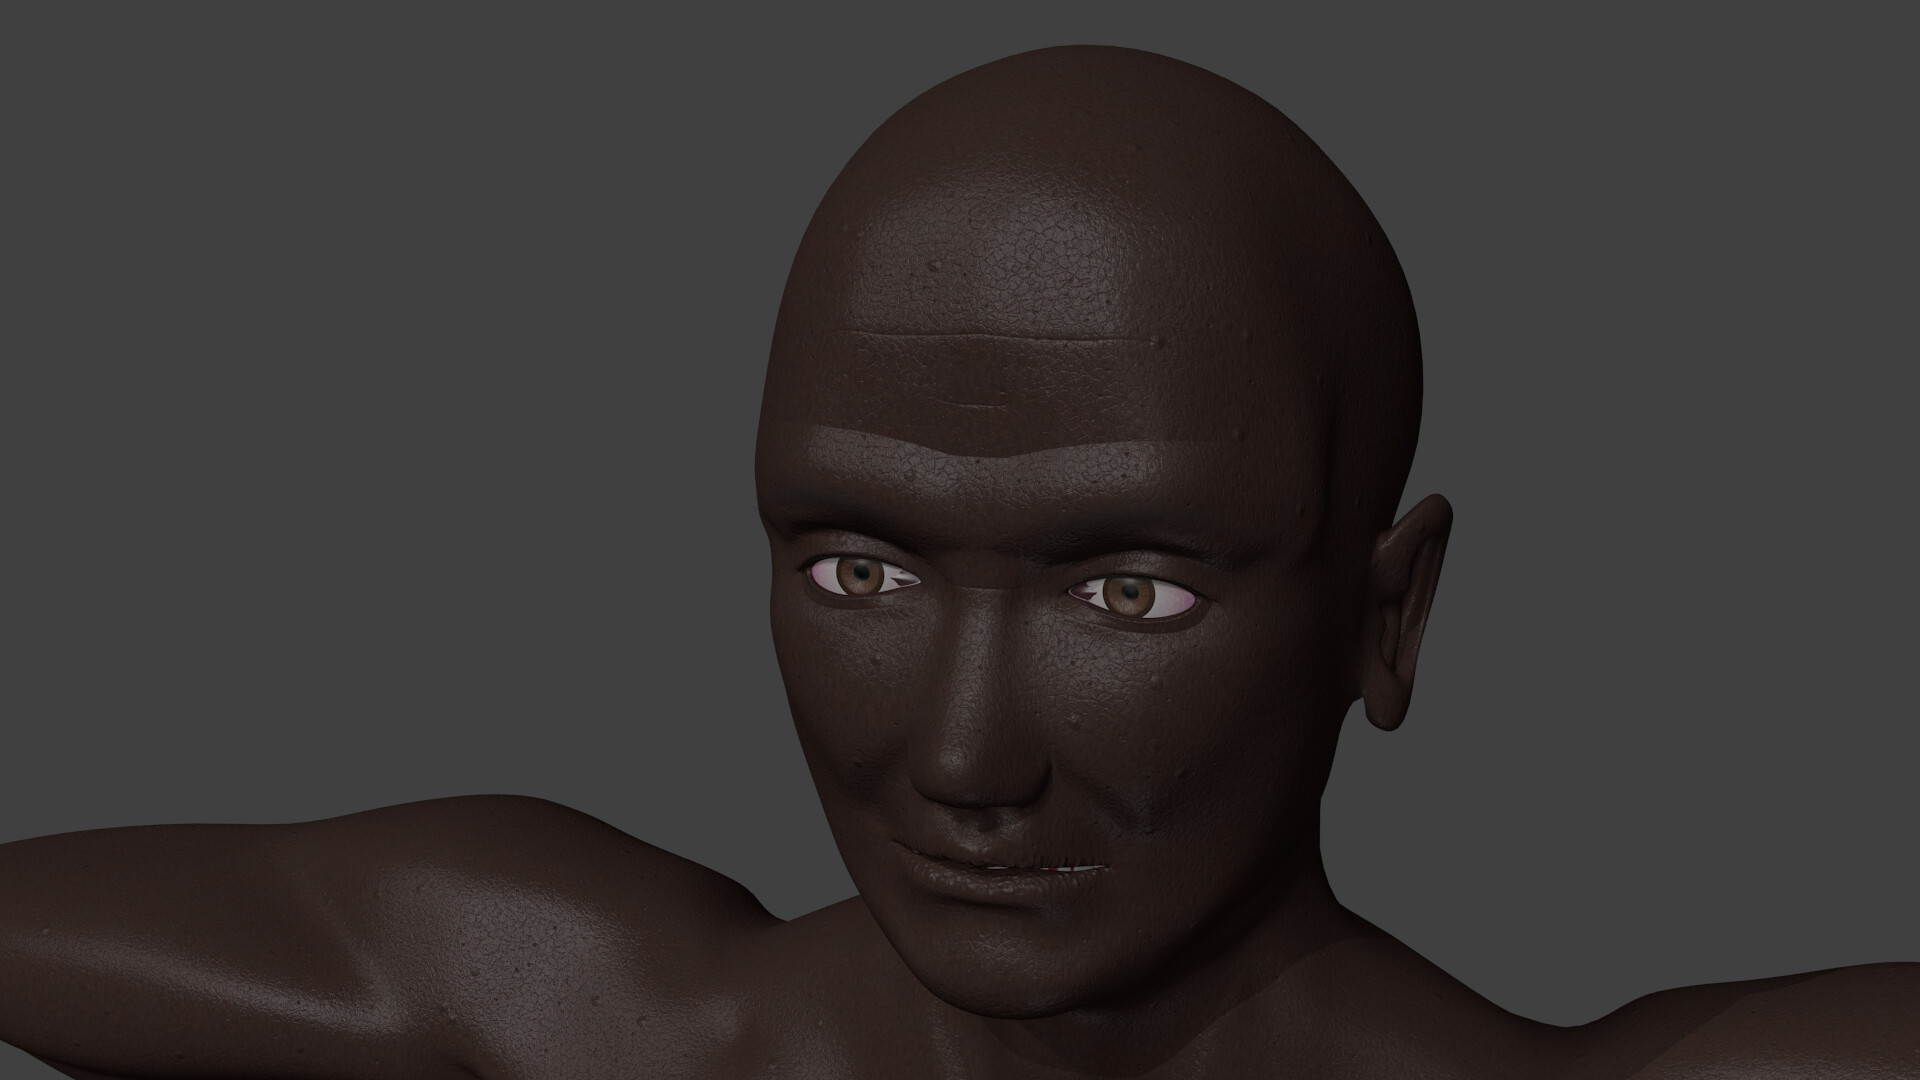
They look good, but sculpting is for sculpters, I’m too old for that field (and I make too many exxcuses for not learning it). Anyway, I tried implementing you all’s comments and do an update to the head. I also found out how to do a fair transition to UV maps for later, but the mirror modifier won’t let me do it while working. I may take some time away from the actor to do the last missing scenes of my version 4 Alien-style trailer, so there may be fewer updates over the next week or two, doesn’t mean I’m gone, just expanding my horizon. And I may start on the upper body soon, too!
Render time is still 6-10 seconds, btw…
Yes of course you can use it. I just had another idea for poly modelling a head. You could start with a base head and change it as you want. With that the proportions and the overall look is already good.
You might want to add some subsurface to the material of the head.
Also there is a crazy thread on blenderartist for realistic humans when you want to look at it: Human Progress
Have fun
Hey there, nice improvements!
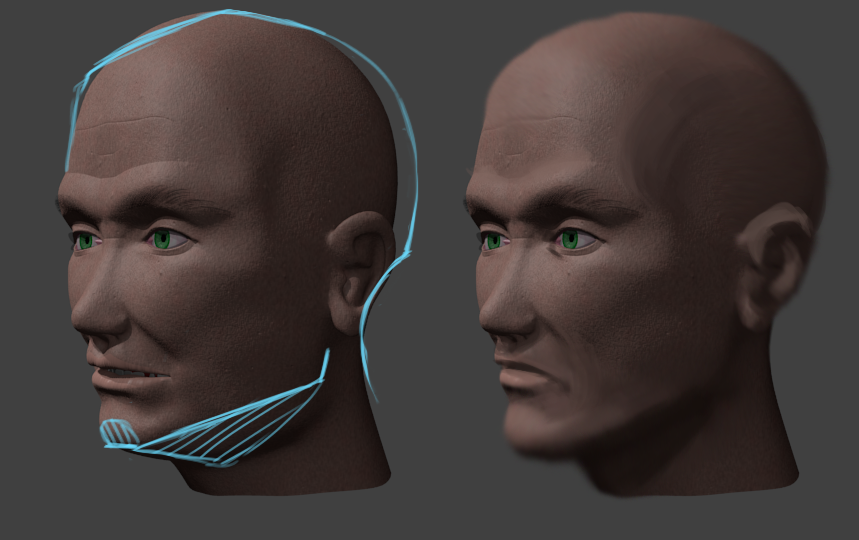
The jaw line still seems off. Even heavy stylized jaws tend to have a sort of slope there. Here’s what I mean (for what it’s worth):
I’d recommend looking up “Asaro Head”/“Planes of the Head” images: they are great for understanding generic shapes and angles.
Good luck
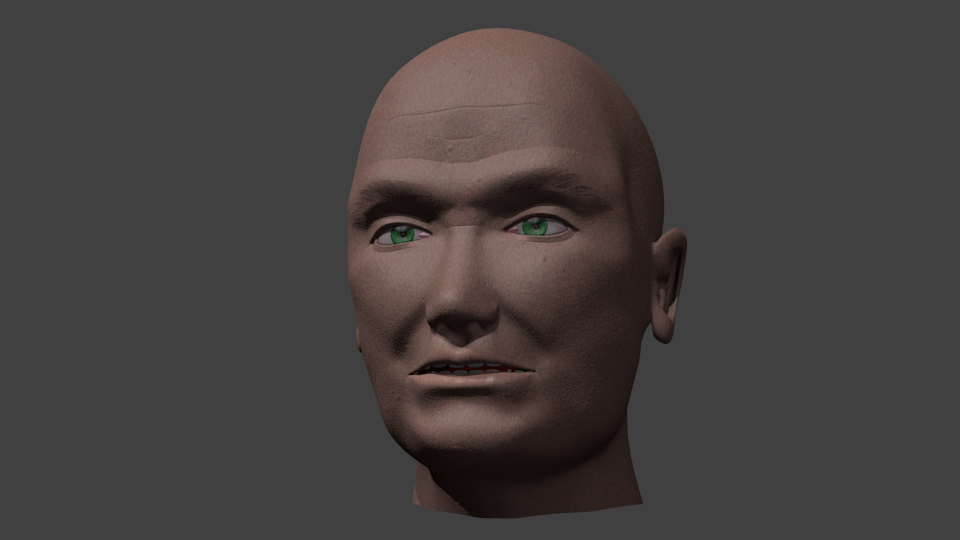
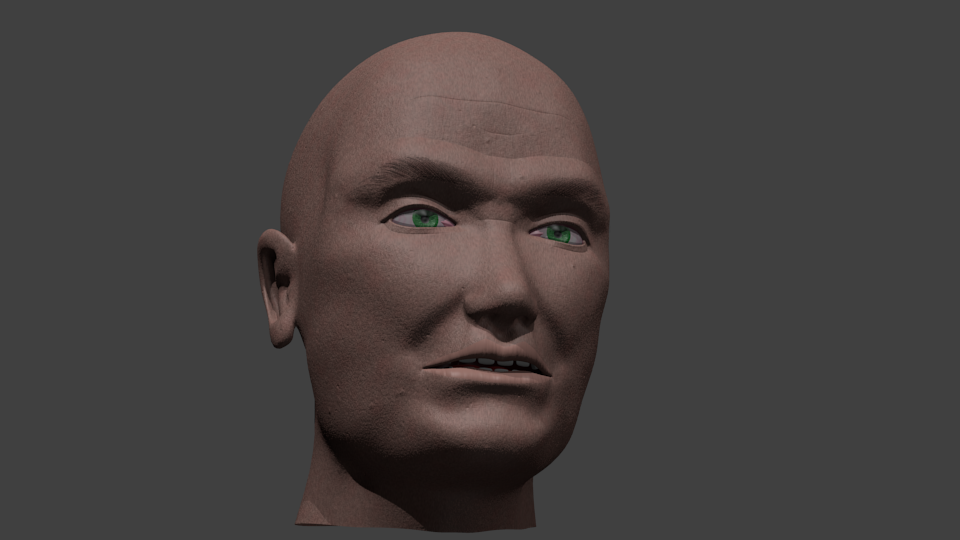
Yay, so much great feedback!
@3DArtGuy Thanks I may just use that for some monster stuff in the near future! The ‘base head’ concept is actually one I have plans for, so any ideas are welcome. As mentioned, I hope to develop actors for my projects along a kind of family tree, one actor developed from another, etc., even if some are used much more than others. Subsurface scattering, however, is a hard no. This is for animation, and SSS is so processing intensive that it tanks animation rendering completely. One key challenge is to avoid it completely. And Chris Jones is already a legend, I follow that thread like my life depended on it, the guy is sooooo good!
@stray A: Love your profile name, B: THANK YOU for that drawing, that is sooo helpful! I will study it closer later on, I am having a slight break from the head by modelling the upper body right now. Having thoose visuals is so helpful, thank you a lot!!
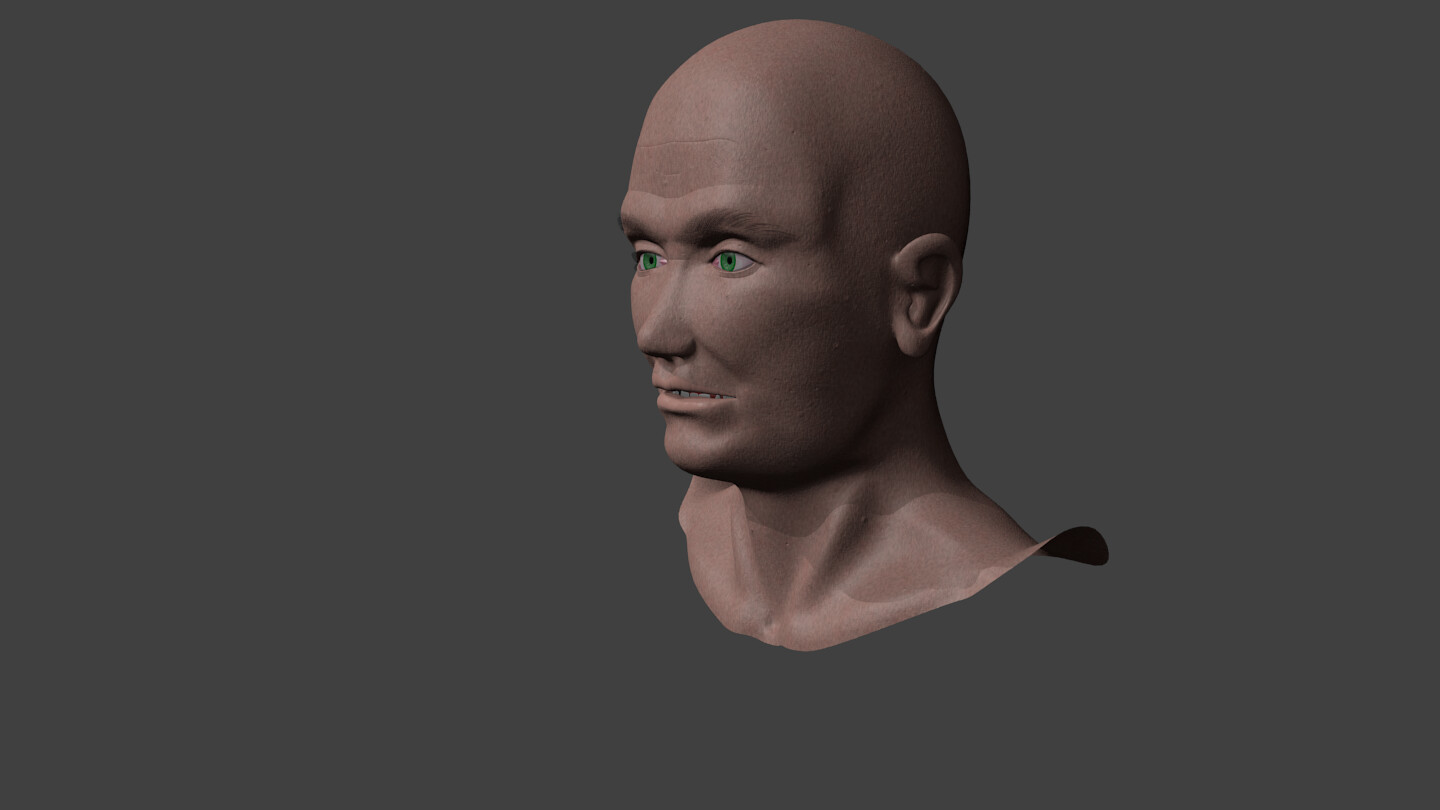
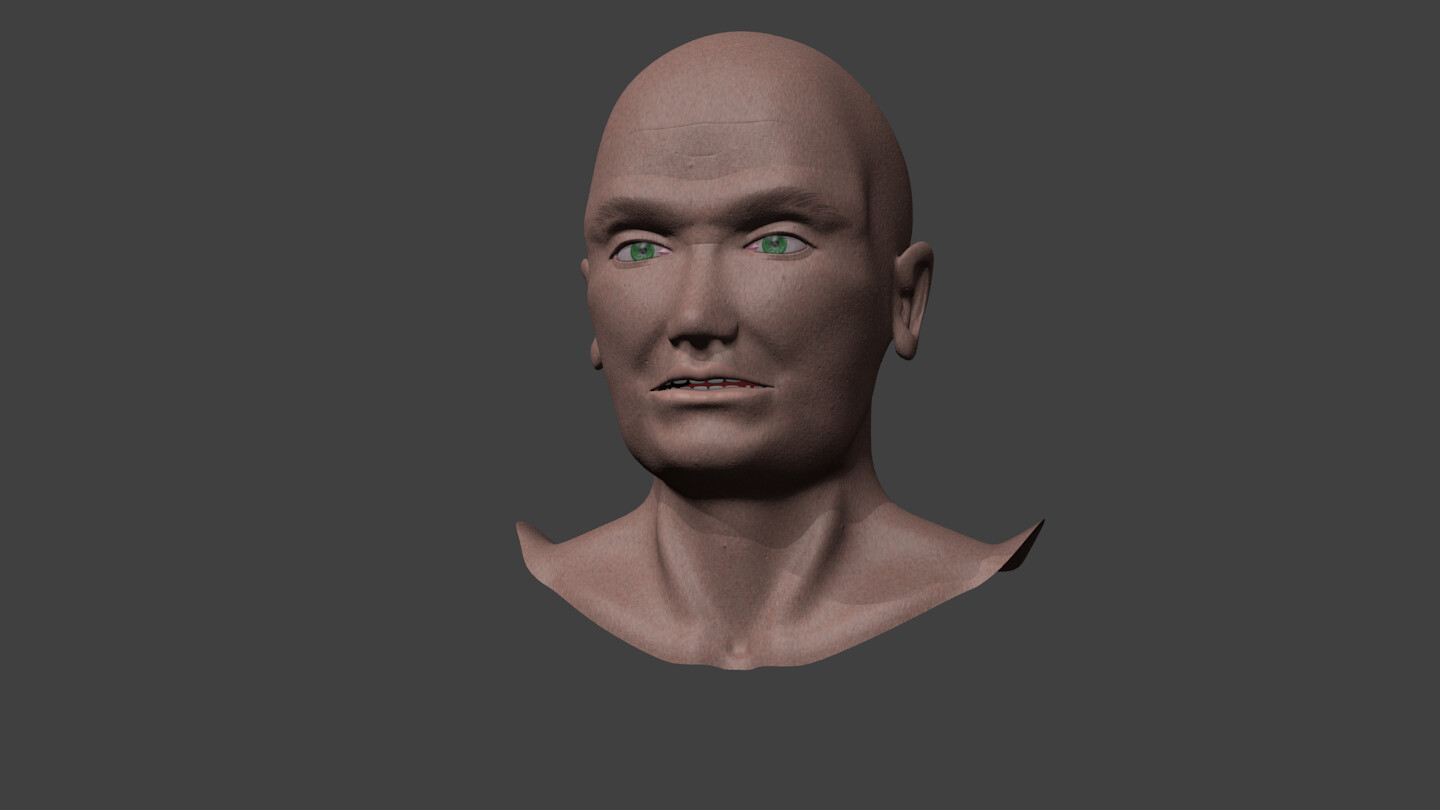
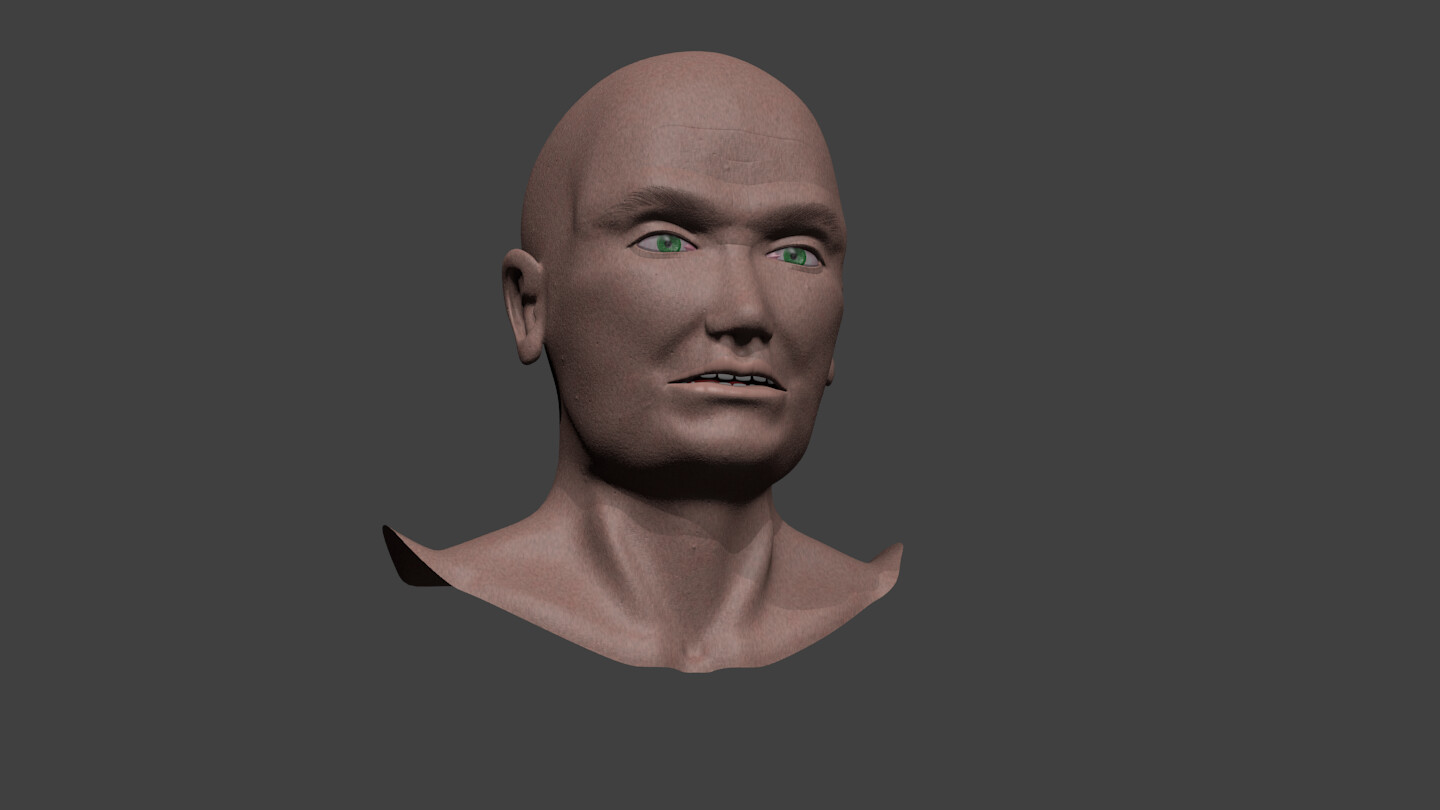
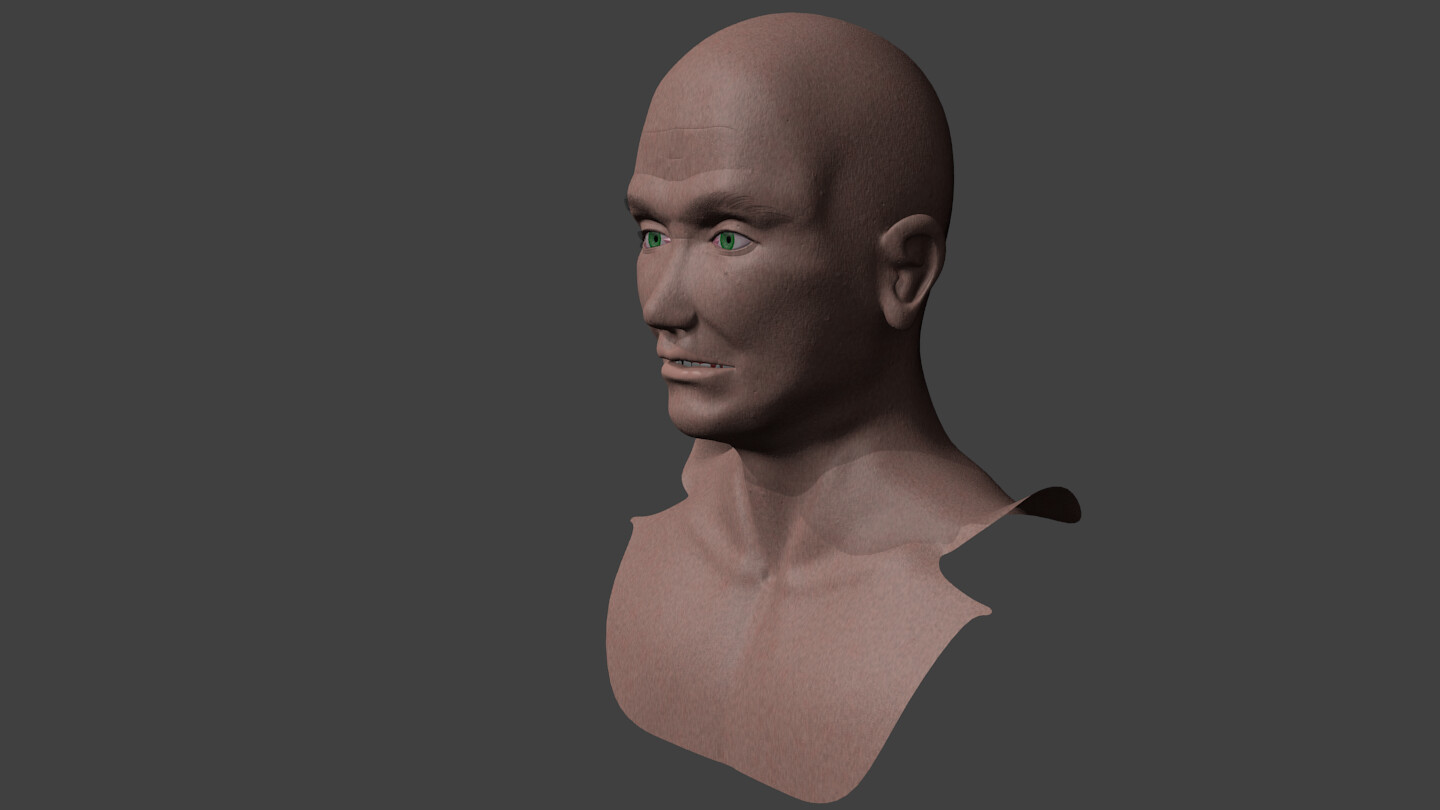
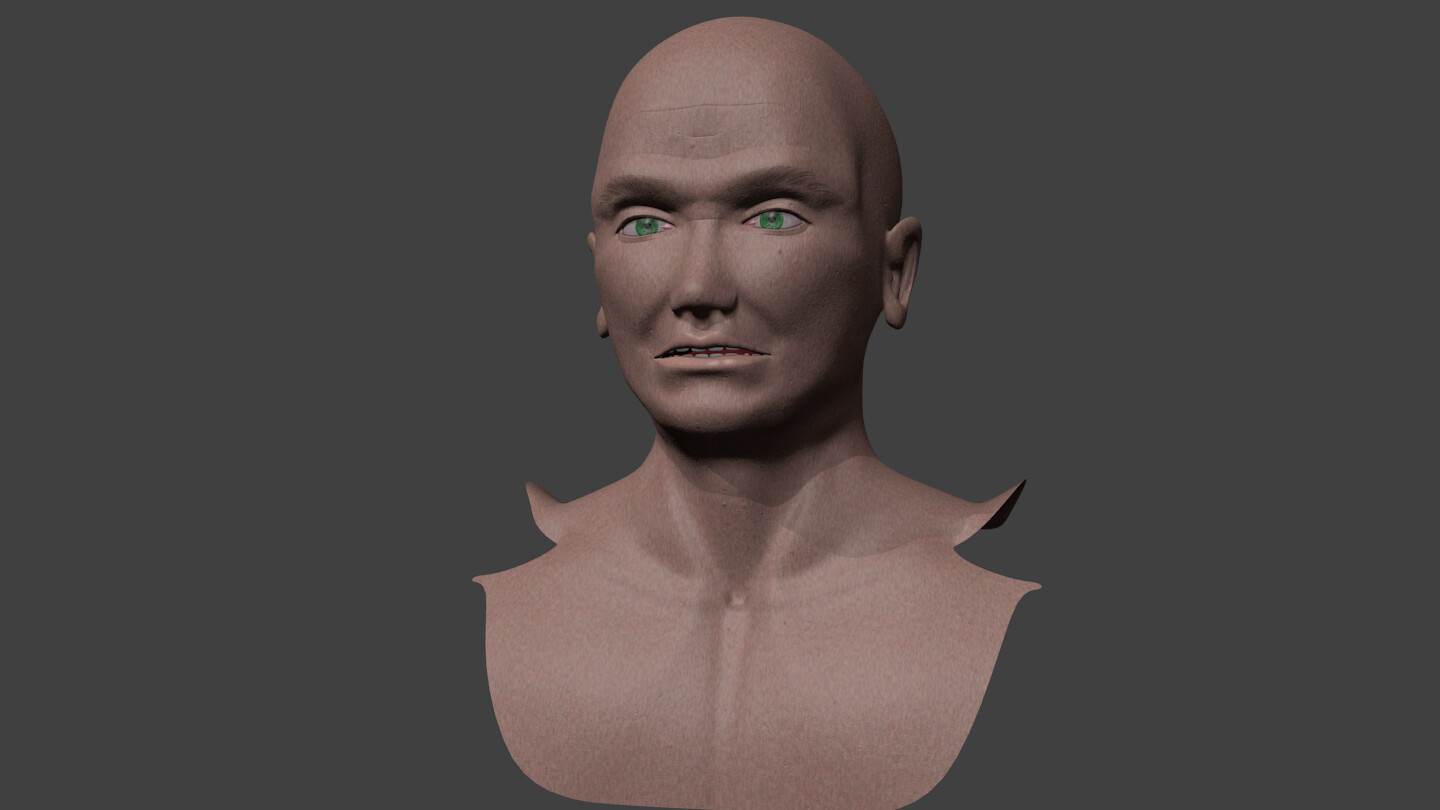
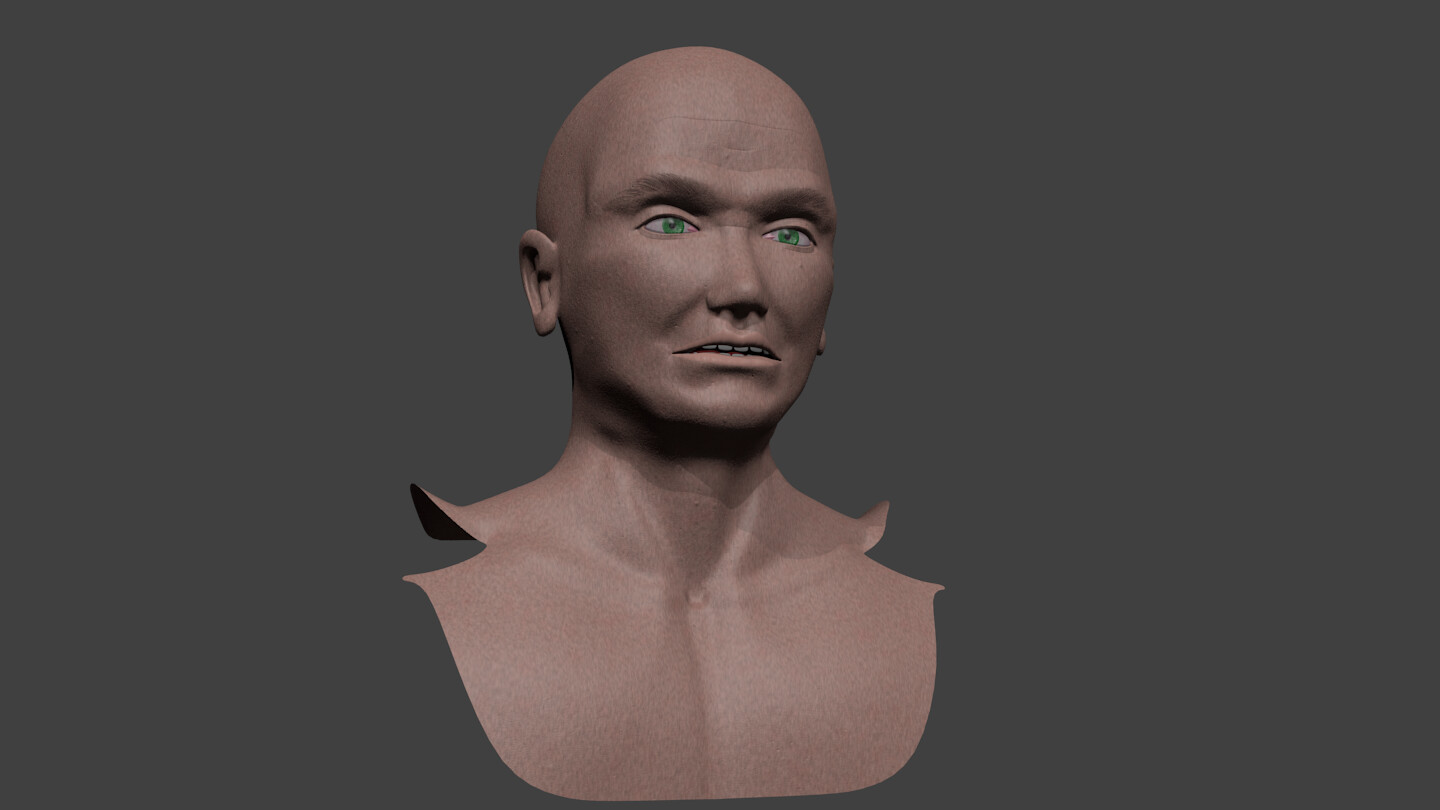
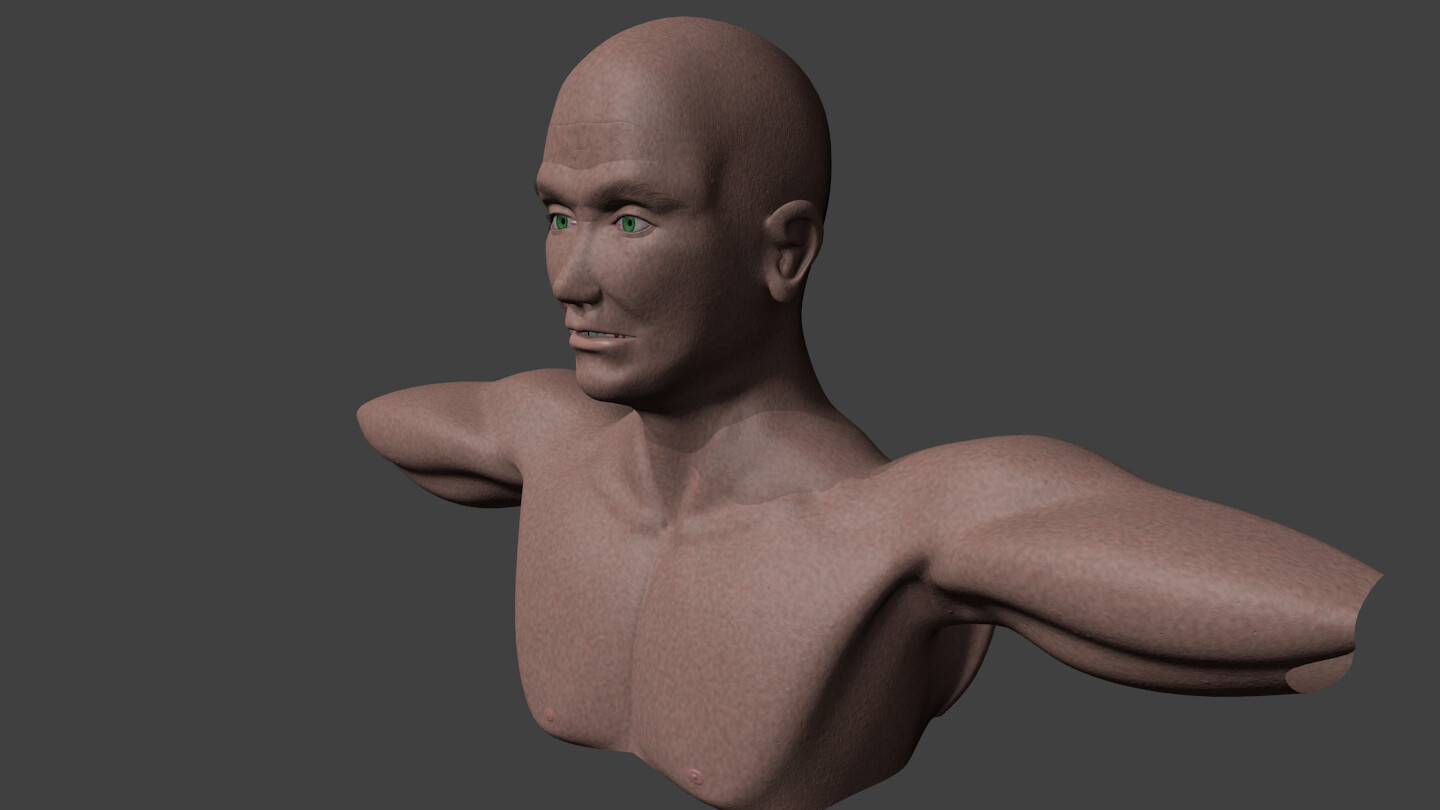
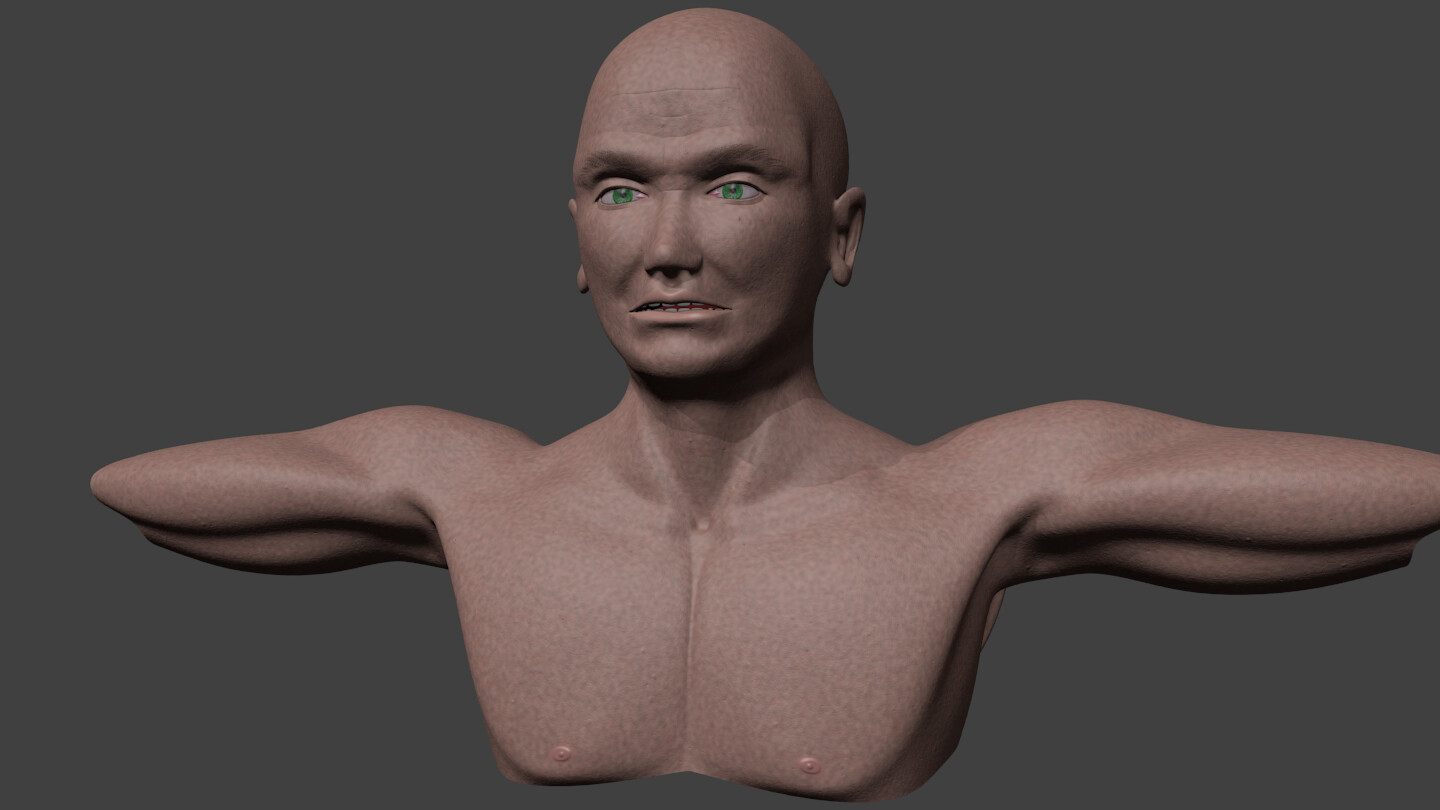
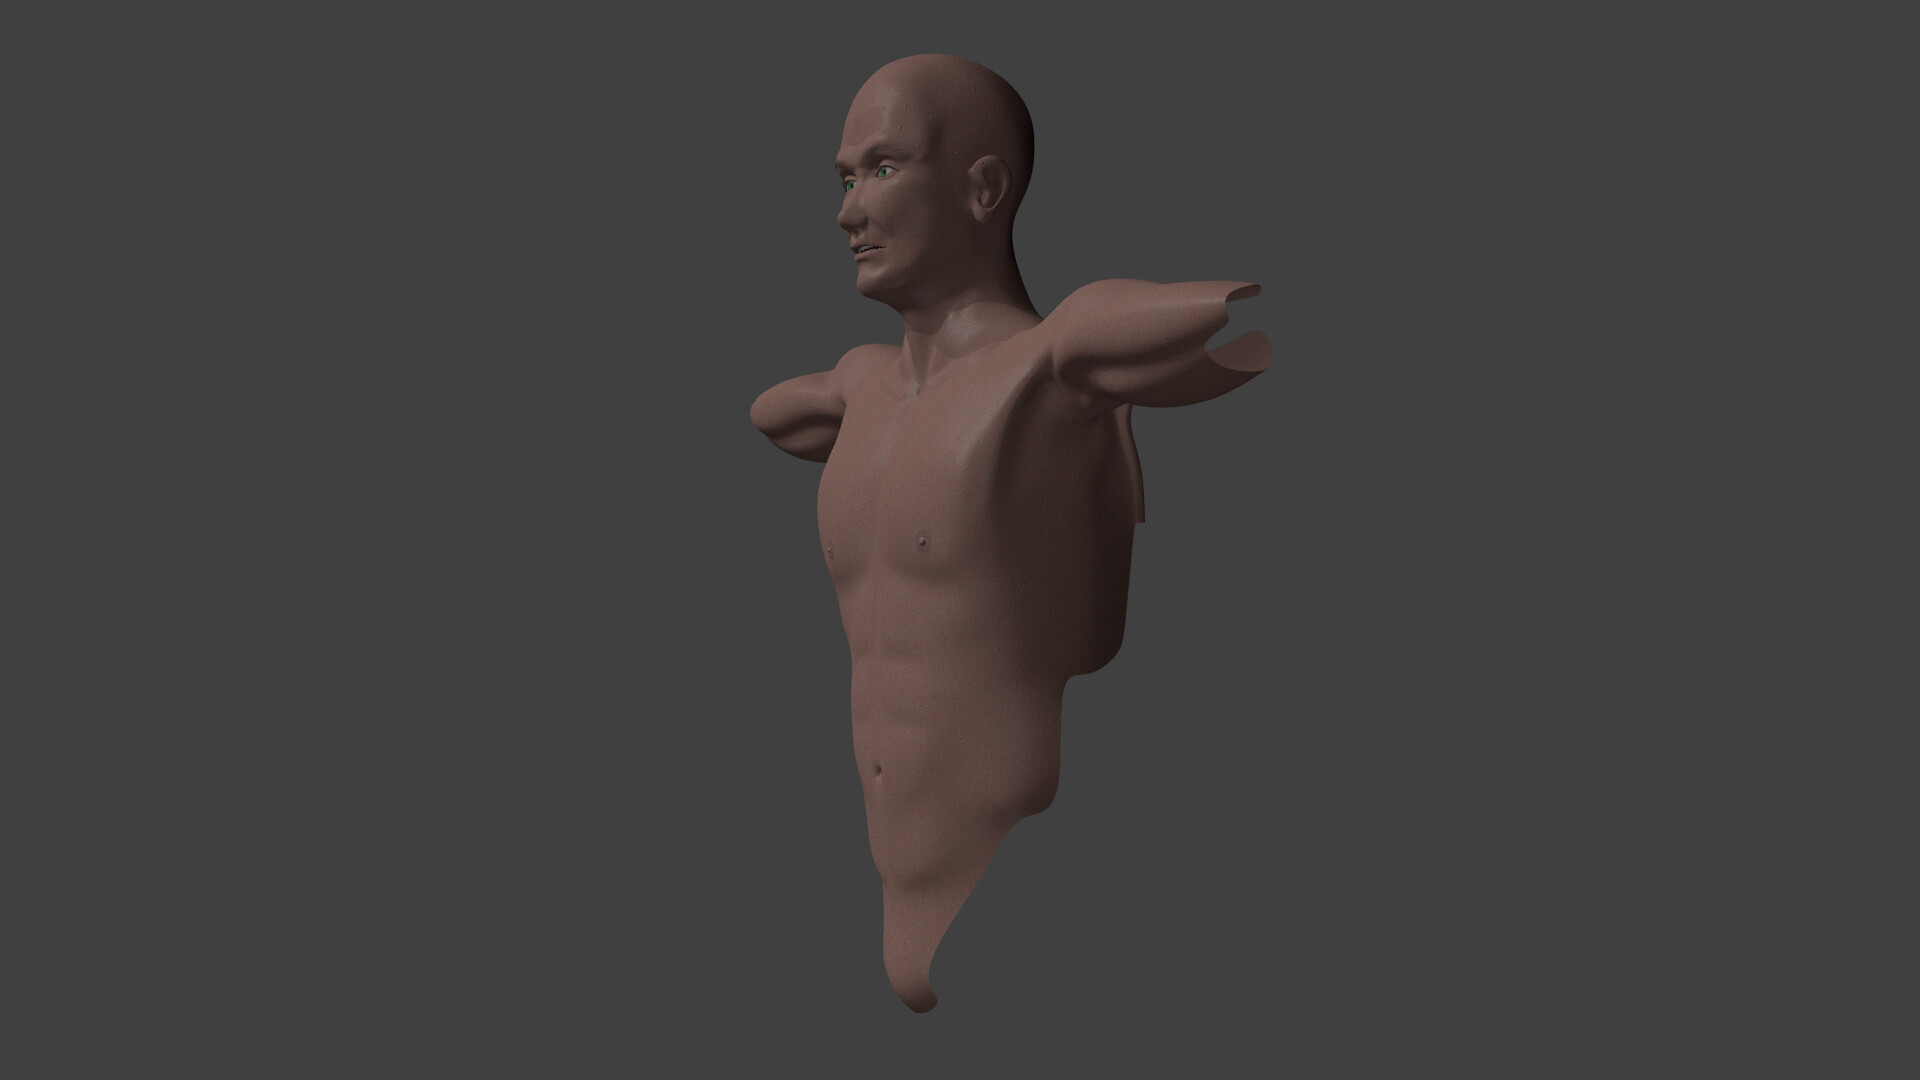
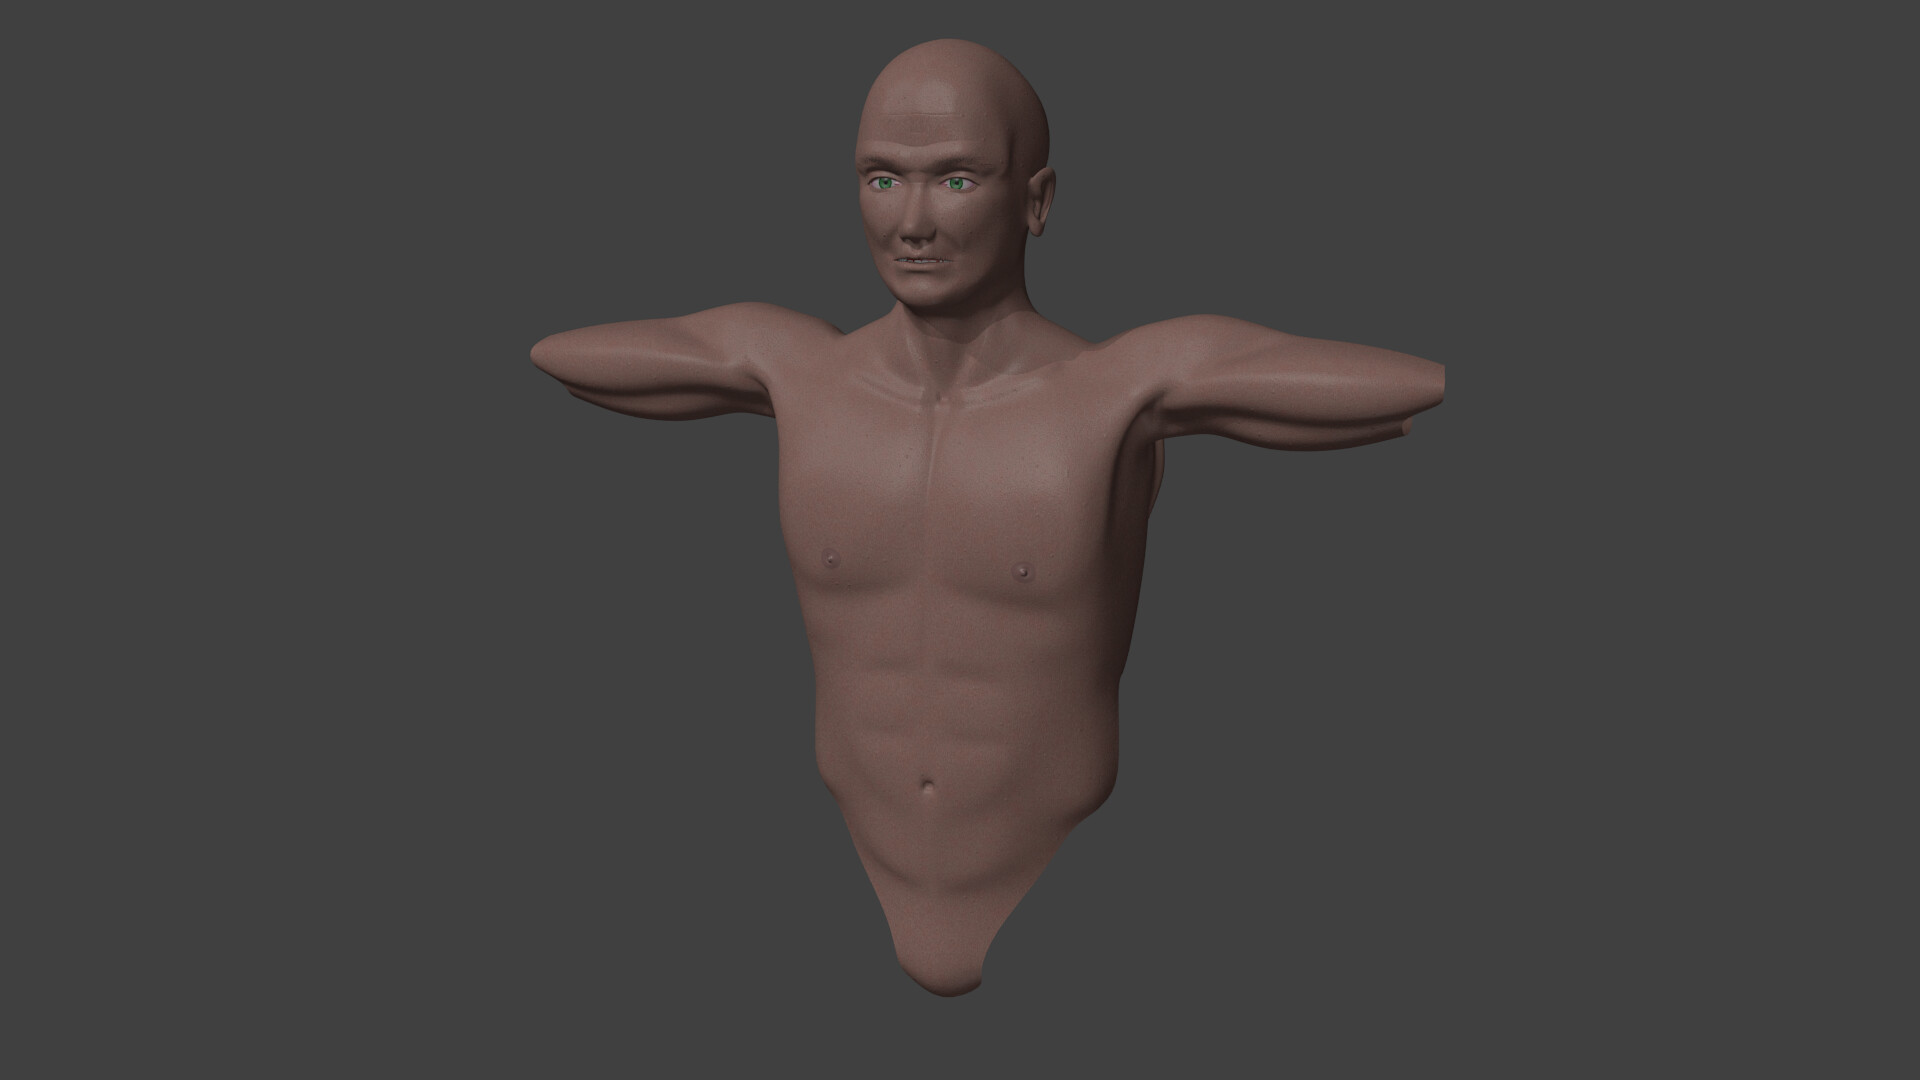
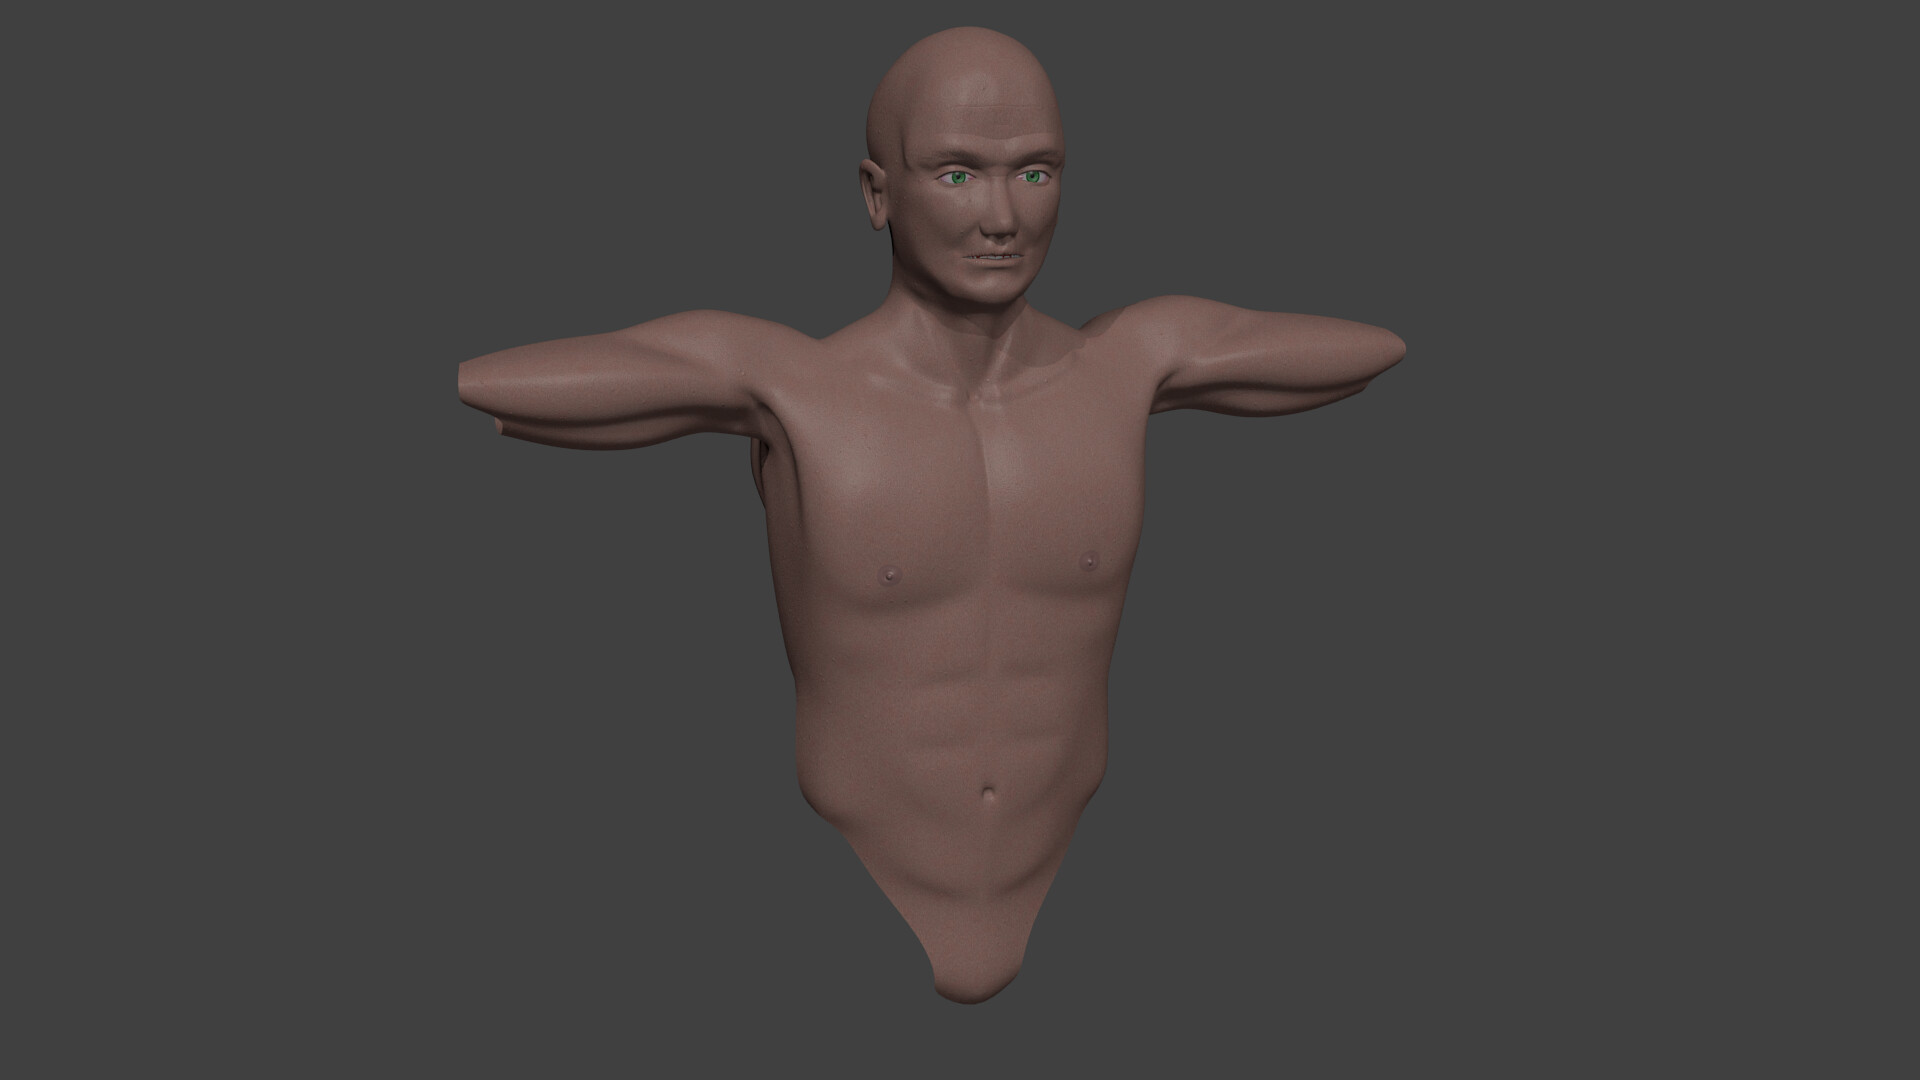
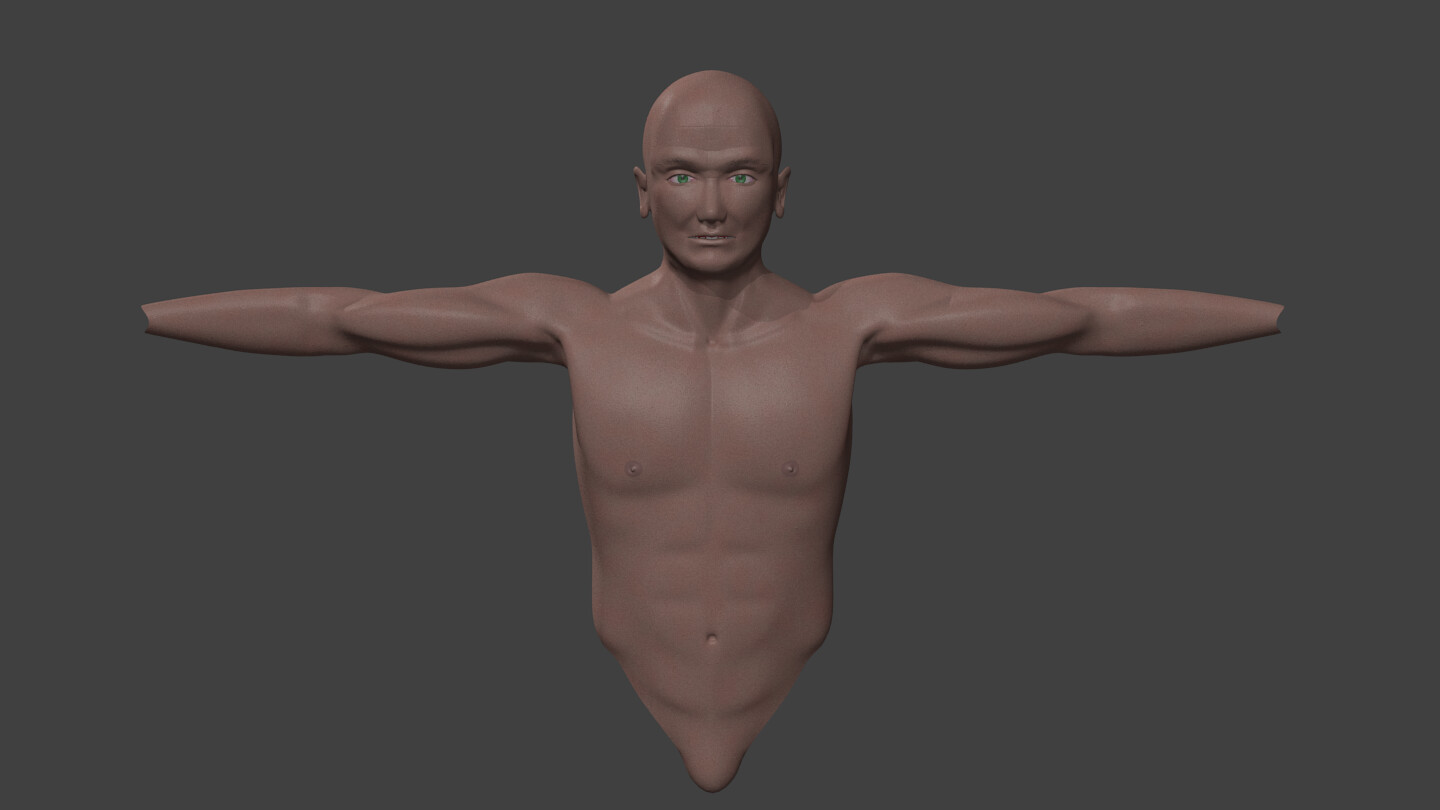
Now for the latest renders (frames 30, 140 and 250 from a 250 frame spin animation I use):
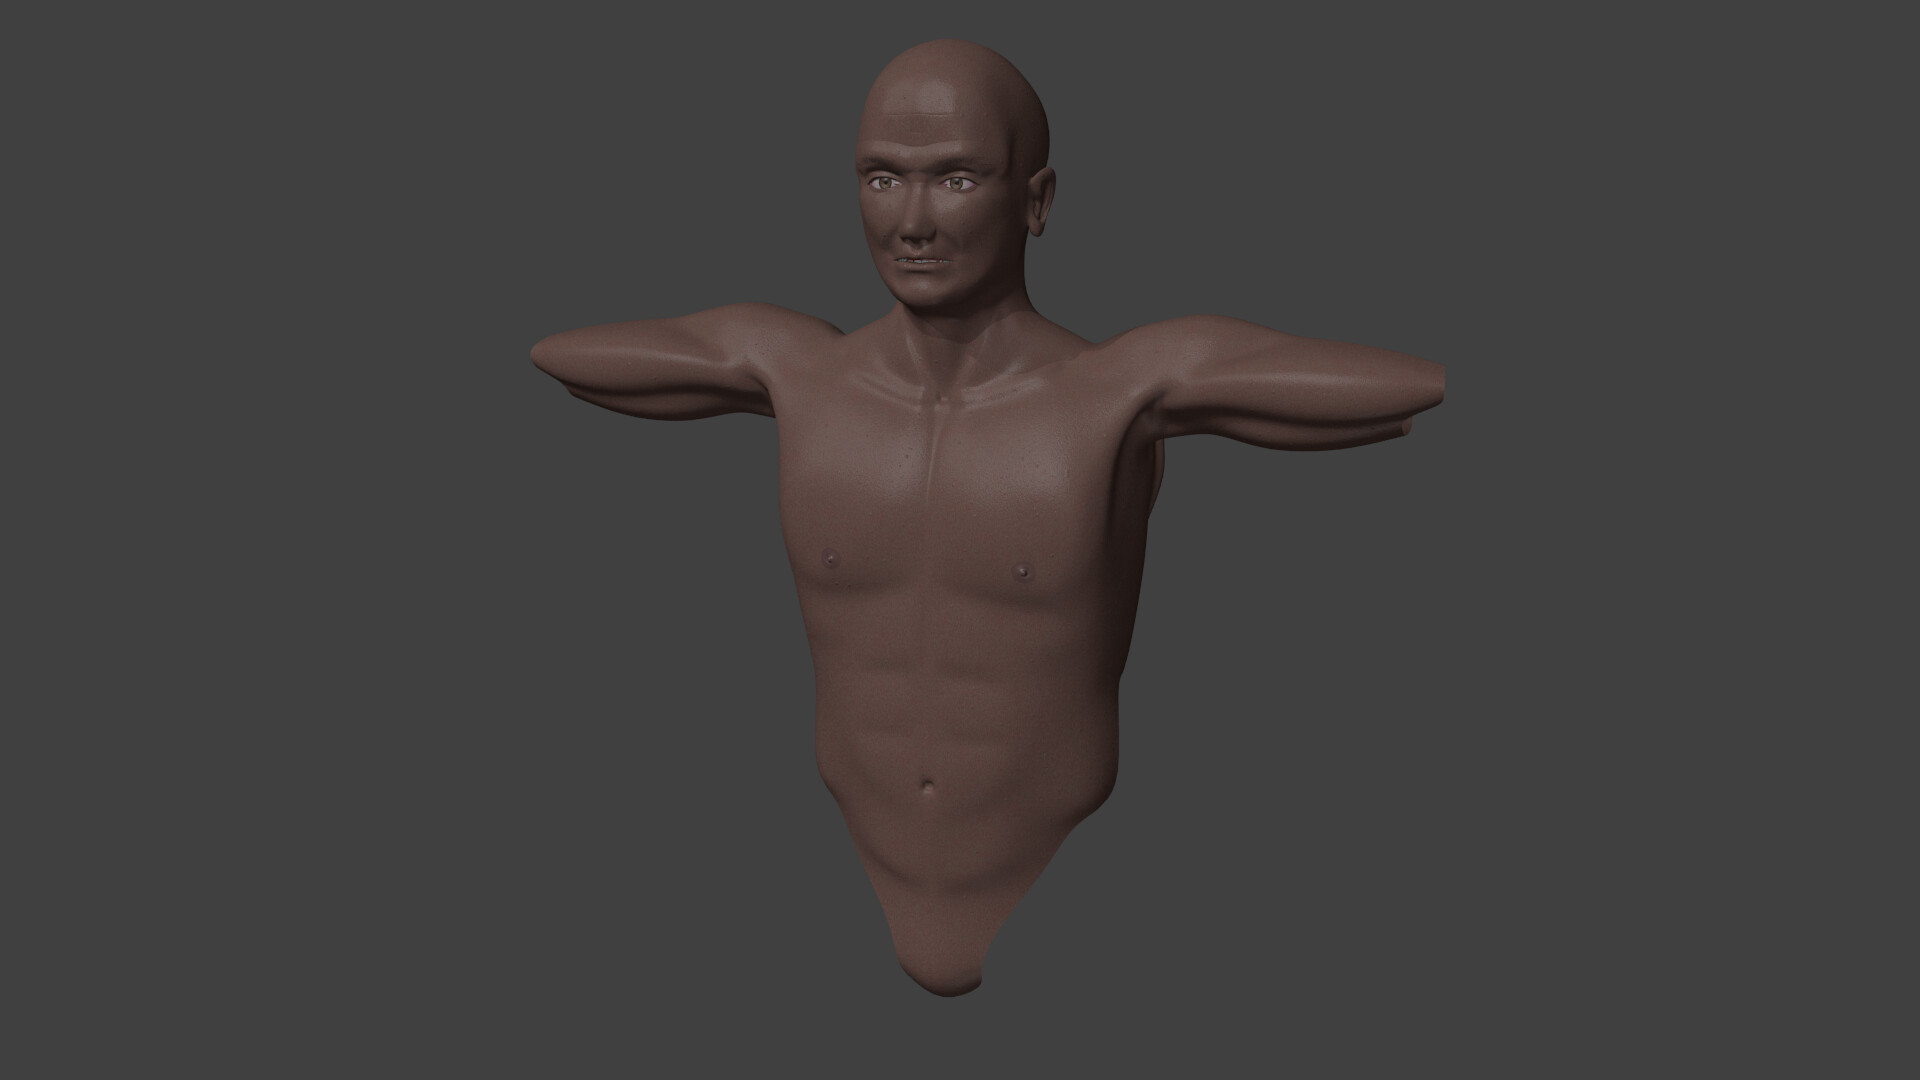
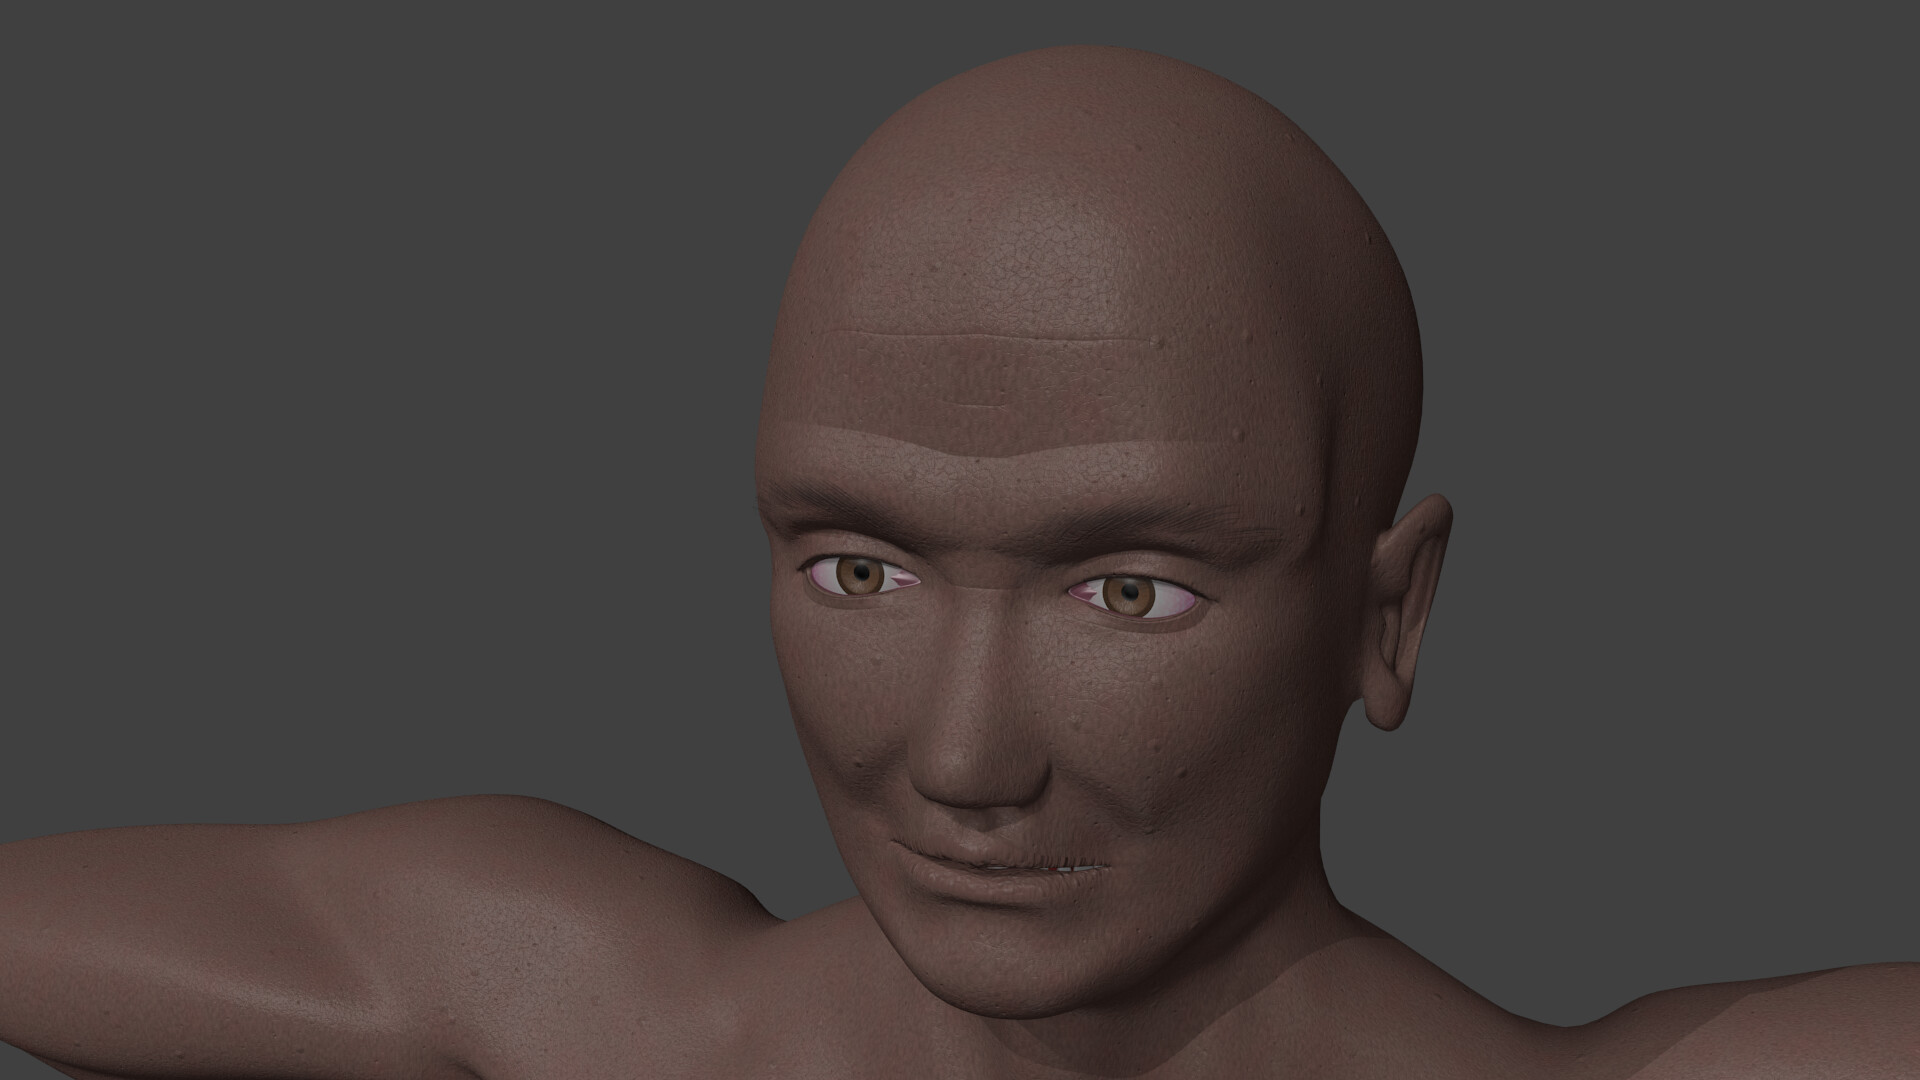
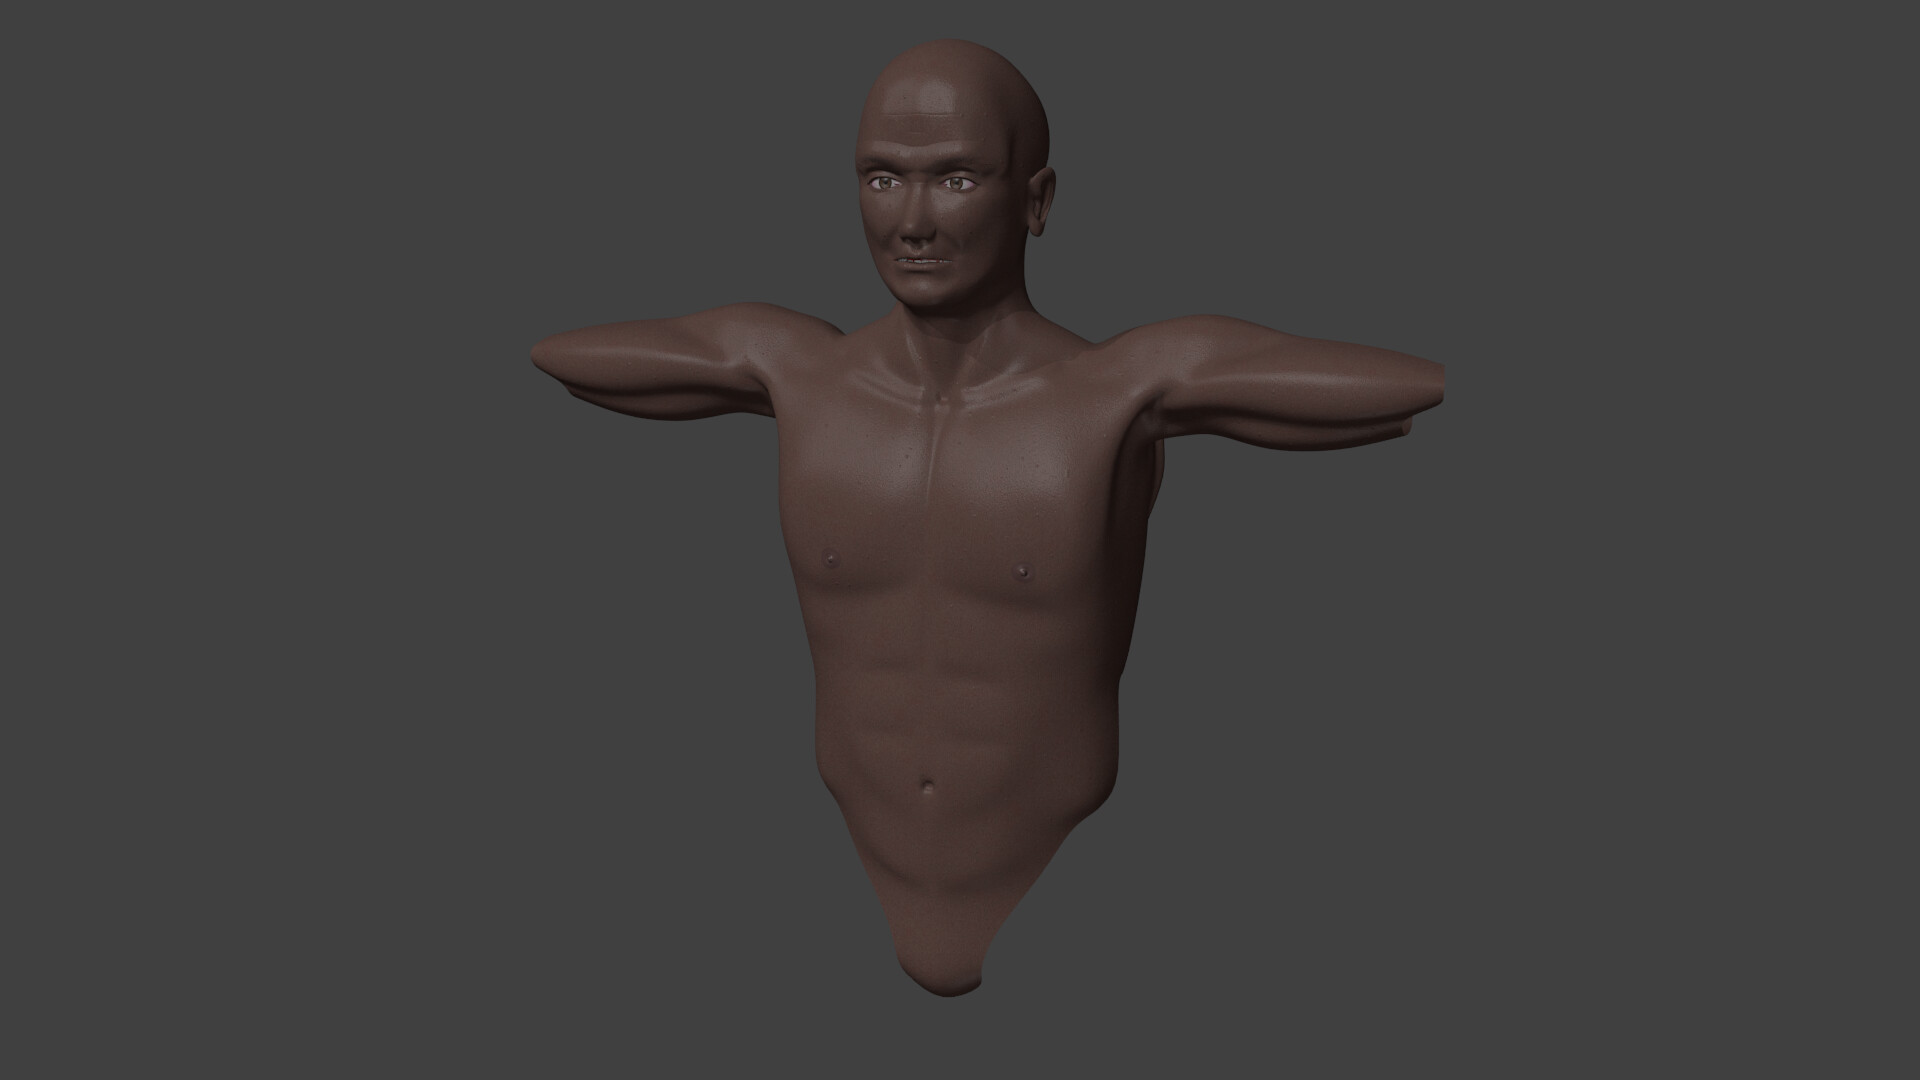
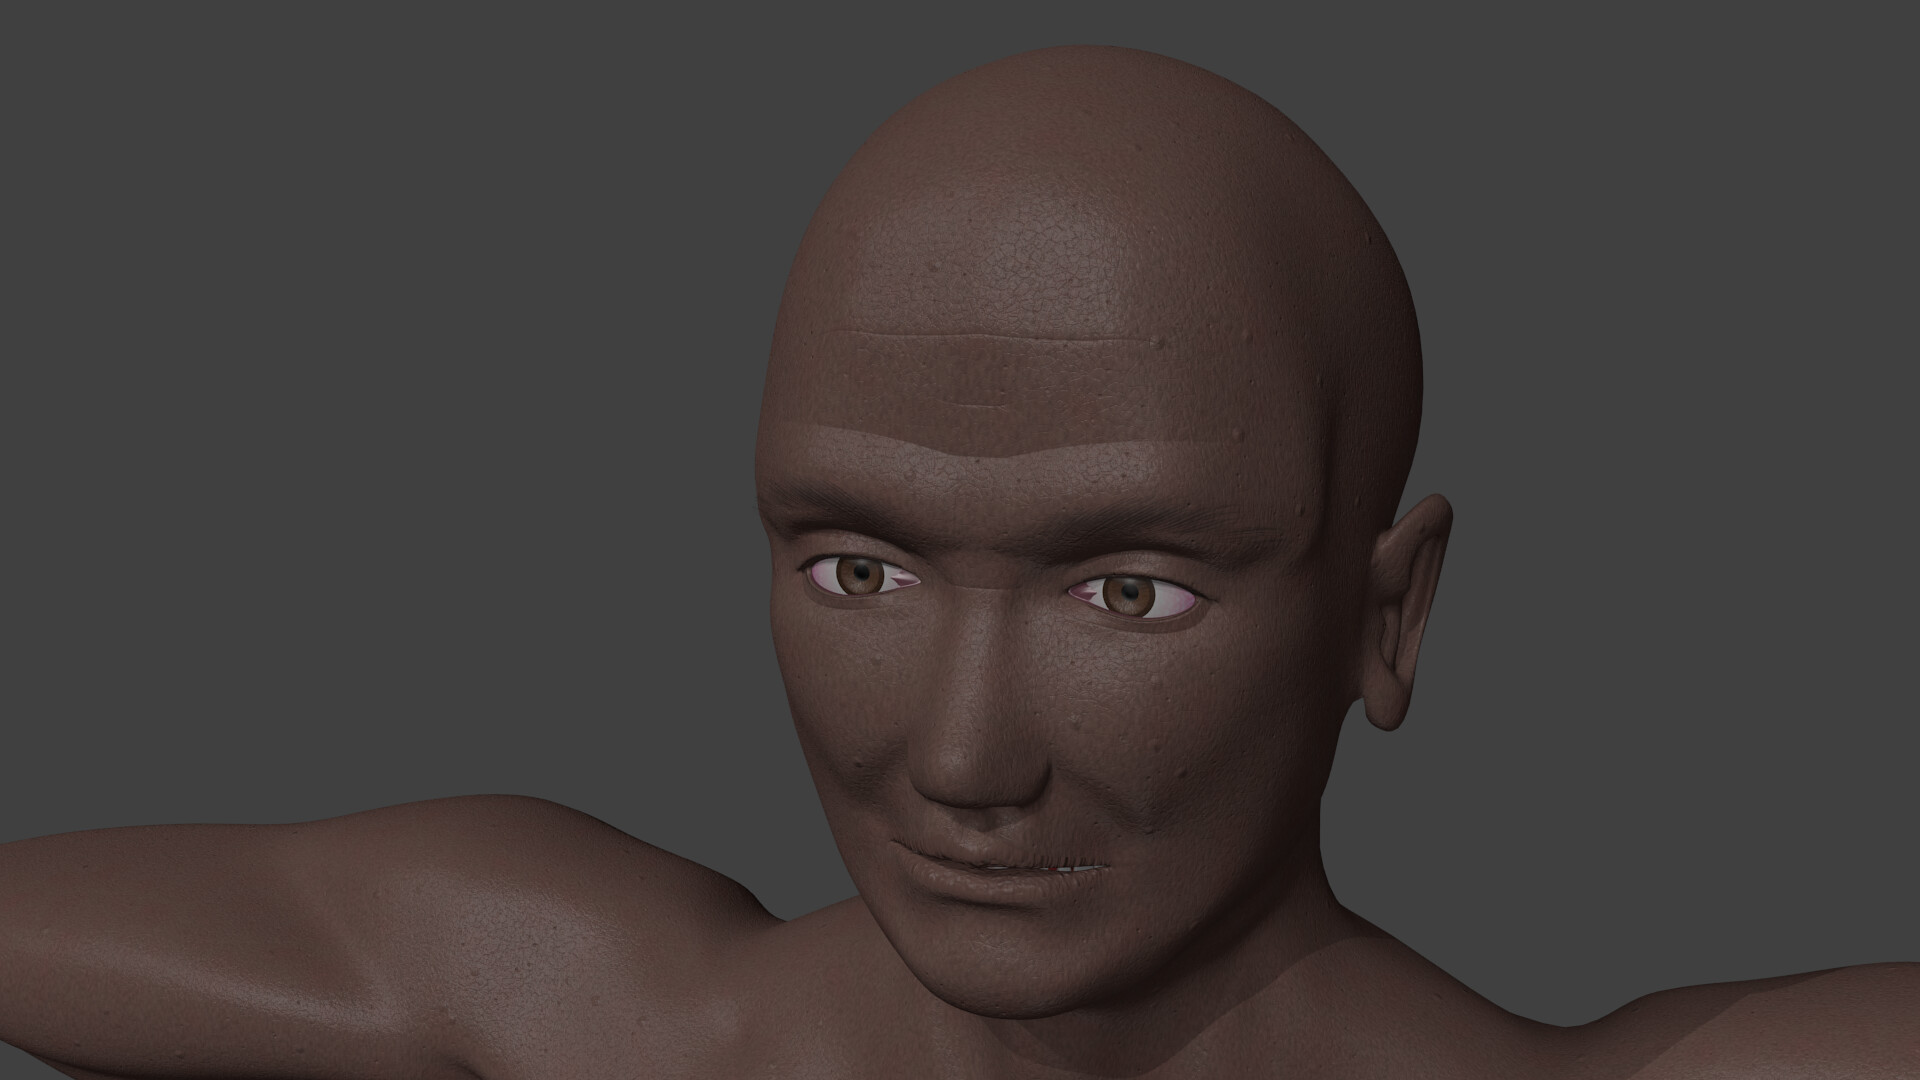
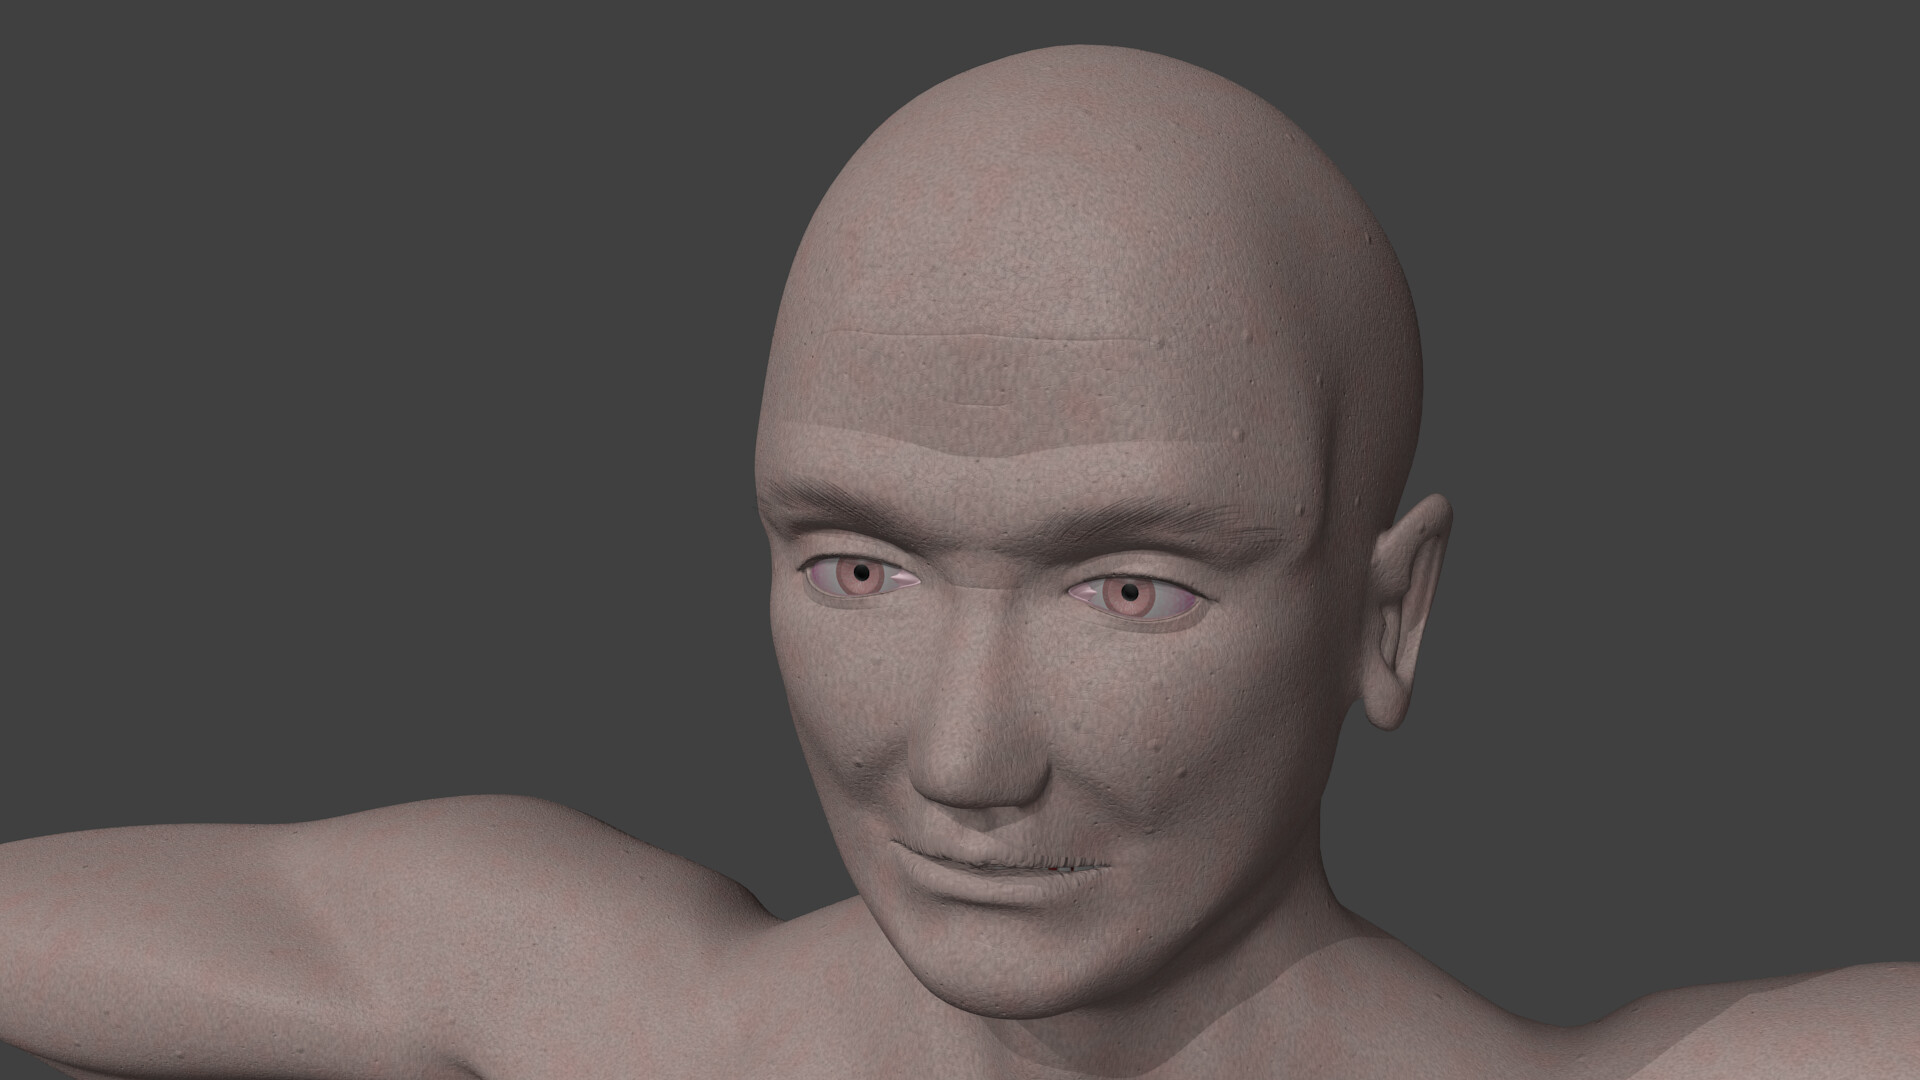
I tried to implement @stray 's notes, but the topology of the face wiremesh is so chaotic now that it is hard to really make a controlled impact. Anyway, a slightly more defined jaw, and some fair pecs ![]()
Goood improvements over the last iterations! What I often do at this stage, is to grab the smooth brush in sculpt mode with only little strength to iron some things out. This does not add geometry but pushes the vertices a bit and could help in the temple area.
I do the same, manually though, but I need more geometry, or I can’t see the uneven spots. Also, I am horiby impatient 
Edit: Just re-read your post, you wrote the TEMPLE area, somehow I mistook it for the CHEST area. The teple is causing me some irritation, and it will probably be like that until the next version (which will take some time before even rolls around), so all I do right now is basic adjustments. Mostly, a balance of a defined temple and a proper skull shape. A bit at a time, a bit at a time…
Can I just say, you take on critique super well, and you show clear implementation of what’s been suggested. Your head has improved massively over the original post. Really nice work!
Yeah, I never feel like posting to show off anything, I post to get people’s input and get a discussion going. The worst for me is a bunch of people just leaving likes. I want to hear what they think is good AND BAD, so that I can get new stuff to think about. And thanks, I do feel that my head, both the 3D and real one, has improved over these last few… holy crap, days??? It’s only been a few days?? It feels like week of fiddling and study! 
Been tinkering on and off the entire day on this, and although my limited skills are clearly showing (head proportions are now CLEARLY out of whack), the overall visualization of a digital actor is getting clearer. I am accepting that the really good results will not come till next version, but this… this is not all bad…! I may soon pause modelling and get some rigging done, not sure…
Edit: And the nipples… oh lord, the nipples…
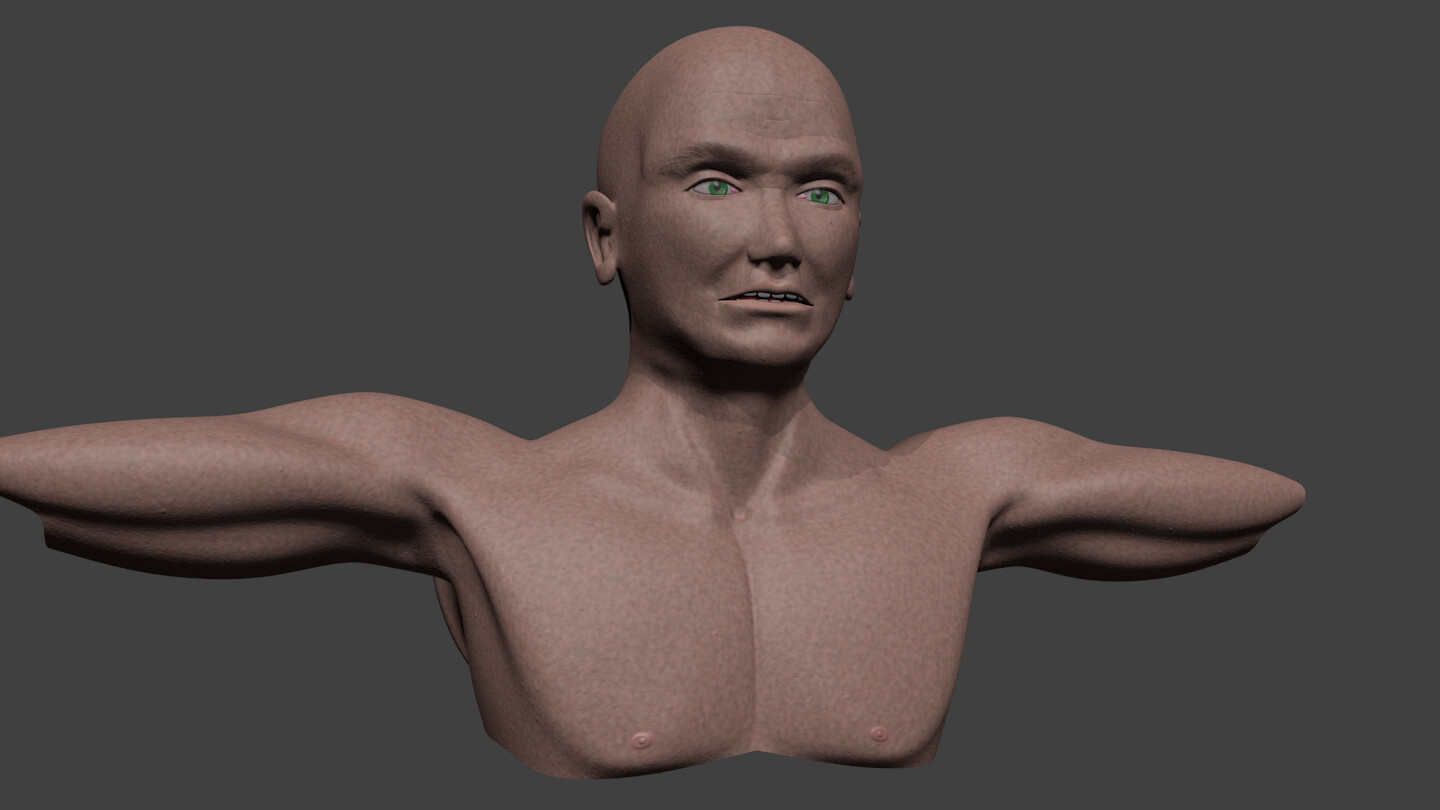
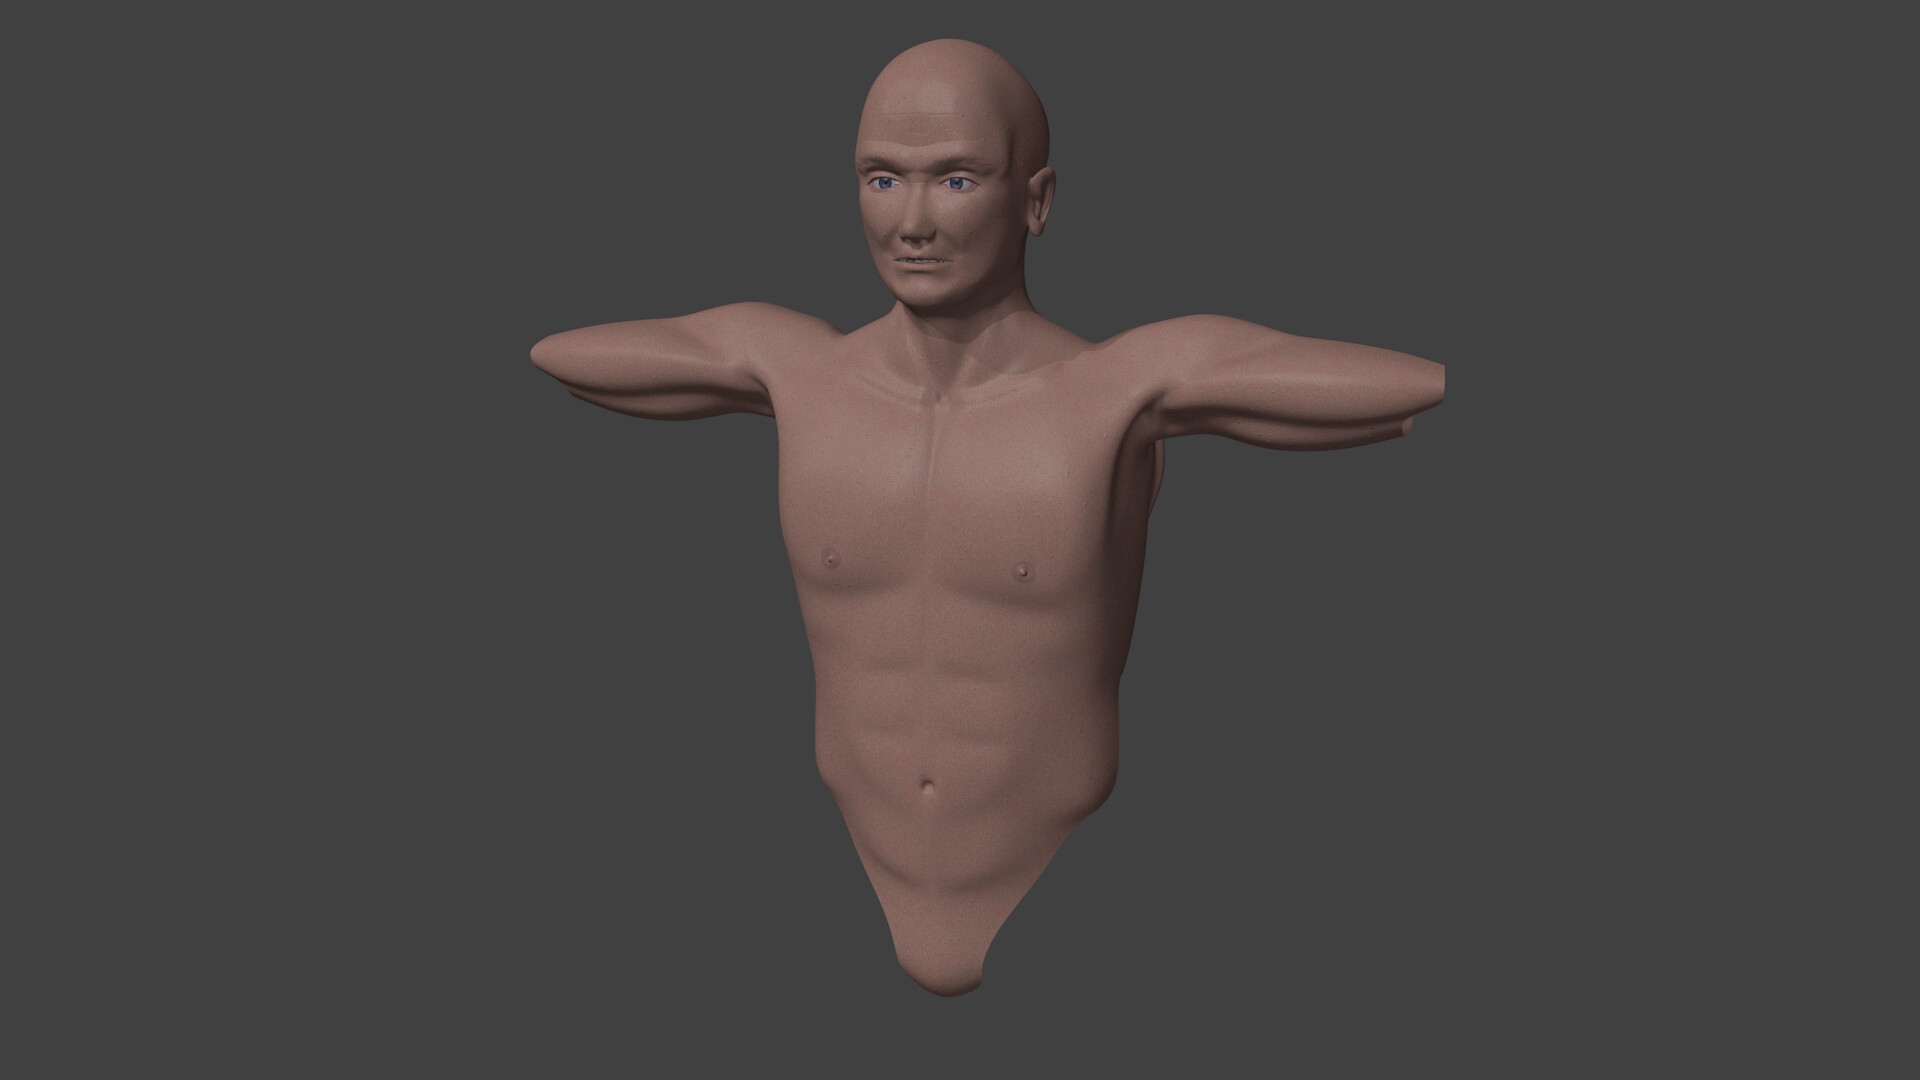
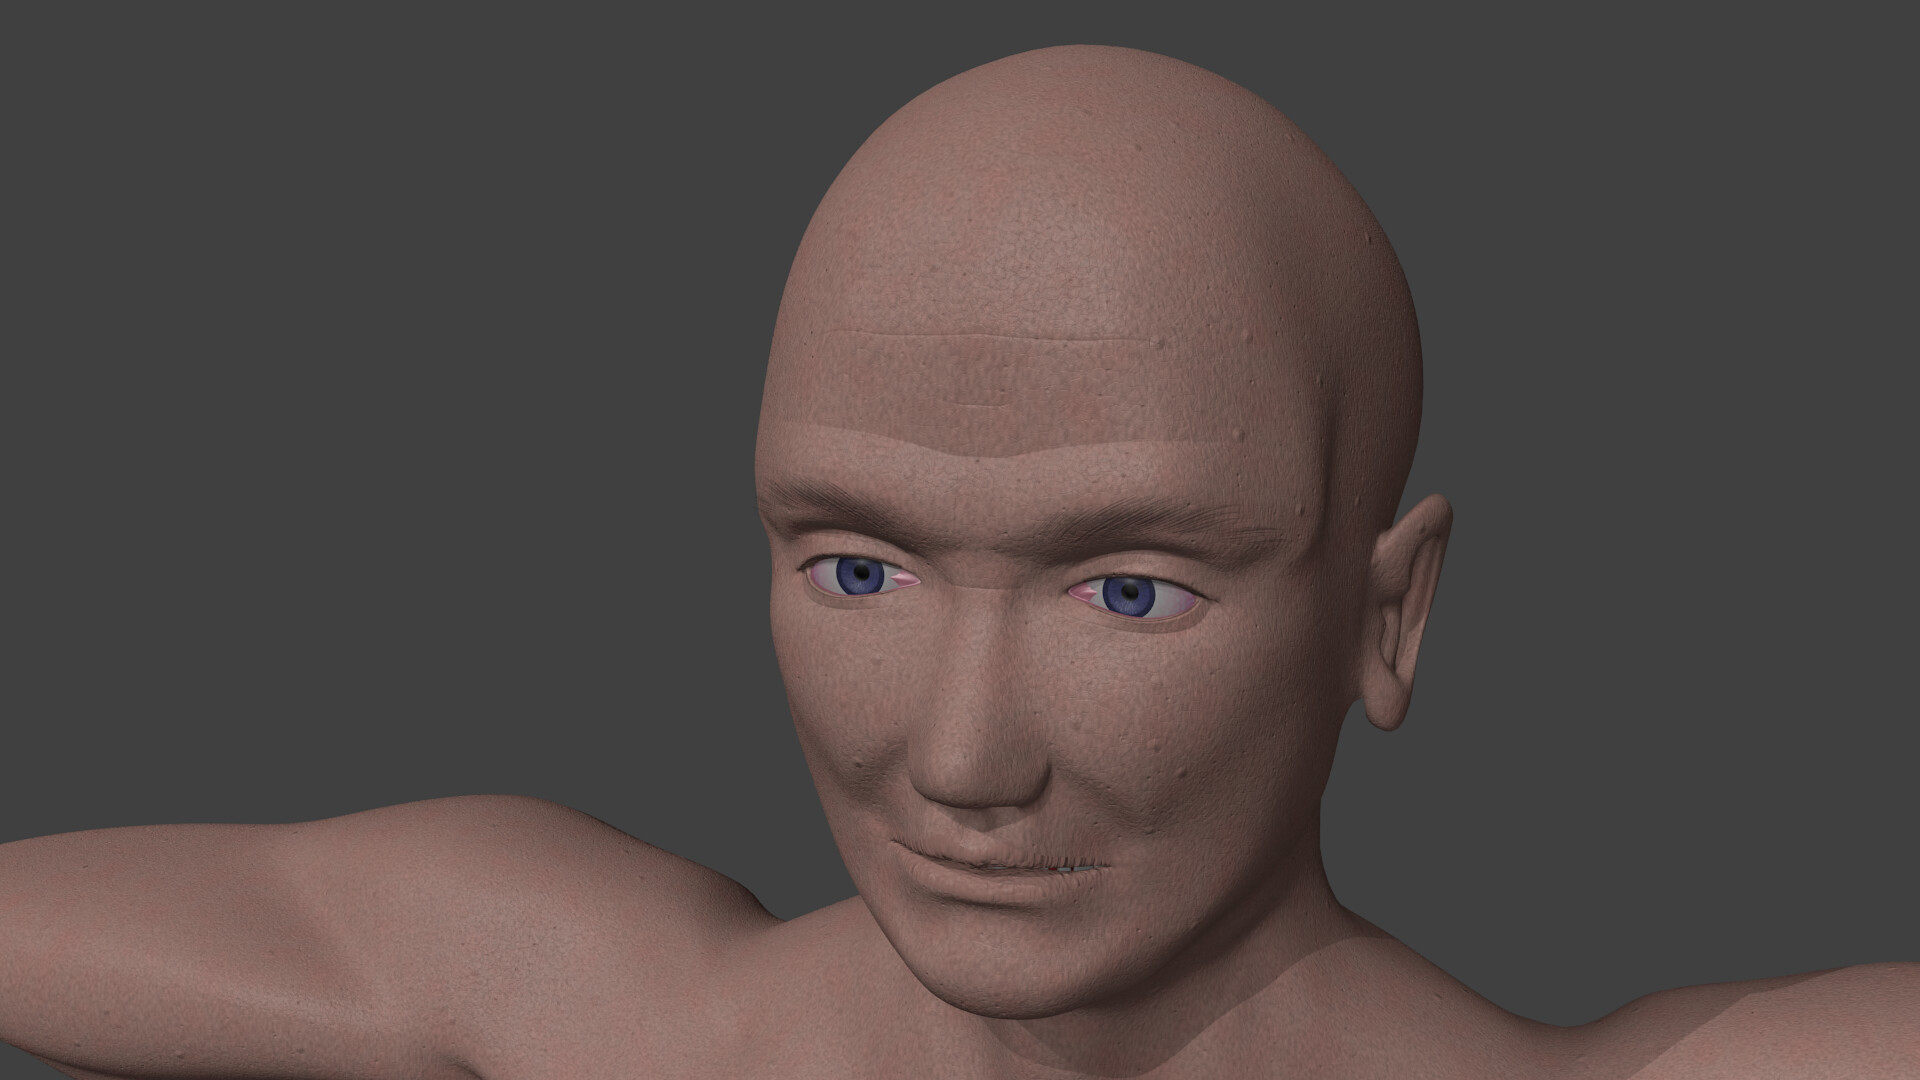
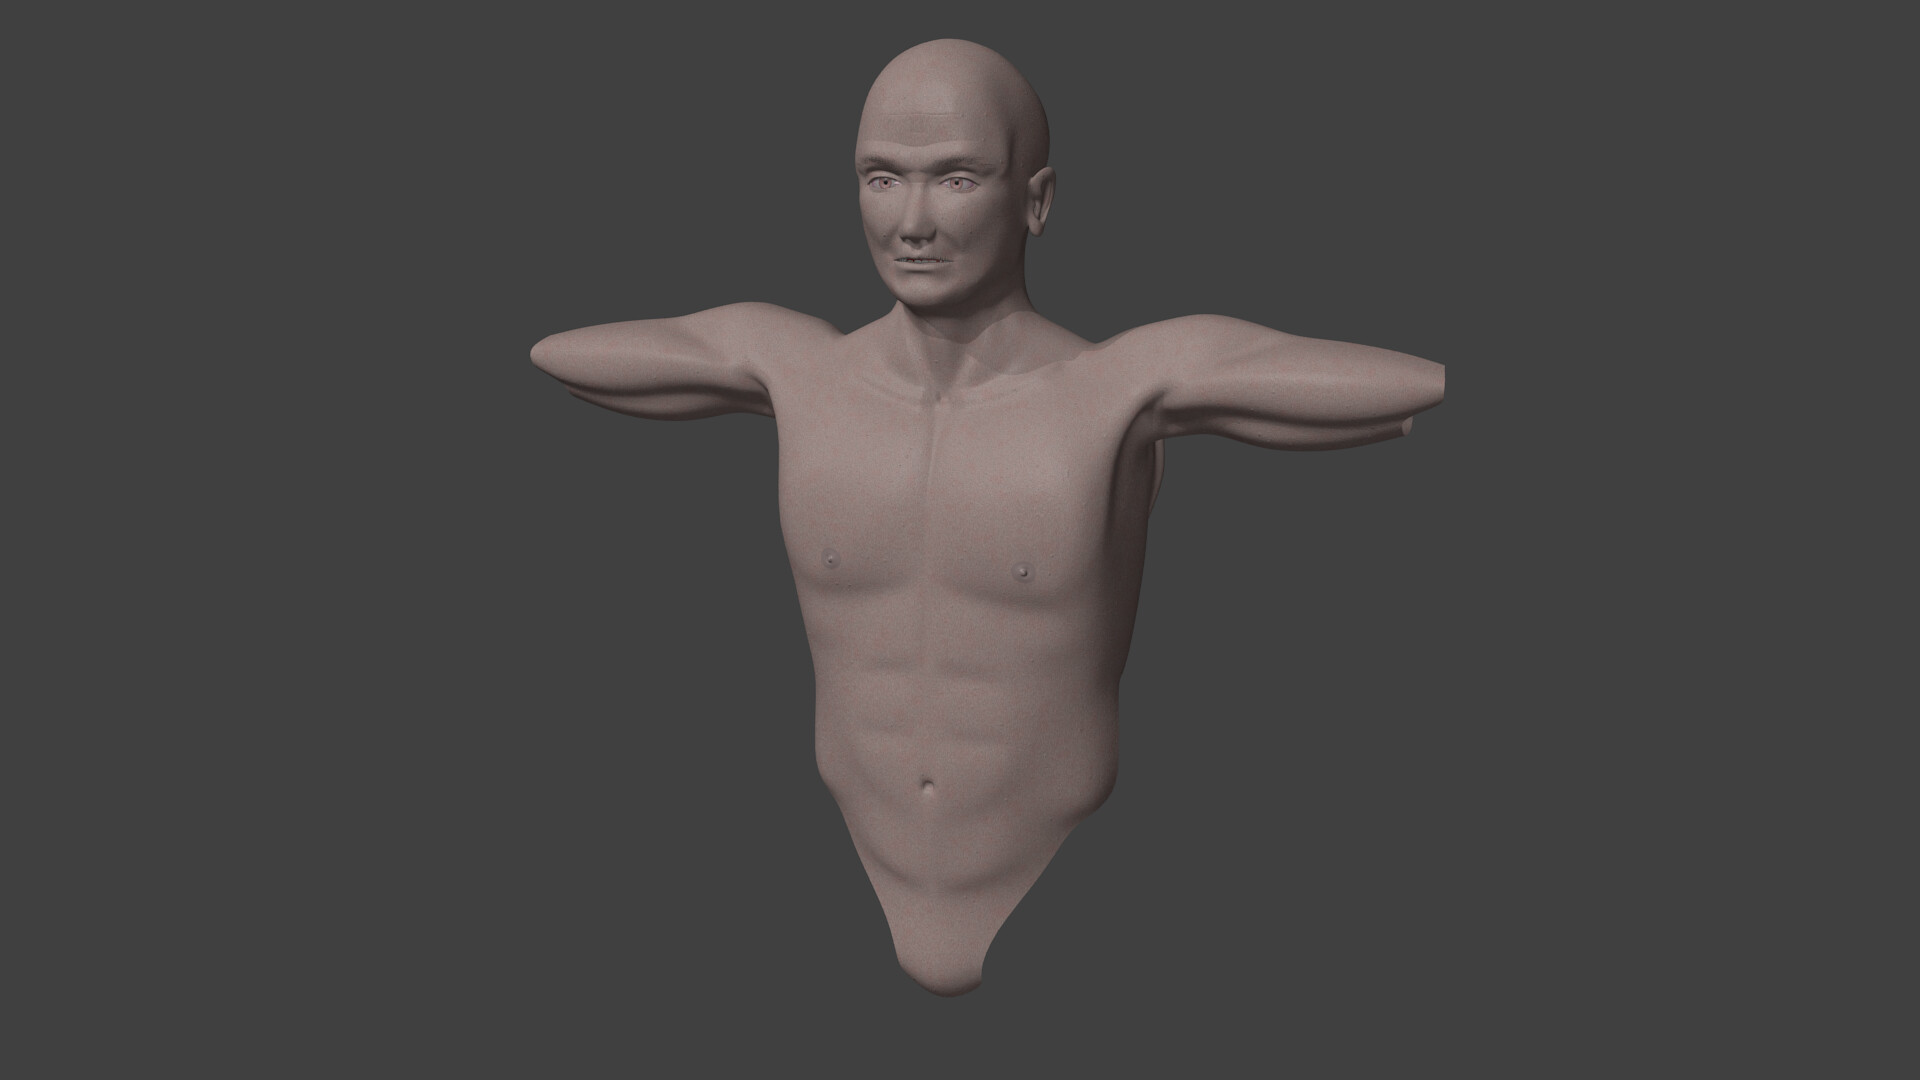
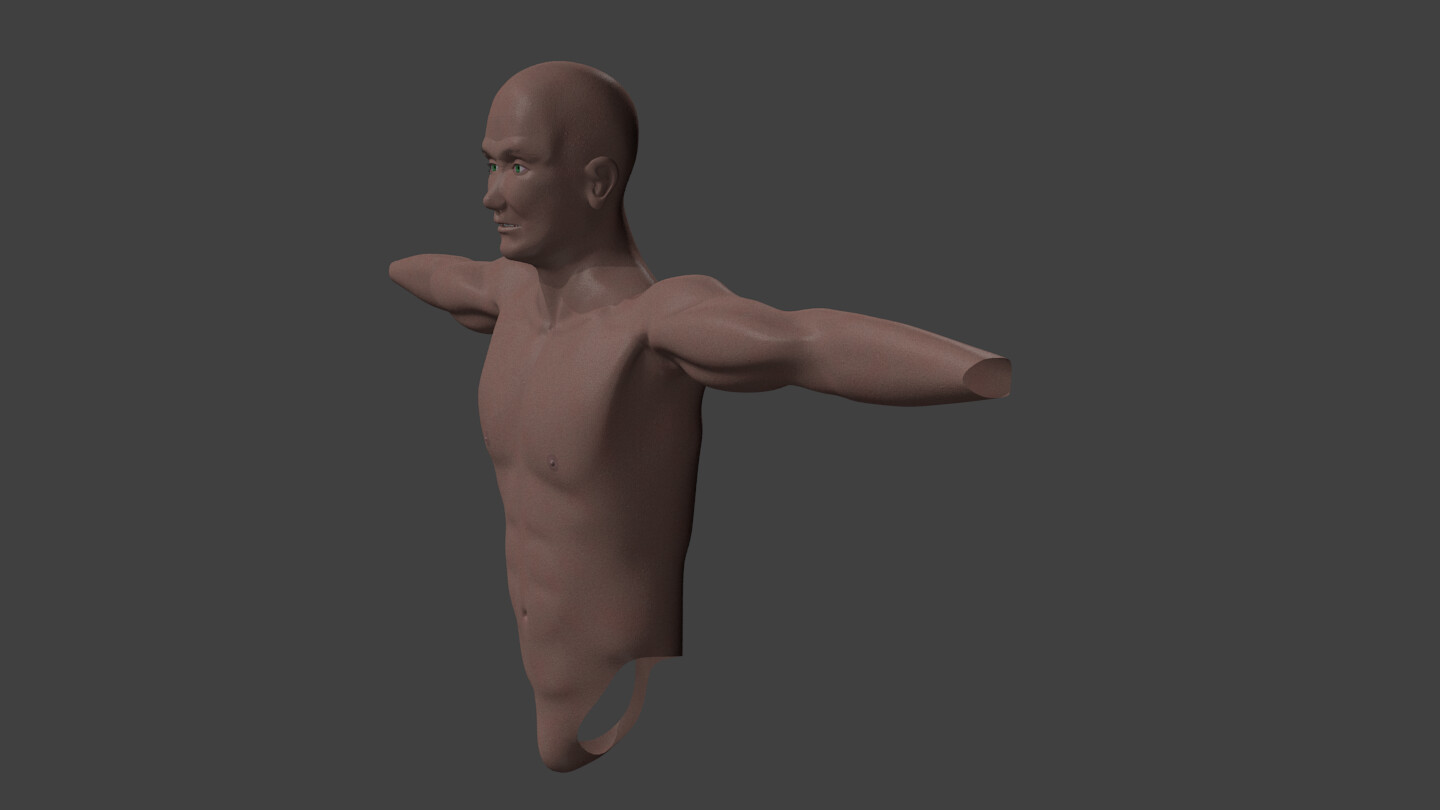
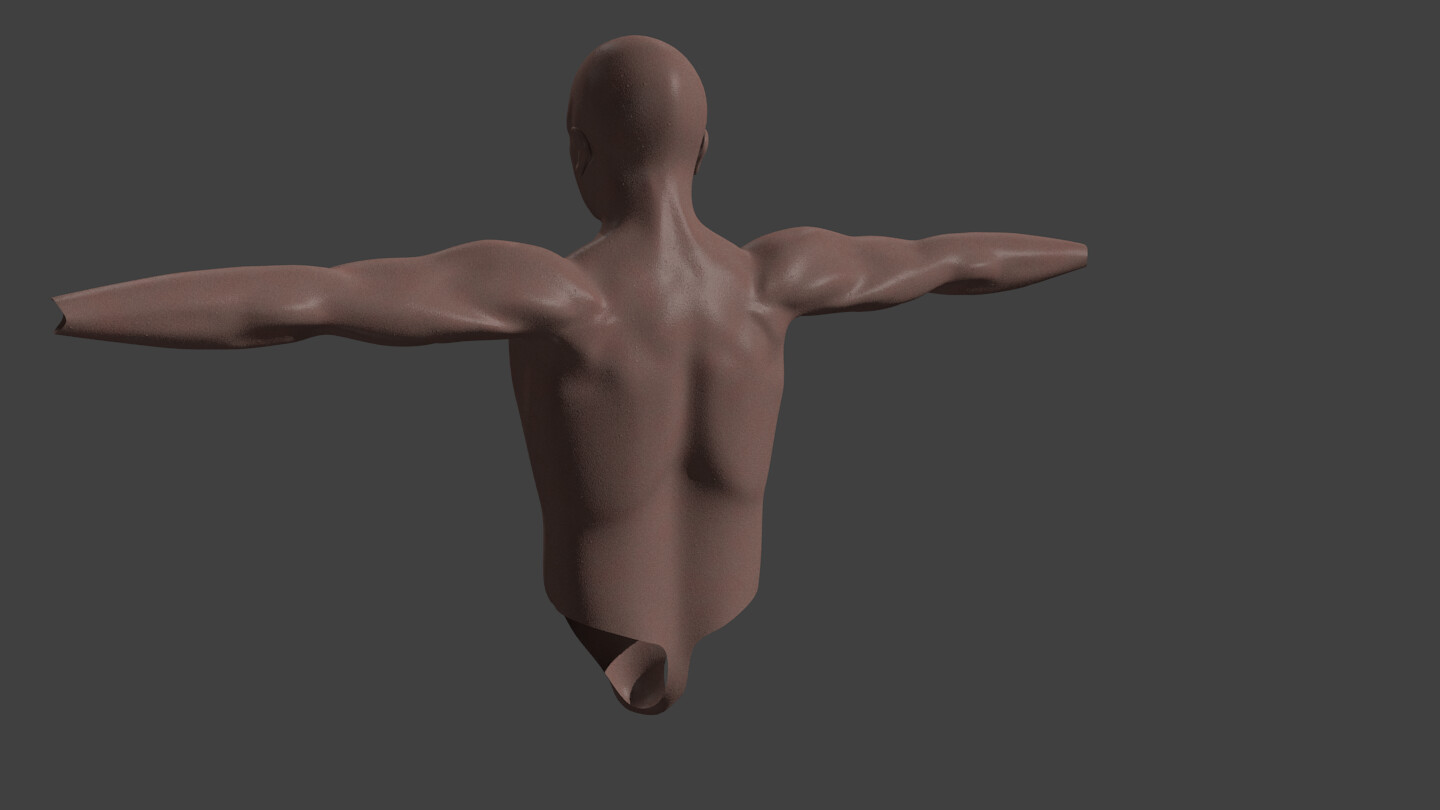
Well, since I just finished version 4 of the Alien-style trailer I wanted to do a bit of manscaping on my buddy here (he needs a name by now, is ‘Adam’ too cliche?). I found some excellent reference pics, 3D scans of a male body, and just ran with it. I still need to do the back, though.
15-20 second render times in essentially 1080p (lots of empty space, of course).
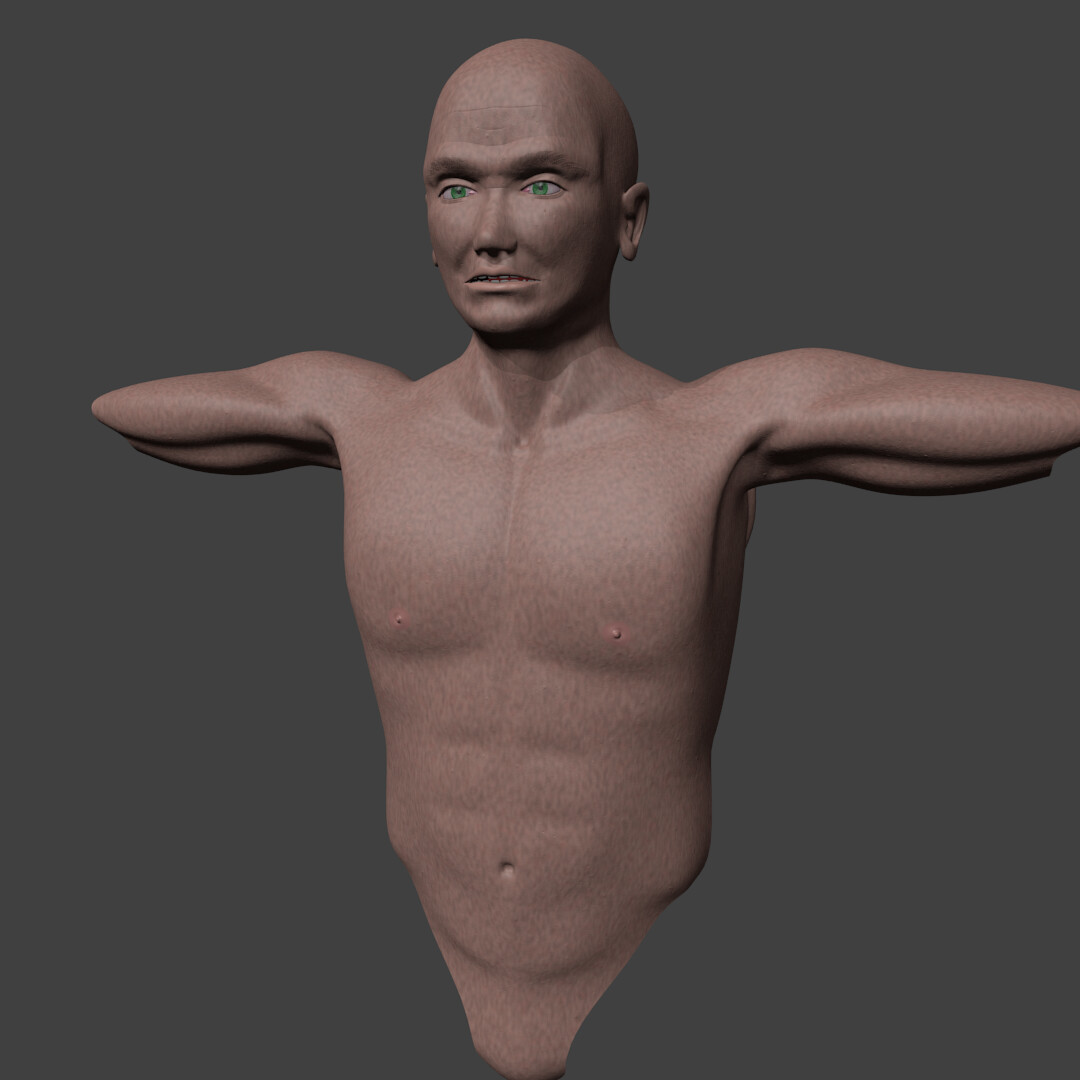
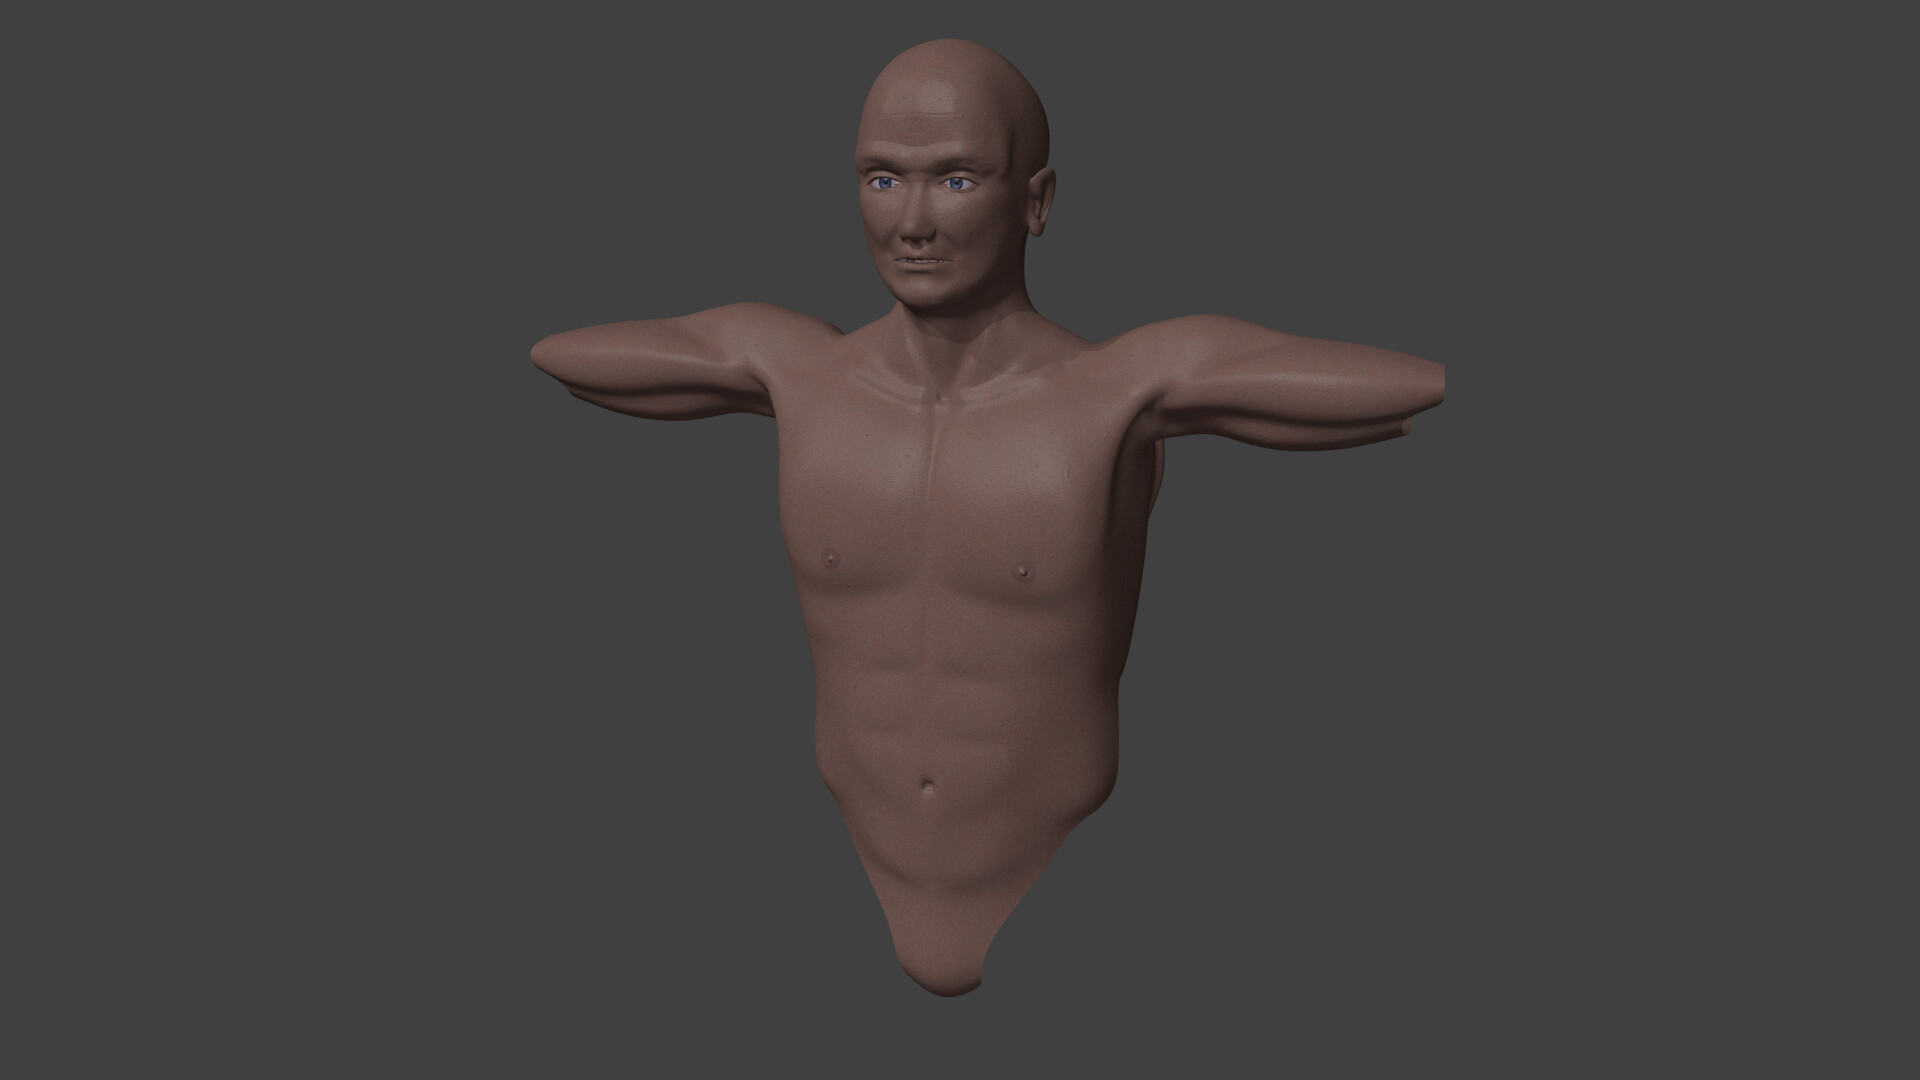
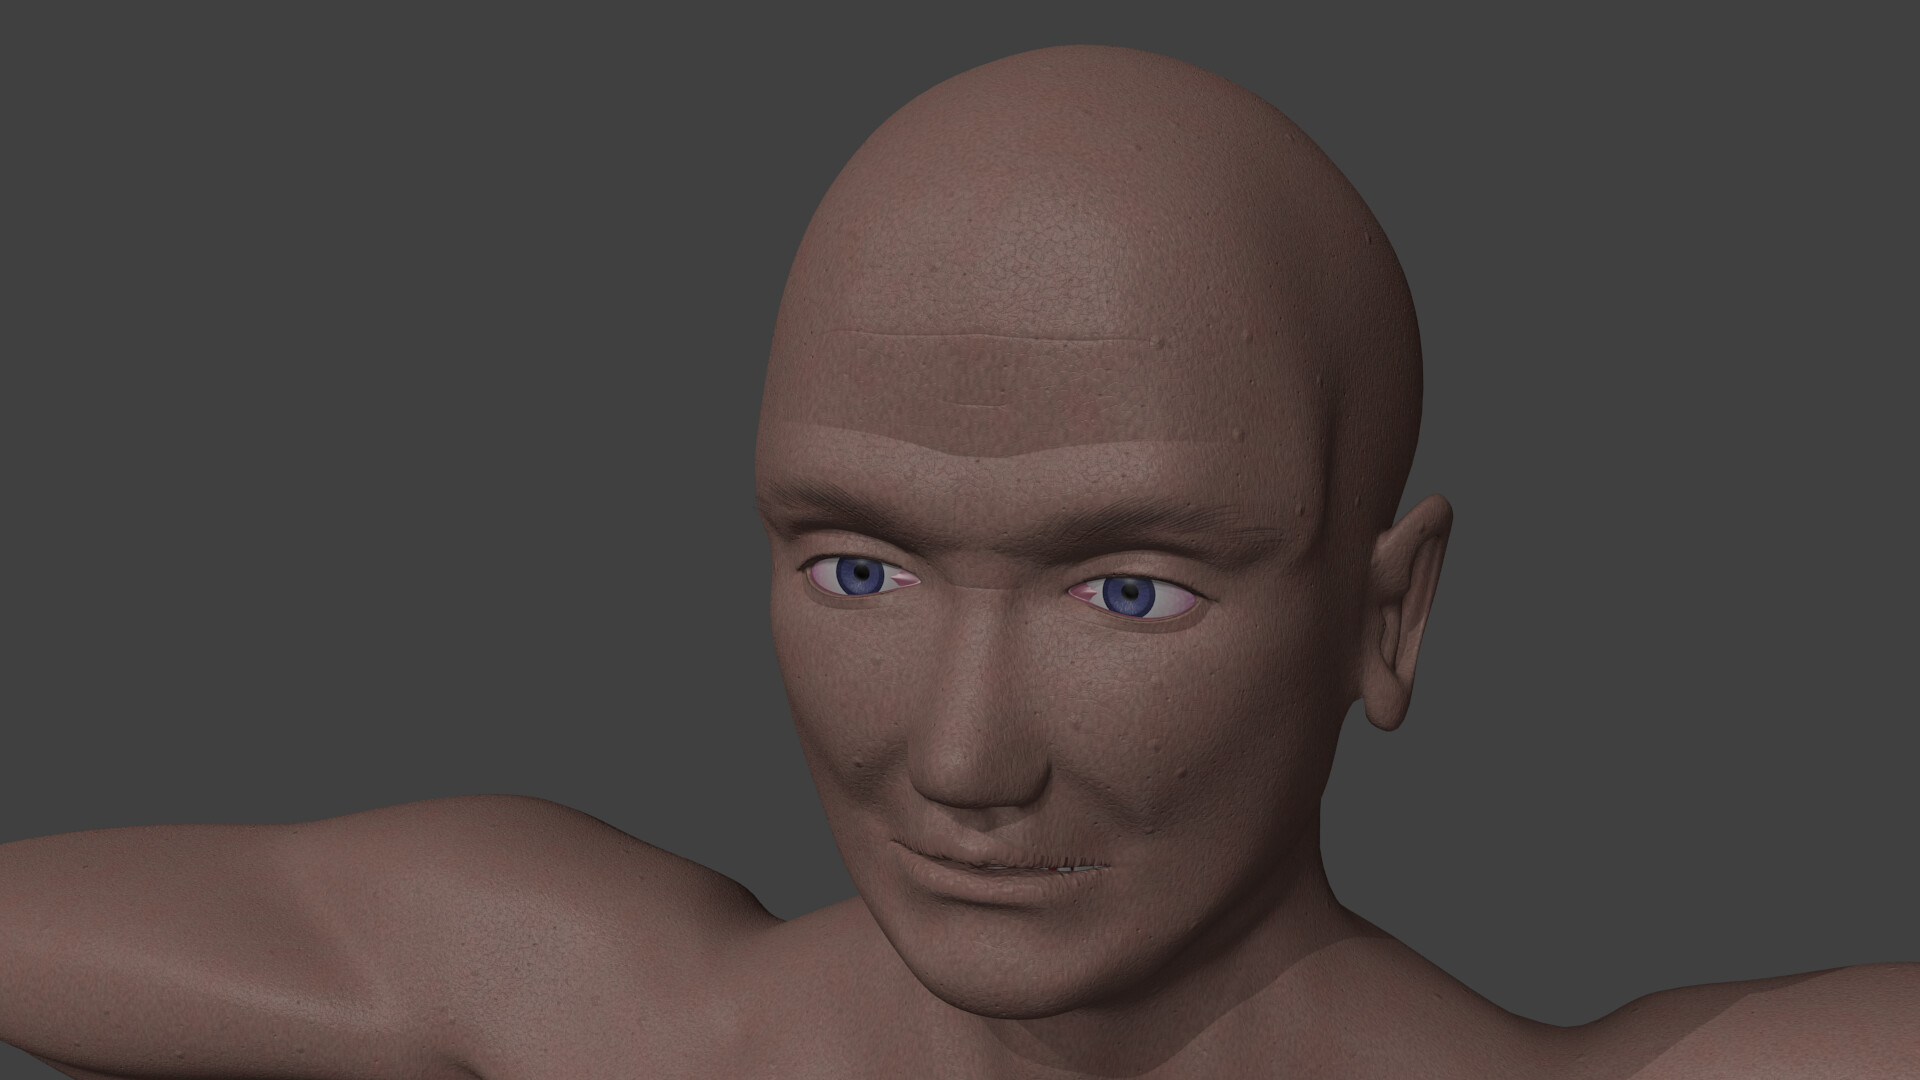
So, to get ‘Adam’ (better names may be freely suggested) ready for some initial rigging attempts, I had to shrink him to my standard working size (1 Blender unit = 1 meter). The materials had… issues… with that. Interesting issues, but issues…
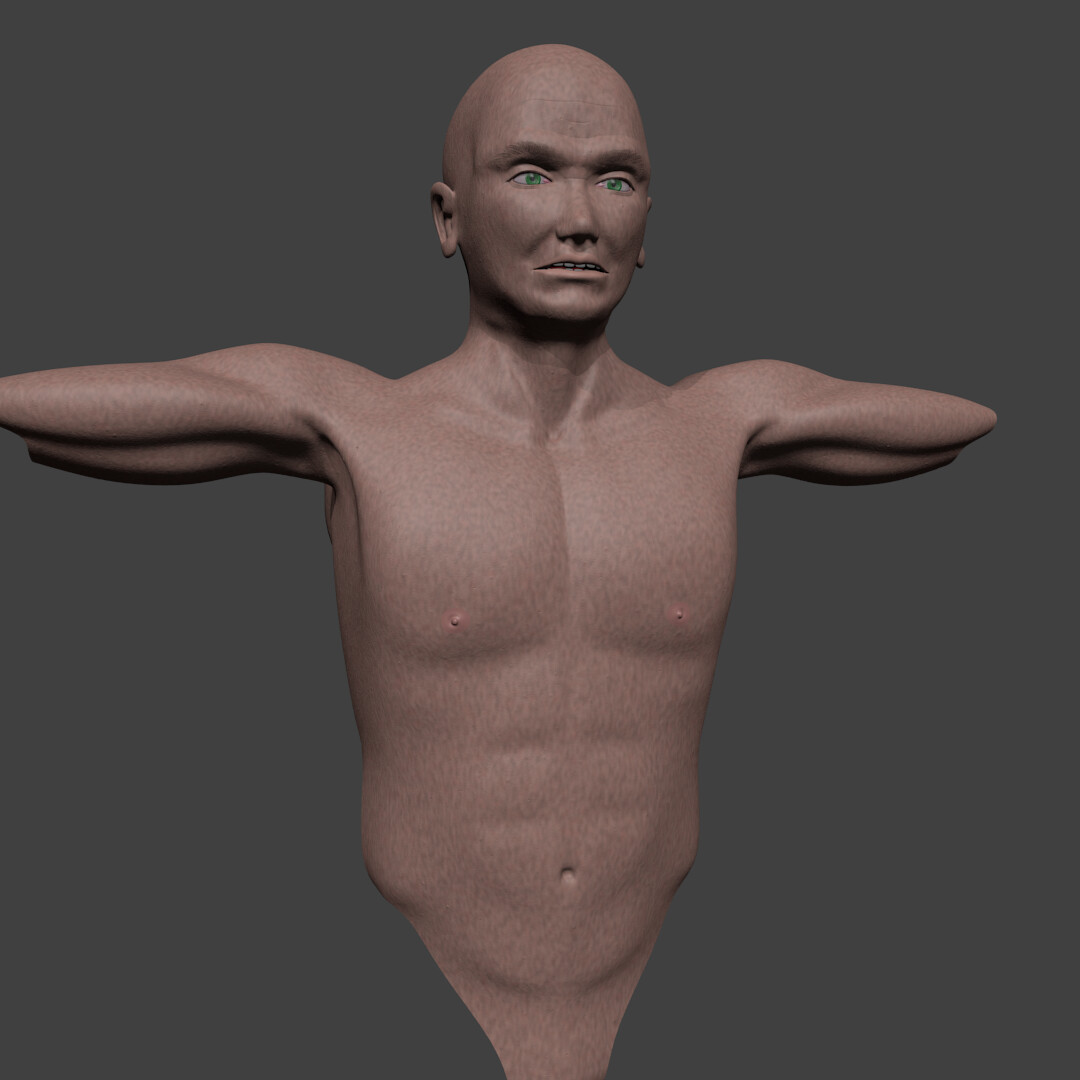
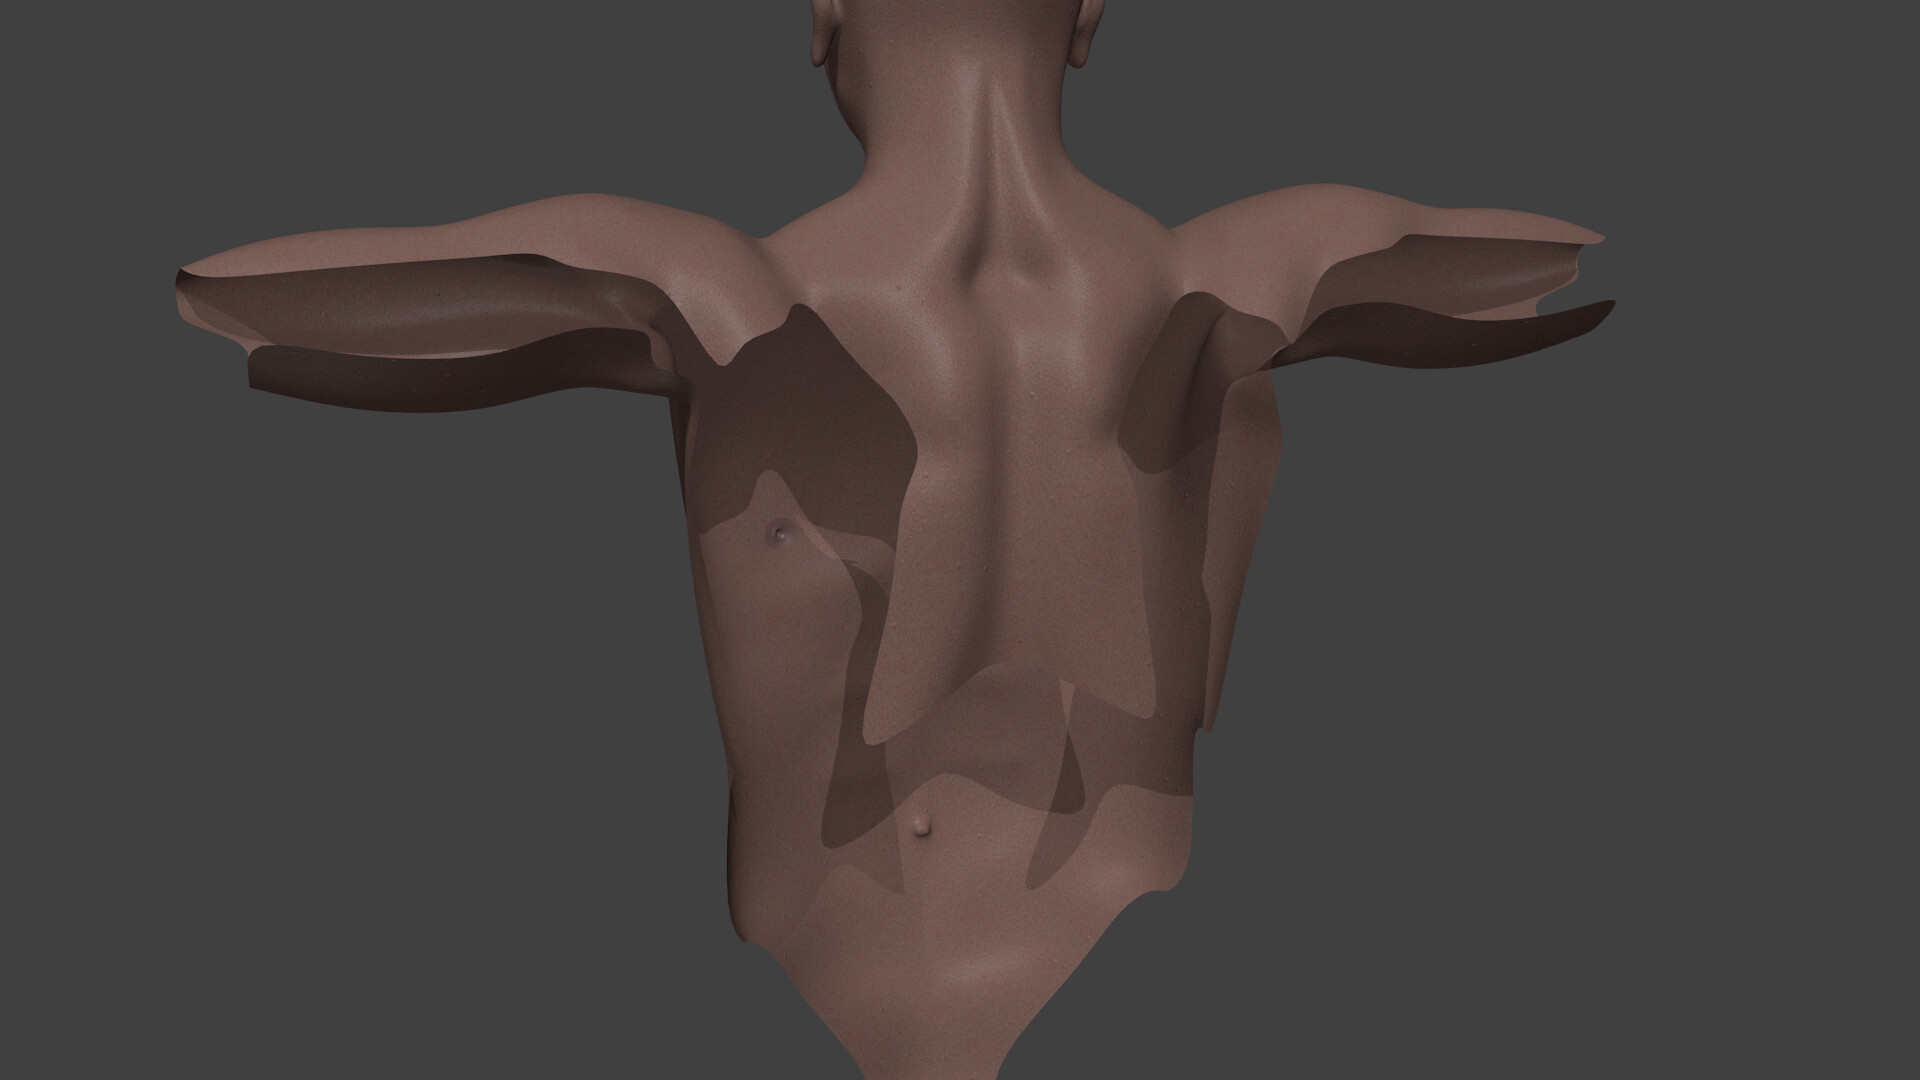
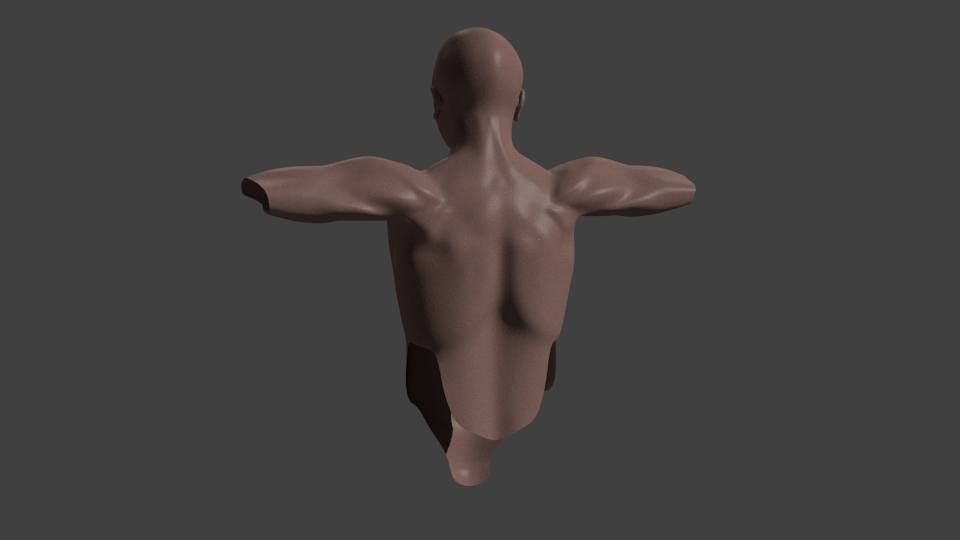
Oh yeah, completely forgot that behind their fronts, people have backs! Doioi! Well, the reference material is a bit poorer, but after one now happily erased mistake of an attempt, this is starting to shape up a bit better:
Fun fact: Not a lot of tutorials out there on modelling good armpits. I’ll need to revisit the issue when good reference material pops up somewhere…
Have you checked out the Blenderellla modelling series? You can find it on YouTube, but also it’s on the Blender cloud for free too, I think. I found it really useful when I modelled my base mesh a few months back.
No, never heard of it. I will now!!
Edit: Oh, wow… that’s a lot of videos… gonna get my learning hat on for this one…!
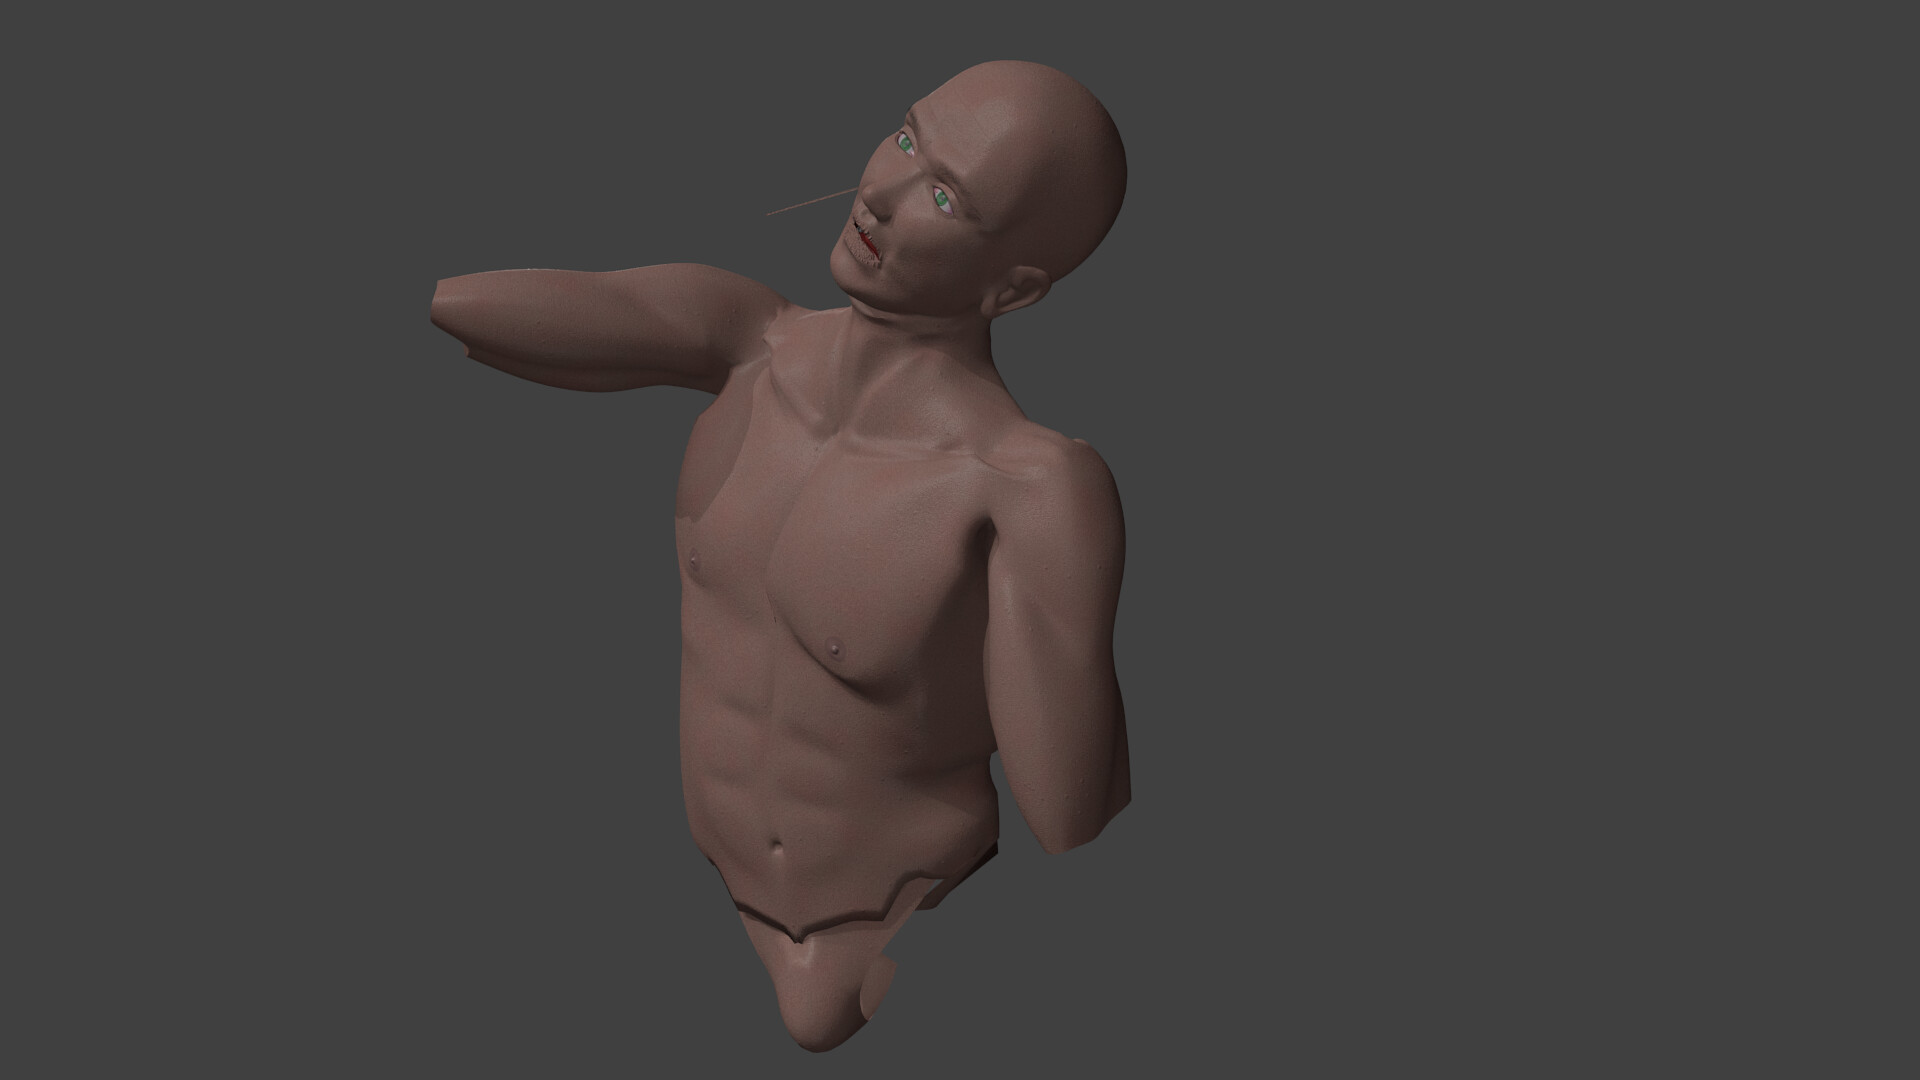
So I did a shallow dive into rigging and weight painting and… well, the pic says it all. Still a long way to go on that front, but at least the first step have been taken, and it does not hamper the modelling work, at all (other than taking time away from it, of course):
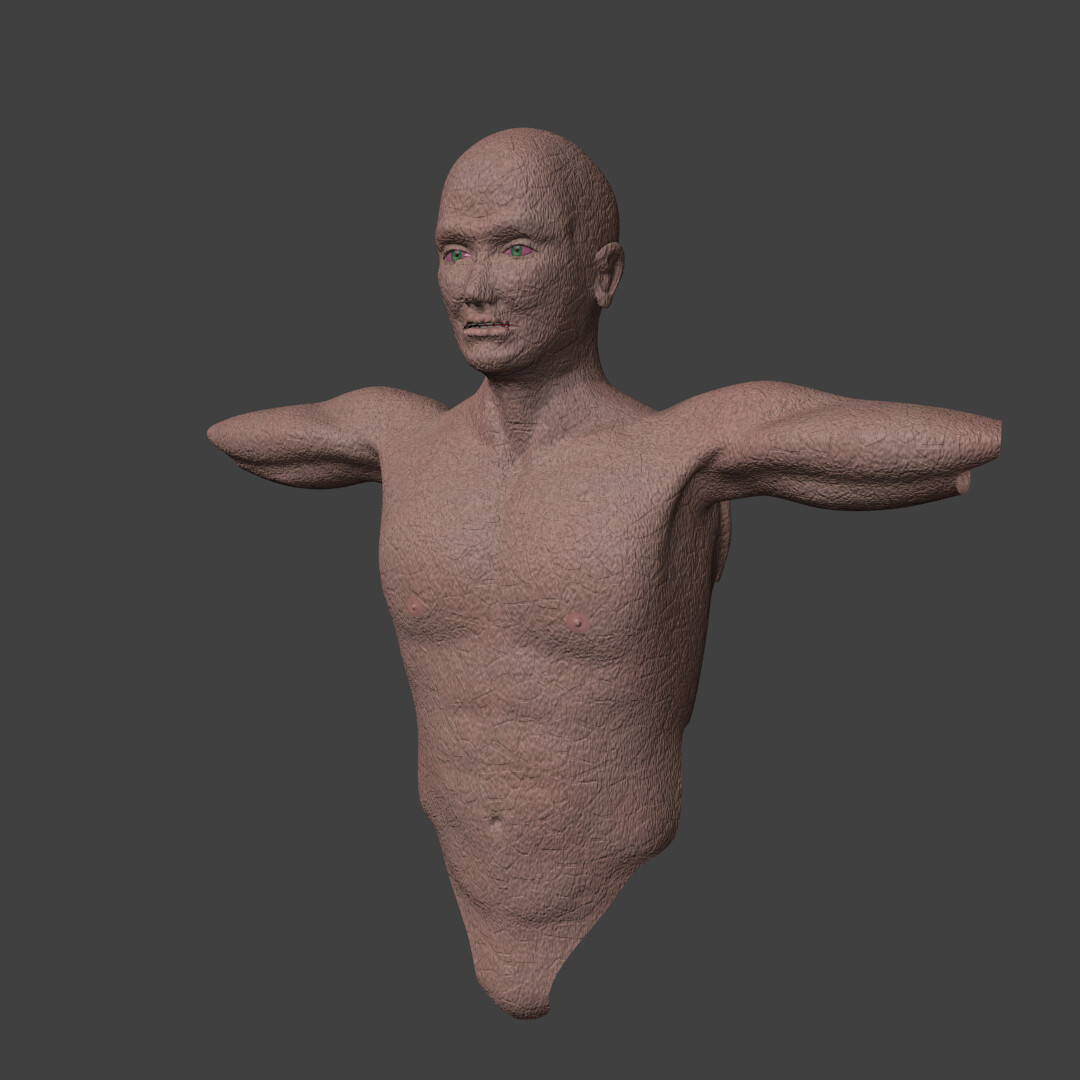
Added forearms, no bones though. Render time at 75% of 1080 resolution is between 10 and 20 seconds, typically around just 12s! The mesh topology is so bad now that corrections and certain details are becoming harder to do, but I think it can carry through till the end. Future versions will need clean-up, tho, big time…
I too made excuses for years to not learn digital sculpting–then I got into real-life polymer clay, which made digital sculpting make a lot more sense.
Now I can’t go back. It’s so much easier to make a head with sculpting tools then traditional box modeling.