I’ve seen many tutorials on Youtube on how to make volumetric lights and shadows (or godrays) on Cycles.
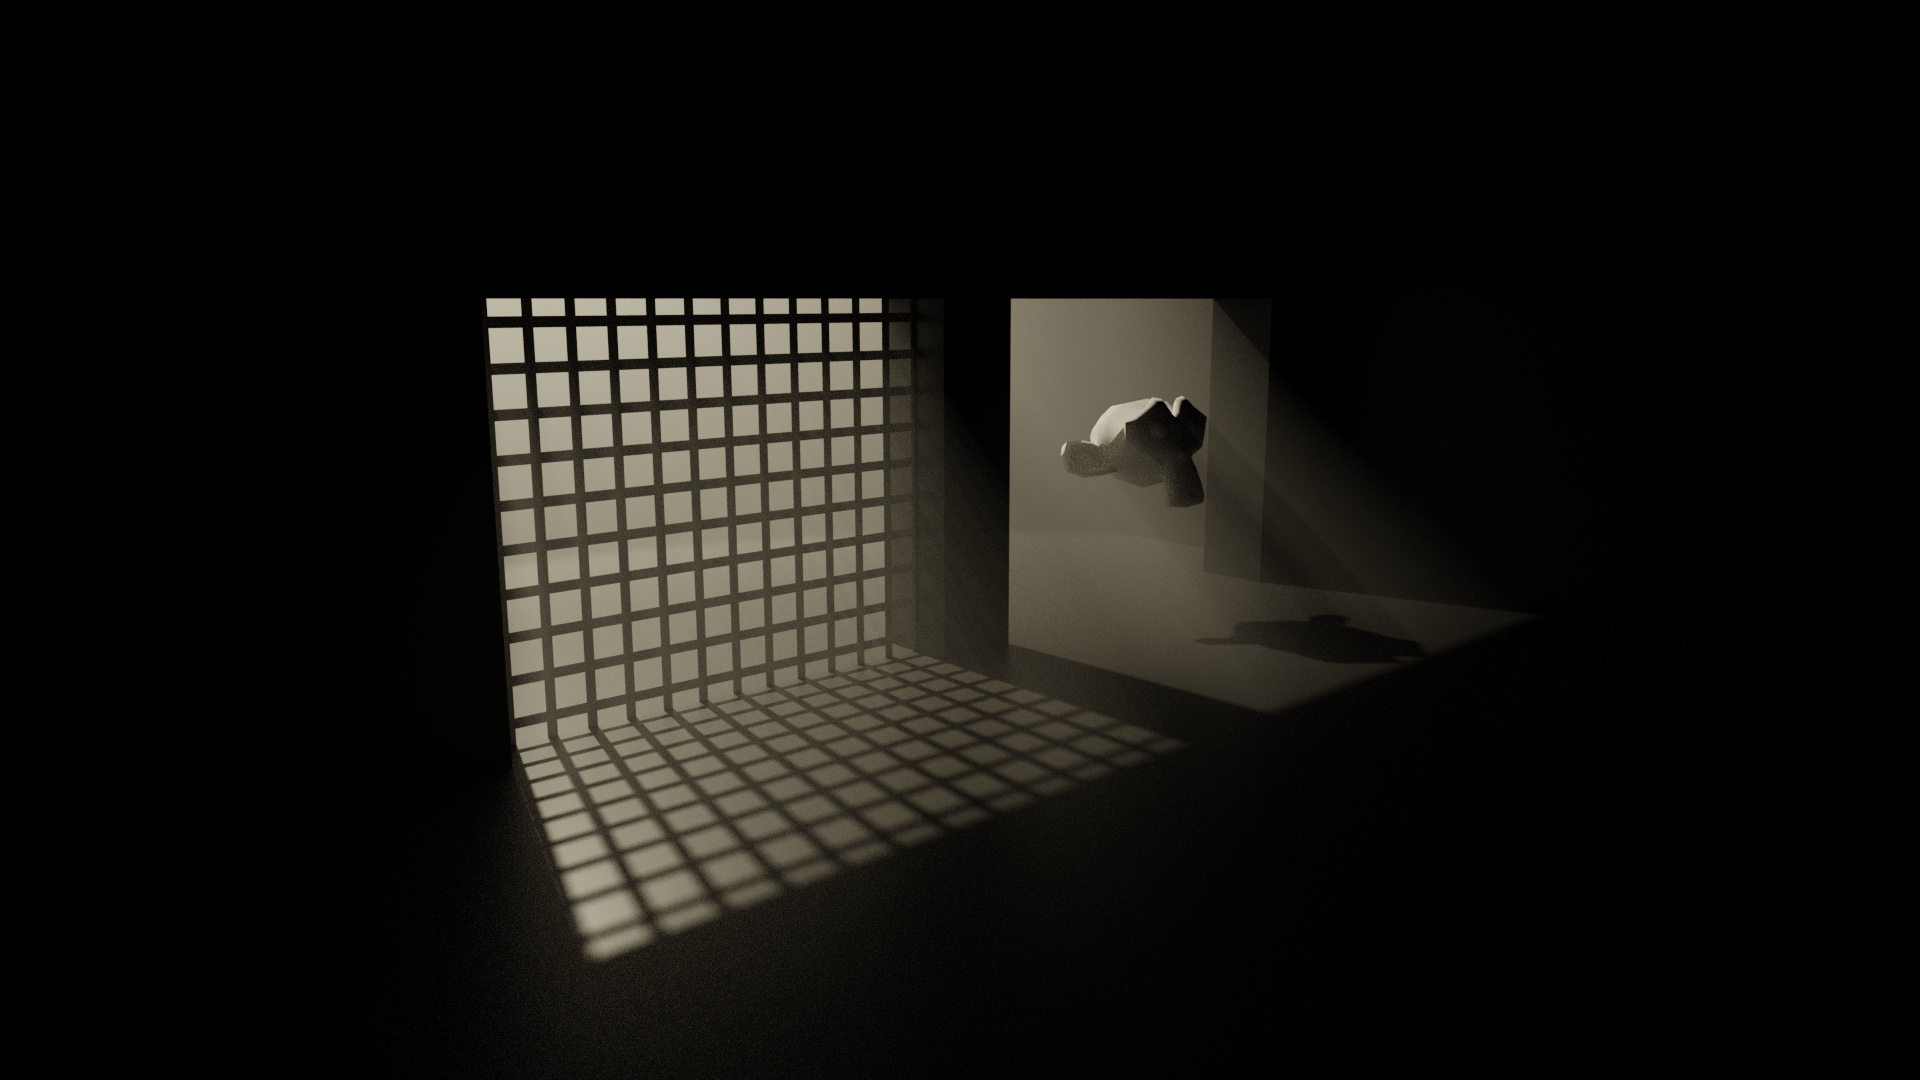
The tutorials are all goods, I am not putting that into question, but I have a problem I cannot solve on my own : When I try to make Volumetric light in any way, the “rays” are almost invisible and the volumetric shadows are too.
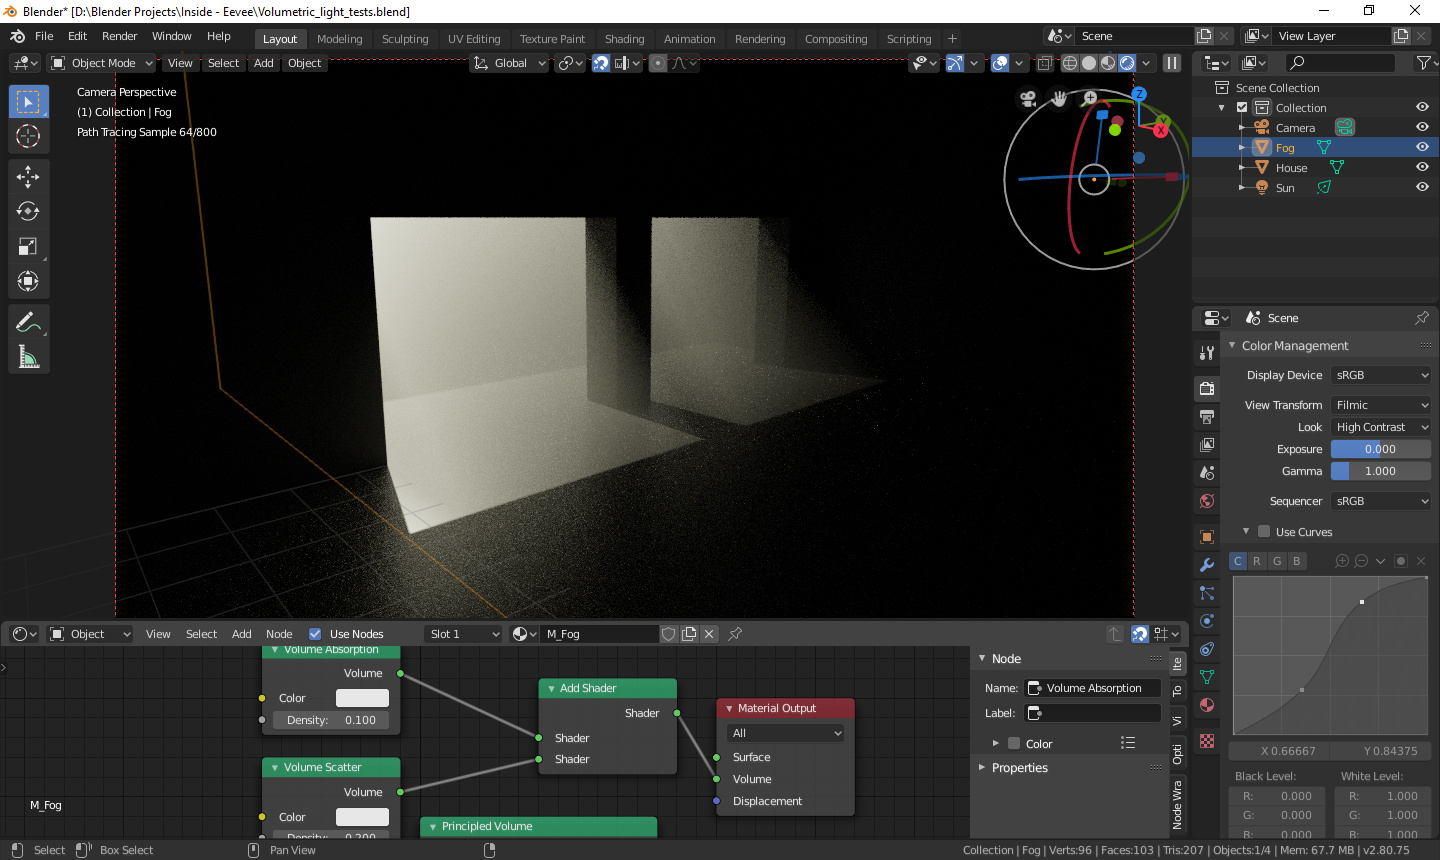
I made this render and simple .blend to illustrate my problem (it remain whether I use the Principled Volume or the duo Volume Scatter & Volume Absorption).
An attempt to make volumetric light through the window.
If someone could explain to me where did I screwed up… I just want to have control over the visibility of the shadows and rays, in order to make them sharp, and clearly visible.
Any help is appreciated, and thanks for having read my post.
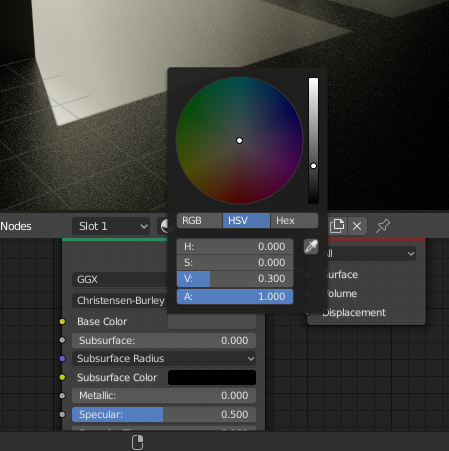
I tried what you said and it still doesn’t work : I added 100 to the spot strength (went from 200 to 300) and I took a screenshot so the color management settings are displayed. But still nothing :
It works here when I change the light from sun to area, spot or point.
Also, I’m using volume scatter and absorption with an add shader.
Lastly, I tweaked the fog object in order to wrap the whole house. Maybe it doesn’t matter, maybe it does, not sure.
But when you talk about turning the house material to 0.1, I assume you talk this : (I turned it down to 0.3 since it was enough)
Andrew_Ray The lamp was a spot since the beginning I think, but I never used an add shader much to my own shame… I did kinda did the “choice” by automatism.
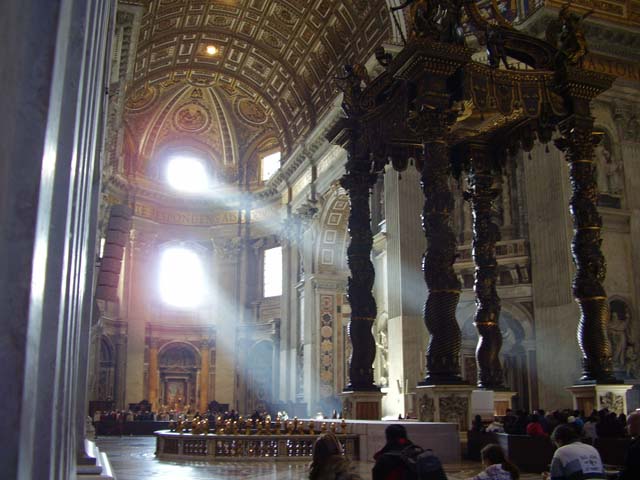
But know I have a question : The fact that the house material has to be dark means that with Cycles, you can’t make picture like the one below because the environment is too bright ?
Cycles works very close real world physics. Middle gray material albedo is something like 0.18., concrete is something like 0.29 and fresh snow is something like 0.77.
You can get pictures like photographs using cycles when light sources and materials are configured to same what they are in real world. Picture you post may well be rendered using cycles. It is good modelling or photo.
Hi, here is a simple scene that you can use as reference: lamp is sun light, one cube for the walls another cube for the atmosphere shader. I used 2.81 to have the Intel denoiser in the compositor.