Thanks, you did a really good job with the original. Do you have any advice on the material problem that I am having? I have messed with it all day and the model still goes through the cloak. I have not been able to find any tutorial that covers this situation, all the tutorials out there just drop cloth on a ball.
theoretically you could enable self collision in the physics tab -> cloth collision but that didn’t work too well for me…
i tried joining a subdivided plane and cube mesh, added cloth physics (with self collision enabled, pinning set to a vertex group containing all the vertices of the box, and collision enabled for the whole thing) to the plane and let it drop on the box…
it did react to the cube but still clipped through.
when i seperated the plane again it worked as it should. (without self collision)
it seems that having them combined as one object changes the way collision is processed…
when using a non subdivided cube the plane reacted only to each corner of the cube
seems that each vertex has a spherical collision field around it… if you subdivide your mesh a ton of times this would actually work, as i have confirmed with another test (by subdividing the cube ALOT)
but that seems like a waste of ressources
so i suggest you keep the cloak as a seperate object and just parent it to your warrior
Thanks guys for the help. I did not have my cloth & collision objects on the same layer and then when I did it kept crashing Blender. I took my main model and duplicated it then removed all but the few polygons that were needed and then put them back on the main mesh and made that the collision object and it worked great. I will have an updated cloth test soon.
Here is the test render.
Hey that cloth moves pretty darn well now - Congrats. Would love to play with your new rig someday 
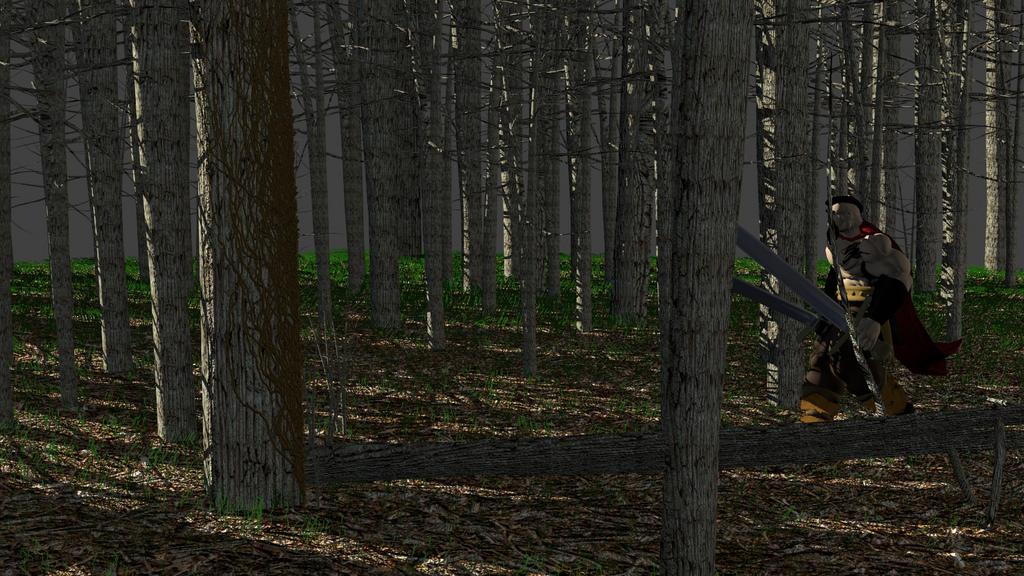
Here is another test. What I was trying to do is give a feeling that he is cautiously looking around and listening, but it seems no matter how far apart I set my key frames he goes to fast. Is it correct that 30 frames = 1 sec of time? This is rendered at 24 frames per second and the higher I go the faster he gets, so what am I doing wrong? (probably alot ) Also as you can see at the end his cloak stays put when I try to turn him back and doesn’t move, so any help there would also be appreciated. When walking in a straight line he does fine, but not so much when I try to do turns, etc. I am playing with the idea that he is cautiously walking through the forest and gets attacked by a bear or something. If I can get his movements going in the right direction then I will proceed with the forest and other stuff.
Well, if you are rendering at 24 fps, then 24 frames = 1 second 
It can be surprising how far apart things need to be so as not to be too fast though. If you’re spreading key frames out and things are getting faster, I’m not sure what’s going on though. Good luck!
btw I reckon for this character (most animation actually) you really want to feel his weight as he moves. I’m no expert but start checking round for tutorials on weight, anticipation, breakdowns etc. (I love the Richard Williams book) Maybe try driving his movements more from his centre of gravity - his hips. Good start though - keep it up.
You have entered the world of animation, you need to realize that while modeling and texturing can be mastered in just a year or two, animation can take much longer to get right. Also, it is a painfully slow process, sometimes taking hours just for one pose. Animation like you see in a feature film, they do about 5-6 seconds worth per month. You have got around 11 seconds worth here so unless you have spent several weeks on it, you haven’t even started!
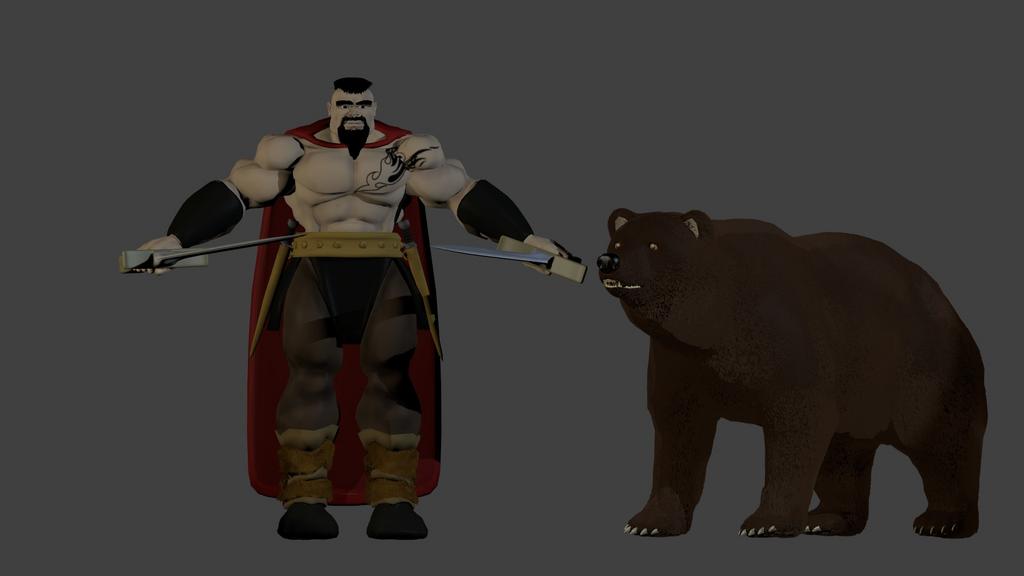
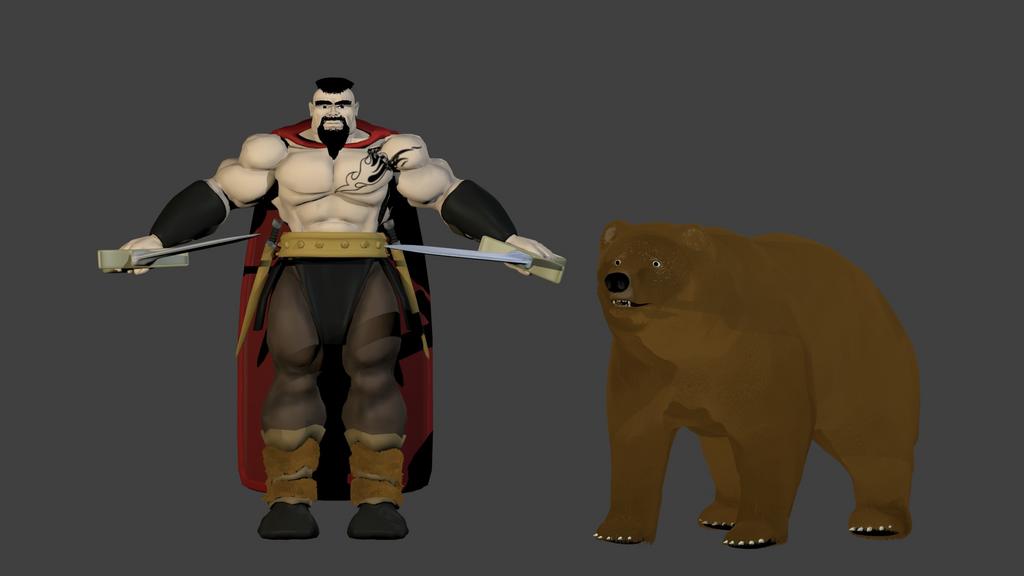
Here is an update with the bear. The bear is still in progress as far as texturing and fur details. The bear was modeled in Sculptris and of course is made up of triangles. Will this drastically effect the rigging and animation process like it does with the texturing? Is there a tutorial that you know of that shows how to do re-topology on the bear to make it into quads (the button in the mesh panel to switch the tris to quads didn’t do anything)? Also , how does the scale look for the bear, and any other crits that you may have.
Retopology Tut:
In my experience tris will drastically affect everything. I say this all the time, and people like to come on the thread and argue that it all will be converted to tris at render time, so what does it matter?
IMO these newbs that say such things have no concept of proper modeling or topology flow.
I think the scale of the bear is good.
Few of person honors in hockey tend to be much more substantial than being named a group captain, and doing this to be a native from the U . s . States is undoubtedly an unique club. On Monday, the completely new You’re in a position to Rangers’ Ryan Callahan grew to become the 37th person in that fraternity.With Ryan Callahan named captain through the New You’re in a position to Rangers on Monday, the NHL again has four captains – Callahan, the Kings’ Dustin Brown, the Canadiens’ John Gionta and also the Blues’ David Backes – who hail inside the U . s . States. That may be considered a information ought to be a source of pride for just about any U.S. hockey fan, it ought to become particularly so for people inside the Empire Problem. 3 from the 4 existing U.S.-born captains within the NHL – Brown, Gionta and Callahan – are New You are able to natives, but it’s Callahan who’ll get the rare deal with to become a captain from the NHL team inside the house problem.
Thanks for the help 3dementia. I have redone the topology for the bear but I think I may have overdone it in some areas so I am posting the wire frame shots to let you guys look and let me know.
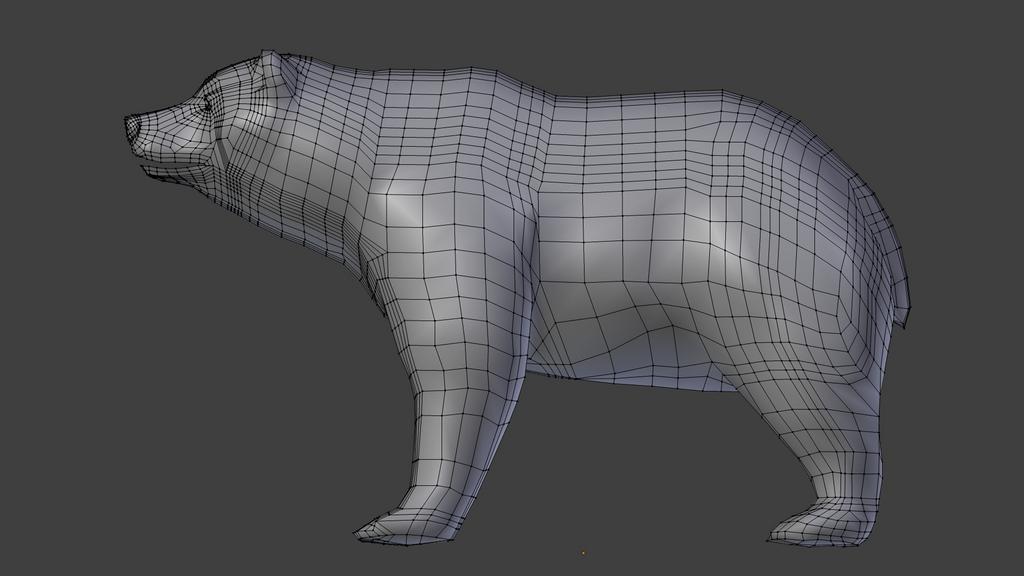

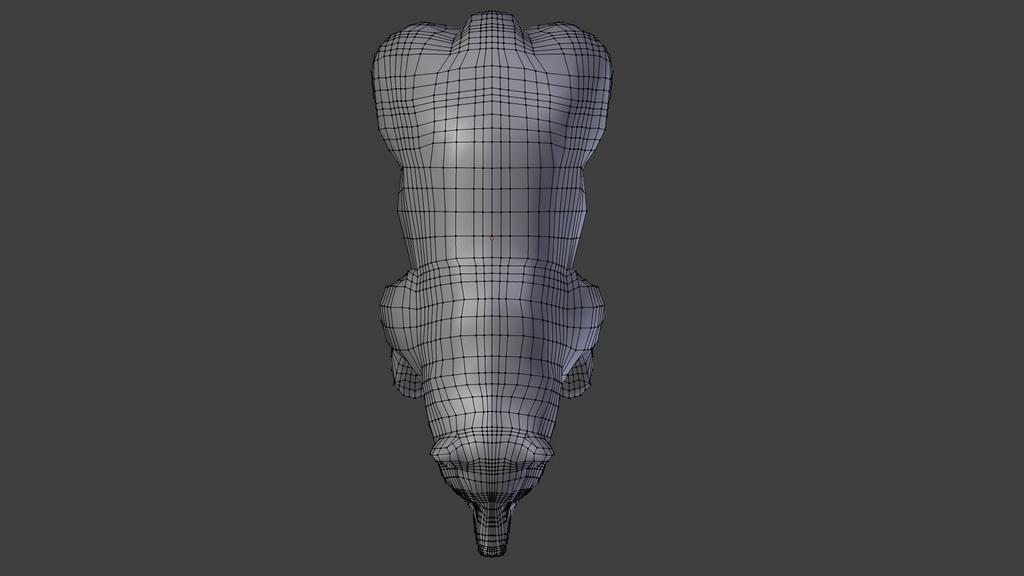
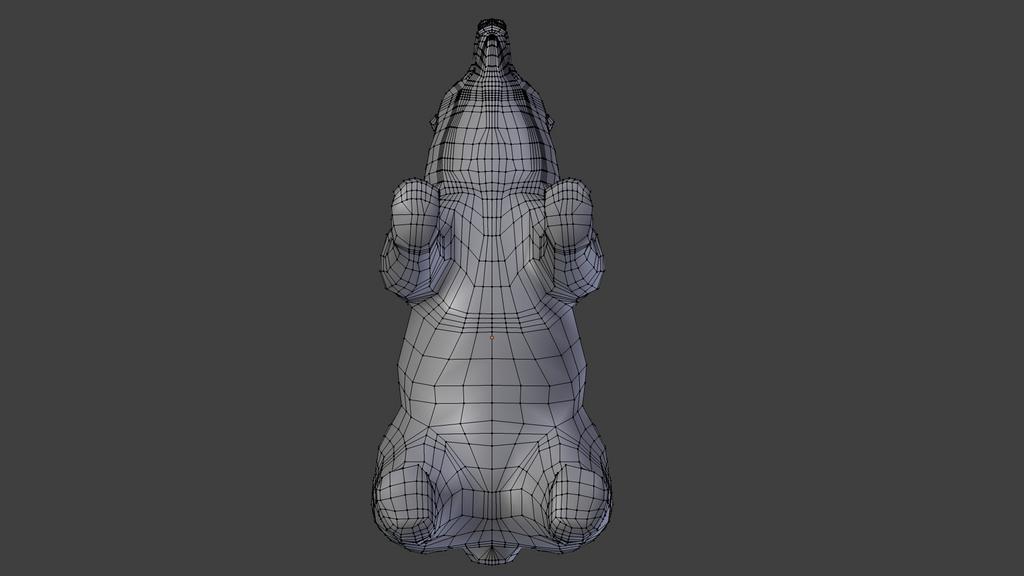
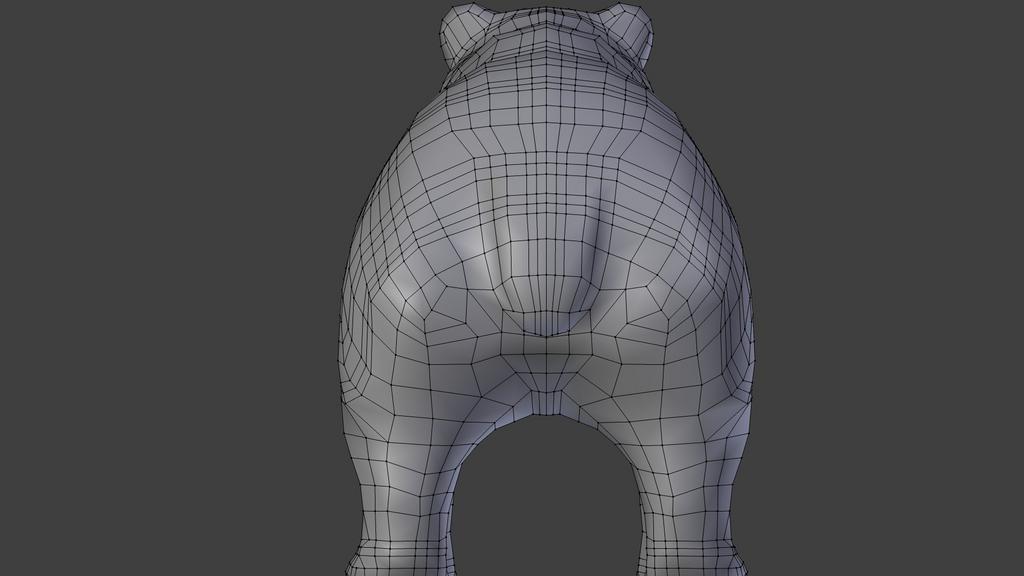
The topology is not great, but it is not terrible either. They say diamonds are a girls best friend, they really are a modeler’s best tool. When you have multitudes of edges that need to be condensed (like near the jaw), use a diamond to reduce three edges down to one. Clever use of this technique is how you turn loops, and increase detail in some areas while reducing it in others.
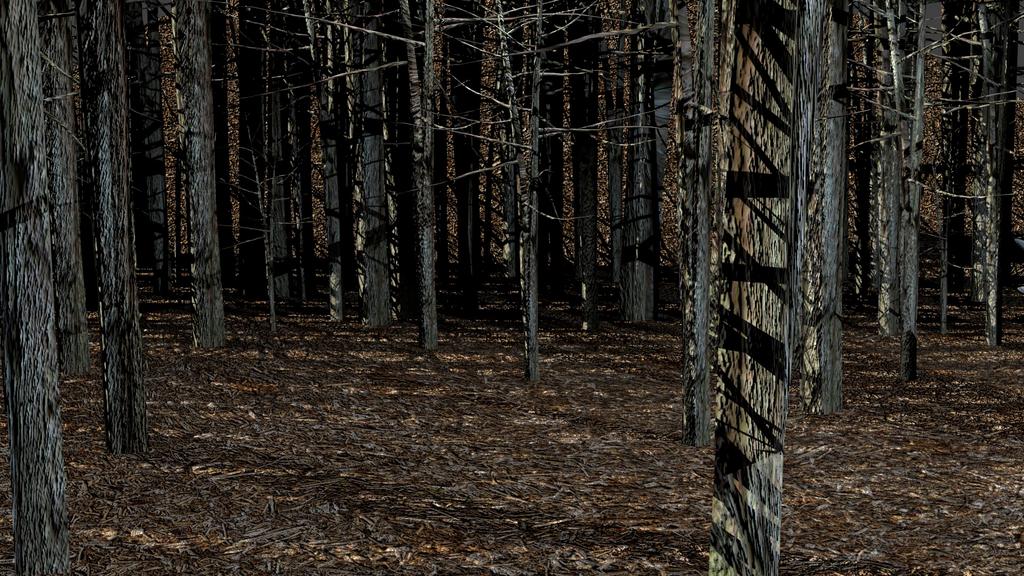
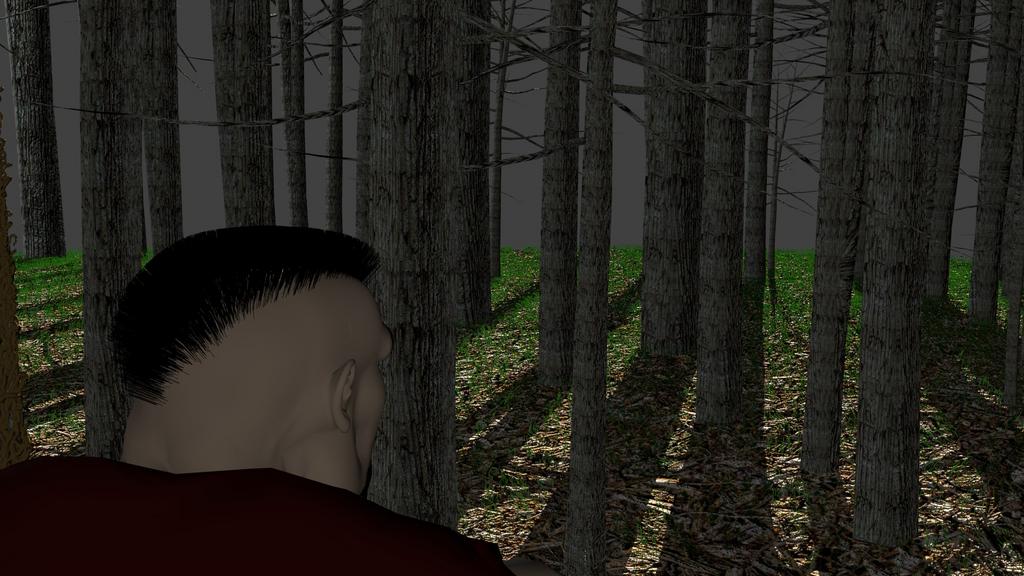
I have added a forest after playing around with the sapling add-on. I still need to texture the forest floor and lighting ,etc. and I think the scale is good, but what do you guys think?

You are off to a good start with the walk animation but the first problem I see is with the feet. You don’t have the “heel-toe” action happening in the walk. When animating a walk, the heel strikes the ground and is followed almost immediately by the toe of the foot hitting the ground. Then the body passes over the planted foot as the other leg begins to reach out for the next step.
Richard William’s book “The Animator’s Survival Kit” has a large section devoted to walks alone. Although it is written for hand-drawn animation, it can be applied to CG animation. I highly recomend it!
Thanks Drew99, but the animation was a test of the cloak , not for actual movement purpose, and you are right “The Animator’s Survival Kit” is a good book and “Principles of Animation” by John Lasseter from Pixar is also very helpful.