The task is not to just extrude the face otherwise I’d just cheat a bit and import the SVG and go from there.
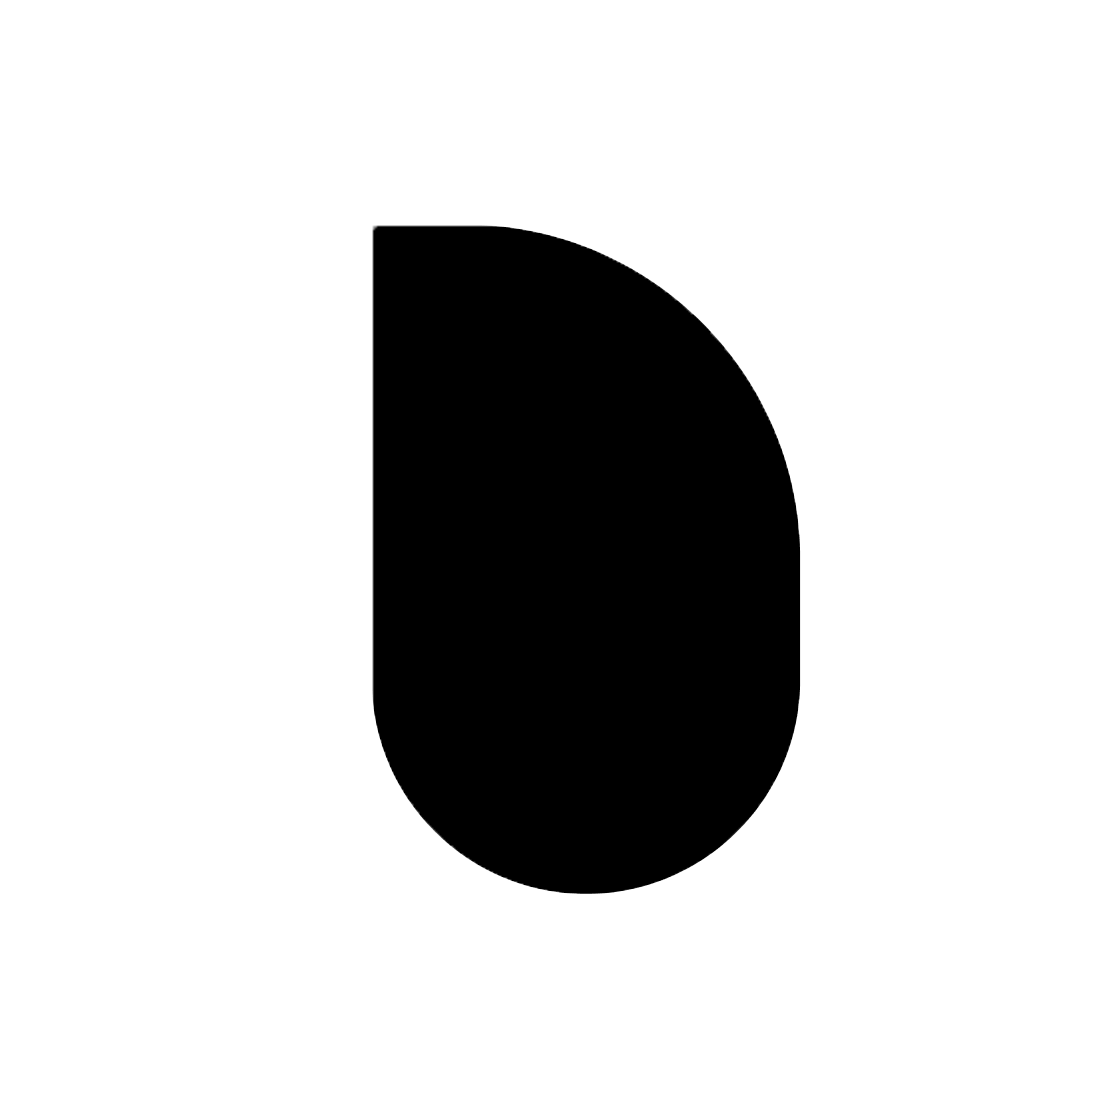
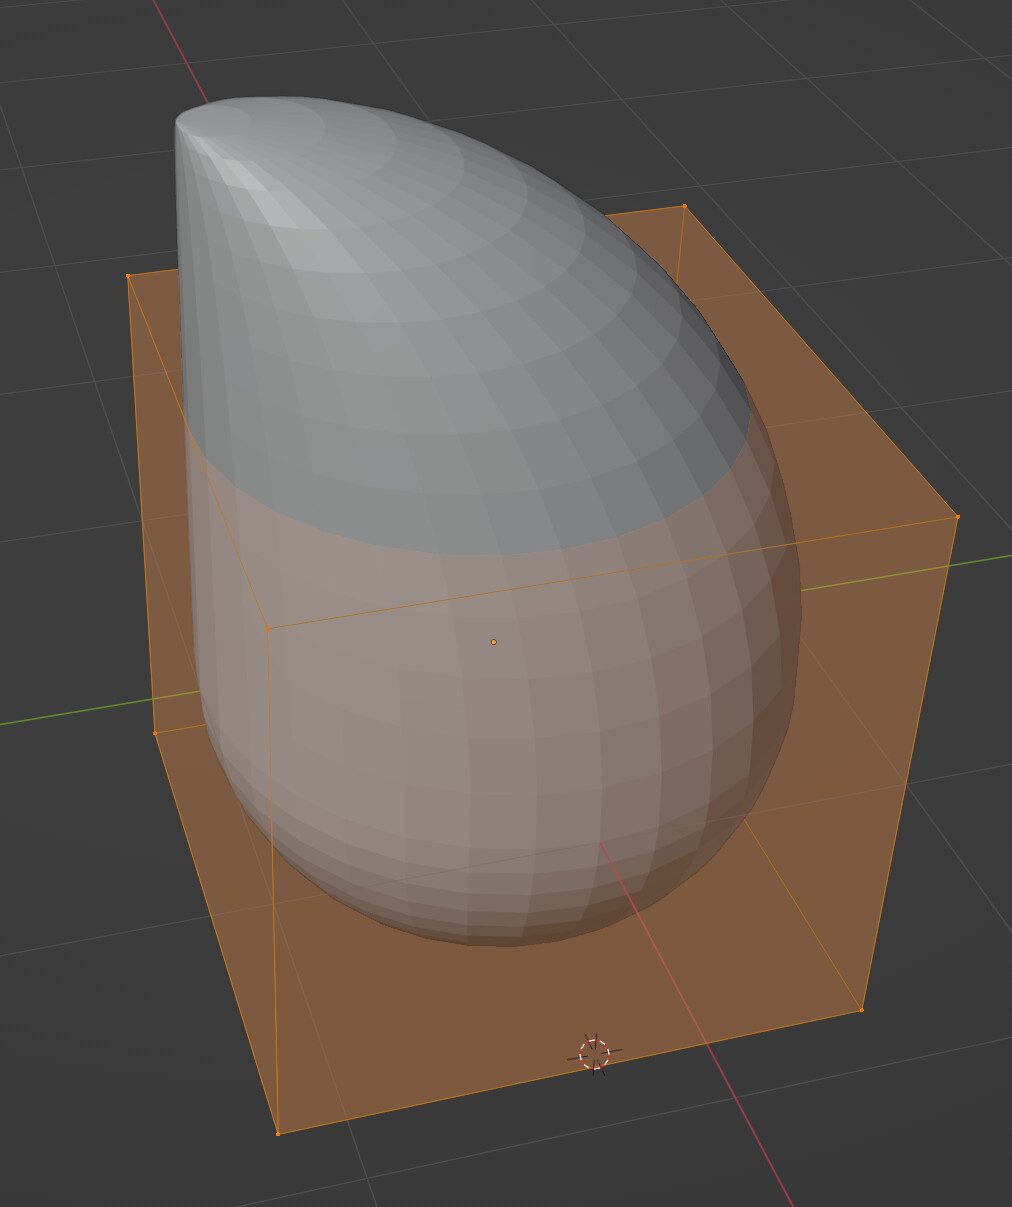
It’s supposed to have a completely rounded 3D shape like a pill apart from the sliced off flat section on the left.
My first thought was to start with a pill shape and shift one of the caps over maybe and subtract a rectangle from the left over geometry, but nothing really seems to work.
The asymmetric curve between the bottom and the top is really throwing me off…
I feel mad stupid because it’s probably a really simple solution that I’m not seeing, but I just can’t get it out of my head now…
Ha ha, old teachers are fiendish beings!
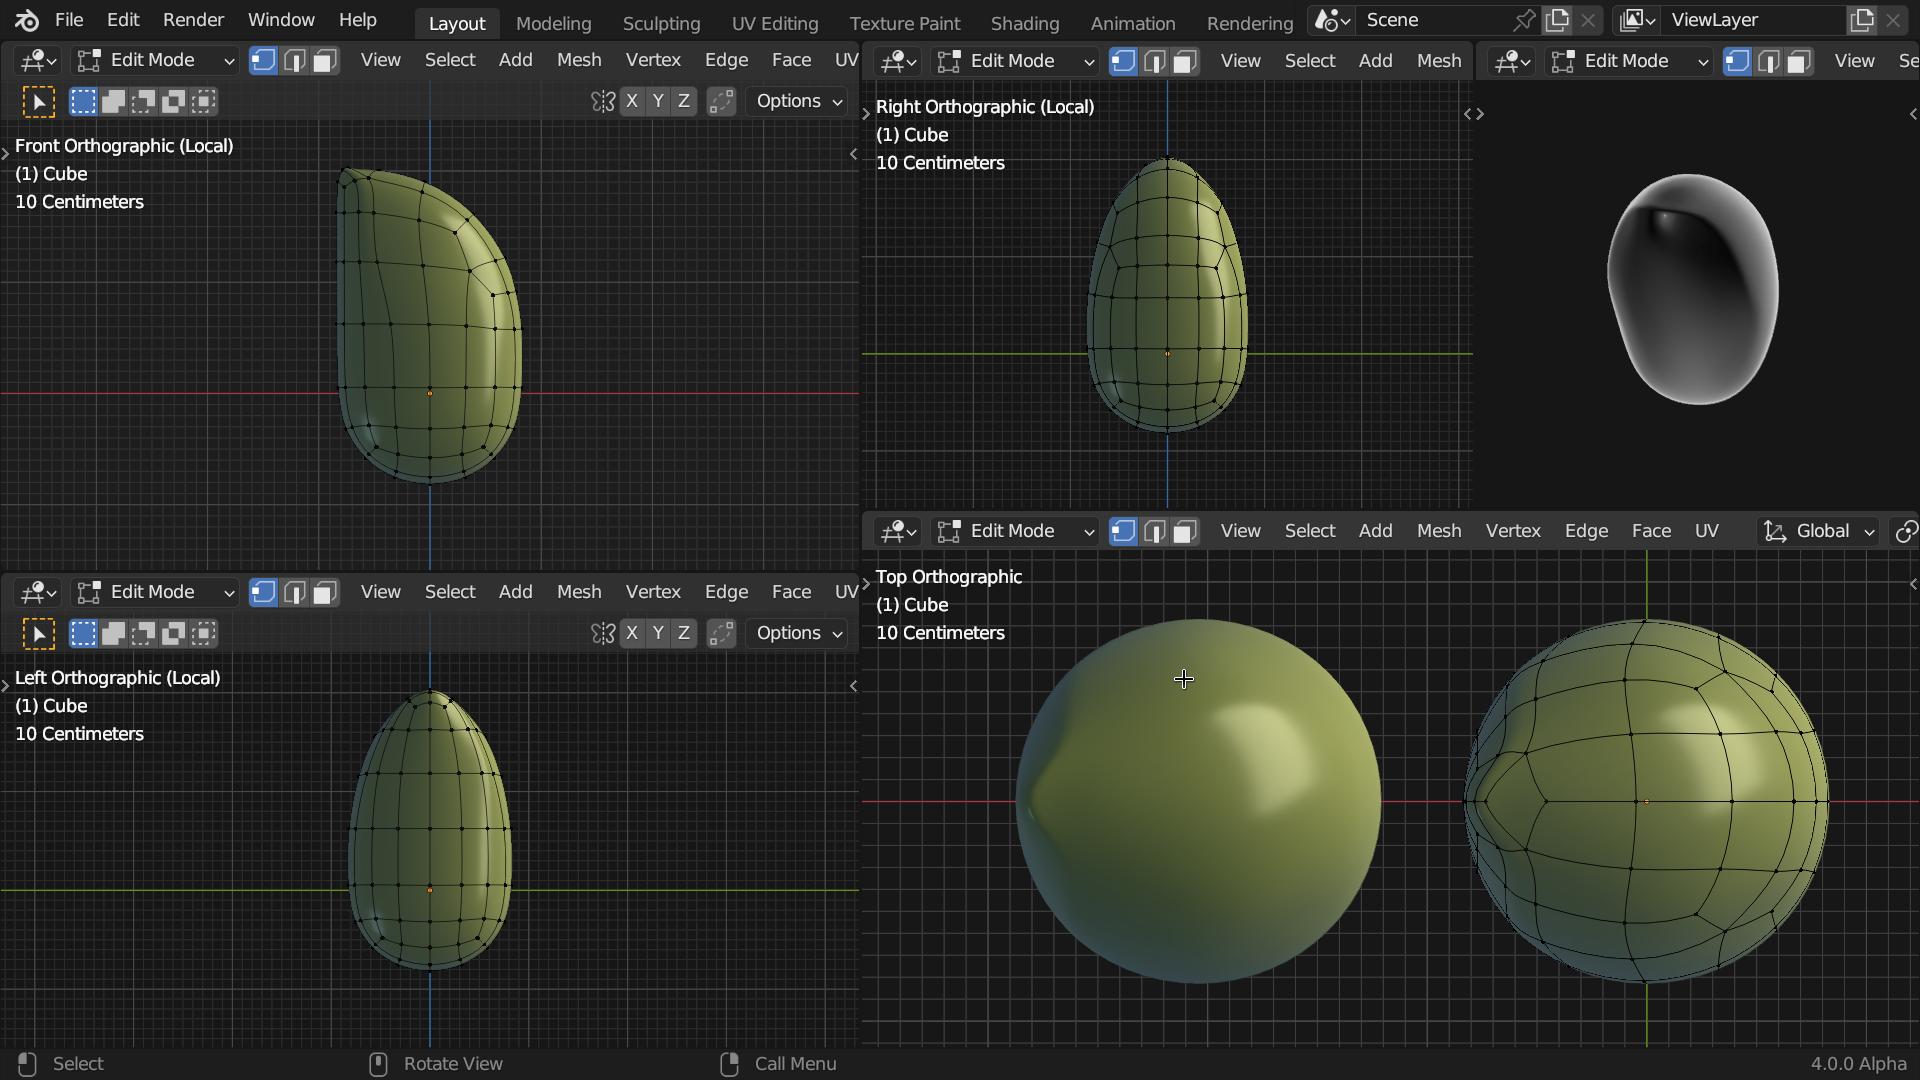
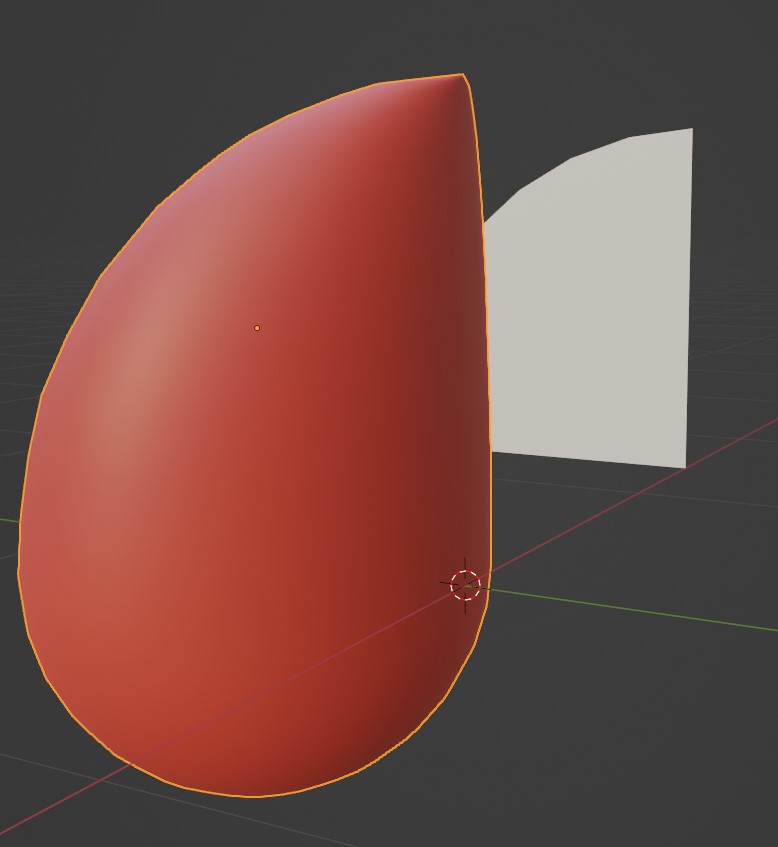
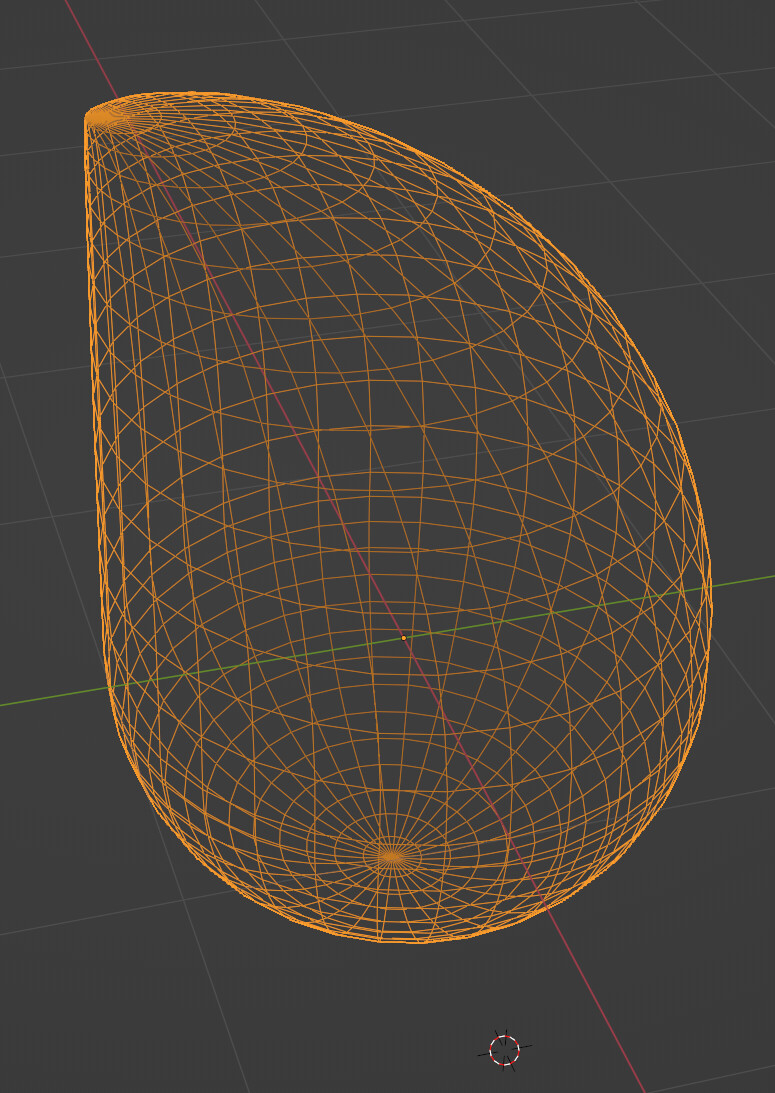
That is a tricky one because the shape could be interpreted in different ways, especially the transition between round and that flat side. Here is what I came up with (front, sides and top):
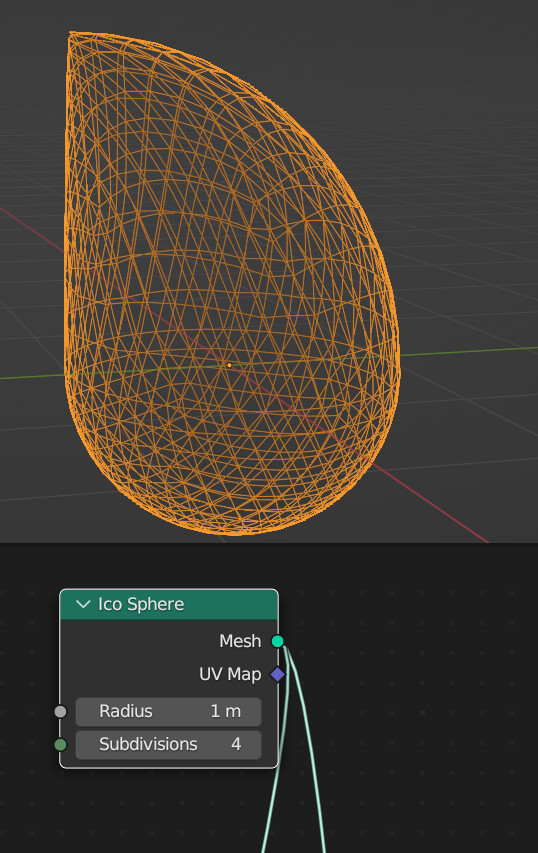
Ahhhhhh I see what you’re going for there that’s definitely a solid method! I like what you’re doing with handling that transition… it looks like basically taking a quad sphere as a base and going from there.
I’ll certainly give it a go! Huge thanks!
Apparently there’s a way to tackle this with less than 10 “moves”… I’ve been messing around with modifiers with curves using an SVG input to see if there’s a procedural route.
But nothing can beat some good old box modeling haha. Thanks again!
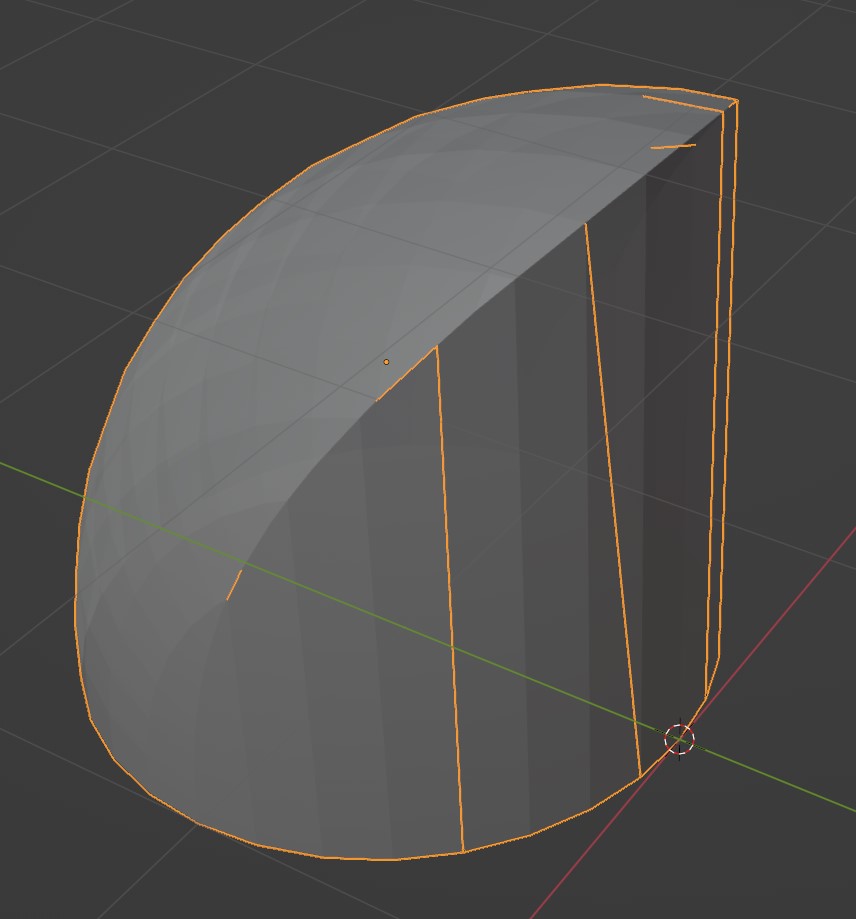
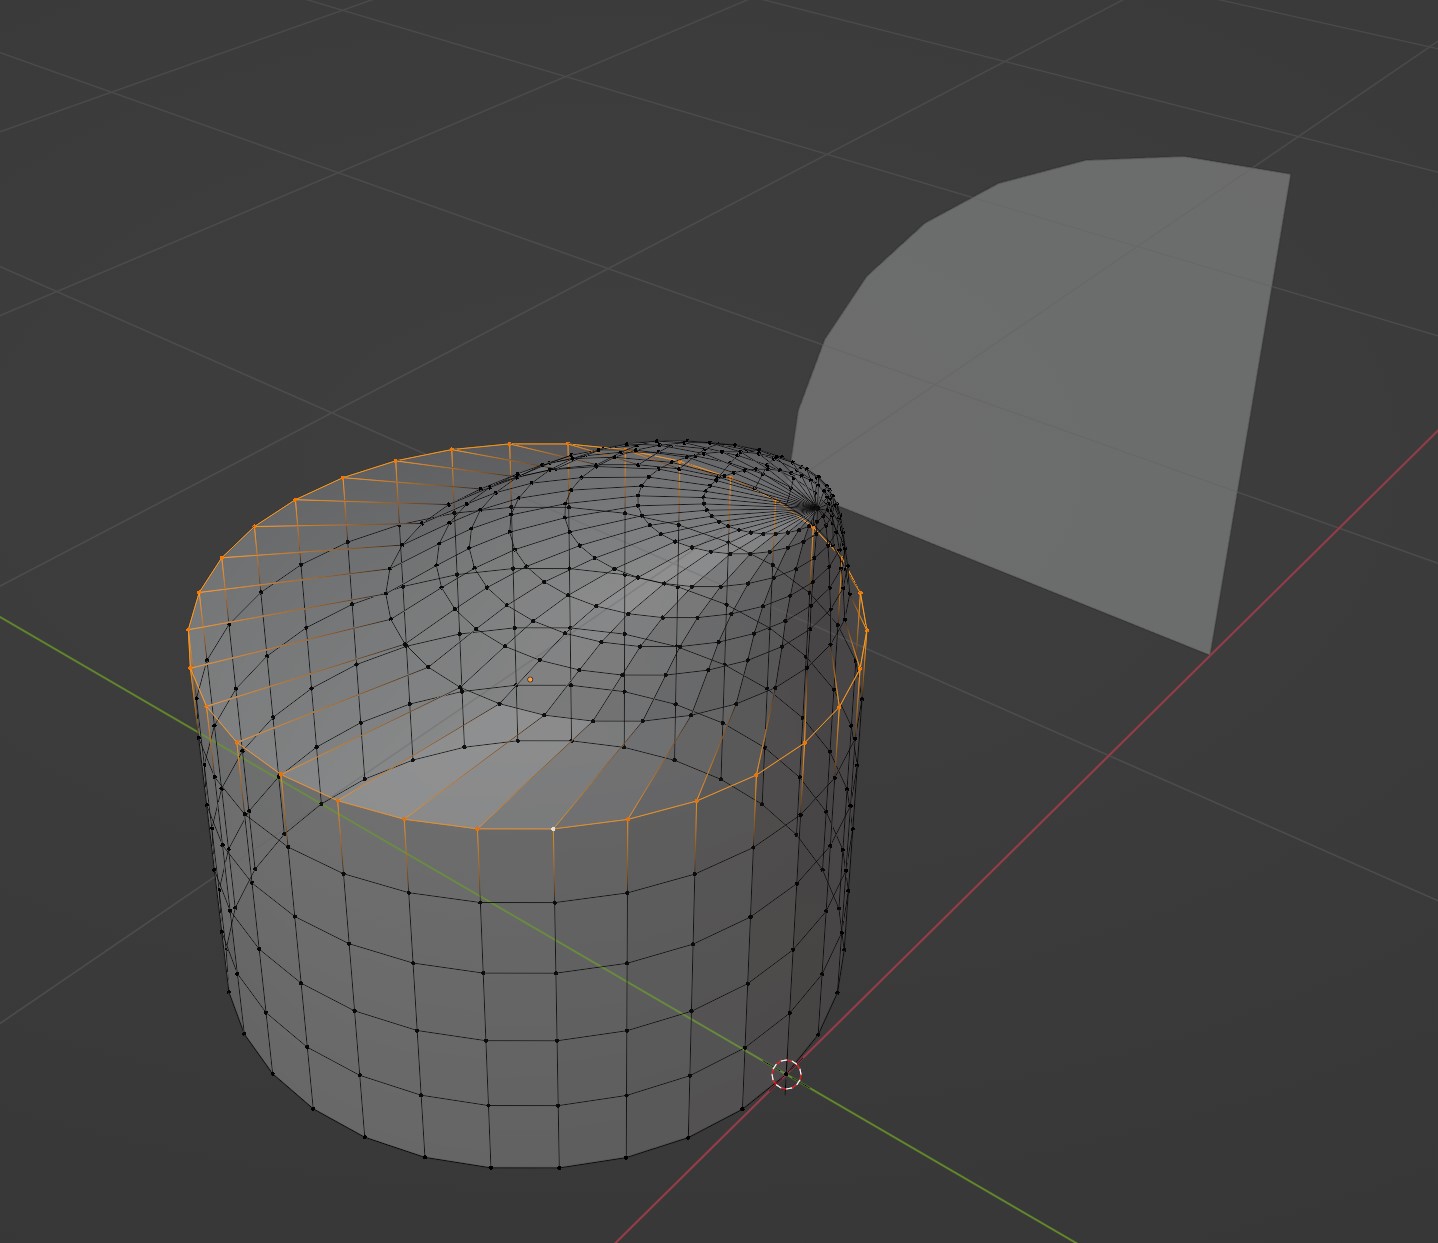
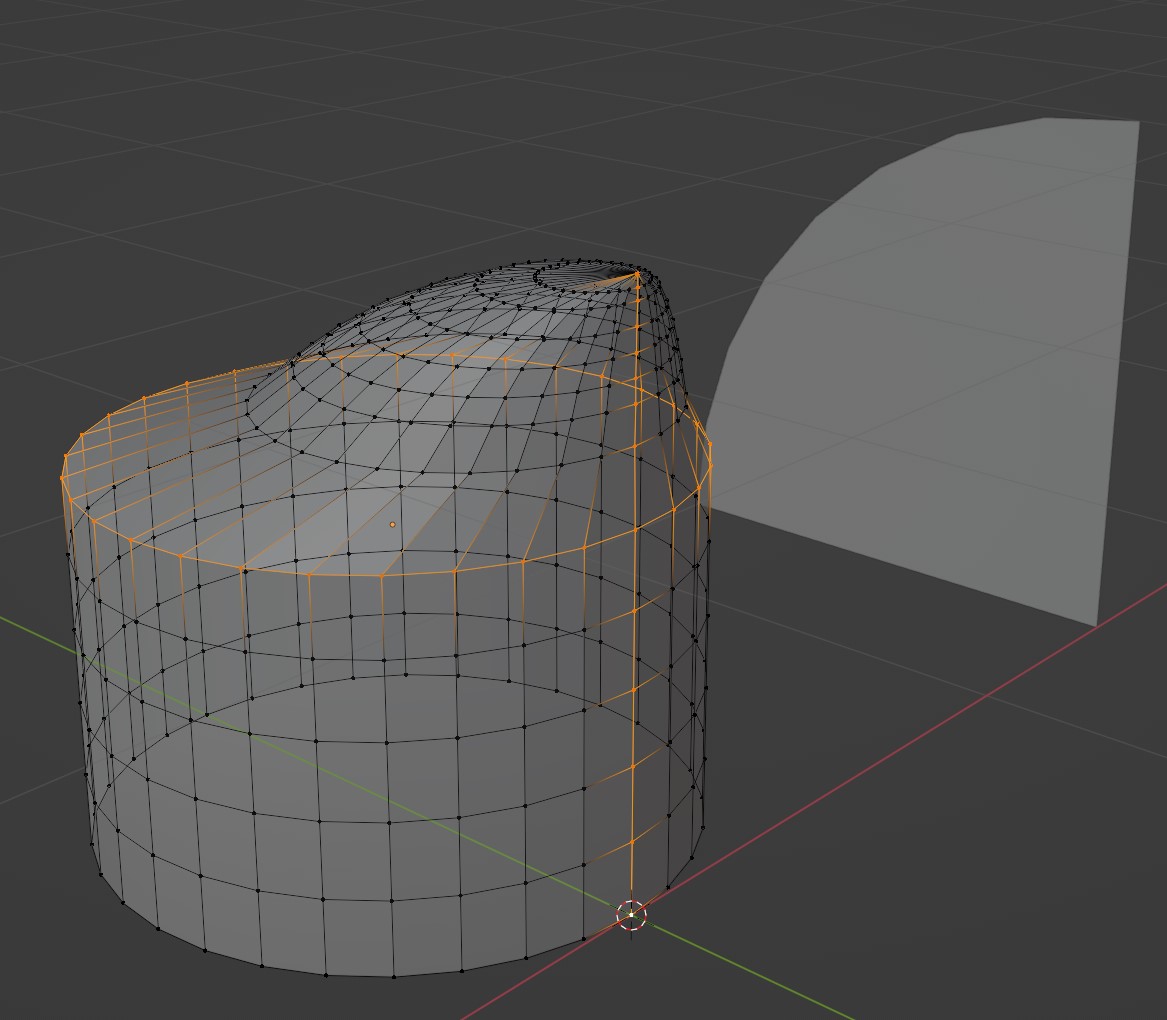
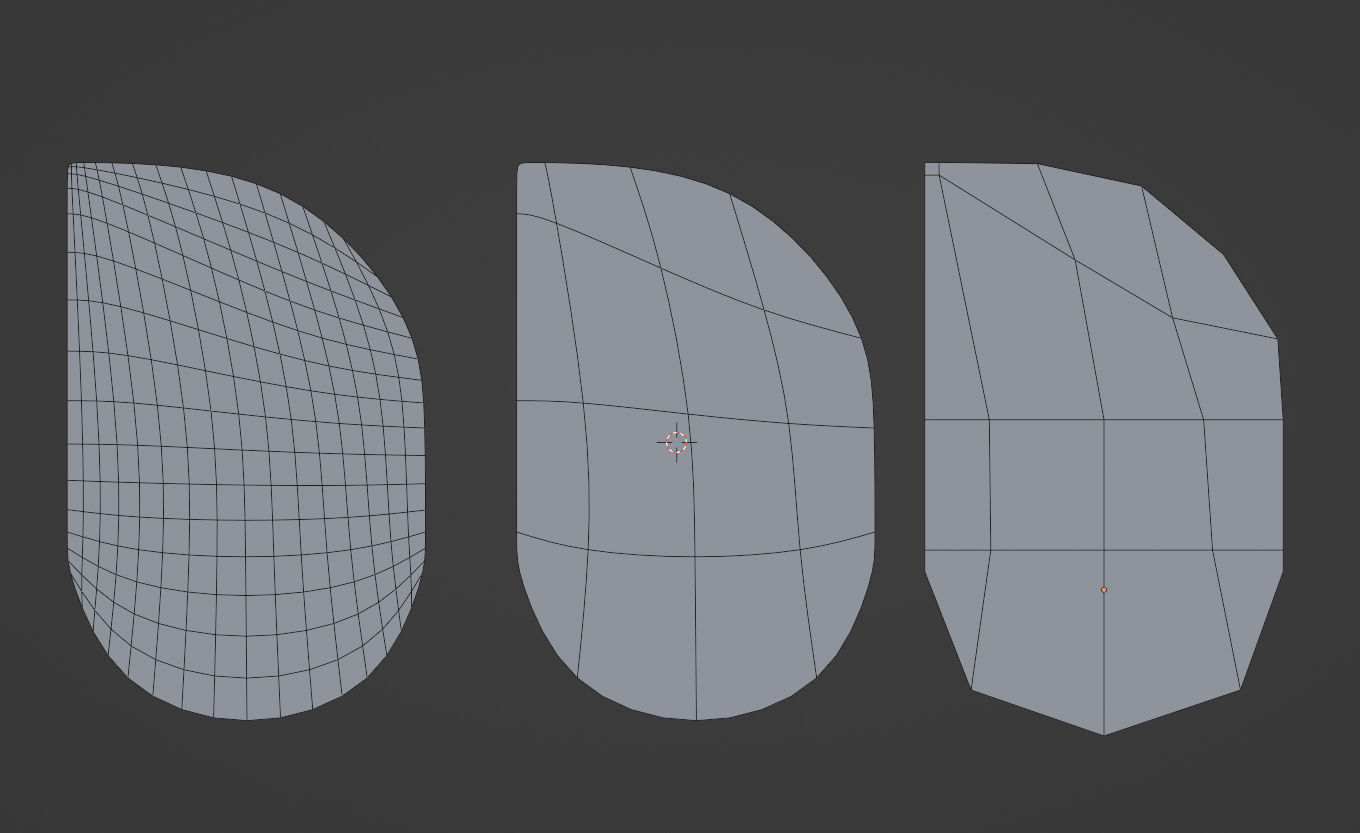
The only way I can think of to do something with constant circular cross section is to use a circle quarter section as a background reference, and then subdivide and scale a cylinder cross sections progressively to match the reference. Scale each ring, move to align vertical edge, repeat… Sudivide for more detail.
This will be a tedious and inexact process, but each cross section will be circular. Don’t merge the top to a single point until the very end, so you can subdivide the extreme top as needed with CTL-R.
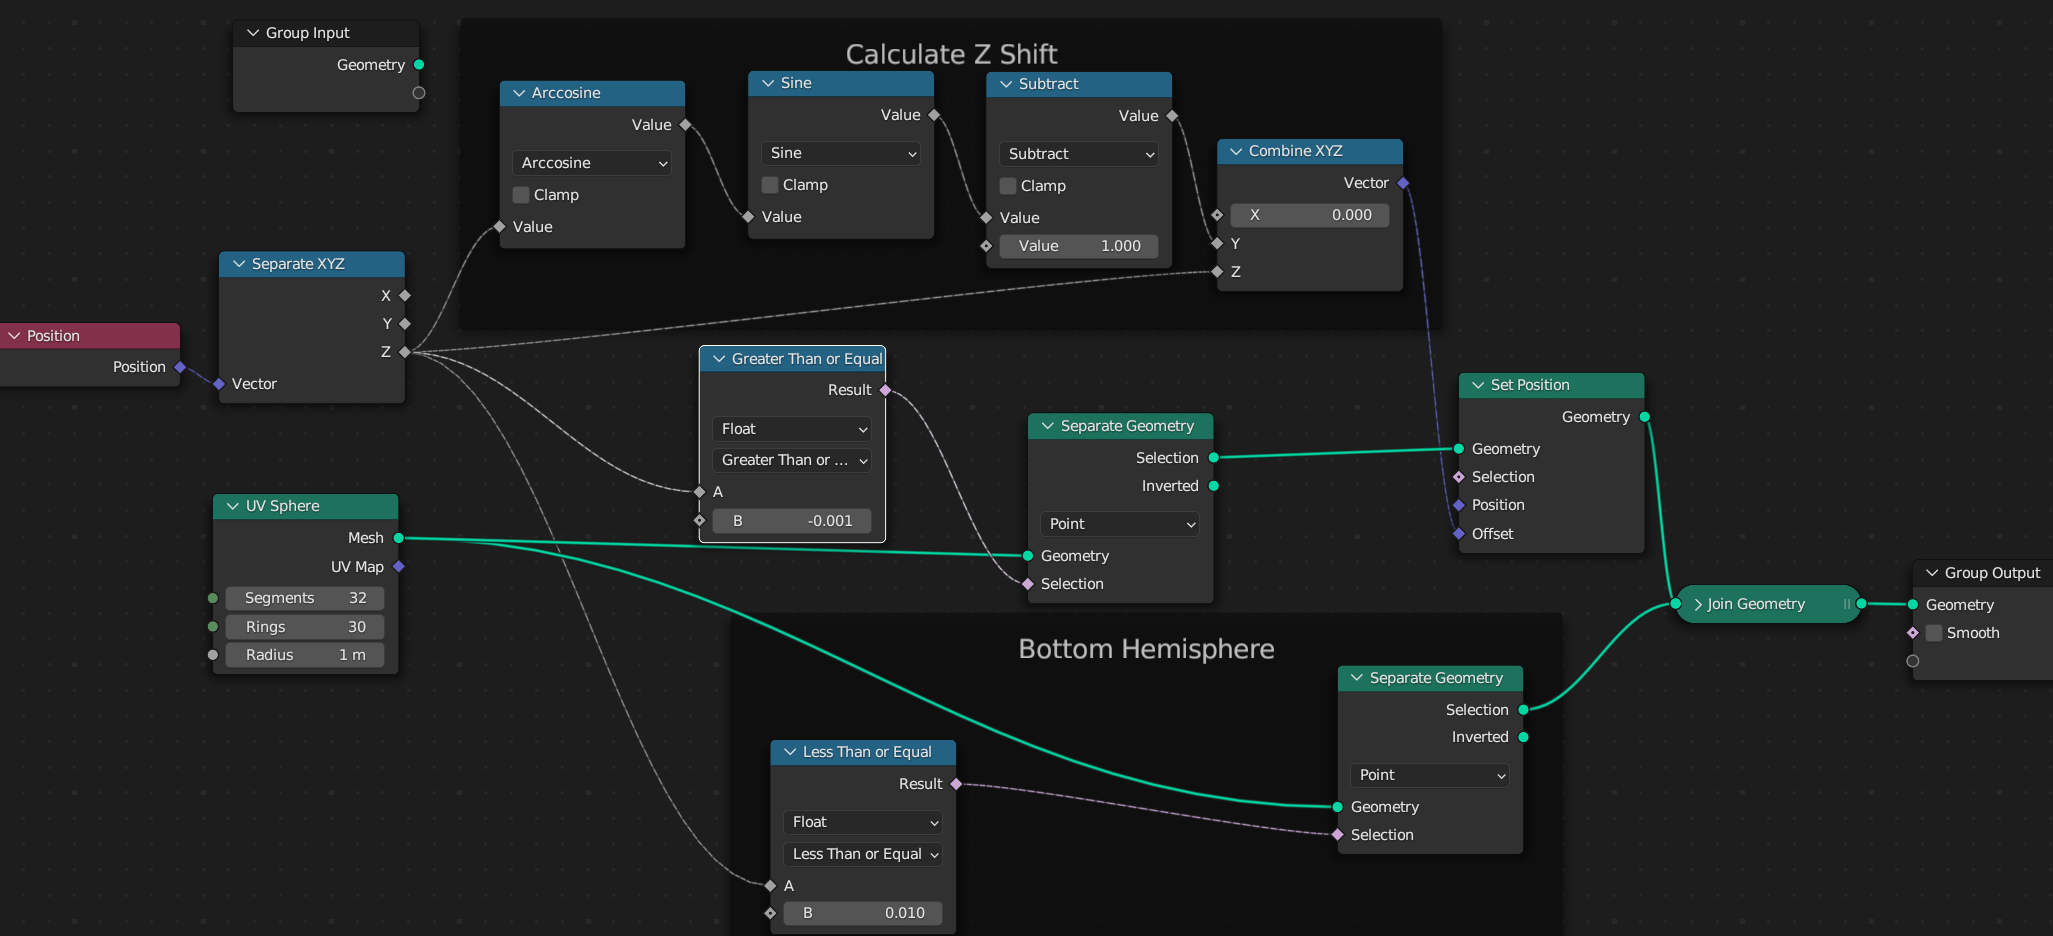
So basically, doing with GeometryNodes what I did by hand in previous entry.
(The starting geometry for the nodes is a cube)
After reflection about why(??) - “offset by Z” in the combine vector, basically adds z again to the original z making the top twice the height of the bottom hemisphere.
More Notes:
This does produce two unconnected meshes, top and bottom.
I apply the Geometry Nodes, then select the two edges and Mege By Distance to make it one.