Hello everyone,
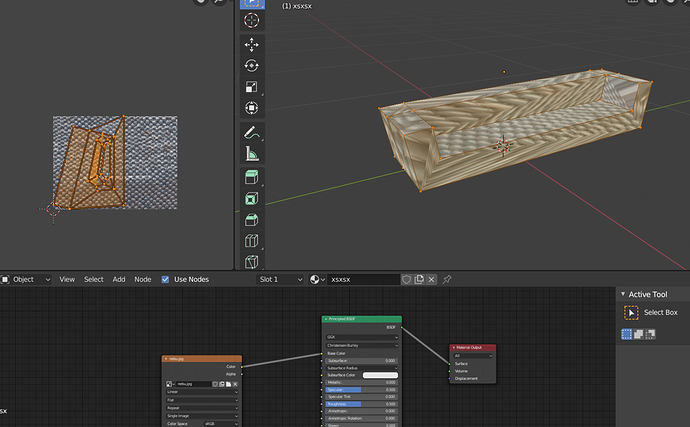
I am trying to create a couch by extruding the plane i added as image. ( I took a picture of the couch)
but since extruding cause stretching of the texture, i applied uv mapping and I am not familiar with using uv maps.
After i chose the seams, i pressed u and clicked smart unwrao.
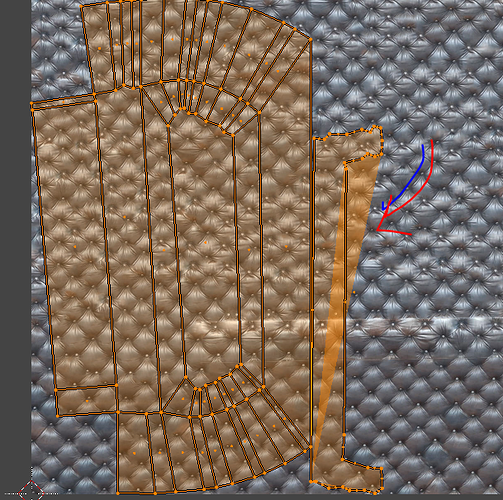
When i look at the uv map panel, i see that there is one part of the polygons looks like it folds, I don’t understand the reason.
Does anyone know what’s the reason?
Thanks
Try to avoid modeling wtih n-gons, especially when they have a crazy shape like that. This can cause a thousand problems.
Also, your coach is going to look much more realistic if you put seams in places where coaches actually do have seams, instead of using smart unwraping. Ctr + E should bring up ‘Edges’ menu. There you can mark edges that you want to be seams. Then just do a regular unwrap
hi, thank you for replying, i simplified the polygons and checked it about double vertices. But still, applying uv doesn’t result well, i still don’t understand ![]()
Unwraping won’t work if you didn’t marked your edges as seams. I don’t see any seams on your model.
It’s like making a 3d model out of paper. You need to make cuts on the paper or else it won’t fold. Except you are doing it in reverse here. So you are making cuts(seams) on the 3d model so it can unfold (unwrap) to a 2d surface.
Select some edges, press ctr+ E and press mark seam. Then unwrap to see the result. You can start with all edges as seams to see what it is doing to the UV.
You could try going into edit mode and pressing “alt M” - “By Distance” , this would remove any duplicate vertices that could be stopping you from getting expected results , and then remarking your seams and unwrapping again.
Thanks, but I already removed doubles, but i will remark the seams and try again though
I have seams but it doesn’t show here, I’ll try to to it again now
It’s not just for superficial reasons , as you subdivide your geometry later for renders your geometry would currently collapse , the “recommended” edge loops would mean you can add reinforcing edge loops without any issues and keep a nice form at higher subdivision levels.
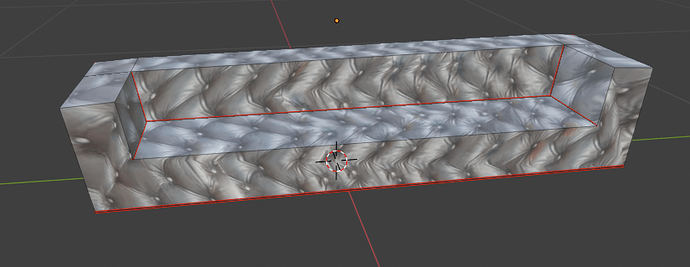
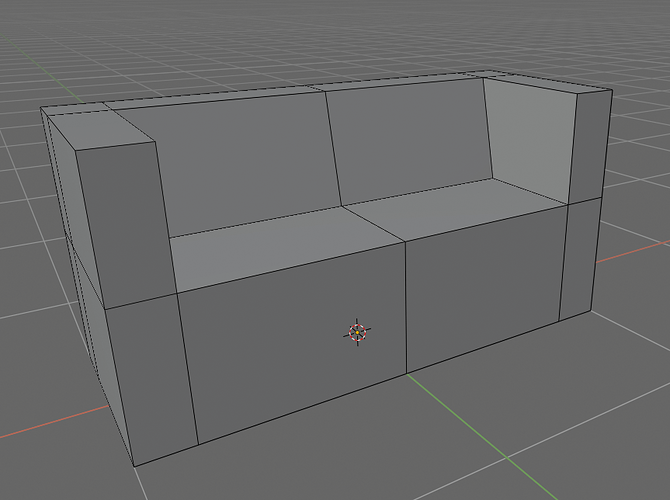
thank you, i reapplied the seams and it’s a lot better now but the couch I’m doing is like this. And i can’t add seams there like you showed
it looks lie this now, ı need to adjust some faces now i guess
You need to put edges where I showed…So they can become seams
What that means is the faces are overlapping in the uvmap editor. You can pick the individual vertices and move them, but doing the seams like everyone is saying is best.
You want to mark seams so when blender unwraps the model you end up with a plan, instead of a cube.
okay I’ll try it like that, thank you so much for your time 
It’s also not only about preventing overlaps, but reducing stress/distortion. Imaging you have the front/left/bottom faces of a cube and tried to unwrap it. Sure, you could prevent overlap. But the central vertex would carry a lot of stress. So the correct (or, at least, the recommended) procedure would be to add a single seam so the three faces would unfold to an L shape. But now you also face the problem of continuity - there is no way to paint left/right horizontal stripes on the bottom face that line up with both the left and front face (assuming they both go up/down).
Manually mapping out a chesterfield pattern on a low poly sofa expecting edges to match up, sounds like a horrible experience. Perhaps a better method would be triplanar box mapping (with individual location controls) where the object is made to be of proper modulo to the texture size? I’m really not sure. I only use chesterfield for curved tablebacks etc in my projects, not real furniture.


