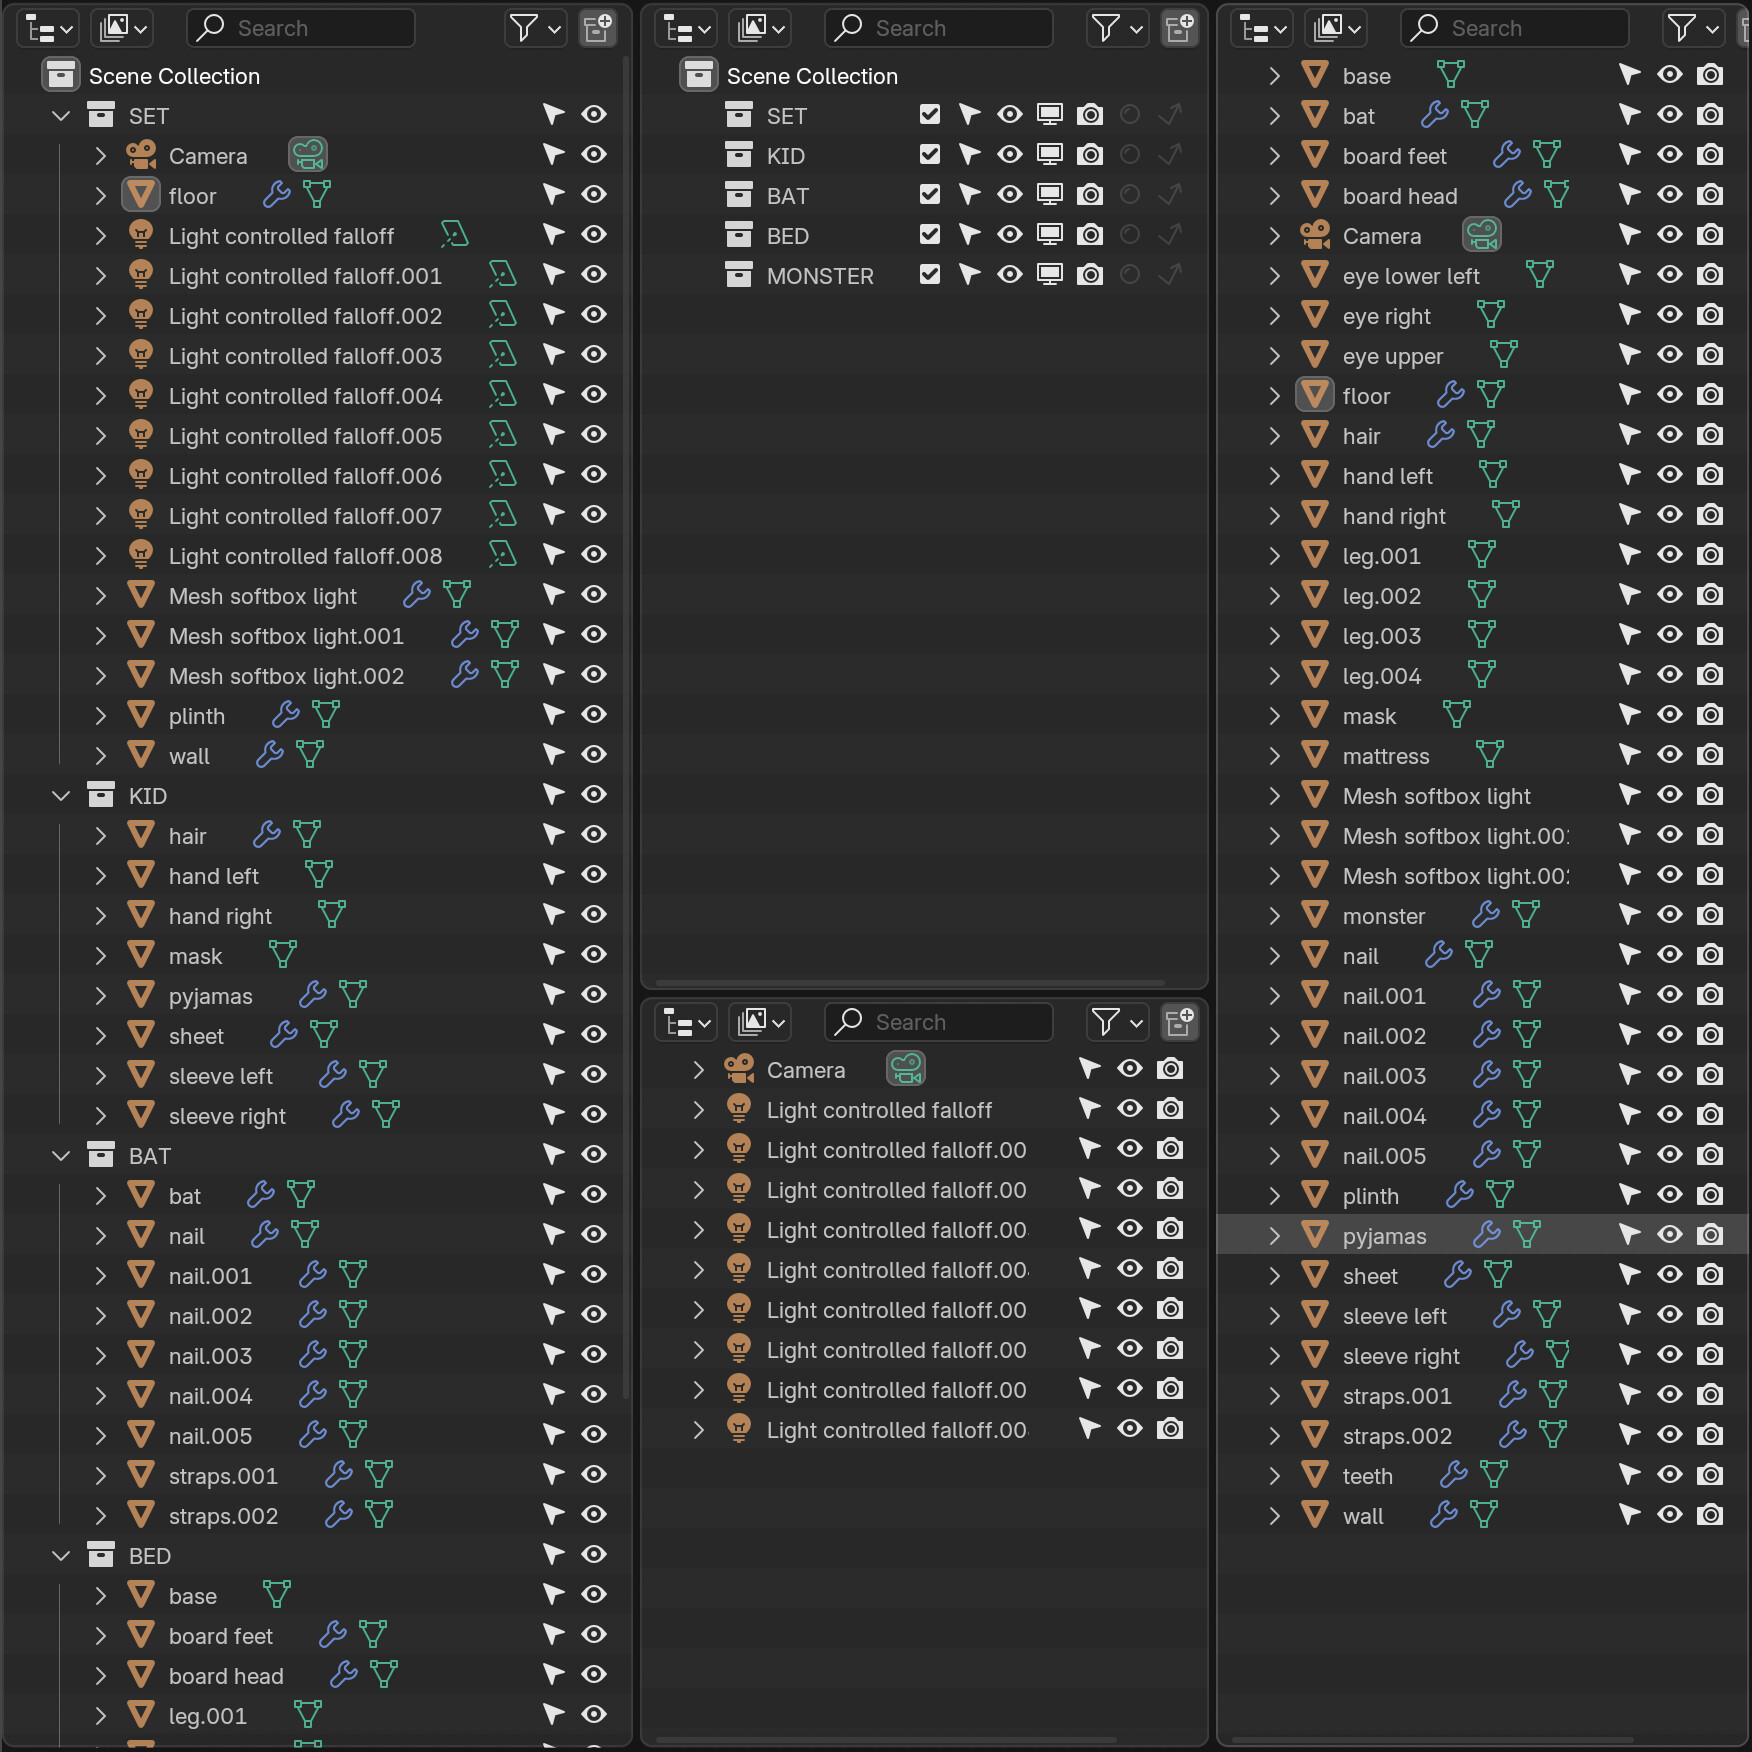
This is the most confusing thing I’ve ever experienced in any DCC outliner.
I understand the concept, however the actual implementation in Blender (no visual indicator to differentiate copy from “original”) is confusing the hell out of me.
Mixing a parallel approach with a top-down hierarchical system without clear boundaries is IMHO a receipt for disaster.
I never intent to use this feature - I inevitably end up with objects accidentally assigned(duplicated) to where I don’t want them, some are still stuck under an empty somewhere else or I got the empty in an collection without the children.
Since Collections don’t have a transform I am forced to use empties and Collections - the additional (undesired) complexity is counterintuitive and wastes attention and concentration. Working with empties isn’t fun either.
None of that is really a hard problem, everything can be fixed and solved but its a minefield of potential paper-cuts that add up quickly.
It constantly pulls me out of my flow state - and I hate that.
Absolutely. We need both approaches but they need to be easy, fast, productive and comfortable to use.
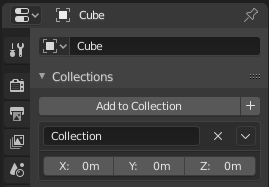
I’ve read things like “why would you need to move a collection?” Well, the above is exactly why. Collections do have a placement coordinate.
But I can’t change the position of a collection myself, and it’s inherent position screws everything up when I try to move it instanced. It’s the worst of both worlds.
So mostly people just end up moving the collection to somewhere the camera can’t see it. Or put it in another collection, and hide that parent. Helpers for helpers for helpers…
(And BTW - the radial thing in my screenshots - the point was just to quickly create a bunch of instances, to demo parents and children as instances. I could have also used a linear array, or just copied a bunch of random instances around the scene. My intent is more about “here’s a bunch of families, instanced” than “how to make a radial in blender”.)
Propose a UI for telling a parent object to have its modifiers applied to its children and grandchildren and great grandchildren and specify the order of operations how the modifiers on all objects are calculated.
I propose a dreaded helper object solution of only being able to do this with an Empty set to instance an object or a hierarchy or a collection.
This conversation is getting fragmented. And to some degree, it’s probably my fault.
My main goal was to demonstrate how instancing is done in other software, with hiearchies, in direct response to a question on this.
I shouldn’t have included any deformers in the example at all, because now it’s skewing everything into “parenting + collections + what about deformers.” How modifiers should affect parents and children in a group - in my opinion, should be a completely separate conversation; it raises for more questions for “what abouts.”
I propose a dreaded helper object solution of only being able to do this with an Empty set to instance an object or a hierarchy or a collection.
Why do you even want a helper object in the first place? Why not just “I’m selecting this family’s parent, instance it, done” ?
The core problem of all of these limitation that have been discussed in the last days in these 2 threads can be boiled down to one fundamental issue.
Blenders single-object workflow paradigm or rather the lack of improvements when it comes to multi-object workflows.
We need both but one is fundamentally flawed and this manifests as limitations and paper-cuts EVERYWHERE in the program since it is a systemic problem.
I agree with that other person’s dislike of using groups for scene organization resulting in objects with transforms that weren’t ever intended to be transformed.
I am considering the amount of code and testing and side effects with other systems that the devs will have to consider with their limited resources. We might get only 1 dev to work on this for one week before they have to move on or go back to something else.
There are additional reasons to add object/hierarchy instancing to Empty and one was already brought up in Asset Browser dev discussions so it’s a much more likely thing to have happen in a reasonable amount of time since there’s a dev who has been contemplating it already.
It’s an extra layer that isn’t necessary. If i can (could) instance an empty and get all the children, why not just instance an actual object and get all the children.
But - will admit that “instance an empty” would be better than what we have now.
was already brought up in Asset Browser dev discussions so it’s a much more likely thing to have happen in a reasonable amount of time since there’s a dev who has been contemplating it already.
I am considering the amount of code and testing and side effects with other systems that the devs will have to consider with their limited resources. We might get only 1 dev to work on this for one week before they have to move on or go back to something else.
“Asset Browser dev” and “likely thing to have happen in a reasonable amount of time” usually don’t go together. The bike shedding and “what abouts” is significant.
Easy example:
Why not offer premade deformer geonode groups in blender? This would be great for new and existing users alike.
Answer: We have to wait until the Asset Browser can do something it can’t.
But… we can already share these things, why can’t blender just even have a link to a repository on the homepage? Or with Extensions website? Or just include a few in the installer?
Answer: We have to wait until the Asset Browser can do something it can’t.
When will that be?
Answer: When we figure out how data blocks will work with hashes, and something about Flamenco.
I mean - hashes and flamenco are important, but when the Asset Manager becomes the firewall that everything has to work with… it’s a lot of work. Certainly devs have been trying to solve these problems, but I’d prefer instancing not depend on “Master Asset Foundation Base finally complete.”
Personally I’d rather just not have an asset browser. I don’t use it anyway. (Yes, yes, yes, I know many of you do. That was a joke. Don’t get tweaked.)
The content of collections are objects. They have same 3 XYZ offsets only applied to the whole collection.
So, there is actually a position stored per collection.
The bone orientation not being the same as it is in Maya drives me crazy. I got to have all the bones in these weird looking orientations, so they export right because Blender doesn’t allow the right axis to be pointing down the bone. It makes my life so hard. Maya’s bone orientation is standard. Please let’s get it right in Blender.
This video explains the problem better. Basically Blender has to have the bone length on the Y axis where Maya and Unreal have it on the X axis. Switching the main axis wouldn’t be that big of a deal if there was not 2 other axis that also need to be aligned correct. When the axis auto gets switched it doesn’t know where in the 360 degrees of the plane the other two axis are supposed to be rotated to.
There are no standards for this. It’s not a thing. So… Maybe Maya should change.
Y is sort of a standard inside Blender though. You can always know that Y is the length, the longer thing. If you unwrap UVs, longer bits get aligned to Y, if you use Normal transform orientation for faces, Y is the direction parallel to the length of the face(the longer side) so this is probably sort of a convention in Blender.
I don’t think that it’s a valid argument that it should be same as in Maya “because it’s standard”. It’s not standard. Maya is just one software package. There are others. But it’s a valid problem and it should be solvable. It does seem like a job for the exporter to handle though. Whatever format you export in, the exporter add-on should sort this out or have presets or options for this, so it might make sense to request such features from whoever is the developer of the export add-on you are using.
Notice in the graph how Unreal Engine is sitting there by itself. It can either be the result of an unreal level of ignoring standards that makes Blender’s early versions look aligned in comparison, or Epic is epic and their world class engineers have discovered something that no one else has figured out.
I’m not sure if this fits in the thread but it seems like a low hanging fruit type of improvement.
A common complaint I’ve seen with newbies is the render view of one or more objects accidentally being out of sync with the viewport. And for everyone else, as your scene grows in complexity I believe the likelihood of this happening increases.
Maybe under the Render tab there should be a button called “Sync Render Visibility with Viewport” that displays out of sync objects and collections.