The best way is to build them into the texture. That can be done with texture painting. If you want to animate them being added, make multiple textures and animate the fac of a MixRGB node.
Even if you choose to use another technique, it’s best to bake it to texture when you’re done.
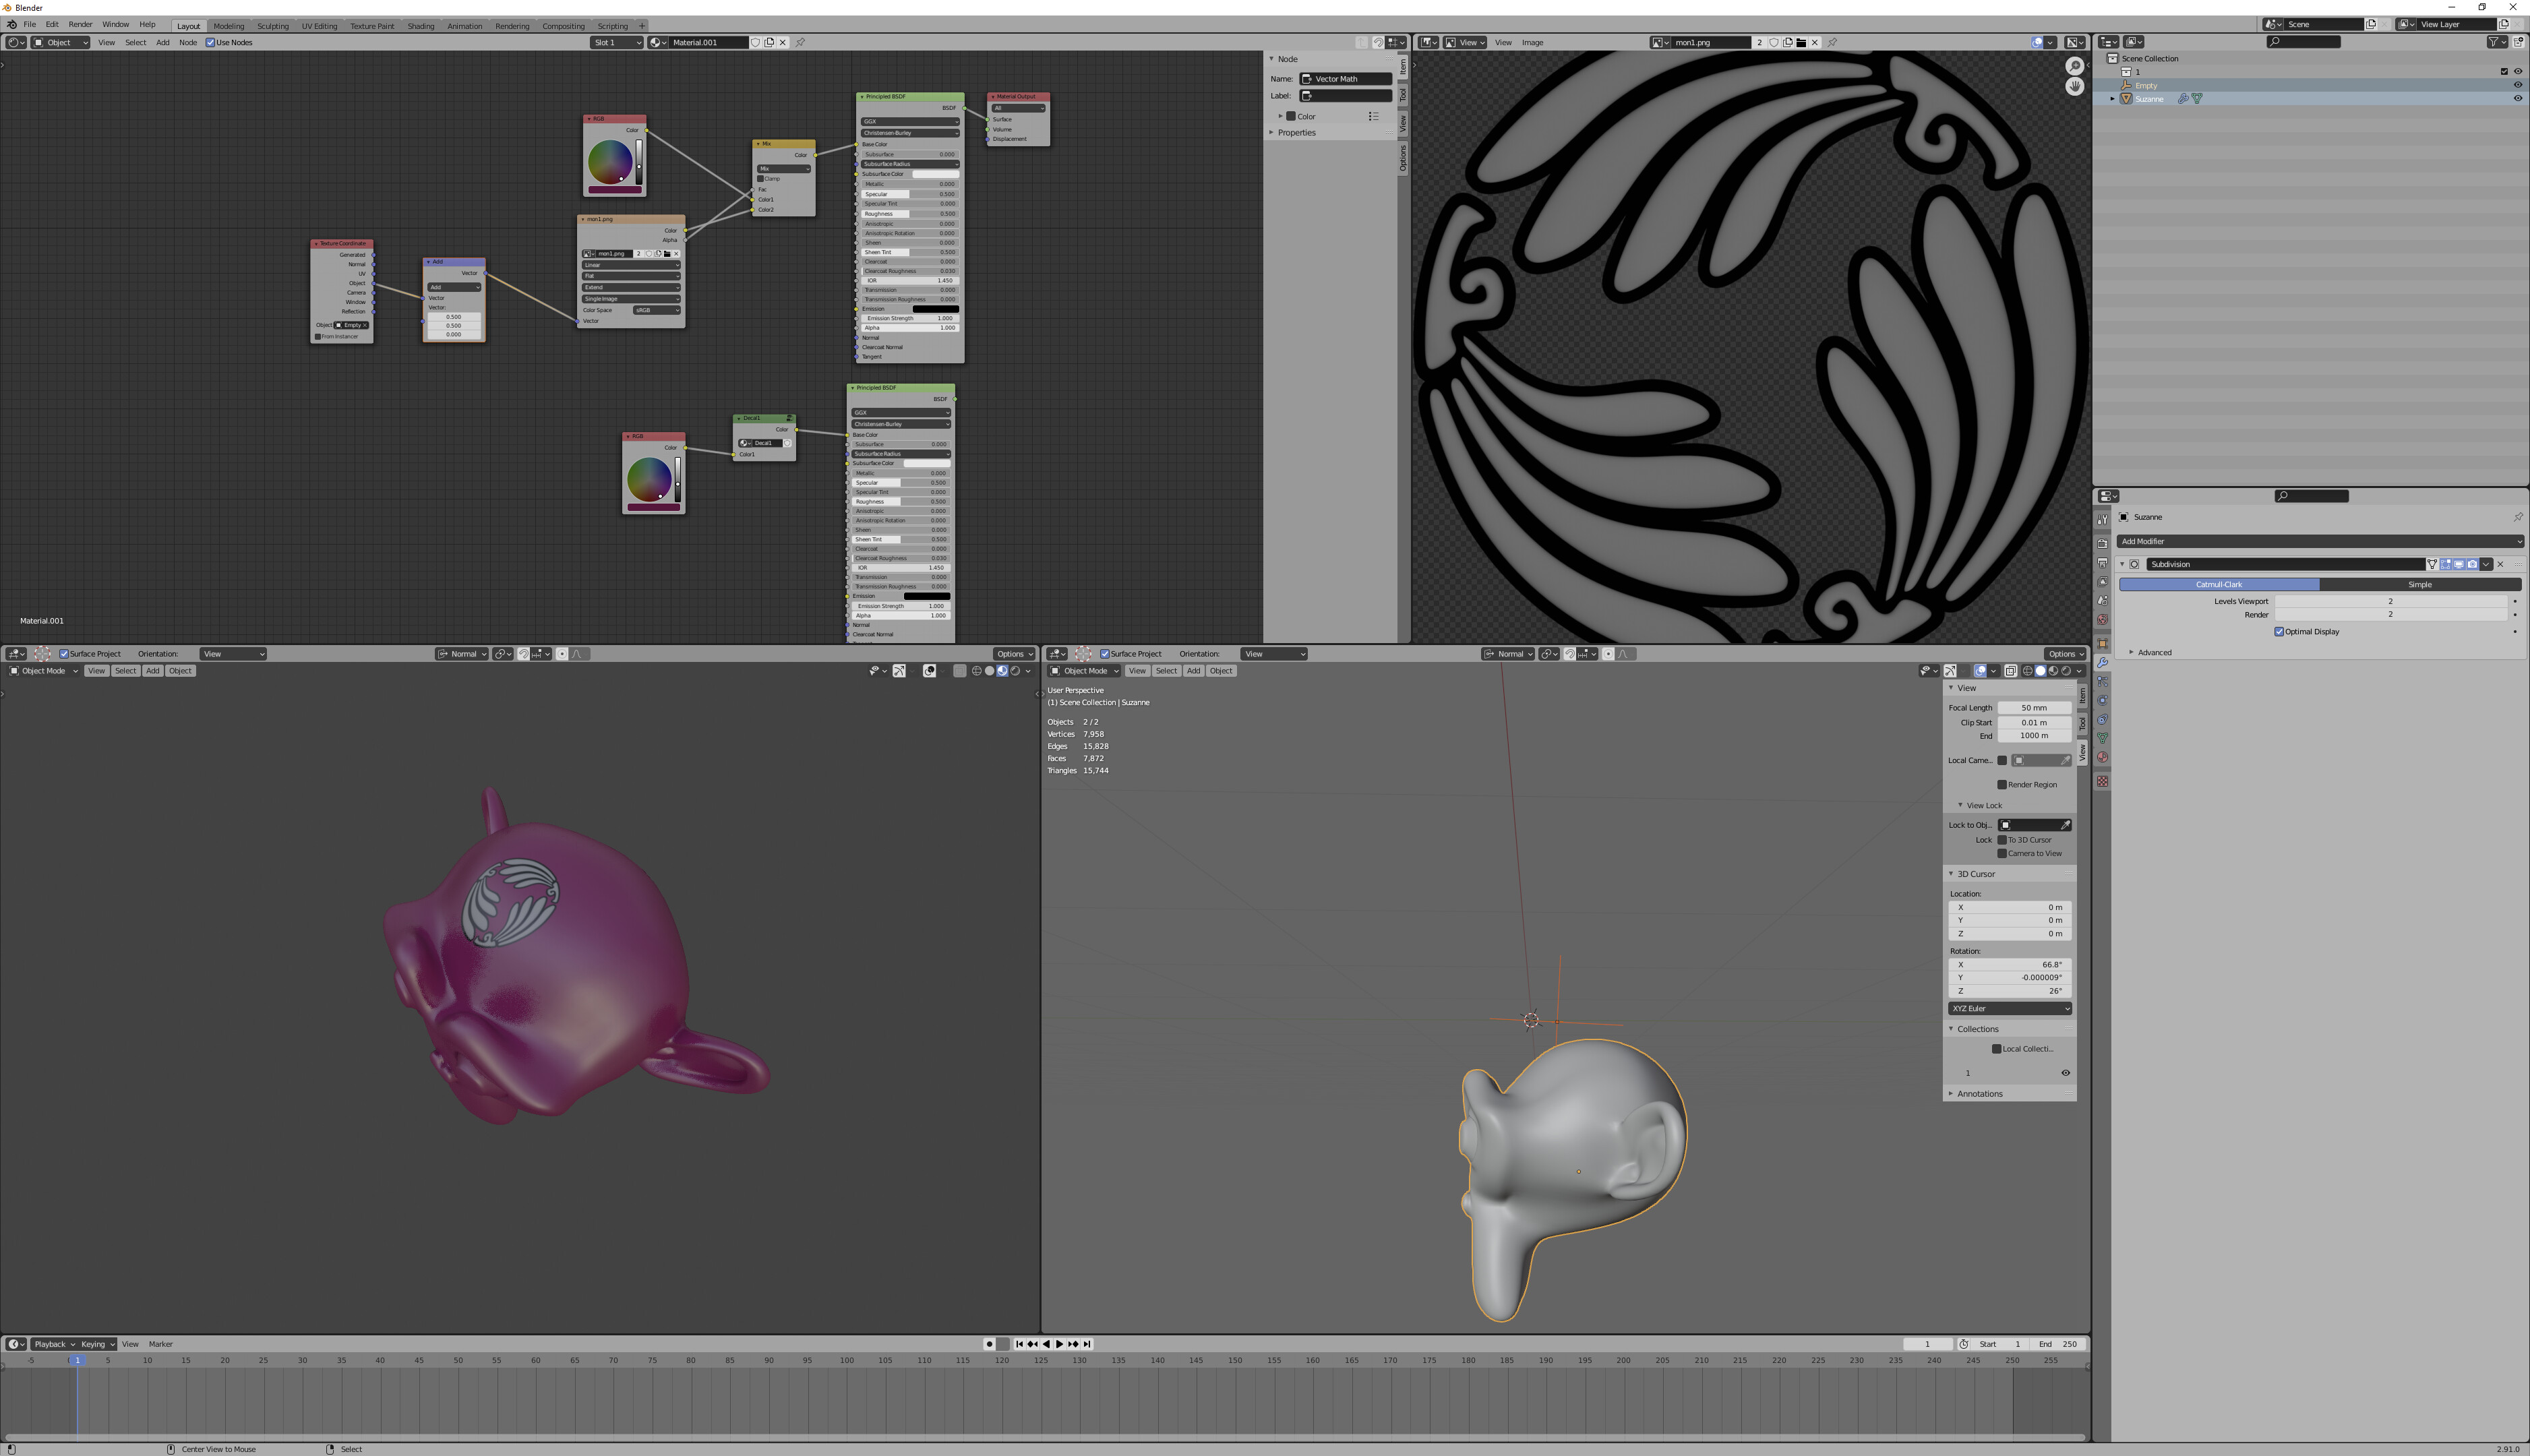
There are other techniques. One is use object coordinates from an empty to create a decal:
I made two material pathways to demonstrate how you can nodegroup this, to chain multiple decals together.
For use with a rig, this requires controlling the empty from your armature in some way. The best way is probably an armature constraint, but no matter what you do, the texture won’t really follow the deformation of the mesh, except at the very point/plane of the empty-- it will be projected. (However, you can bake to texture, at which point it’ll be texture and follow deformation appropriately.)
You can use a UV project modifier to do something similar.
If you want to use a decal mesh, the best mesh is a copy of your existing mesh. Just select some faces, duplicate, and separate. To prevent z-fighting and clipping, throw a low-strength displace modifier on them. It will come with the armature modifier you have on your mesh; it’s best to displace after the armature.
You can do a shrinkwrapped plane, but it’s not as good as a copy of your mesh-- the differences in topology make clipping likely, and it doesn’t come with your weights. The best way to deform with your rig is to give it a surface deform modifier (after the shrinkwrap), targeting your mesh, and bind. But you can also apply the shrinkwrap, data transfer to copy weights, and then parent it to the same armature.
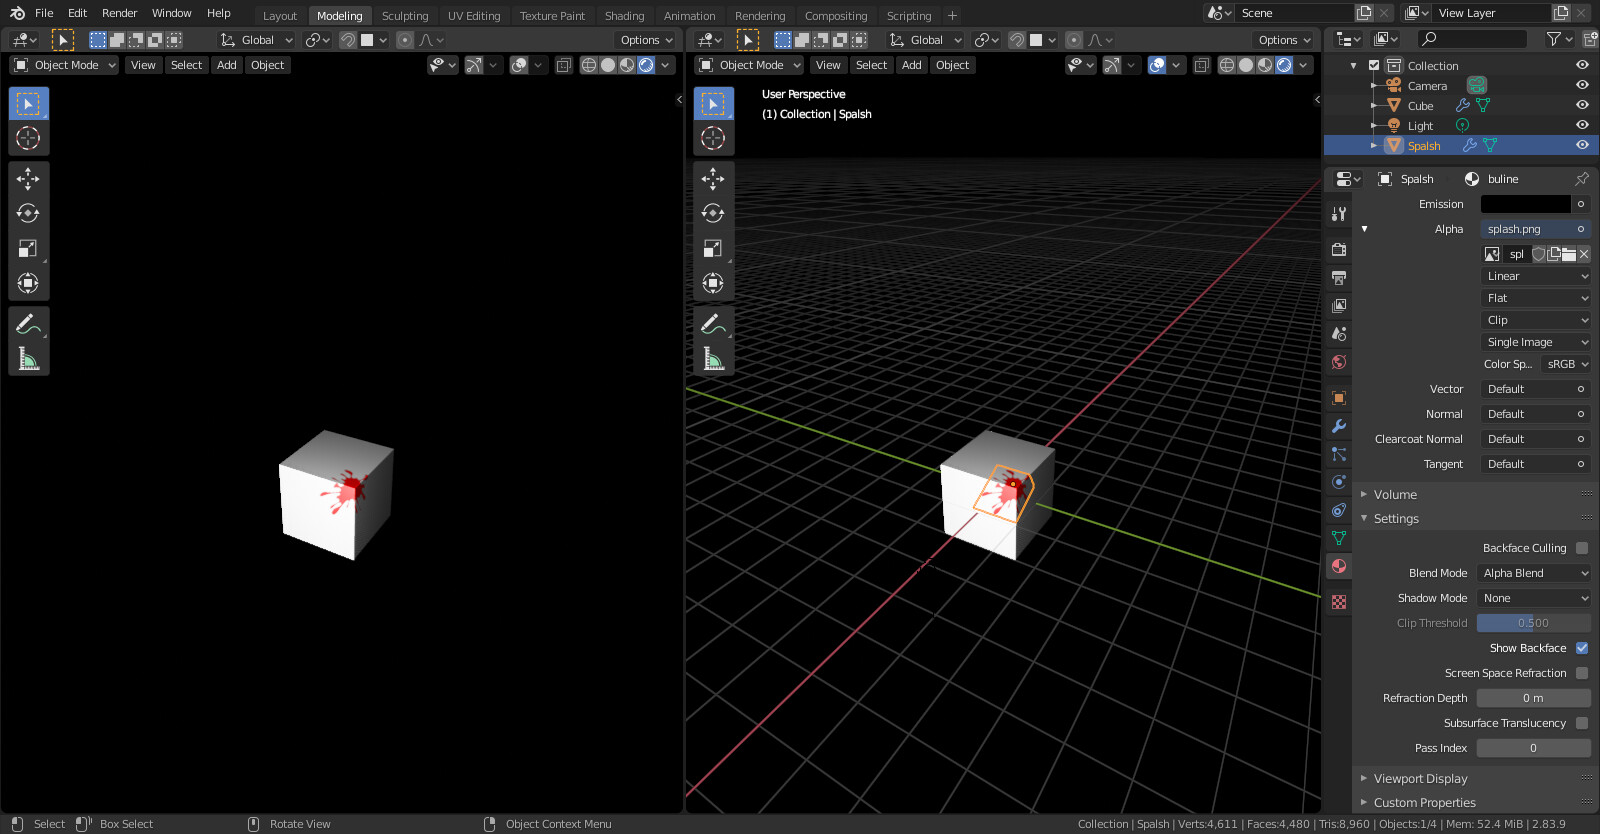
Decal mesh solutions have some issues. You’ll want to disable shadows, and probably enable backface culling (in Cycles, via nodes.) For Eevee, I think you’ll always have some potential problems with contact shadows and AO, that are basically unfixable, except by disabling same.
You can bake decal mesh solutions to texture with a selected-to-active bake, although you’ll probably want to bake from an active with reversed normals, and surround it with a big sphere. Baking alpha textures in Blender requires two bakes and some material edits. In addition to making this perform better, it will eliminate any potential clipping/z-fighting issues, and it will address any problems you have with contact shadows/AO.