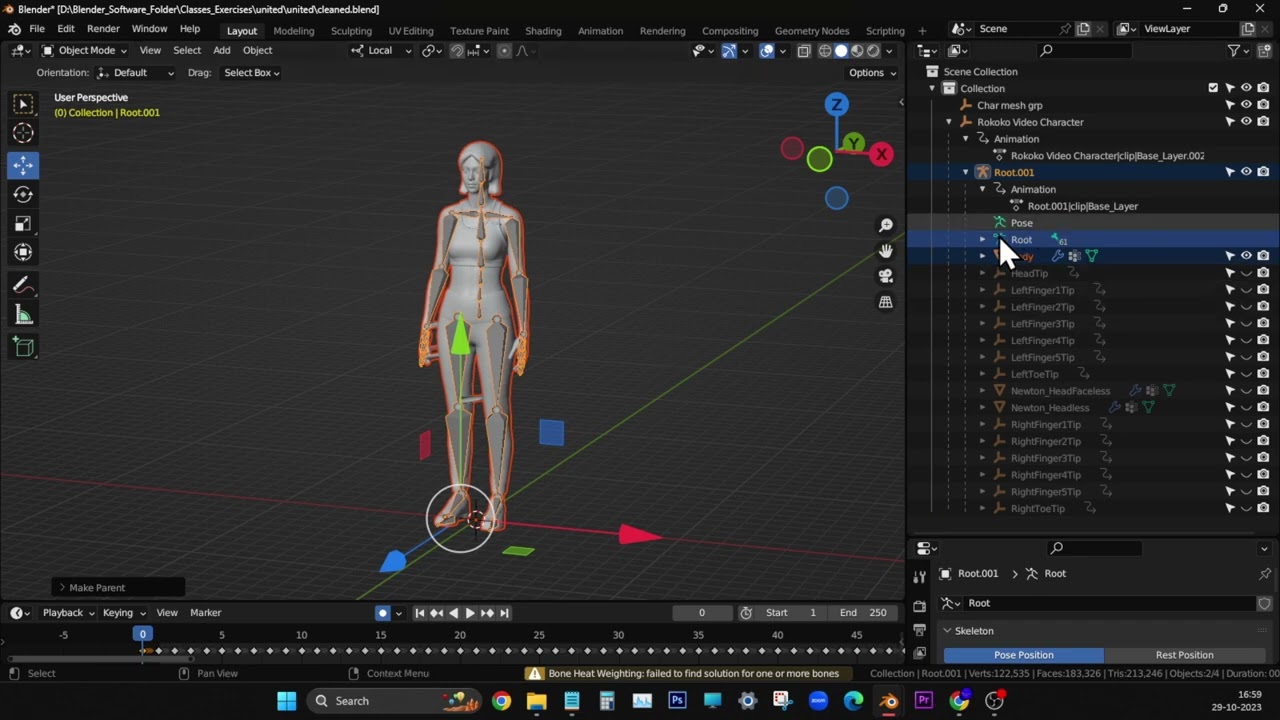
If there is a full body under the clothes, separate the clothes from the body. Parent/Armature Deform (no groups or weights).
Because your arms are at the side, you’ve created a major auto skinning problem for yourself. But there’s a way around it. Select the armature, go to Pose Mode, then select the collar and arm bones. Go back to Object Mode. While the armature is still selected, shift select the body.
Then go to Weight Paint mode. Go into vertex select mode (keyboard shortcut v) and select the selection tool of your choice. deselect any selected vertices, and select the vertices on the arms from the arm pits and shoulder, to the finger tips.
Now try “assign automatic from bones”. If you don’t have overlapping geometry, you shouldn’t get an error. If you do, try “assign from bone envelopes”. This will only create weights for the selected vertices.
Choose “Select Invert”. Go back to Object mode, select the armature, go to Pose Mode, select all of the bones but the arms from the shoulder joint. Back to Object Mode, shift select the body again, Weight Paint Mode and you should still have the selected inverted vertices, and “assign automatic from bones”.
Now, I’m gonna tell you, that you did the collar bones wrong. They should be angled down because the shoulders are relaxed. The reason this is a problem, is because I’m going to suggest you put her in a T-Pose, and you want the shoulders level with the arms, not angled down. But let’s pretend that you’ve fixed that.
The body should now be skinned. But the arm pits and shoulders will be screwed up. So…
Select the armature, go into Pose Mode. Angle the collar bones so the shoulders are parallel to the ground. Now rotate the arms out into a T-pose. Object Mode select the body. Edit Mode. Select the vertices around the shoulders where the deltoids, scapula and arm pits are.
Select Mesh/Weights/Smooth/Subset: All Groups. I don’t know which to start with for this problem, but Factor 0.5, Iterations 5 and then playing with Expand/Contract is a good place to start.
Back to Object Mode. Select the armature. In the Object Data Properties mode, select Rest Position. Select the body. Shift Select the clothes if they weren’t part of the body. Weight Paint mode. Weights/Transfer Weights. Vertex Mapping/Nearest Face Interpolated. Source Layers Sel…By Name.
Object Mode. Select the armature. Pose Position. The clothes by the arms will be all screwed up. Edit Mode. Select all of the clothes vertices but the ones over the shoulders. Go to Vertex Groups and remove those vertices from the finger, hand, forearm and upper arm bones. The shoulder straps should only have influence from the upper arm bones so they shouldn’t be a problem, but you might need to do smoothing.
That should get you in the general ballpark. Once you have decent skin results, select the armature, go to Pose Mode, select all of the bones and then Pose/Clear Transform/All.
