I probably will just go with one Image Plane and not use UDIMs but I thought I would try to learn why this problem comes up.
Here is a very short example of what I am talking about in the Subject line. I hope the .mp4 comes through okay.
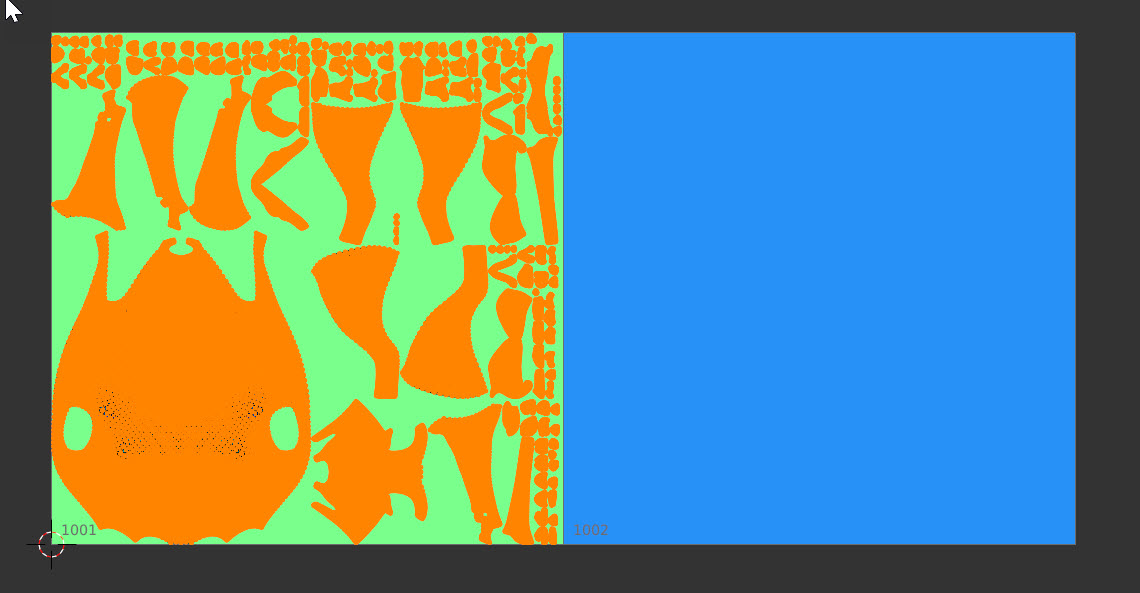
Below is a shot of the 2 UV maps, 1001 and 1002. What is strange to me is that when I have all my objects selected in edit mode and hit the U hotkey and select “Unwrap” at the top of the dropdown list, it packs everything into the first UV Image plane (1001).
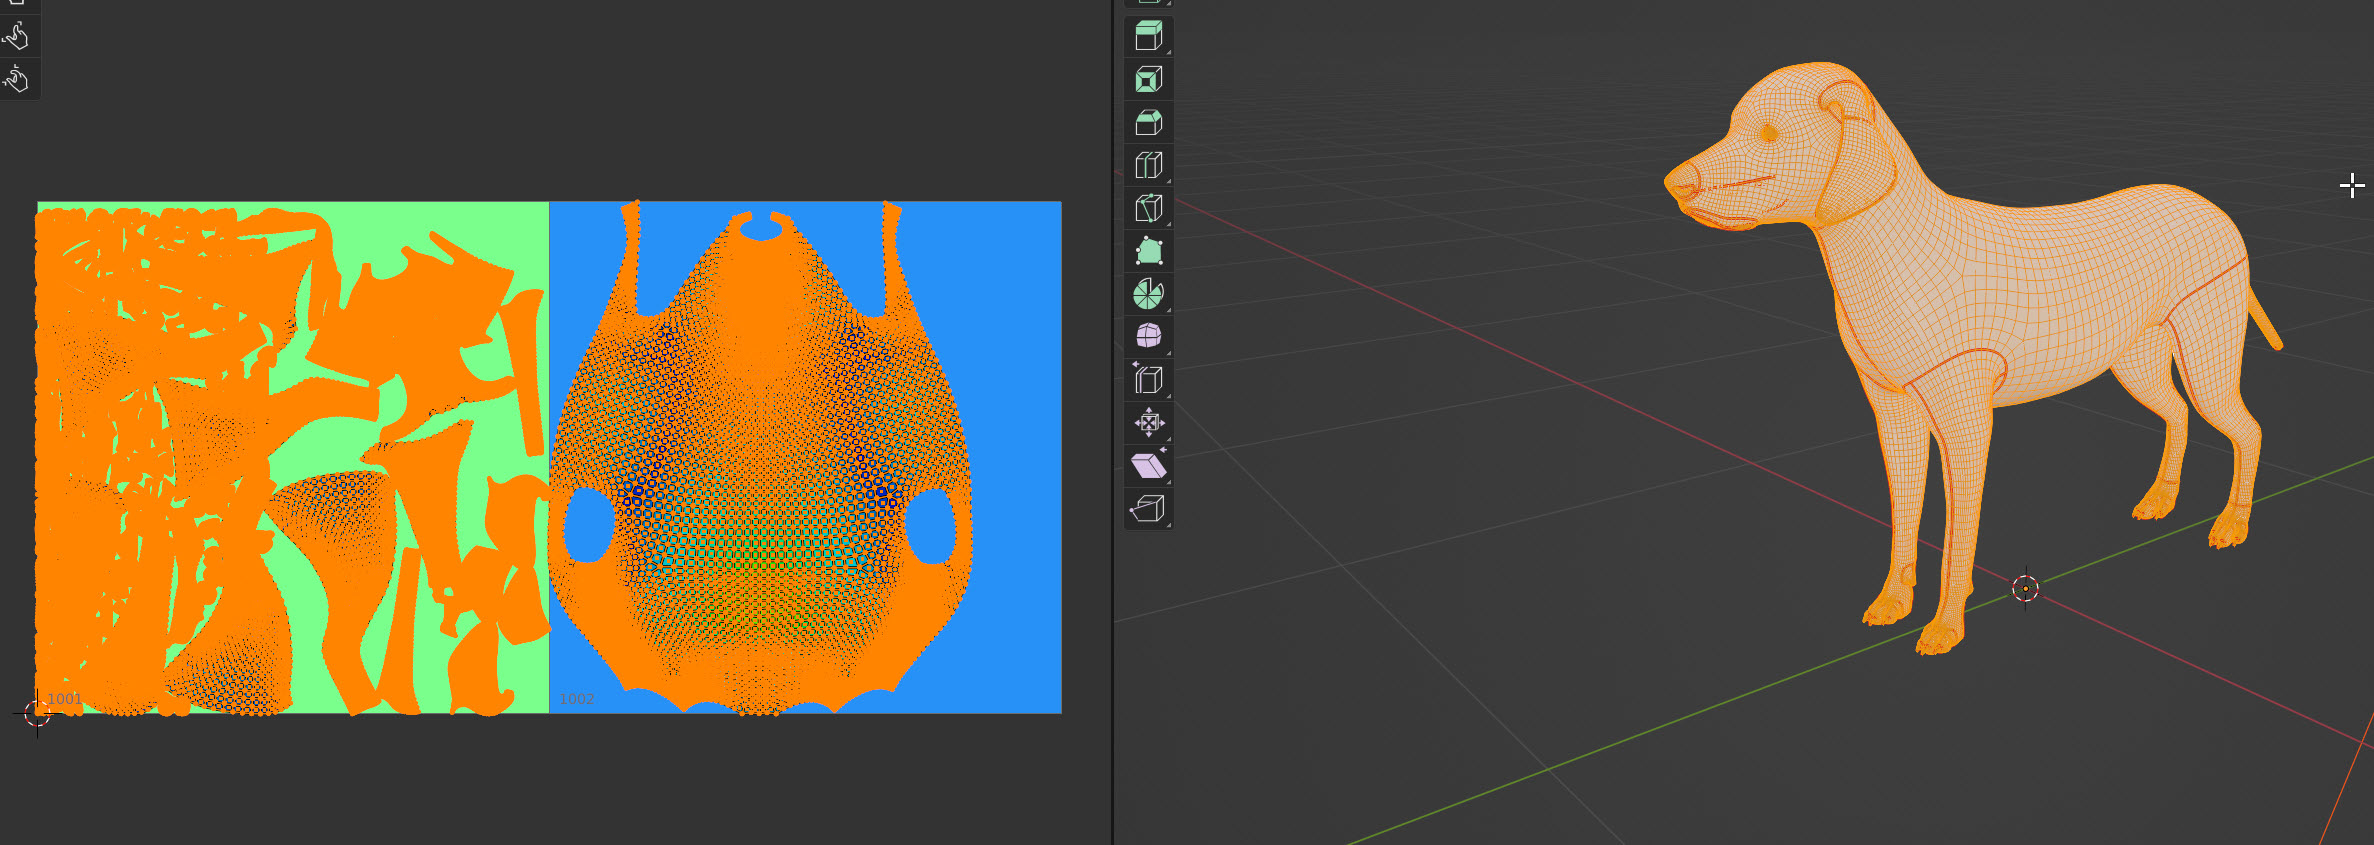
I then use the addon “UV-Packer” and click on “Pack” and it puts everything into the two Image Planes, (1001 and 1002). I don’t understand why the normal Unwrap, without using UV_Packer, doesn’t distribute the seamed sections over both Image Maps.
I think you are doing something wrong in your UDIM setup. I just tried a quick texture paint over the monkey head after baking the textures in my UDIM tutorial and it worked fine. (https://www.youtube.com/watch?v=EKEaYU-U-fw&t=2s)
While your question isn’t directly baking related, you could maybe try the first part of the tutorial to see if things are all setup right, since as far as I can tell, painting across UDIM’s should work just fine.
Quick follow up, Unwrap will only put UV’s on the first tile, you then have to move the UV islands to each tile that you want. I do that manually, it almost looks like UV_Packer is putting a copy of the UV’s on each tile.
Issue shown in video is not related to UDIM.
If it is not a bug, that is can only be due to overlapping UV Islands.
Unwrap operator does not take into account UDIM tiles, yet.
But it is not supposed to overlap UV Islands.
Without addon, default Pack Islands operator offers ability to pack selection into active tile.
But there is no automatic unwrapping.
What would you expect ? One UV Island per tile. All Islands equally dispatched in available tiles.
Your example does not correspond to that, at all.
There are an hundred of UV Islands in your screen capture. You expect almost all of them, in first tile and only one, in second tile.
That is a particular case, that can be used as a common automatic case.
If you obtain this result with addon, that is probably because several settings of addon are corresponding to this case.
Yes, I noticed the OP seems to have a mass of little UV island, with correct seam marking, etc I wouldn’t really expect so many. As such, it should be possible to reduce it down to more manageable levels and then move a few things around to specific tiles.
Agreed. Unless you have a specific reason to use UDIMS then you should break the parts by material. If they’re all on the same material you will have to use masks to blend the different surfaces. For instance, teeth will have SSS and you fur might use a hair material and visible skin will have a different SSS setup than the teeth, etc.
I understand if you want to use UDIMS as a personal test of the tools/workflow, but in practical terms you are better off with a material per different element.
UDIMS are usually for assets that require high levels of detail for extreme closeup with high resolution textures.
Sub-Surface Scattering, its the effect/look you get with surfaces like skin where you have thin area’s (think ears) and a bright light behind. So you get that reddish glow around and partly inside the ears.
In your case, this would be much the same for the dogs ears when the light isn’t be blocked by the head.
Sorry, I should have clarified. SSS occurs on translucent, organic objects - so anything from milk to human skin - and is an effect where light penetrates a surface and scatters the RGB at different depths.
It’s hard to know your best course of action because we’re not sure what the model is being used for. This will generally determine the best approach to take. That’s why I asked about the SSS, because everything on your dog has it - skin/fur/eyes/teeth/tongue/nails.