Hey guys, I’m trying to understand bump maps, normals maps and displacement maps. My bump maps in particular never quite look good, would an effect like this be doable with bump maps? Or do I have to use normal maps or displacement maps? I was hoping to have a super low poly mesh though.
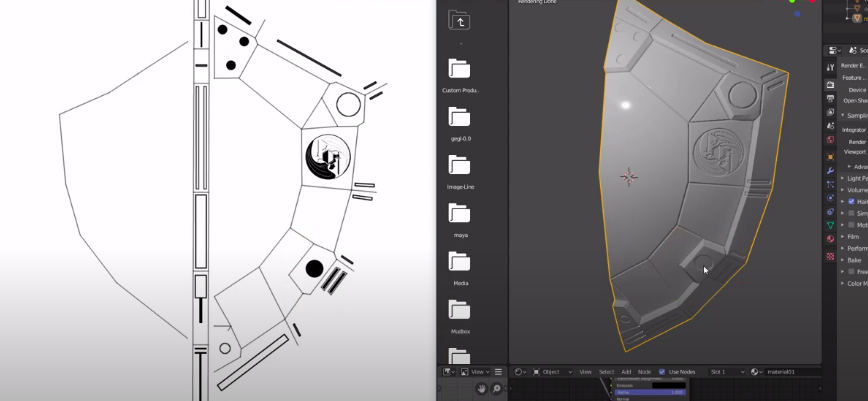
you could do the panel lines and embossing with bump or normal maps, but the extruded rim of the shield would look better with displacement maps since it looks like it needs actual geometry. Are you planning on exporting this for another engine (reason for low poly)? in that case, you wouldn’t/cant use a displacement map, it would be easier and more efficient to just have more geometry (just for the outer raised rim, the rest can be done w/ normal maps)

@Jakebane Cool, if the embossing can be done with bump maps then I think it will be good enough for what I want. I wasn’t sure if bump maps couldn’t create that level of detail with sharp edges or it’s me who can’t make it work. I’m not exporting it anywhere, the reason I would prefer it low poly is that it’s easier to edit, kinda like 3d svg if you know what I mean, I always like to keep going back and tweaking things. In particular I’m creating this turtle from an original sketch and was hoping to create the grooves in the back with bump maps since the shape itself is so simple and easy to tweak.

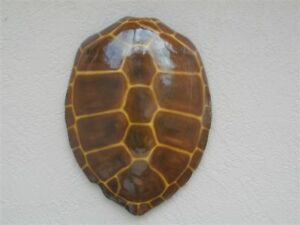
@Okidoki Ah, that seems nice, I’ll try to duplicate what you did, could you share the full image of your node setup? Also how do you create the normal map from the black and white source? In blender? Or is there an external tool?
Thank you both
Oh this was just a quick one … on the left there is only Texture Coordinates UV and on the right Material Output. And i just filled parts of your image (the higher level) (after making 2 or 3 lines), blurred it and used a UVmap filter/generator… I used to use gimp but this filter seems to be deleted? Then i thought Krita…hmmm okay i did it in MateralMaker… but there is also something like:
or any other tool… You also can make a little more geometry in blender to compare the results and use this to bake the normalmap… but i let you try 
A “bump map” works by fiddling with the direction of the surface normals, in effect causing the light to “bounce off” various parts of a plane as though the surface were really distorted. A “displacement map” actually displaces the otherwise-flat surface. They are both ways to quickly achieve details that will never be subjected to very close inspection … which is a lot of the time. The details can be finely detailed while the underlying geometry isn’t, and you actually get away with it. 
(The “surface normal” of a plane is a ray that points directly out of the “front side” of the plane at a 90º angle. It defines the direction in which the plane is “pointing.”)
@Okidoki Awesome, thanks! @sundialsvc4 Yeah, I think I understand the theory but in practice my results with bump maps always look wrong. I’ll try a few different things and see if I can get the result I’m looking for.
Actually I might have been wrong about “bump” vs. “normal” maps, as the Blender docs will clarify. Oops. Me bad.