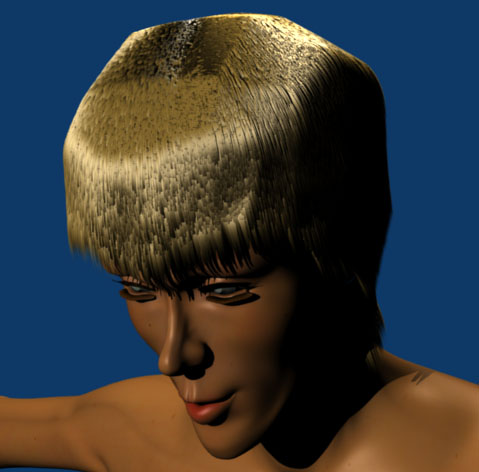
White dots at the base of my hair strands...

Hey. I’m following this tutorialon how to add hair to Blender, and overall it’s going pretty well. I noticed some white specks here and there that looked really out-of-place, though, so I reduced the number of hairs to get a better look at the problem.

Sure enough, each and every hair has a tiny white pixel at its base, and sometimes these show through. I can’t figure out what’s causing it. Any ideas on how to fix it?

Note that my gradient texture fades to transparency on both ends. This is my sole deviation from the tutorial (other than hair color.) I did this because I wanted the roots to fade to a soft, triangular point if they’re ever exposed, just like the ends do.

(I don’t see how that could be causing the white point, though. It’s in the alpha texture, so if anything there would be red pixels down there, not white, if my gradient were the problem.)

Thanks in advance for any helpful replies!

Edit: And yes, I am using the intenral Blender renderer. My goal is to get the “fastest good results,” so I would like to continue to use the internal renderer if at all possible.

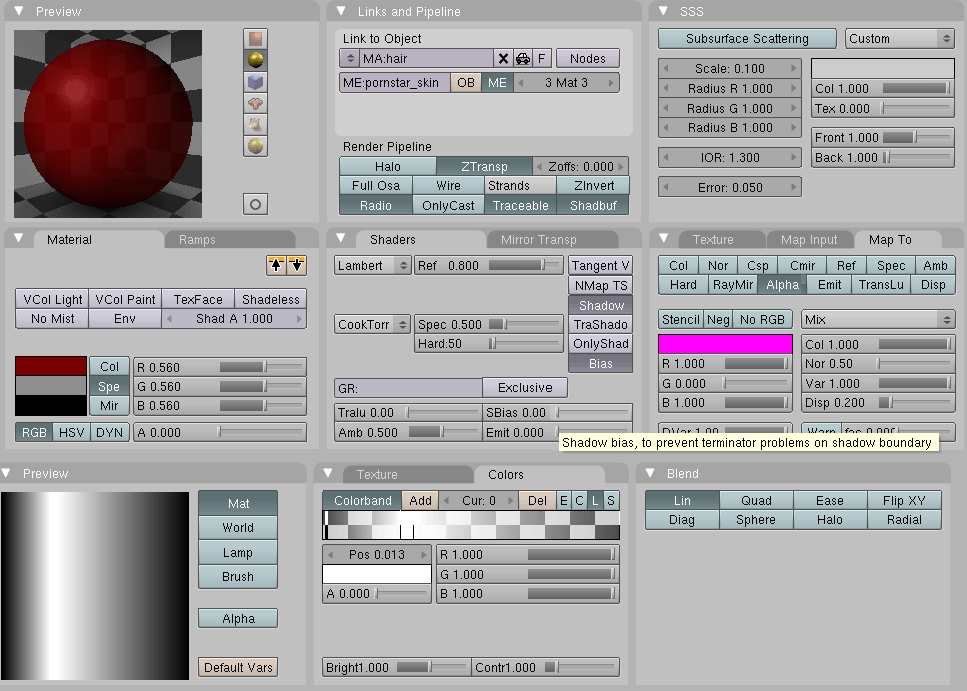
Update: Looks like it was my specularity settings that were causing the problem. I changed the hair to black, discovered that specularity was making it look grey, and after various attempts to fix this using specularity gradients, I gave up and just set the specularity color to 0,0,0. Surprisingly, this solved the dandruff roots problem, but unfortunately it also makes my character’s hair monochromatic.

So, now my question becomes: Is there any way to keep that lovely “real hair” sheen, without killing off specularity?

(I have no clue why specularity is much brighter for the first particle in each hair strand than the subsequent particles. Maybe they start off moving slowly or something, so they’re more densely concentrated at the base of the strand, or something… any insight on this would be helpful.)

Attachments


Have you tried setting the tangent shading option in the strand options?
Also, have you considered trying to put the lamp in a different position or tried to enable shadow casting for the lamp and material?

Sounds like dandruff to me…
How often do they wash their hair?:stuck_out_tongue:

Cyborg: tangent shading was turned on by default. I tried turning it off, but I’m not sure which I like better. With tangent shading turned on, the whole hair piece seems too bright. With it turned off, the hair seems waky and dull.

I want it to look dark like the color it’s supposed to be, but with some shine. You know, like the hair on glamourous models in shampoo commercials.

I’ve been experimenting with material settings and light positions, but I was hoping an expert might help me figure it out. Is there a good tutorial on ADVANCED hair techniques?

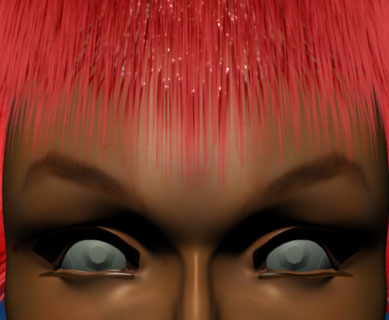
Edit: I enabled Ray Shadow for the lamp, and toned down the saturation on my hair color. It looks better in some ways now.

Unfortuantely, now there’s all these choppy rectandular shadows where the various hair strands overlap each other, and disappear into the scalp due to gravity.

Is there any way to fix this?

Attachments


Animatinator: The ‘dandruff’ here is unwanted, I’ve noticed there doesn’t seem to be much shadow in the hairs, which is why I think bringing in shadows if he hasn’t may fix it.

Warpzone, you may want to check the mediawiki documentation, it has stuff on static particle hair.

Thanks Cyborg, I’ll check it out.

Are there any other techniques for doing hair in Blender that look more realistic than particles?

Also, what’s the URL of the mediawiki ?

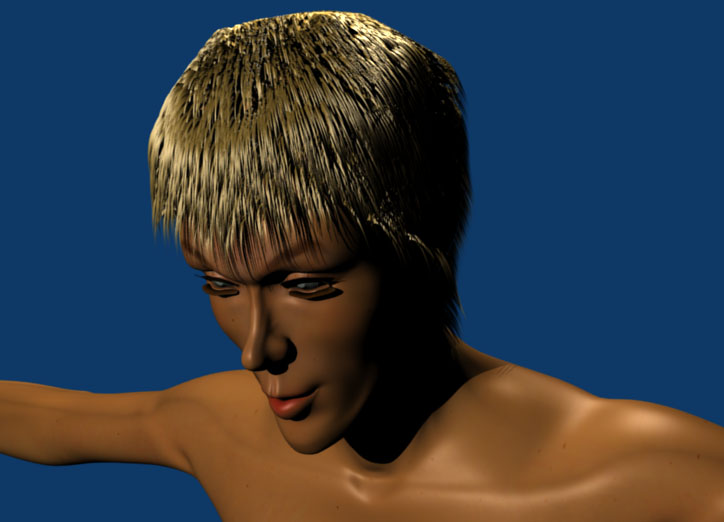
The previous screenshot uses 10 pixel strands that taper to 1 pixel at the end.
This one uses 1 pixel strands that taper to .5 pixels.

So we’re getting closer to usable hair. In Blender! That’s good. :slight_smile: The bad news is it still takes 7 minutes to render one frame of this, and it looks like I’ll need even more strands to completely eliminate that shadow problem. (The scalp still shows through in a few spots, and so you see black lines; those are patches of skin covered with the shadows cast by all the other hairs!)
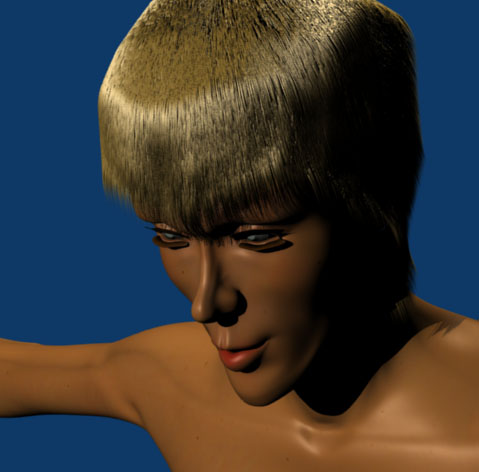
I think if I double my number of strands again, it will completely solve the problem (unless the hairs remain “one pixel wide” when the camera gets close… then we may have issues…) Unfortunately, I don’t want to double my render time. :frowning:

Attachments


Well, this is it. As far as I can tell, this is absolutely the most realistic I can make my character’s hair look using Blender’s static particle strand technology. I’ve tried every setting, and I even understand what most of them mean.

I guess it almost looks like hair…

Thanks to everyone who’s helped me try to understand this. I’ll be dabbling in cloth and soft-bodies next. I’m thinking maybe I can make a flexible hair mesh and put a nice hair texture on it, and it’ll look more realistic than this.

If I wanted to refine this further, I could probably split my scalp up into different groups and make each group have different hair lengths, (longer in the back, shorter on top, etc.) and style it with bezier curves (but since all brezier curves attract all particles, wouldn’t two girls with pigtails standing close together get all kinds of cross-feedback? I wish I could just assign one brezier curve to each strand group, or at least to each object or mesh!)

But, really… look at it. It looks so fake.

Time to try other techniques for a while.

Attachments


You could try enabling Ambient Occlusion, it’s pretty nice for getting that tinge of extra realism you usually won’t get if it’s not used.

Ambient Occlusion…? Hmmm… Would that be the little button marked “Amb” under “Map to” in the Material settings?

WOAH! O.O

Holy shit! I’m using 1/5th the hair strands I was before, and yet it still looks much better! And only a 2-minute render!

You shoulda told me that first, man! I can’t believe it looks like this! Ambient occlusion oughtta be enabled by default! =D

Attachments


I meant clicking the Ambient Occlusion tab in the world settings, but apparently your mis-understanding of what I said apparently helped:confused:

Amb button causes the texture to use the ambient world color that you set woth the Amb R, G, & B sliders in the world buttons. You set the degree that the material uses the color on the shaders tab. Then there’s the range and exposure sliders in the world buttons. The whole setup is kinda clumsy and I just leave the last two at their defaults for the most part. It’s one of the reasons that so many people whine and cry about Blender’s UI.