i bake a displacement map from sculpting model. I try to put this displacement image to my object. But it doesnt affect . What can be problem ?
i did it. I have choose the Displacement…There is no “displacement only” in the blender 2.8… I try with cycles render. Your picture is different than mine blender properties panel… But nothing is changed. Still it doesnt work
You have to change feature level to “experimental” in rendering tab.
i did. all same :(… i have gave more subdivision surface levels also. nothing changed
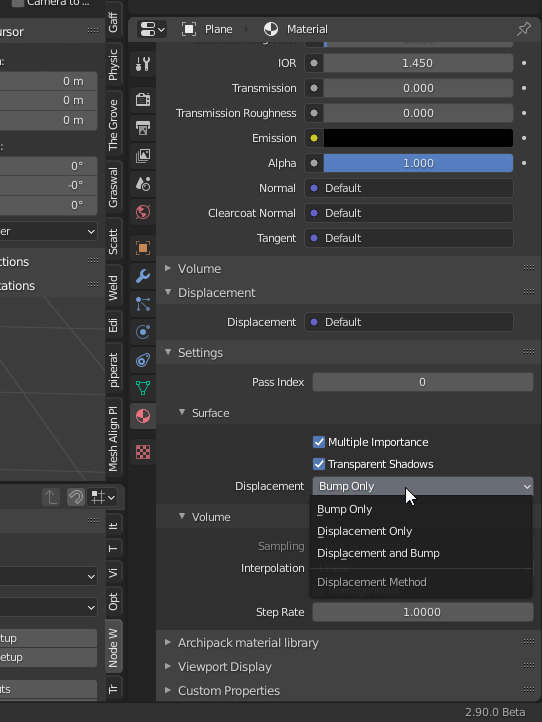
It’s under Settings in your shader tab…there isn’t one for EeVee as it doesn’t really support it…
Just grabbed your upload and Cycles>Experimental>GPU and Bump/Displacement are the only settings I used…works ok

I also think there is a possibility that dartagan may have confused the displacement panel with the settings panel.
If all three of the below items have been performed and the displacement does not work, there may be a problem with the texture or somewhere else. Please pack the texture into your blend file and attach that to this topic.
- Select Cycles Render Engine
- Select the displacement option on setting panel of material tab as Displacement Only
- Select viewport shading mode as Rendered
1 Like
Thank you for tutorial picture… I did all :
Cycles>Experimental>Gpu…I have tried all;
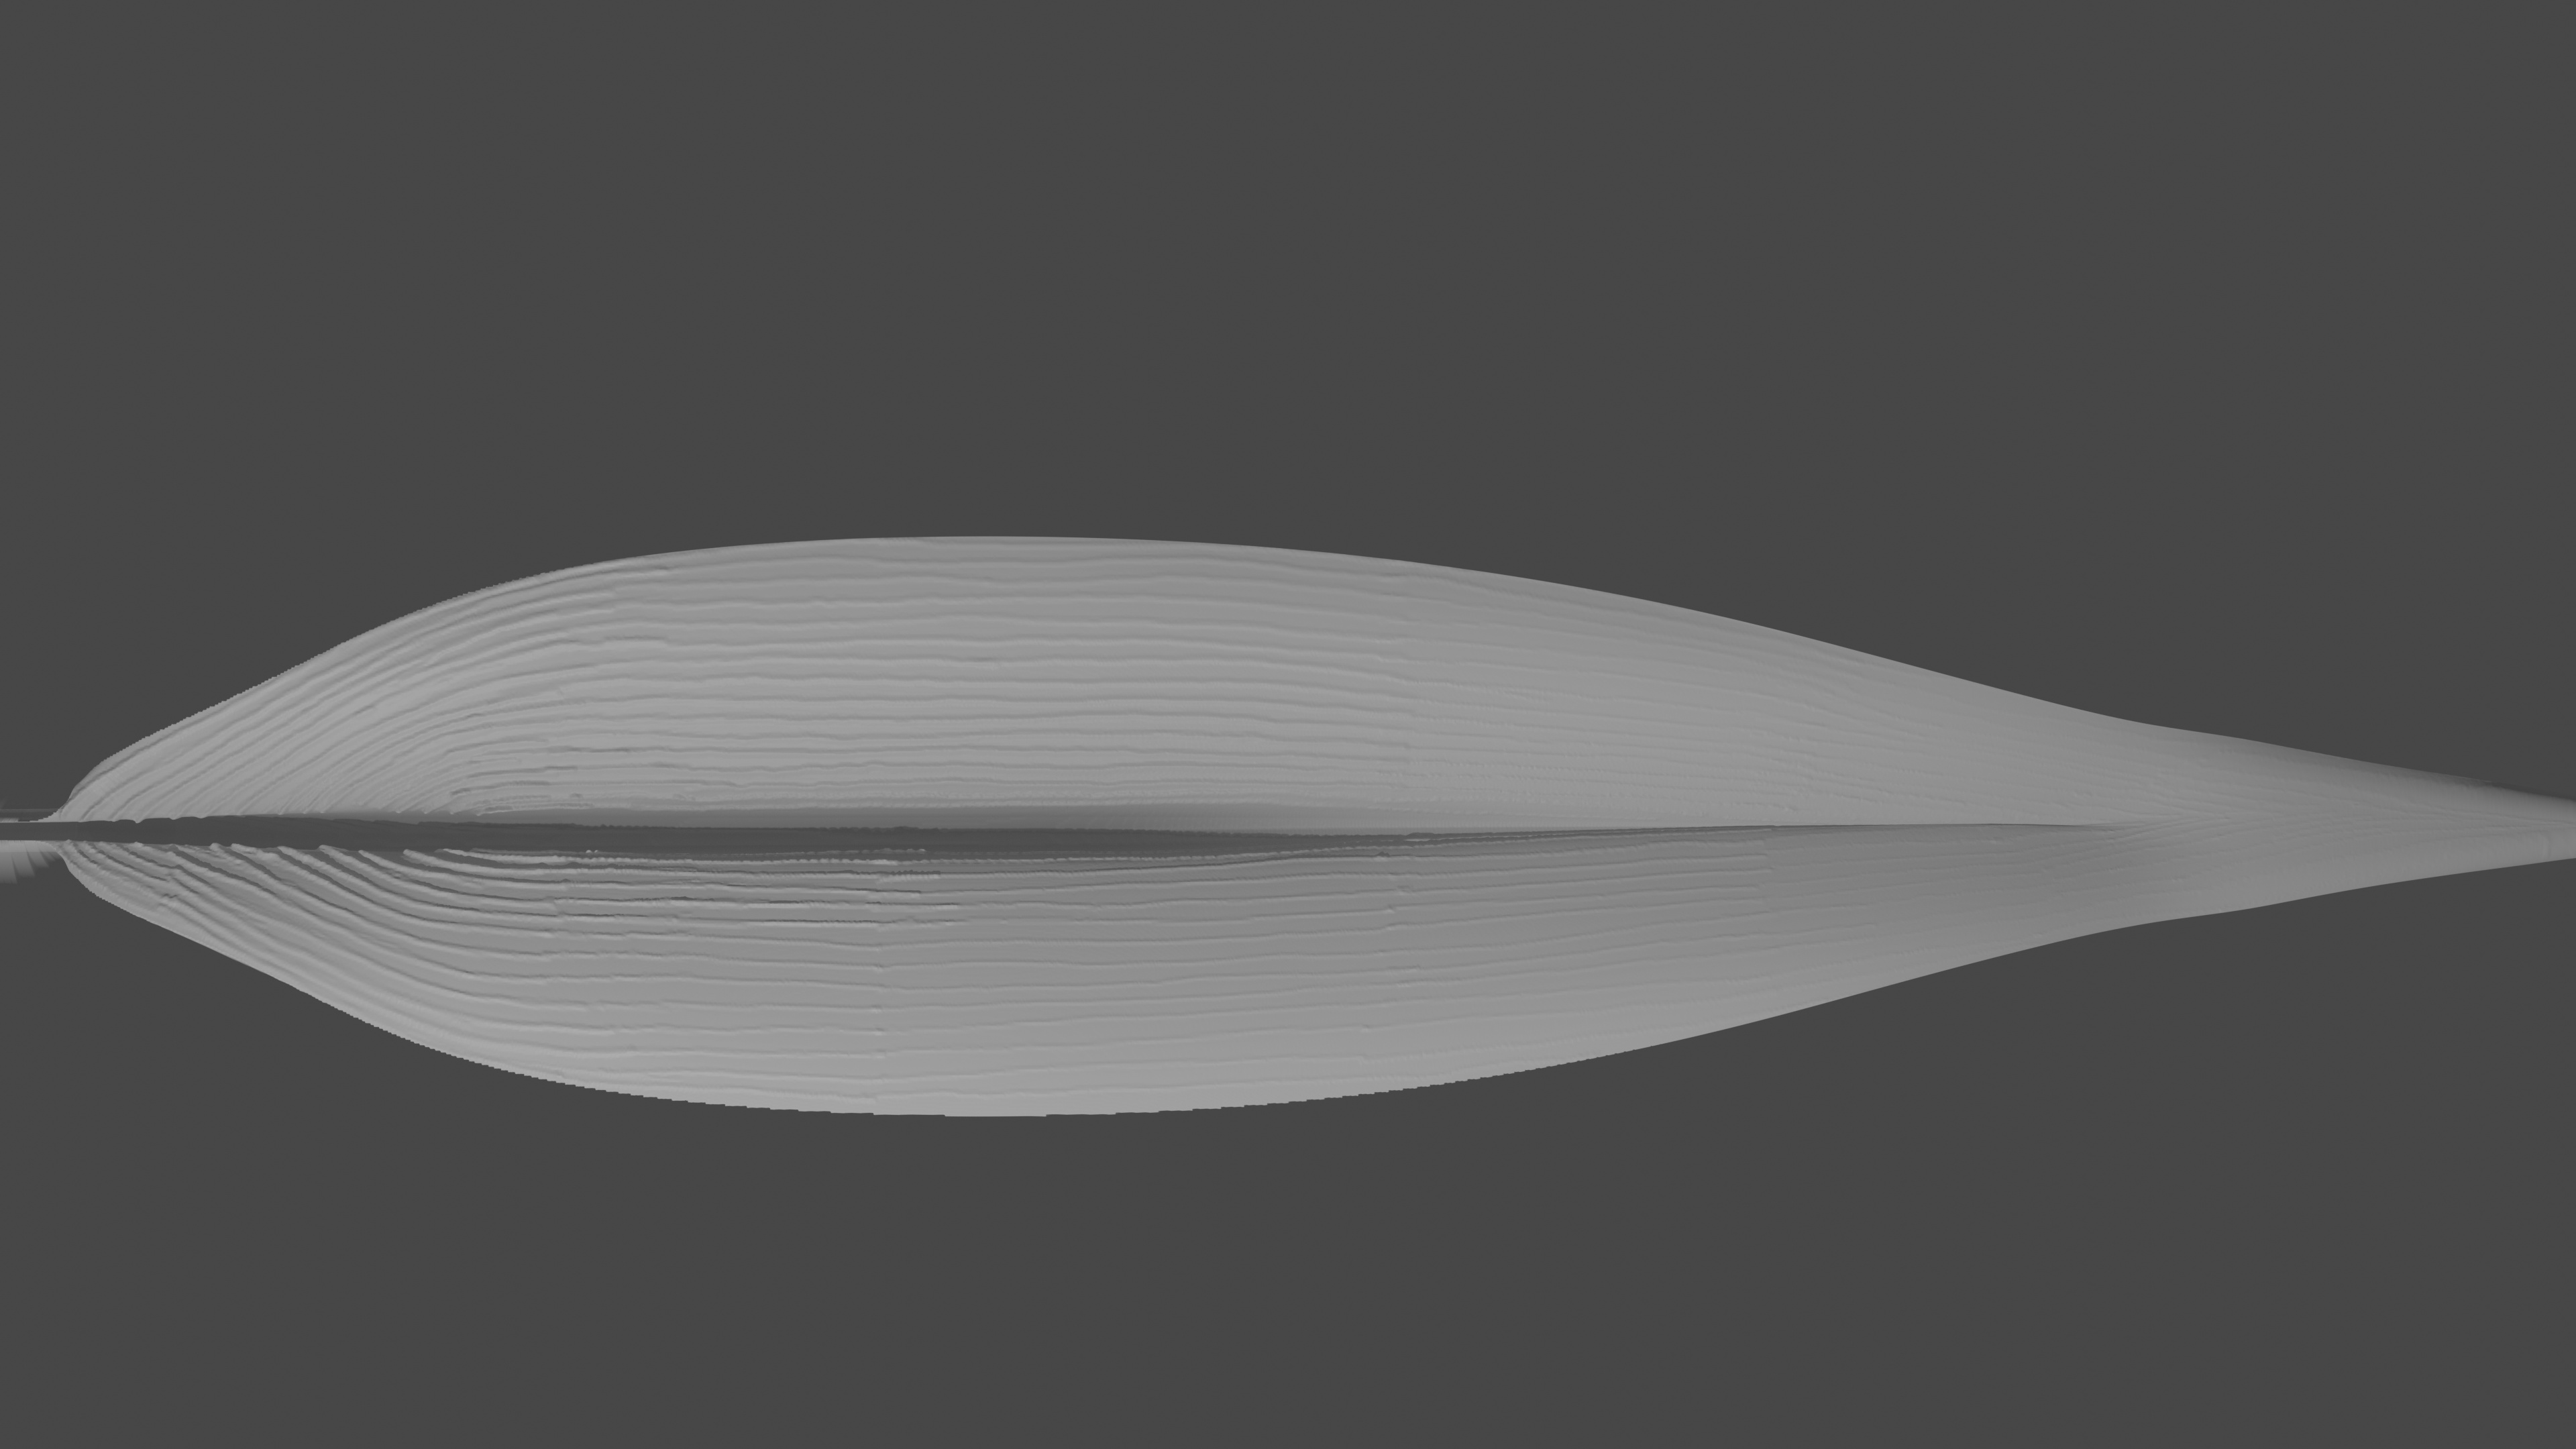
I can see the displacement outline in your image…try changing the viewport for closer to side view…and crank up the Scale Value just to see if you get something like I did…
As far as the map…I just used the one on here it does need to have a gaussian Blur or something applied to it…it works better if the map is blurry! ie: smoother
On my plane, I just subdivided 40 and added a sub-surf modifier…
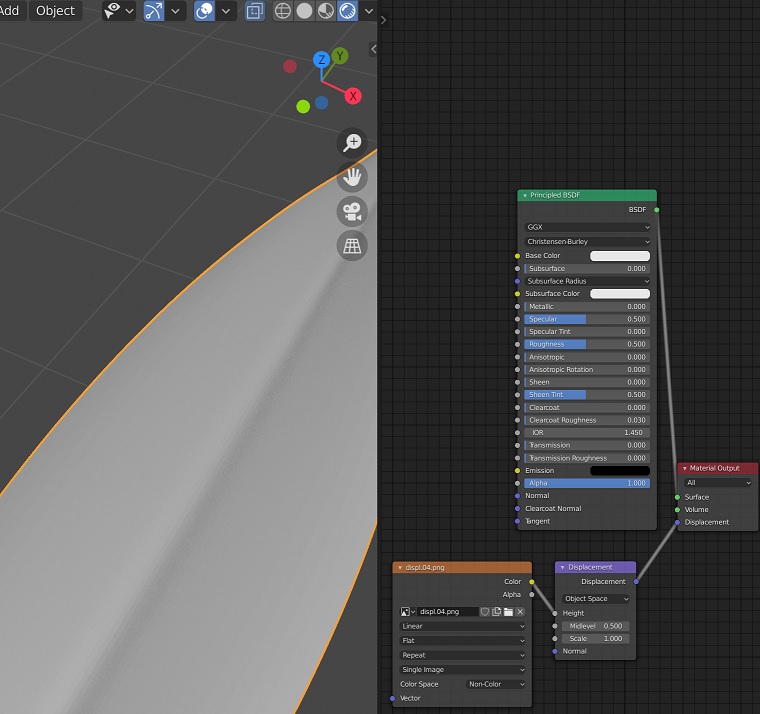
In cycles>experimental-GPU try this…
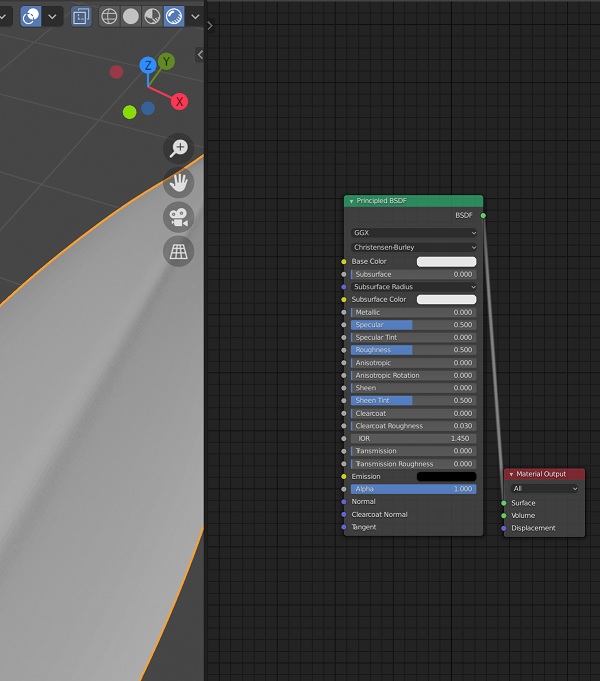
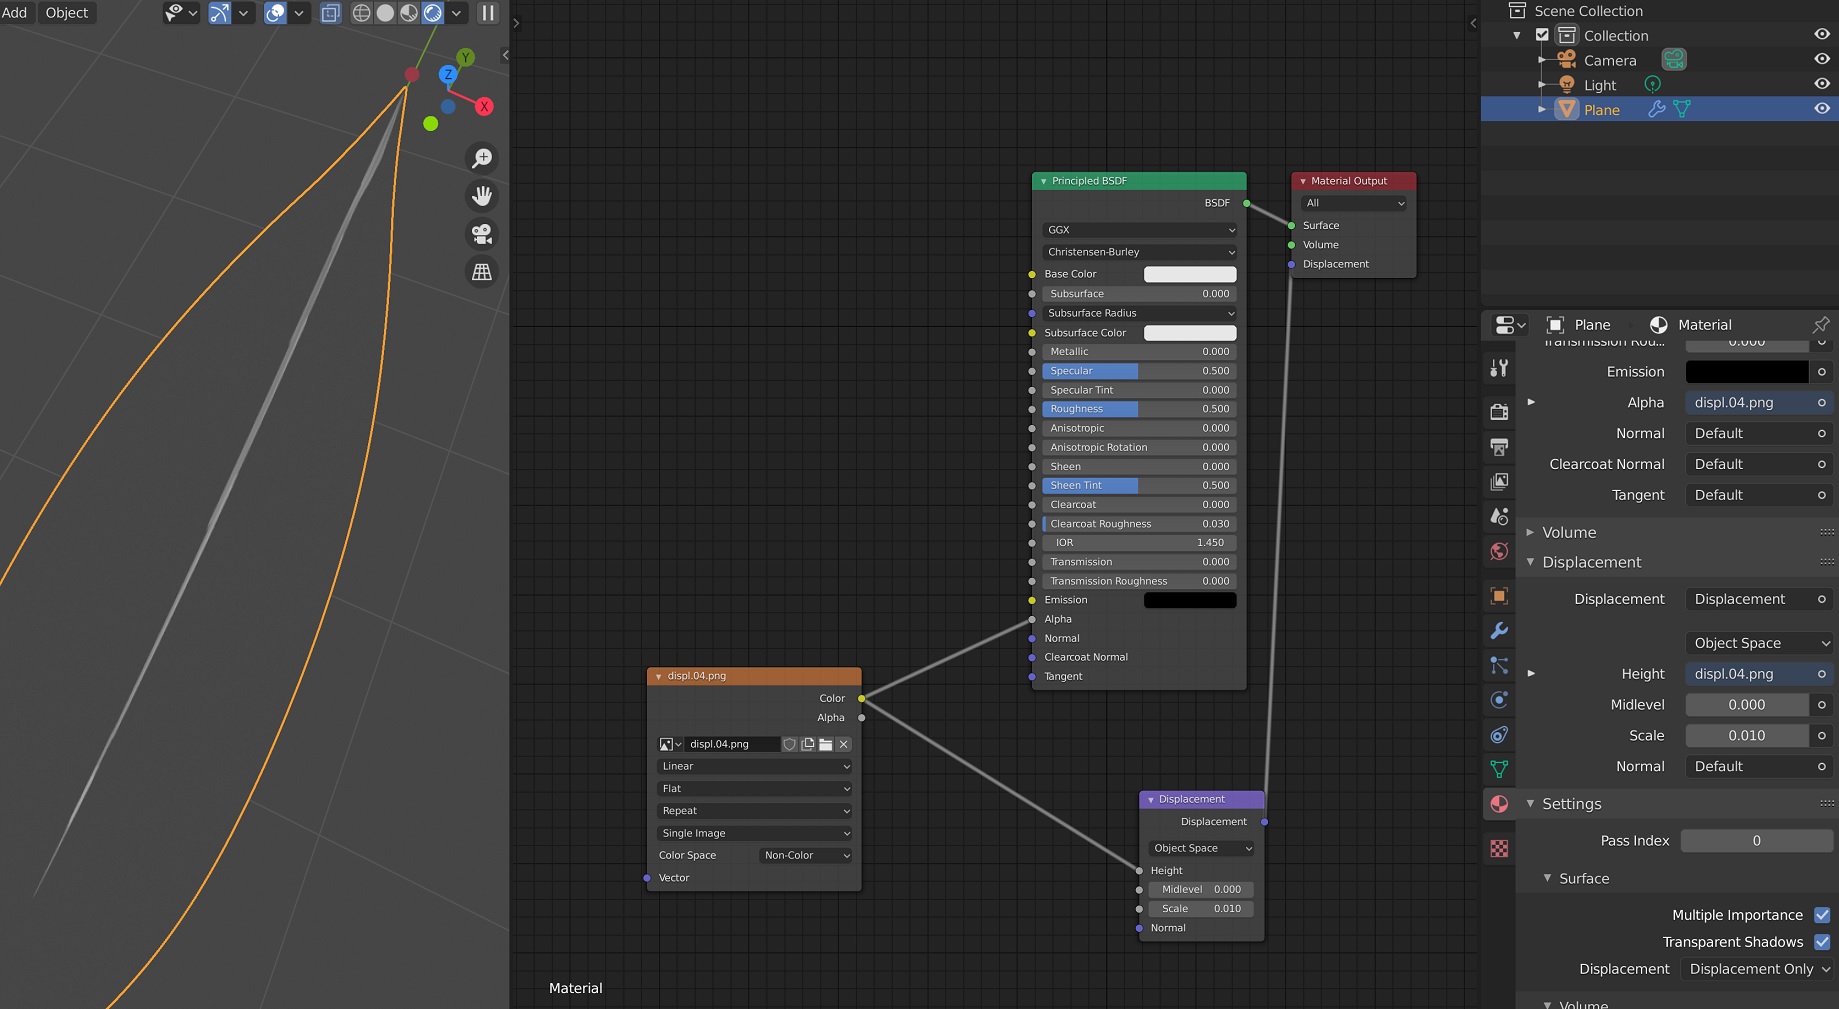
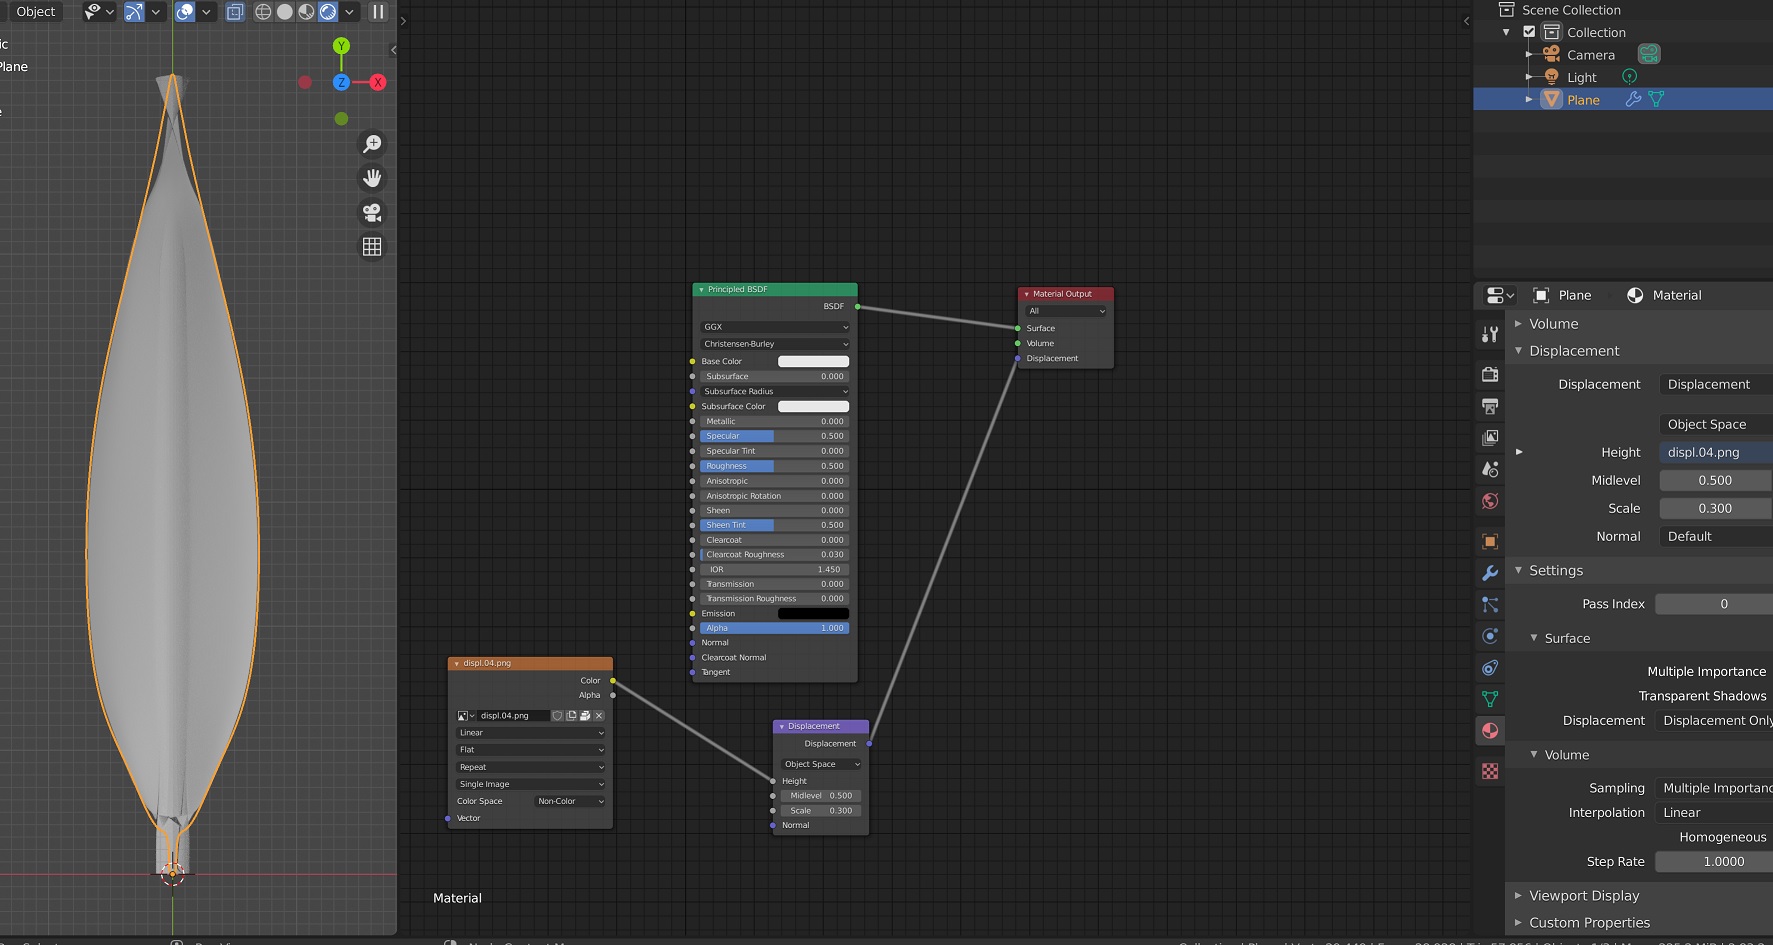
For a simple test: add a plane. add new material and set it up with a displacement node like above… as soon as you change the setting to displacement only you should see the yellow outline jump up in the z-axis…if not…Drop us a copy of the Blend or save and restart…
Is the problem resolved?
Please attach a blend file with texture packed instead of just a texture image.
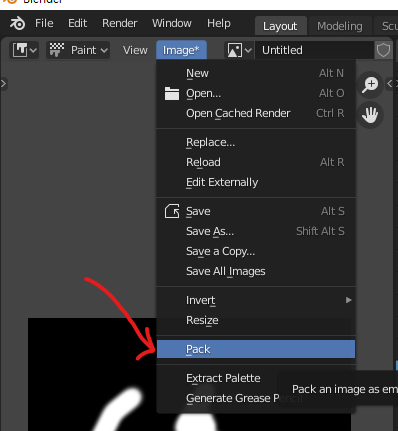
To pack textures to your blend file, simply click the Image - Pack command in the Image Editor as shown in the image below.
Your scale is 0.01. It means 1 centimeter for a 1 meter object. You just may not see it.
Also, after plugging displacement - refresh your rendered view. Switch to any other and then back to it. It will refresh displacement and subdivision (very important for adaptive one).
i tried all … but it looks still bad. i have sent the blend file
I don’t know what’s going on with your PC.
I downloaded and opened the blend file you attached and immediately tried to render the viewport without any manipulation. As a result, the displacement worked normally as shown in the GIF. You set everything up correctly. Why doesn’t displacement work on your PC? This is a very mystery.
1 Like
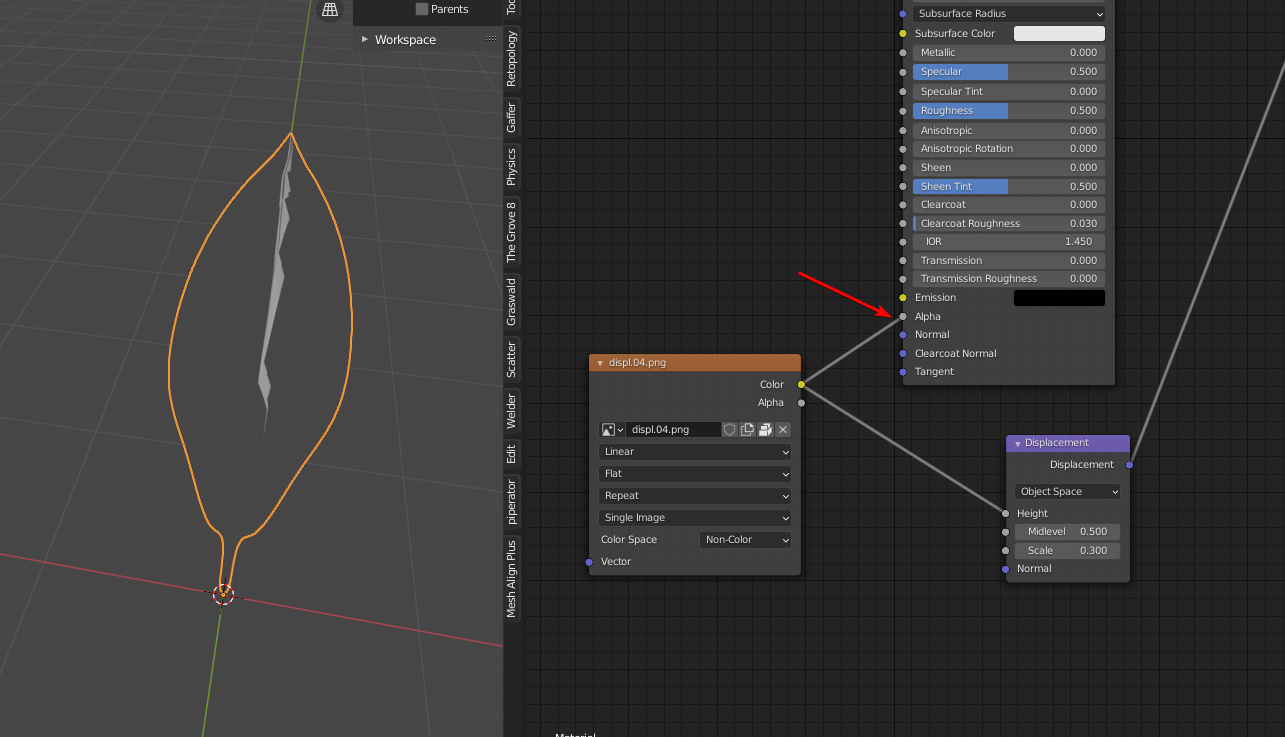
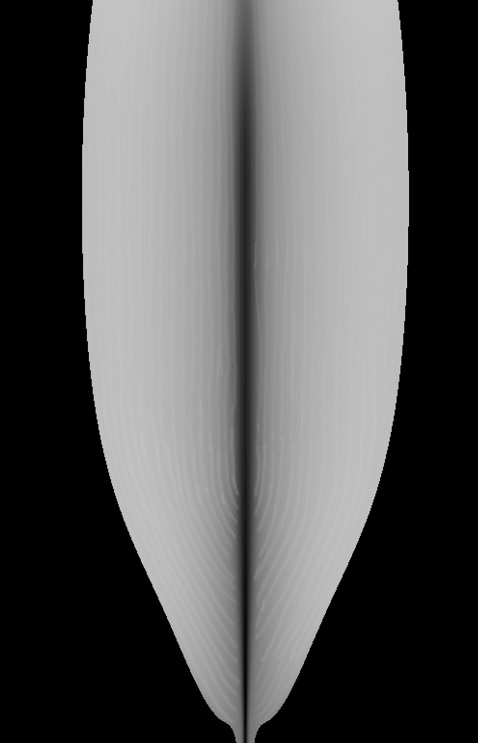
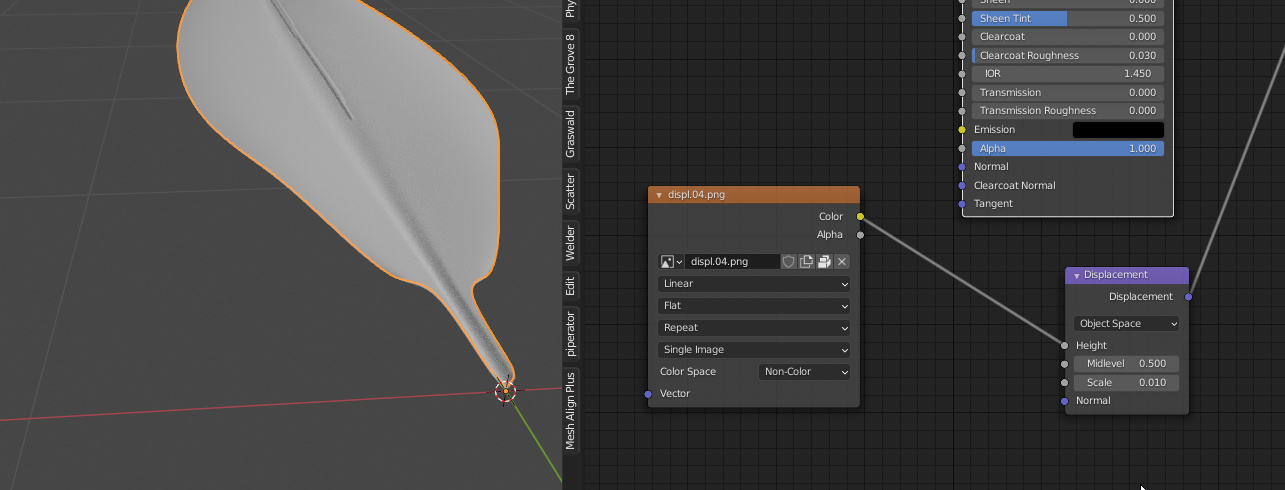
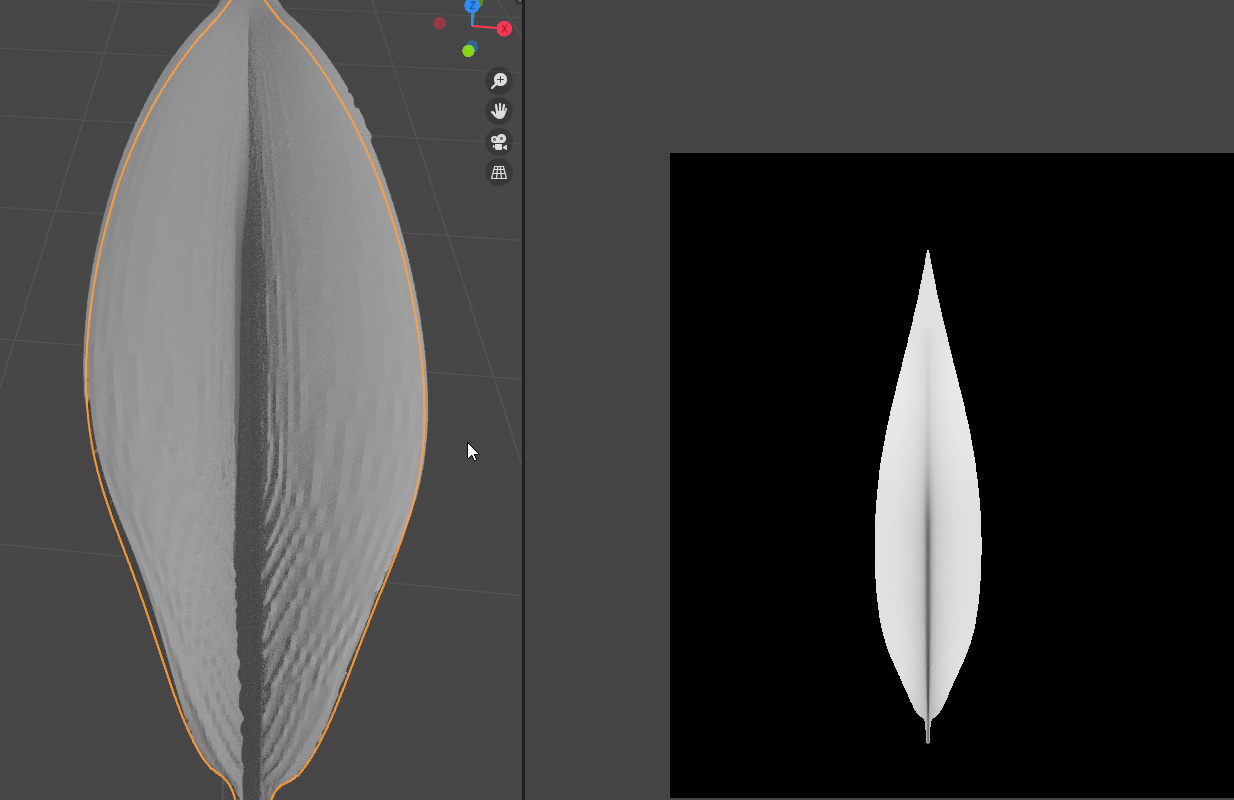
First thing - leaf not visible because… it’s not supposed to.
You plugged displacement to alpha.
Now it works, but has an artifact.
It’s not unwrapped:
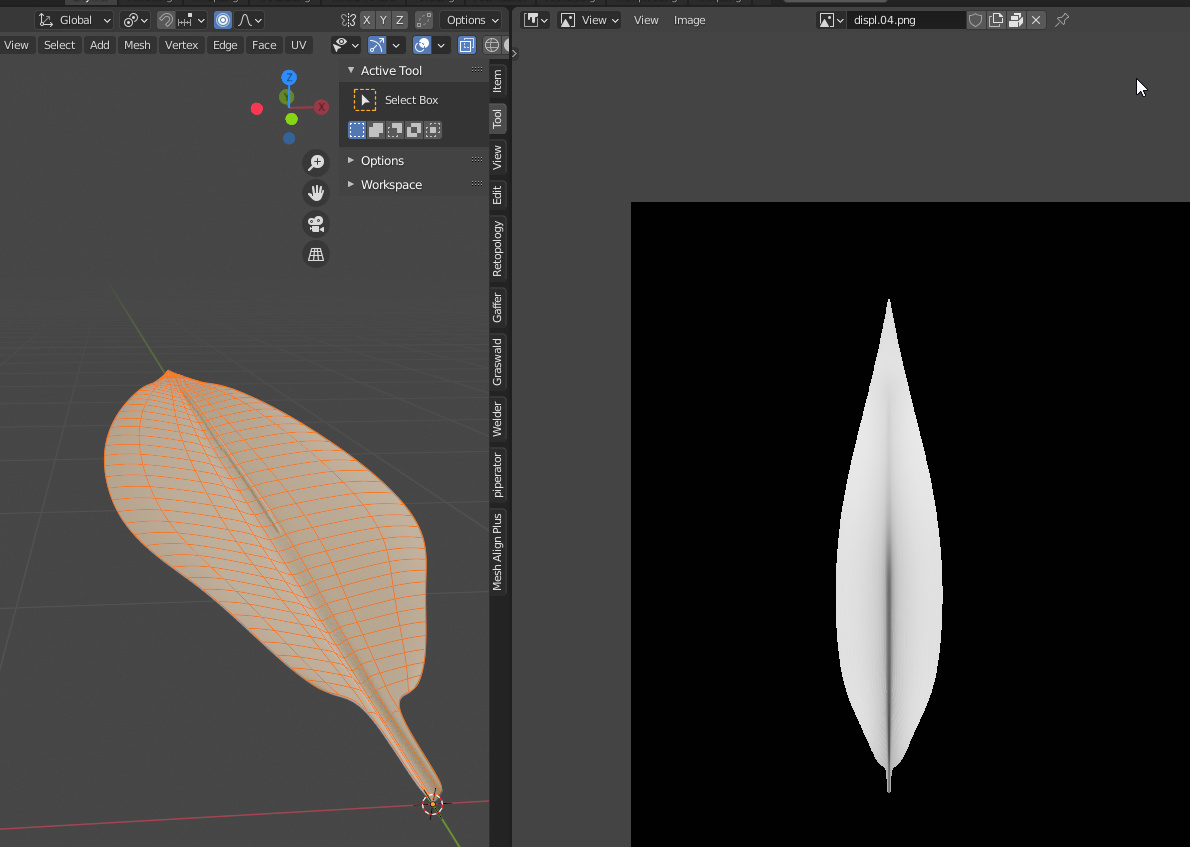
In edit mode, select all and then Unwrap
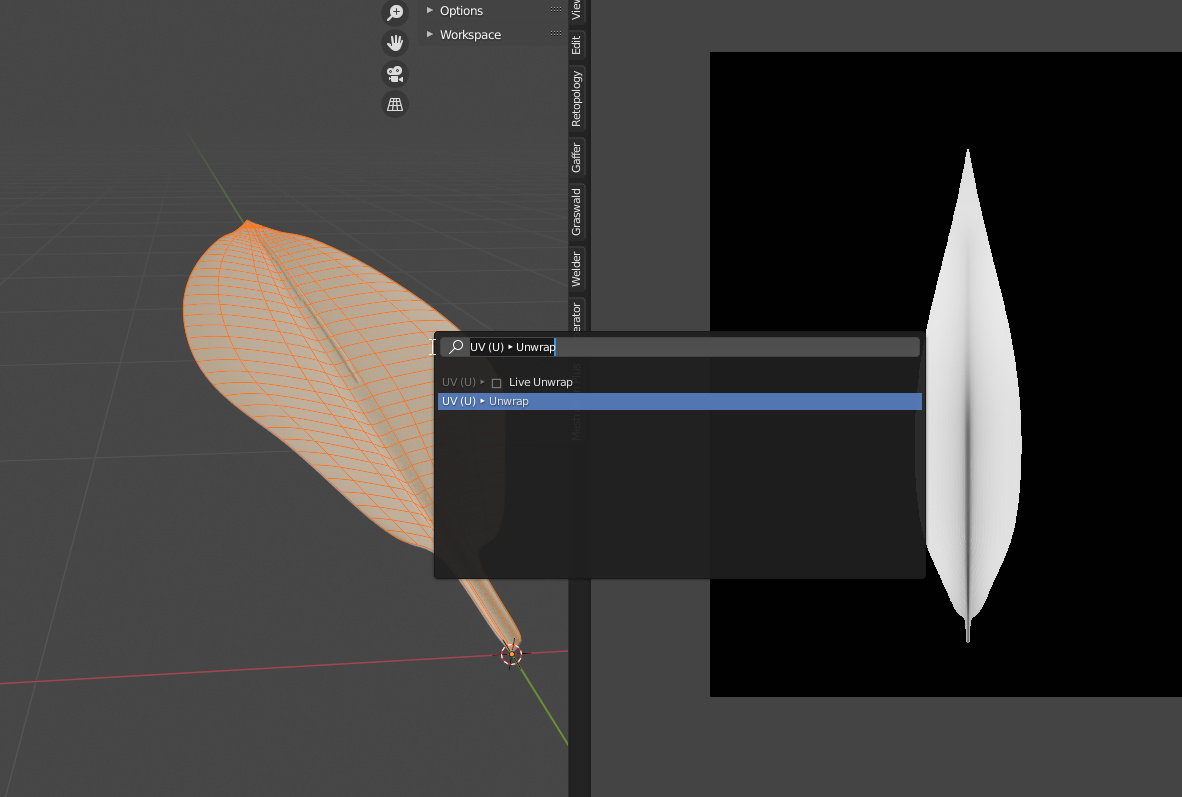
Works.
it doesnt look nice. my normal map looks ok. i can see the tiny lines. but displacement looks very different. i bake them from same sculpted object
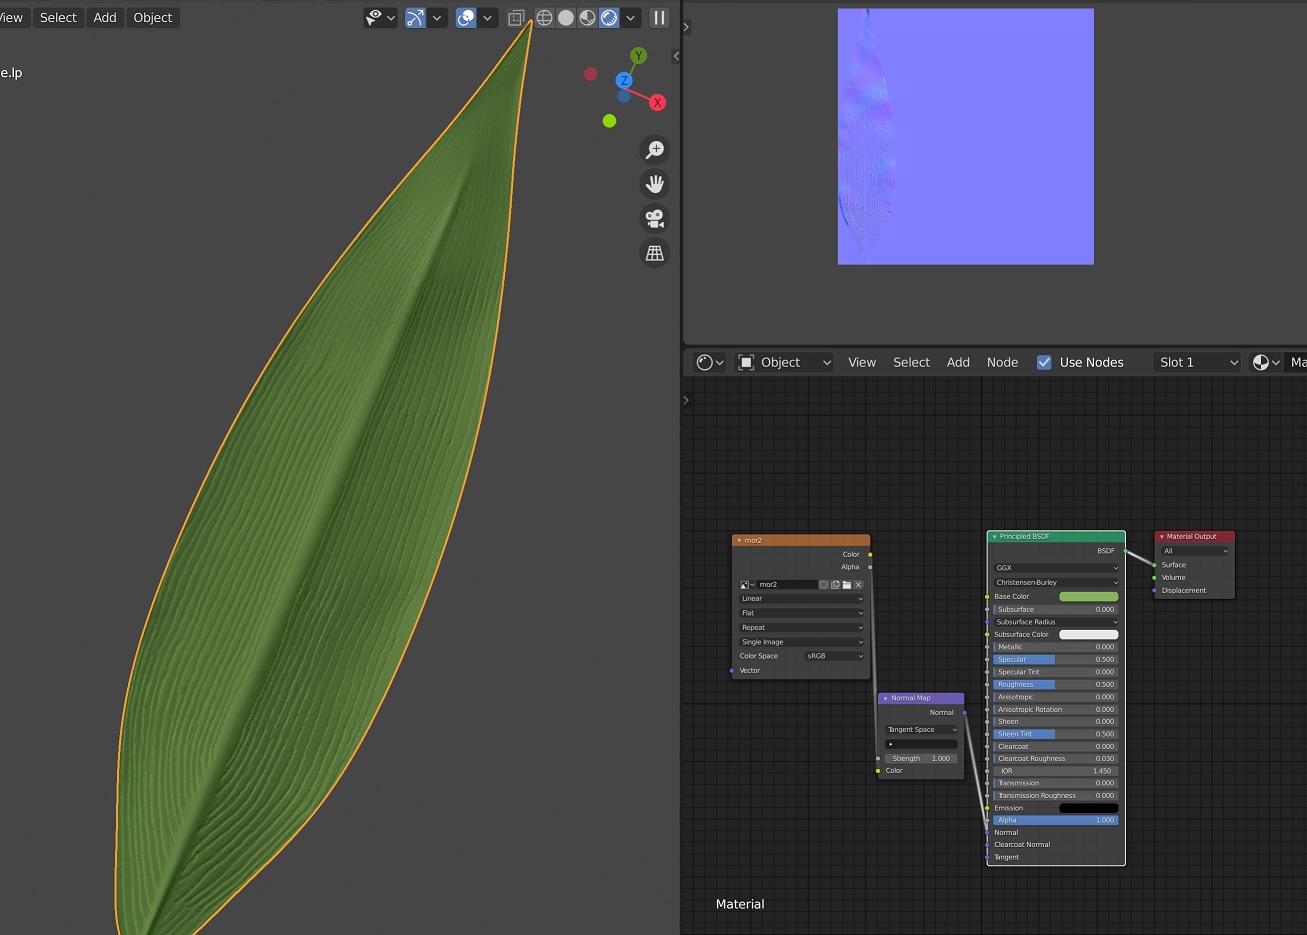
i remove the alpha selection . and unwrap all mesh again…i want see the tiny lines on the leaf. my normal map shows them but displacement map looks very different. I cant undestand what is the reason
Okay more:
The first UV that we’ve got after opening your file:
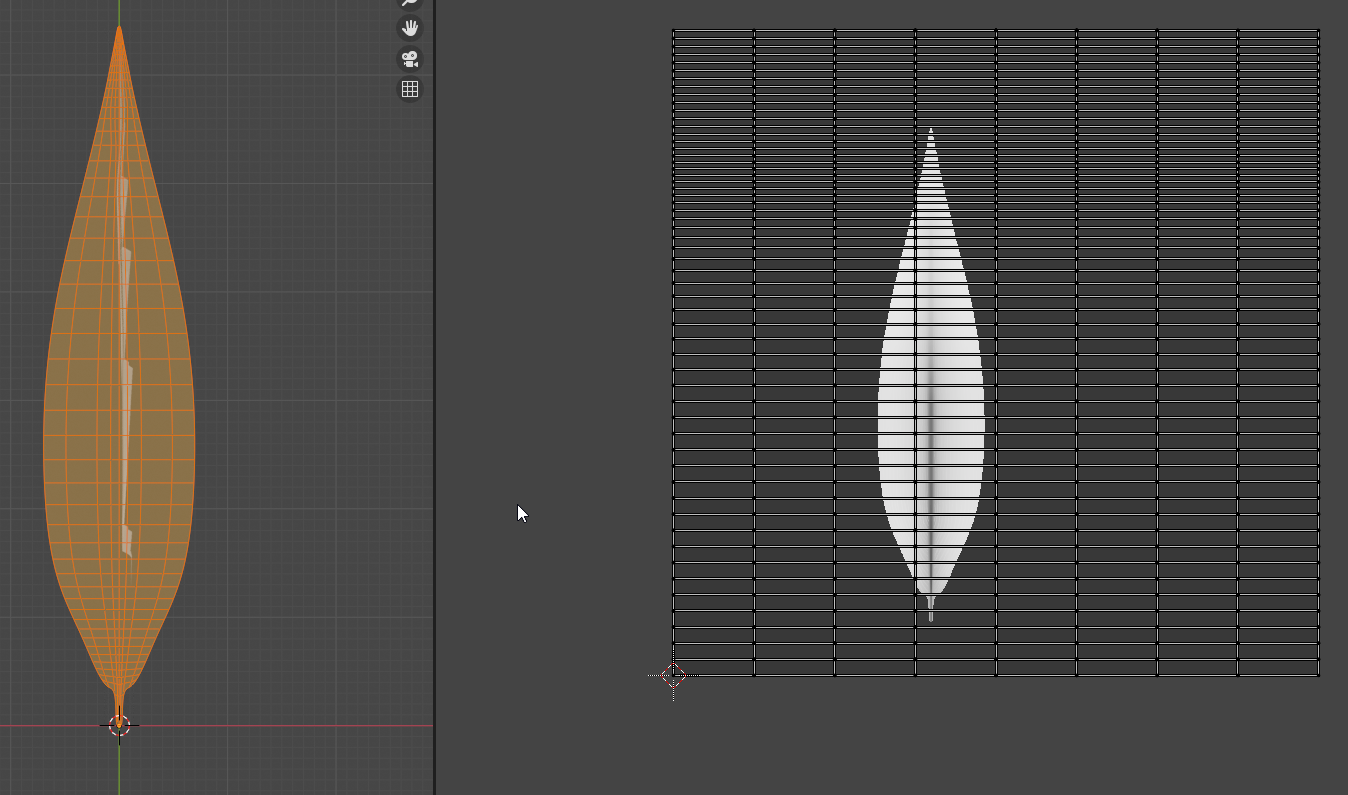
After we unwrap:
So we should rotate and place it on the right spot (though normally you would have it good on first place? Like on your Normal Map image above)
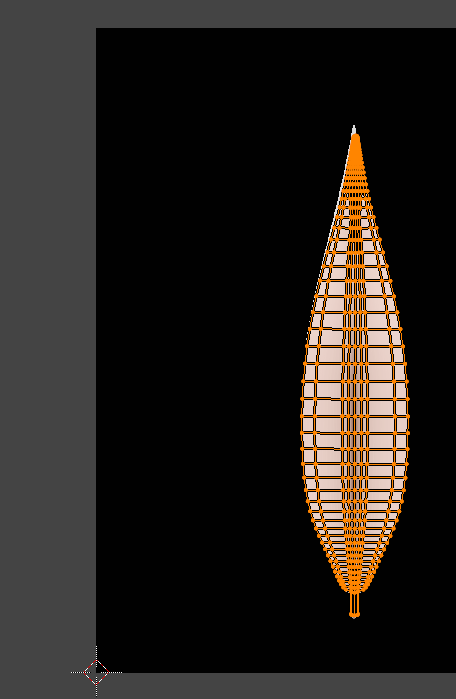
I placed and scaled it by hand so it’ll be off.
Now
And to make it look good:

And in render settings I use viewport slicing to 2px and for render 1. Just so viewport isn’t so far off.
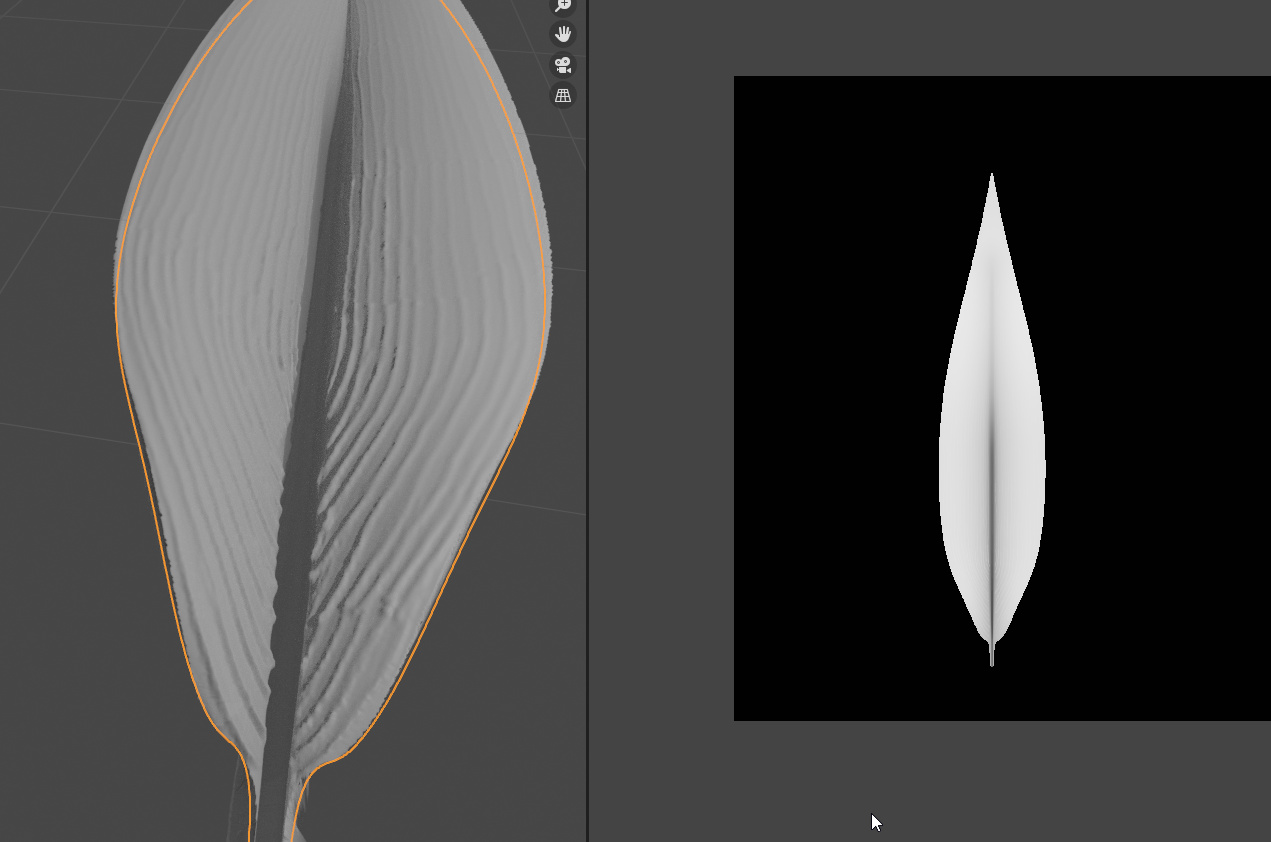
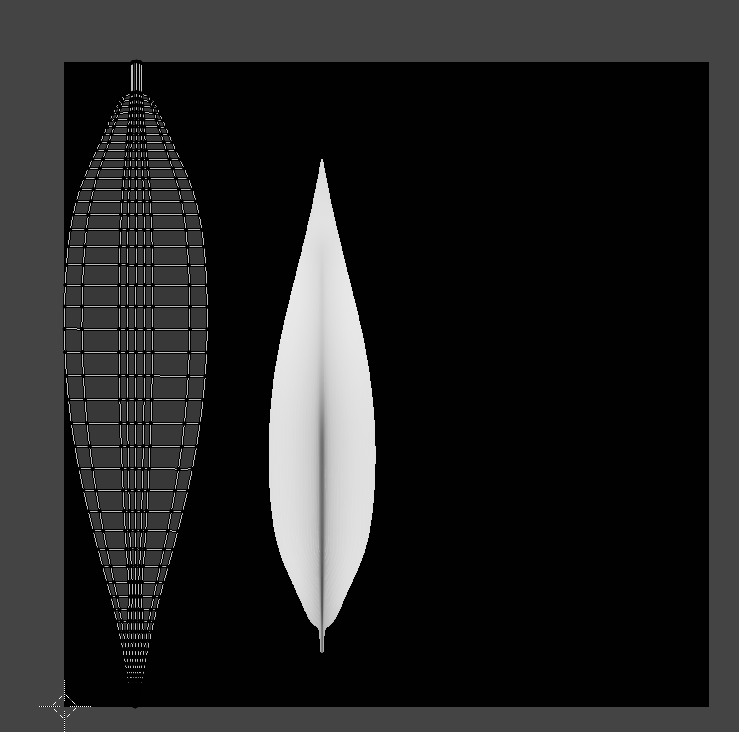
Render:
Obviously seeing pixels because the displacement texture resolution is low.
1 Like
yes , this fixed the problem.
my normal map works easily. just i added normal map in image texture and done… Whats wrong with displacement map, I cant understand. I bake normal and displacement same way from same sculpted obj.