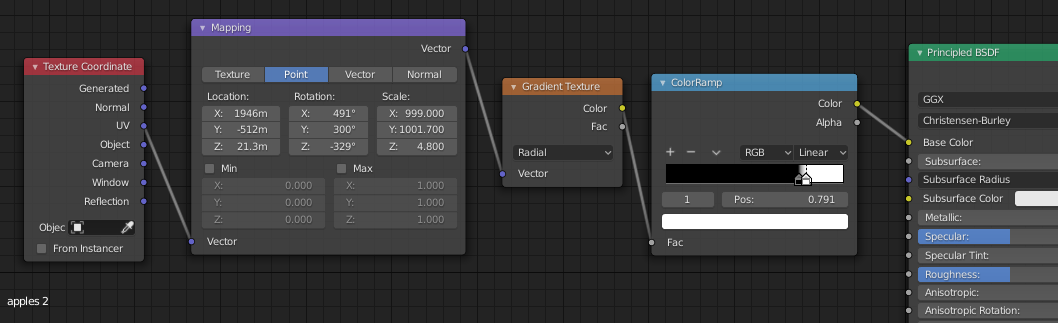
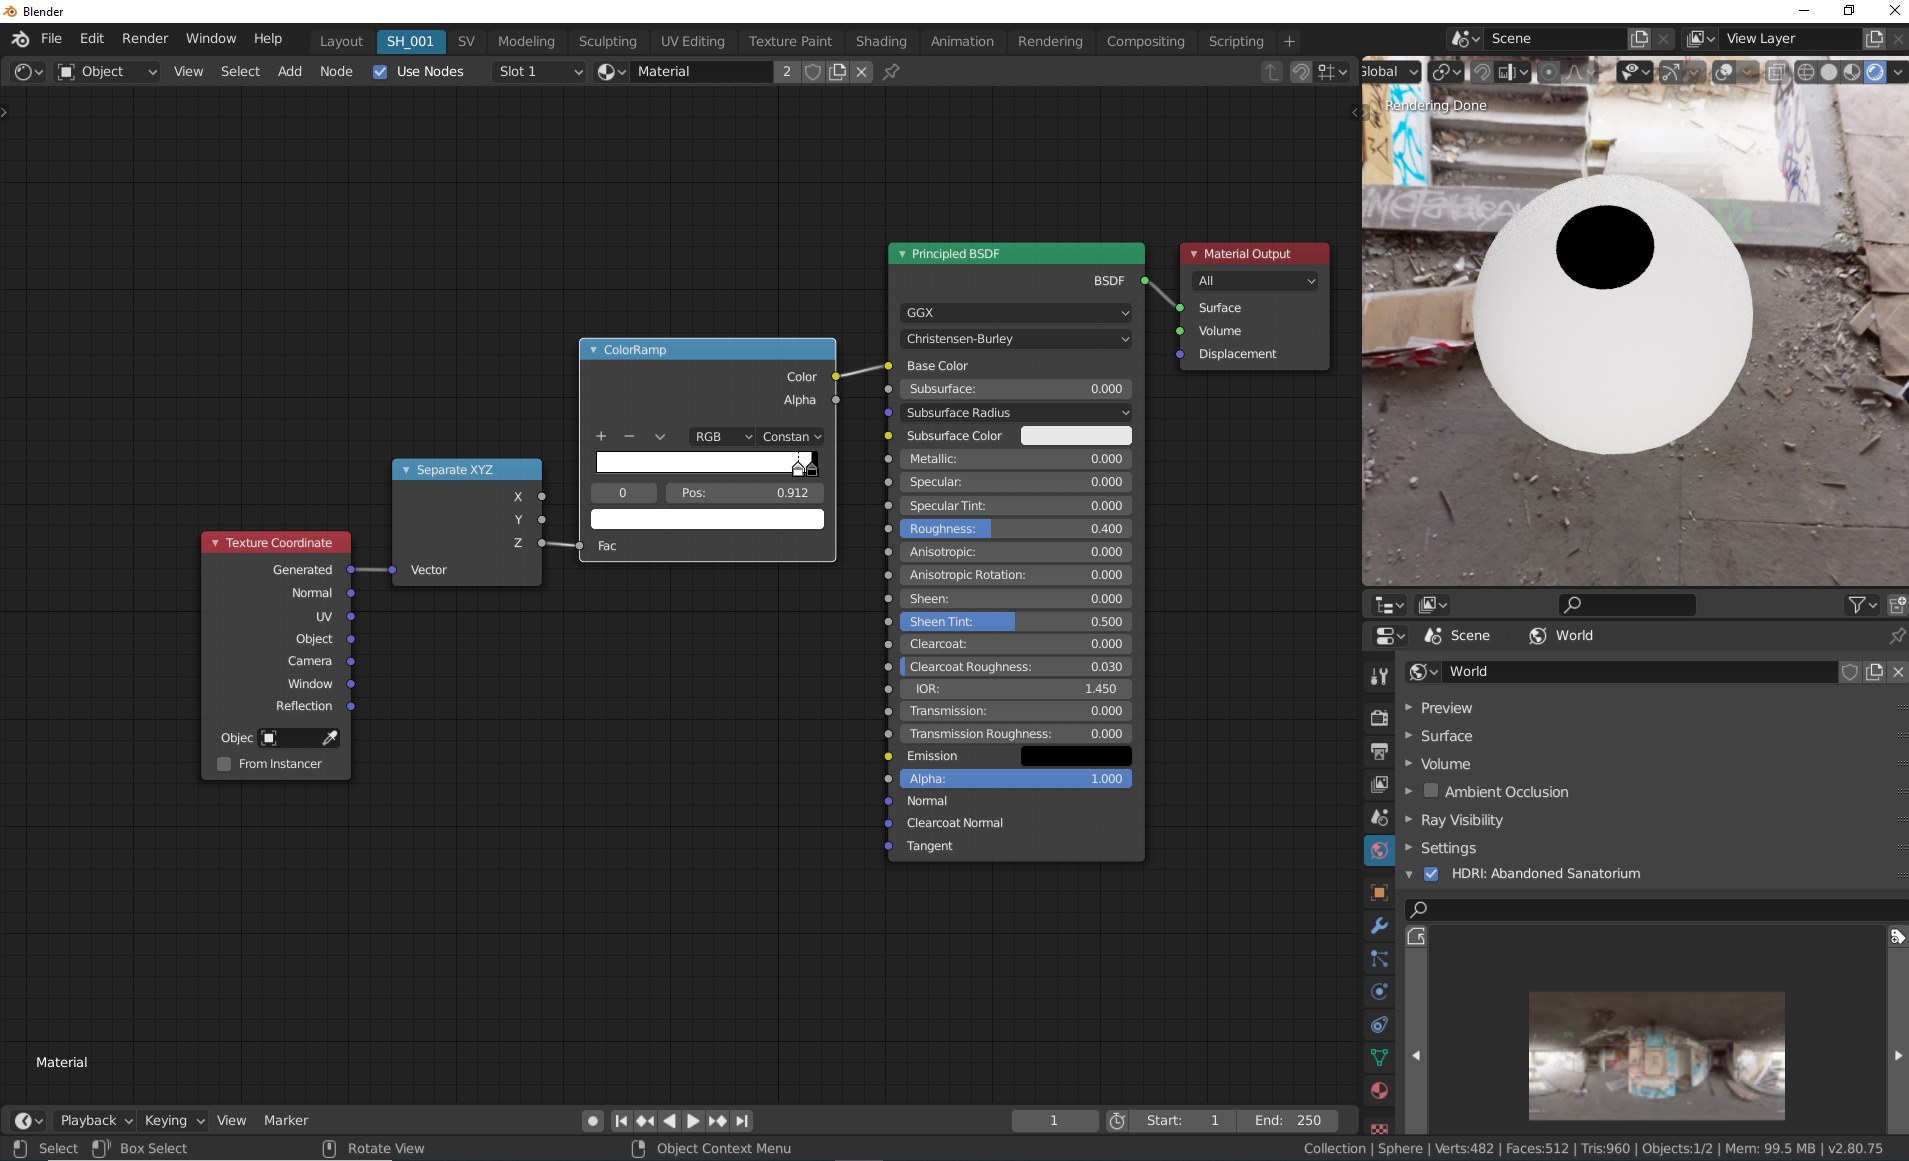
I find it very hard to control the mapping. I’ve been playing with the parameters for more than an hour but I can’t make a simple circle-like gradient. I’m sure that I’m missing something. Why isn’t it easy like photoshop or other software? Here’s my node setup:
Thank you so much for your suggestion. Actually, I’m not using a sphere. I would like to color a cheek of a simple character. So I select the faces that form the cheek and then I assigned the material to them.
Can I use your method and apply it for a cheek or non-uniform surface? Or does it work for spheres only?
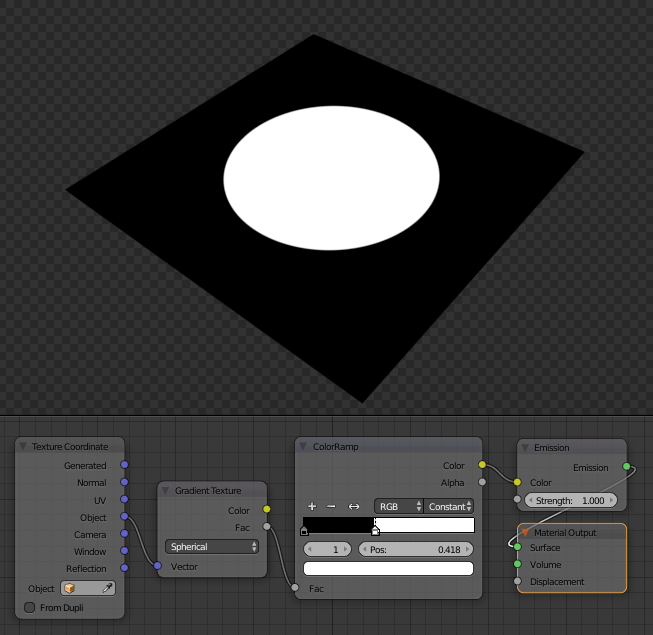
For the second method you gave me (the plane method), it gave closer results when I unwrapped the UV and connected the UV output of the Texture Coordinate to the vector of the Gradient texture.
OMG I didn’t know that there’s a vertex weight option. I’ve just googled it and it seems that it’s a much easier method. I’ll study it and I’m sure that there’s a great probability that it’ll work. Thanks again for your suggestions. You’re great!

 Nothing worked
 I’ll try it and I’ll get back to you as soon as possible.