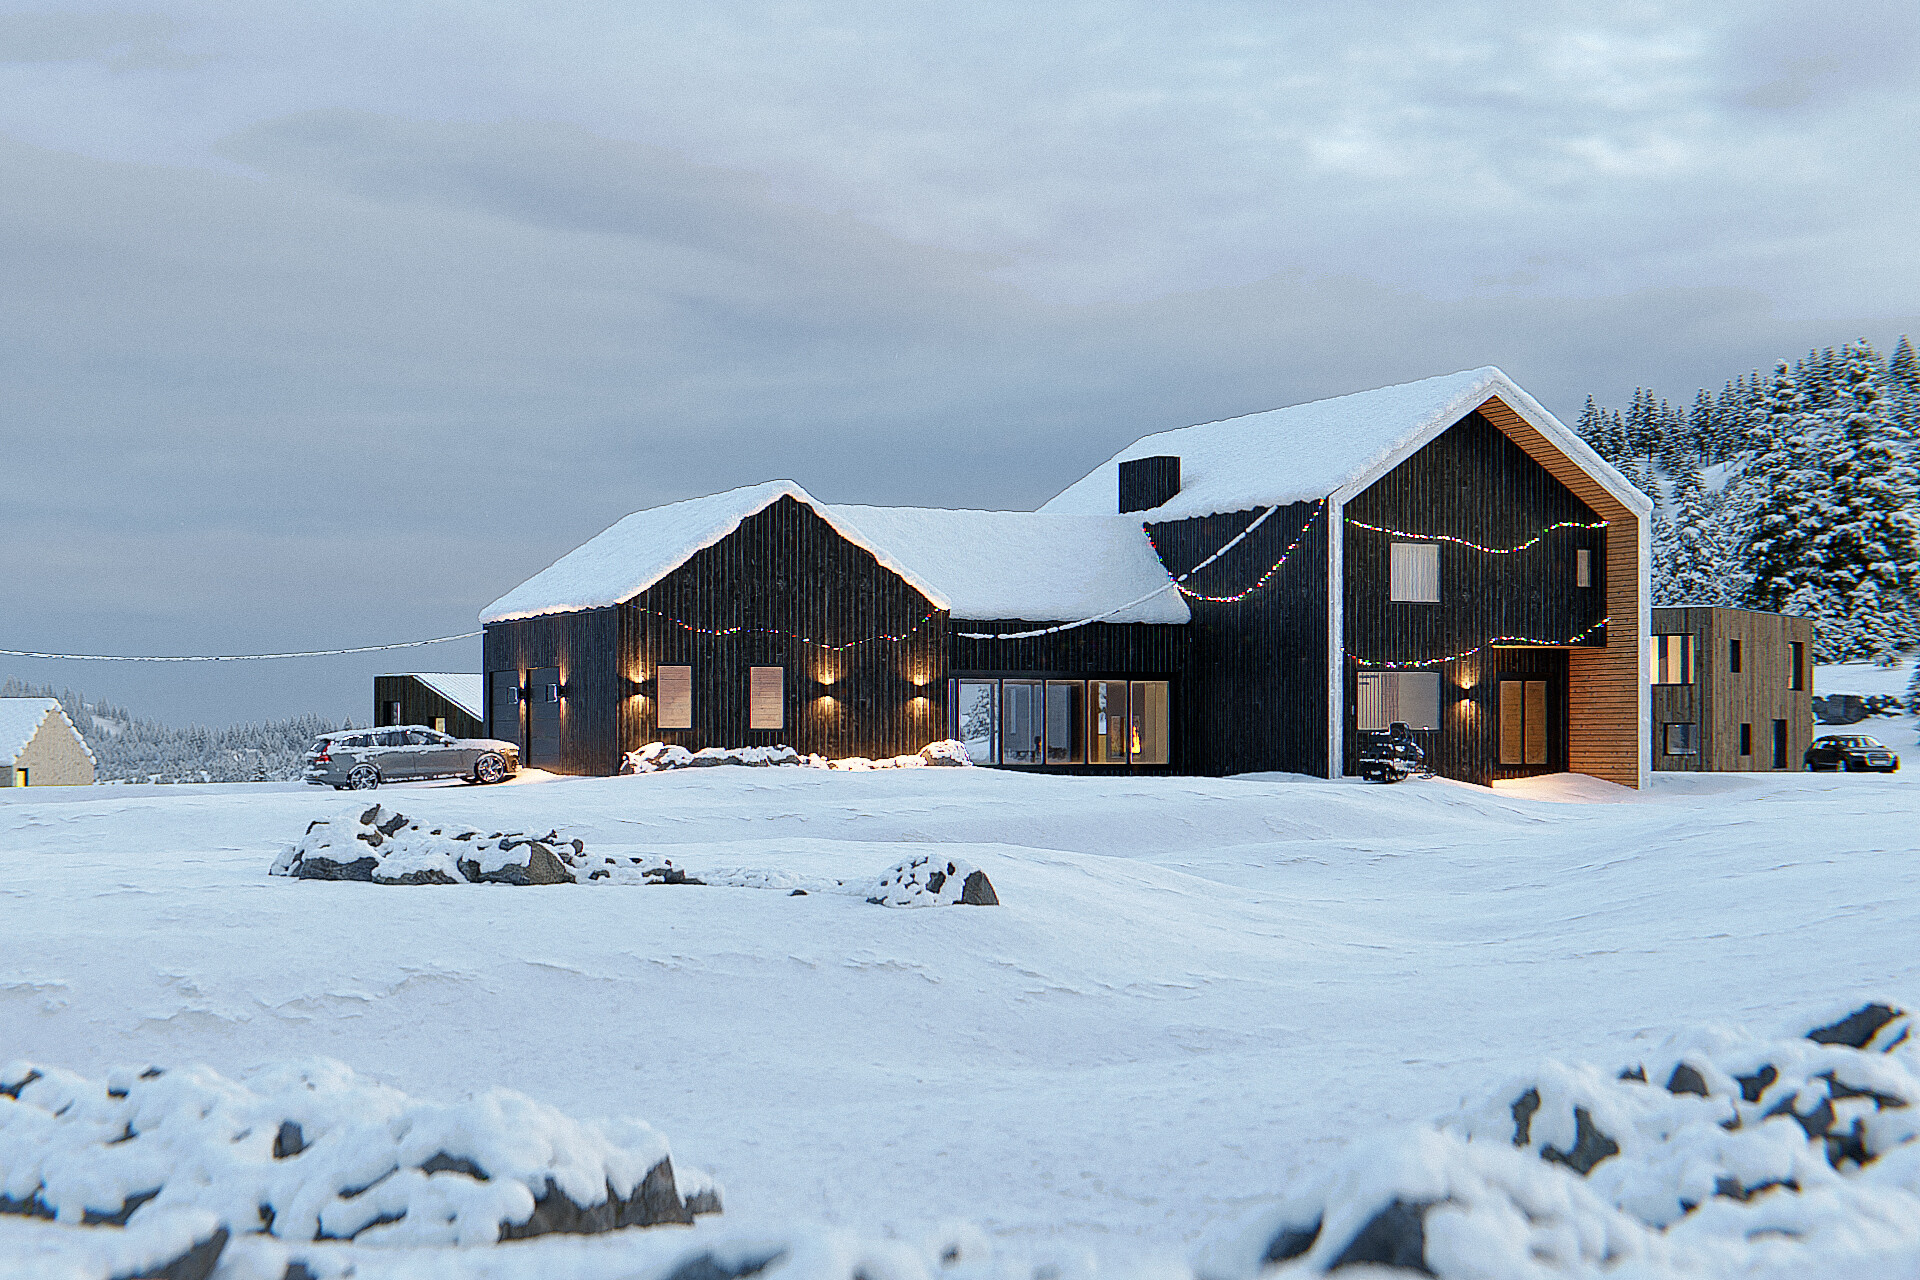
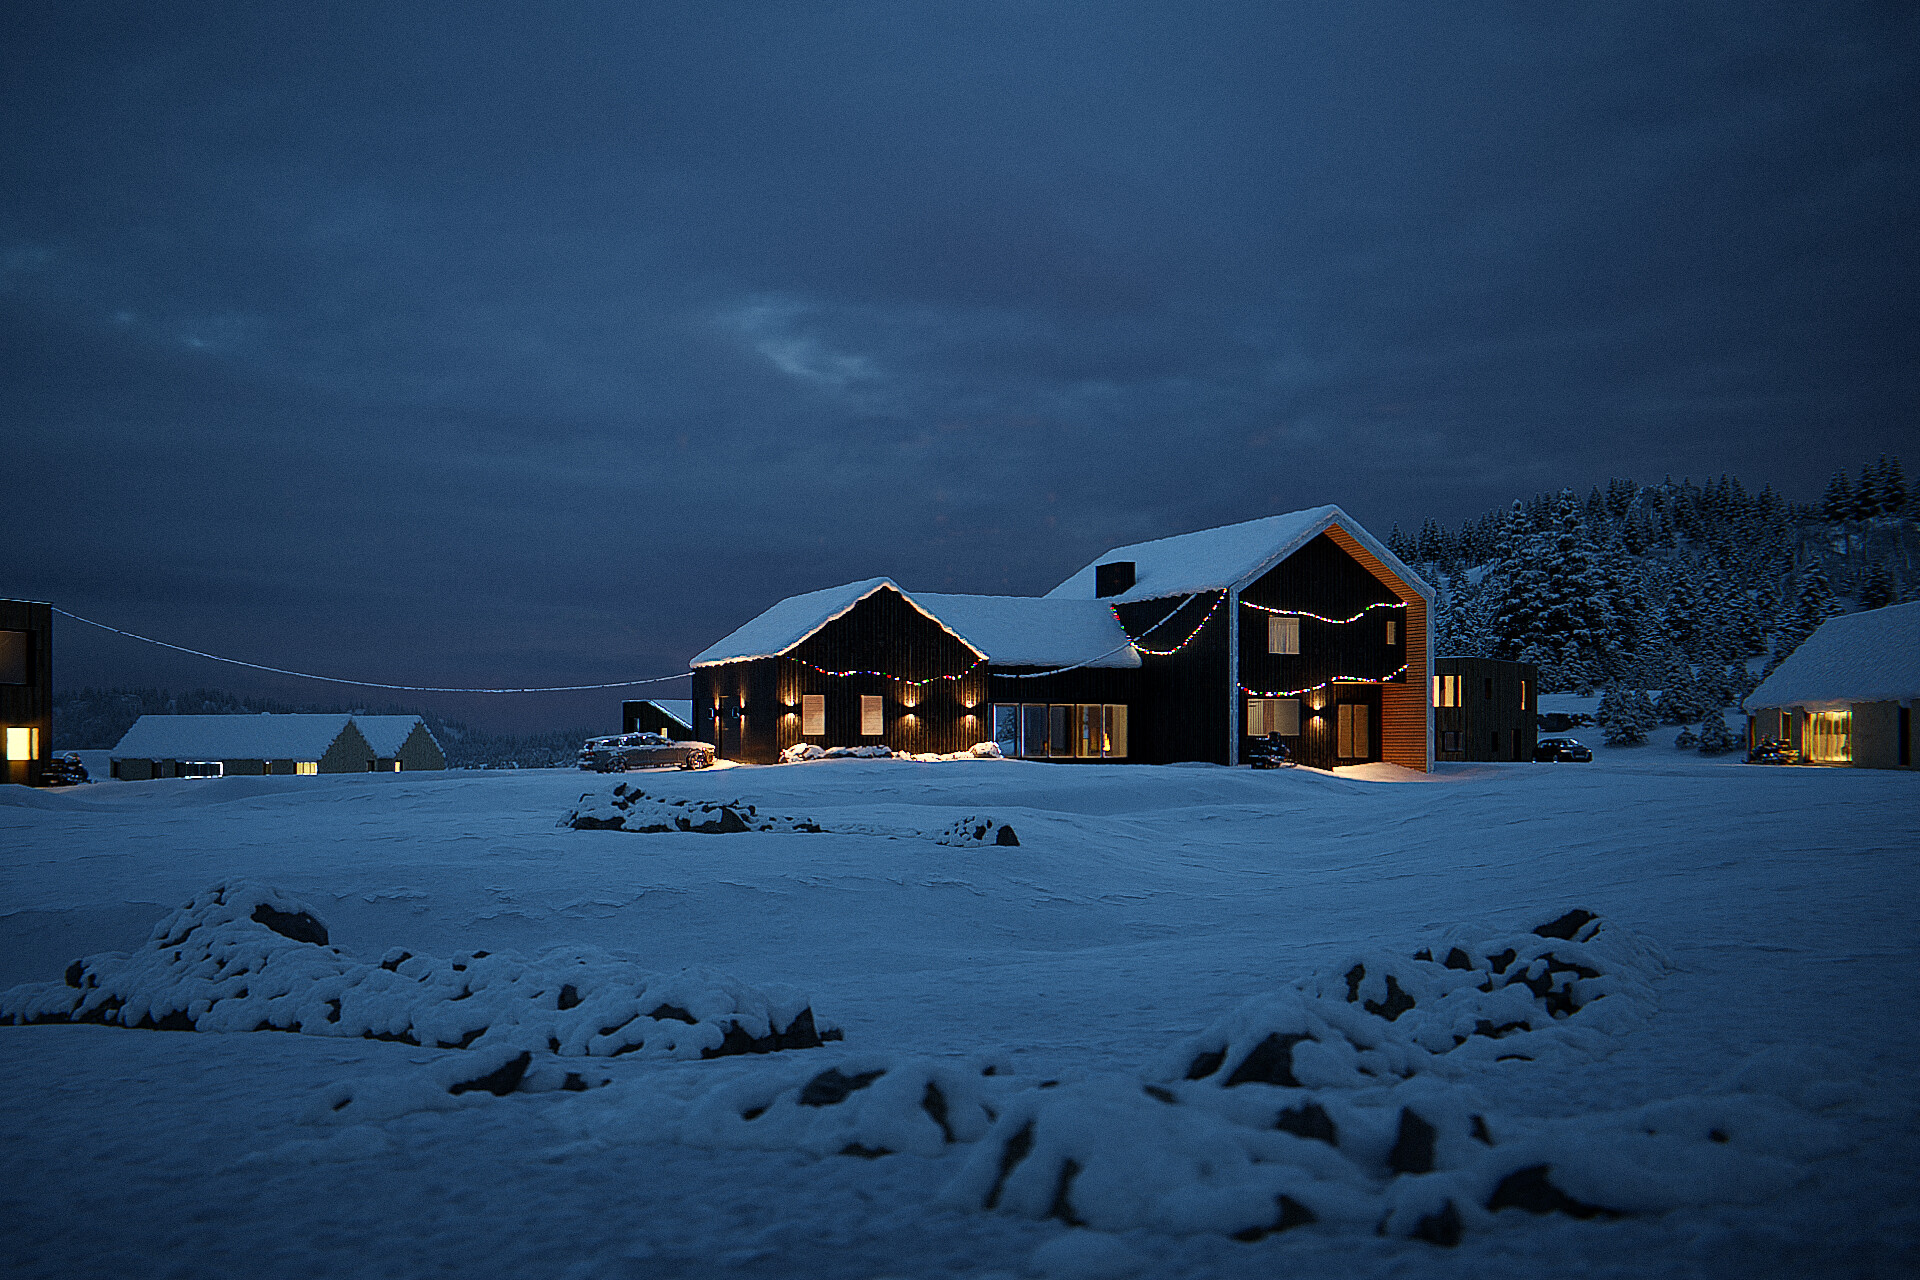
Hi! These are regular HDRIs, I have 3 cubes with volumetrics added to the background, but only one seems to capture the entire sky. In general in my work I try to stick to realism in the setting of light, camera and everything in general. I say realistic, not physically correct, because in my opinion, physically correct refers to researchers and inventors, while I still try to be an artist, in one way or some others.
A couple of concrete examples - I adjust the light so that it has power correlating to the real world, but based on the “eye” of course, not on units of measurement, because I am not trying to correlate the size of the light source with its power 1 to 1. And the rules are the same for any rendering engine. I put the world light first, then I look separately at the power of the other light sources, each separately from the other and from the world, and then how they work with each other. The same thing with their color, some are warm, some are white on the contrary, otherwise you can not see the color difference, and the whole picture is filled with yellow, as an example.
And also using different camera latitude, depending on the desired composition, as well as the fact that the normal camera with ±35mm latitude will be at a height of 1.6m from the ground, and then adjust the angle.
I saw in one vid that dude put a lot of light pass for transparency and translucency, about 50 for each; 0 roughness caustic, 25-50-80 for clump, because the advice to put the minimum I saw a couple of years ago, it’s good when you need to squeeze maximum efficiency for interior in a working project, but as the quality and desired result, limits them.
UPD. I also add sharpening and noise effect in photoshop, in addition to the rest of the light correction, because I don’t like a perfectly noiseless picture, it looks fake. On these renders the sharpness is probably higher than normal, but I’m discovering new pages in my work for myself and these are kind of extreme values.)