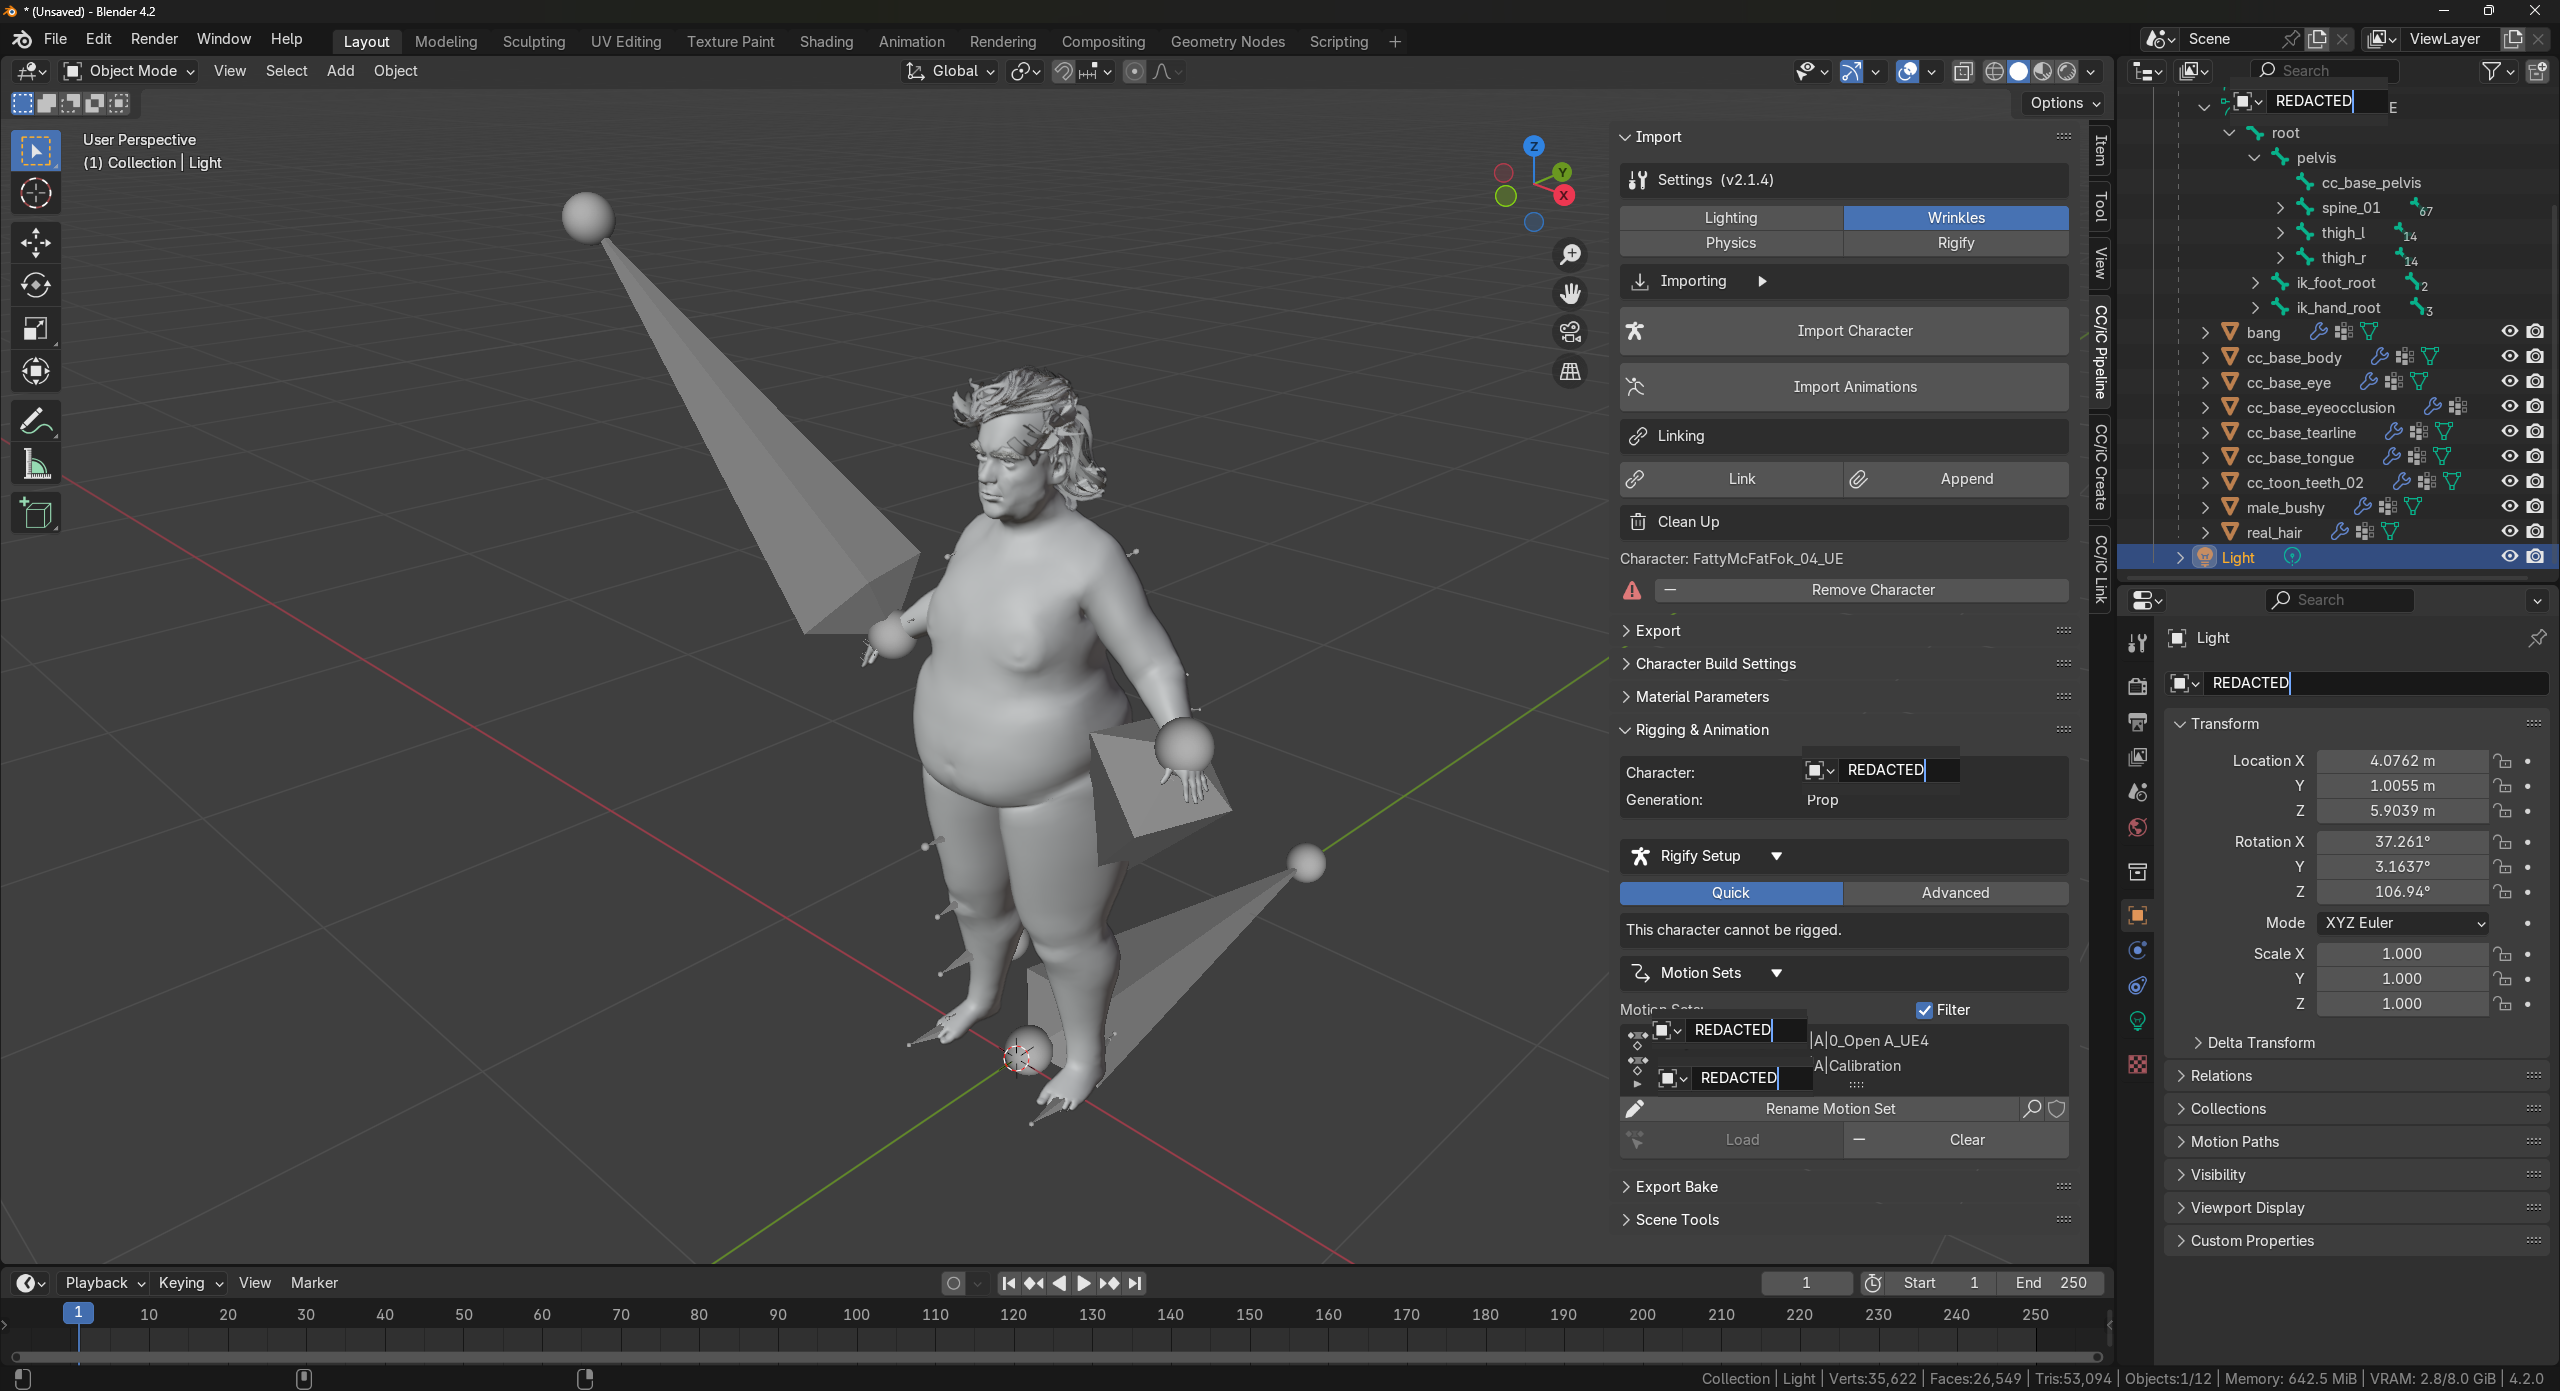
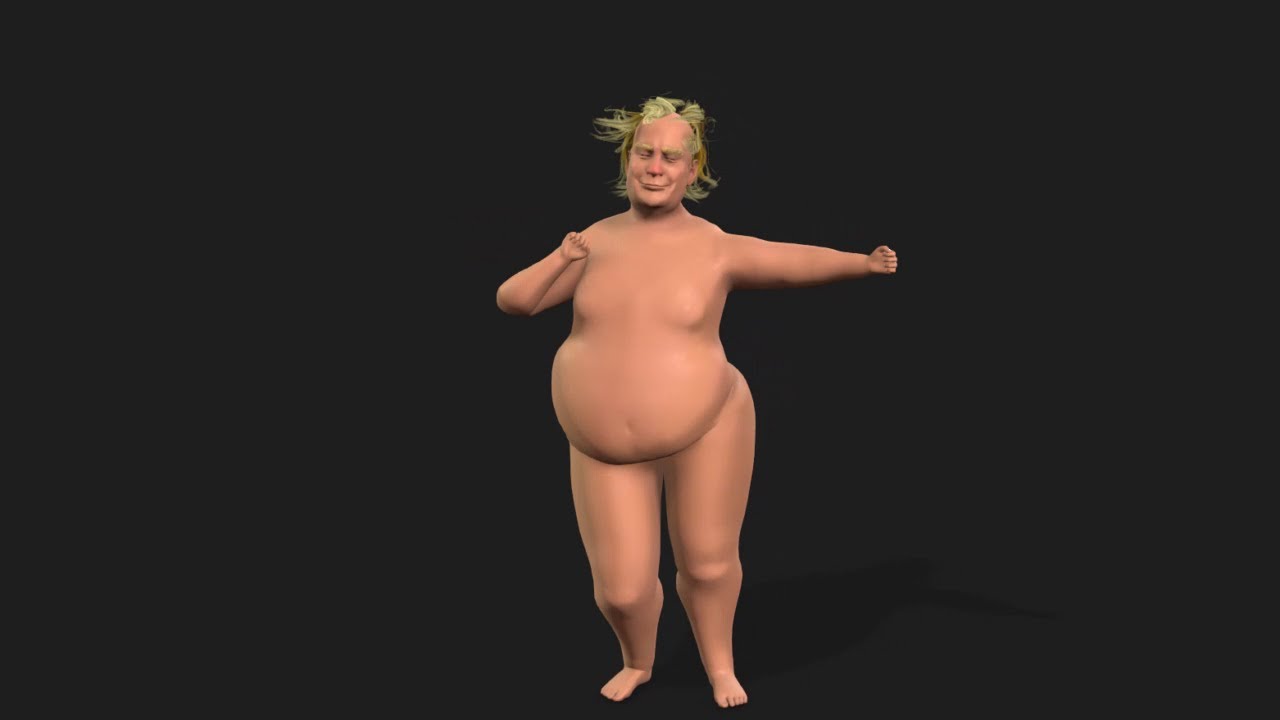
Honestly did not think I would get the extended trial for the contest, so I whipped something up to see if I could grasp the process. CC4 → Blender → CC4 → Unreal Engine. ‘30’ exports for the trial version sounds ok, but if you are like me you know you are going to mess up checking something, so that’s a plus. After a couple hours of CC4 and Blender (yes once again a renoob in blender) I had something I could use to replace the metahuman I made. Most of the relevant game logic is on a base character class so it was another couple hours to rebuild the animation blueprint, blendspace, tweak a down and dirty physics asset, and retarget the animations. Which turned out hilarious.
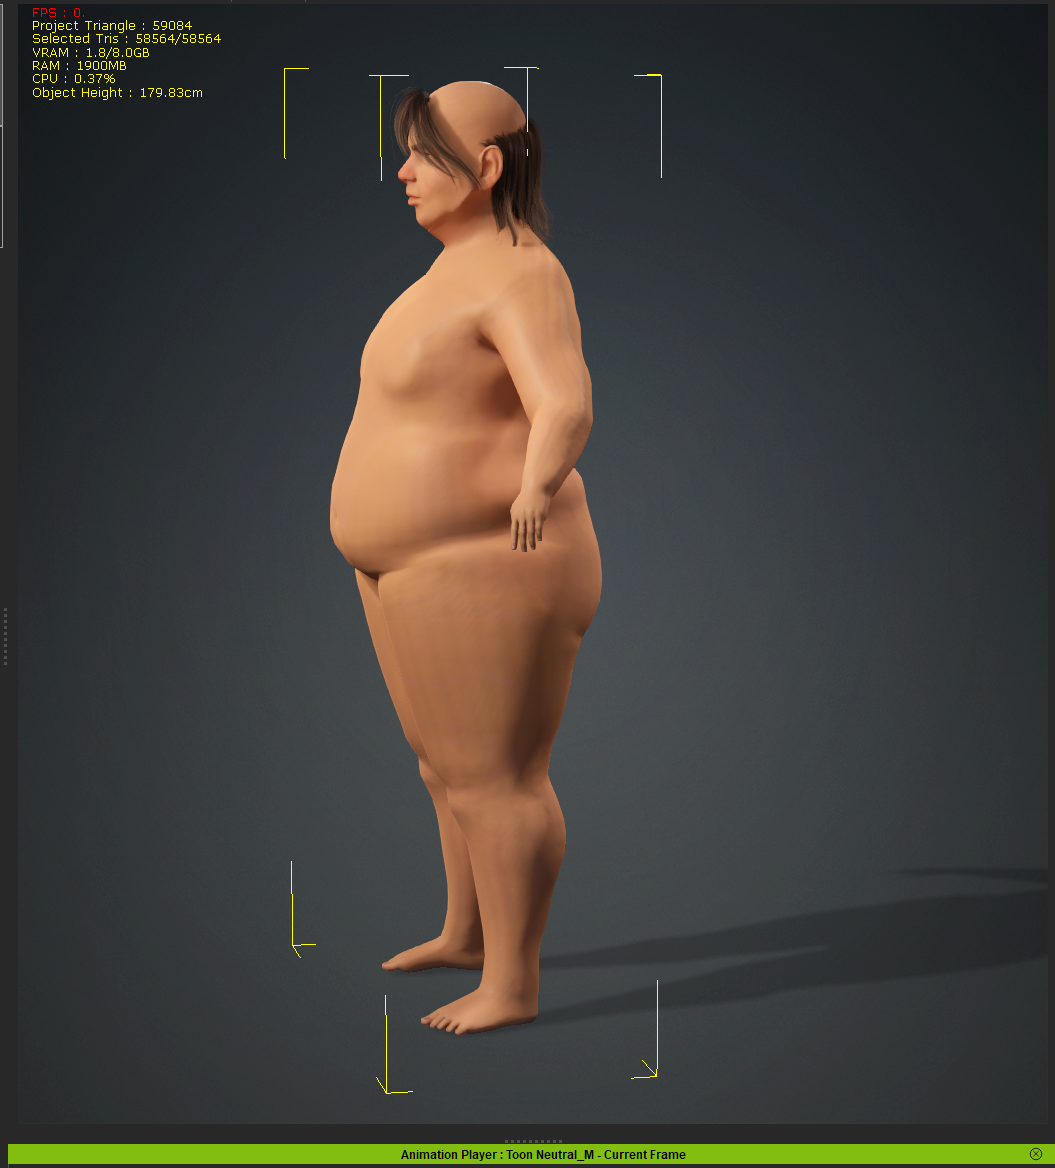
I will mention Pure Ref as a must have freebie. Started with this, still not really knowing what I am doing but it was fun enough. Took some bangs and a silly fringe hairstyle. Sadly, I exported an A Pose and not an open A pose, but it came into blender with the legs closer together then I would have thought.
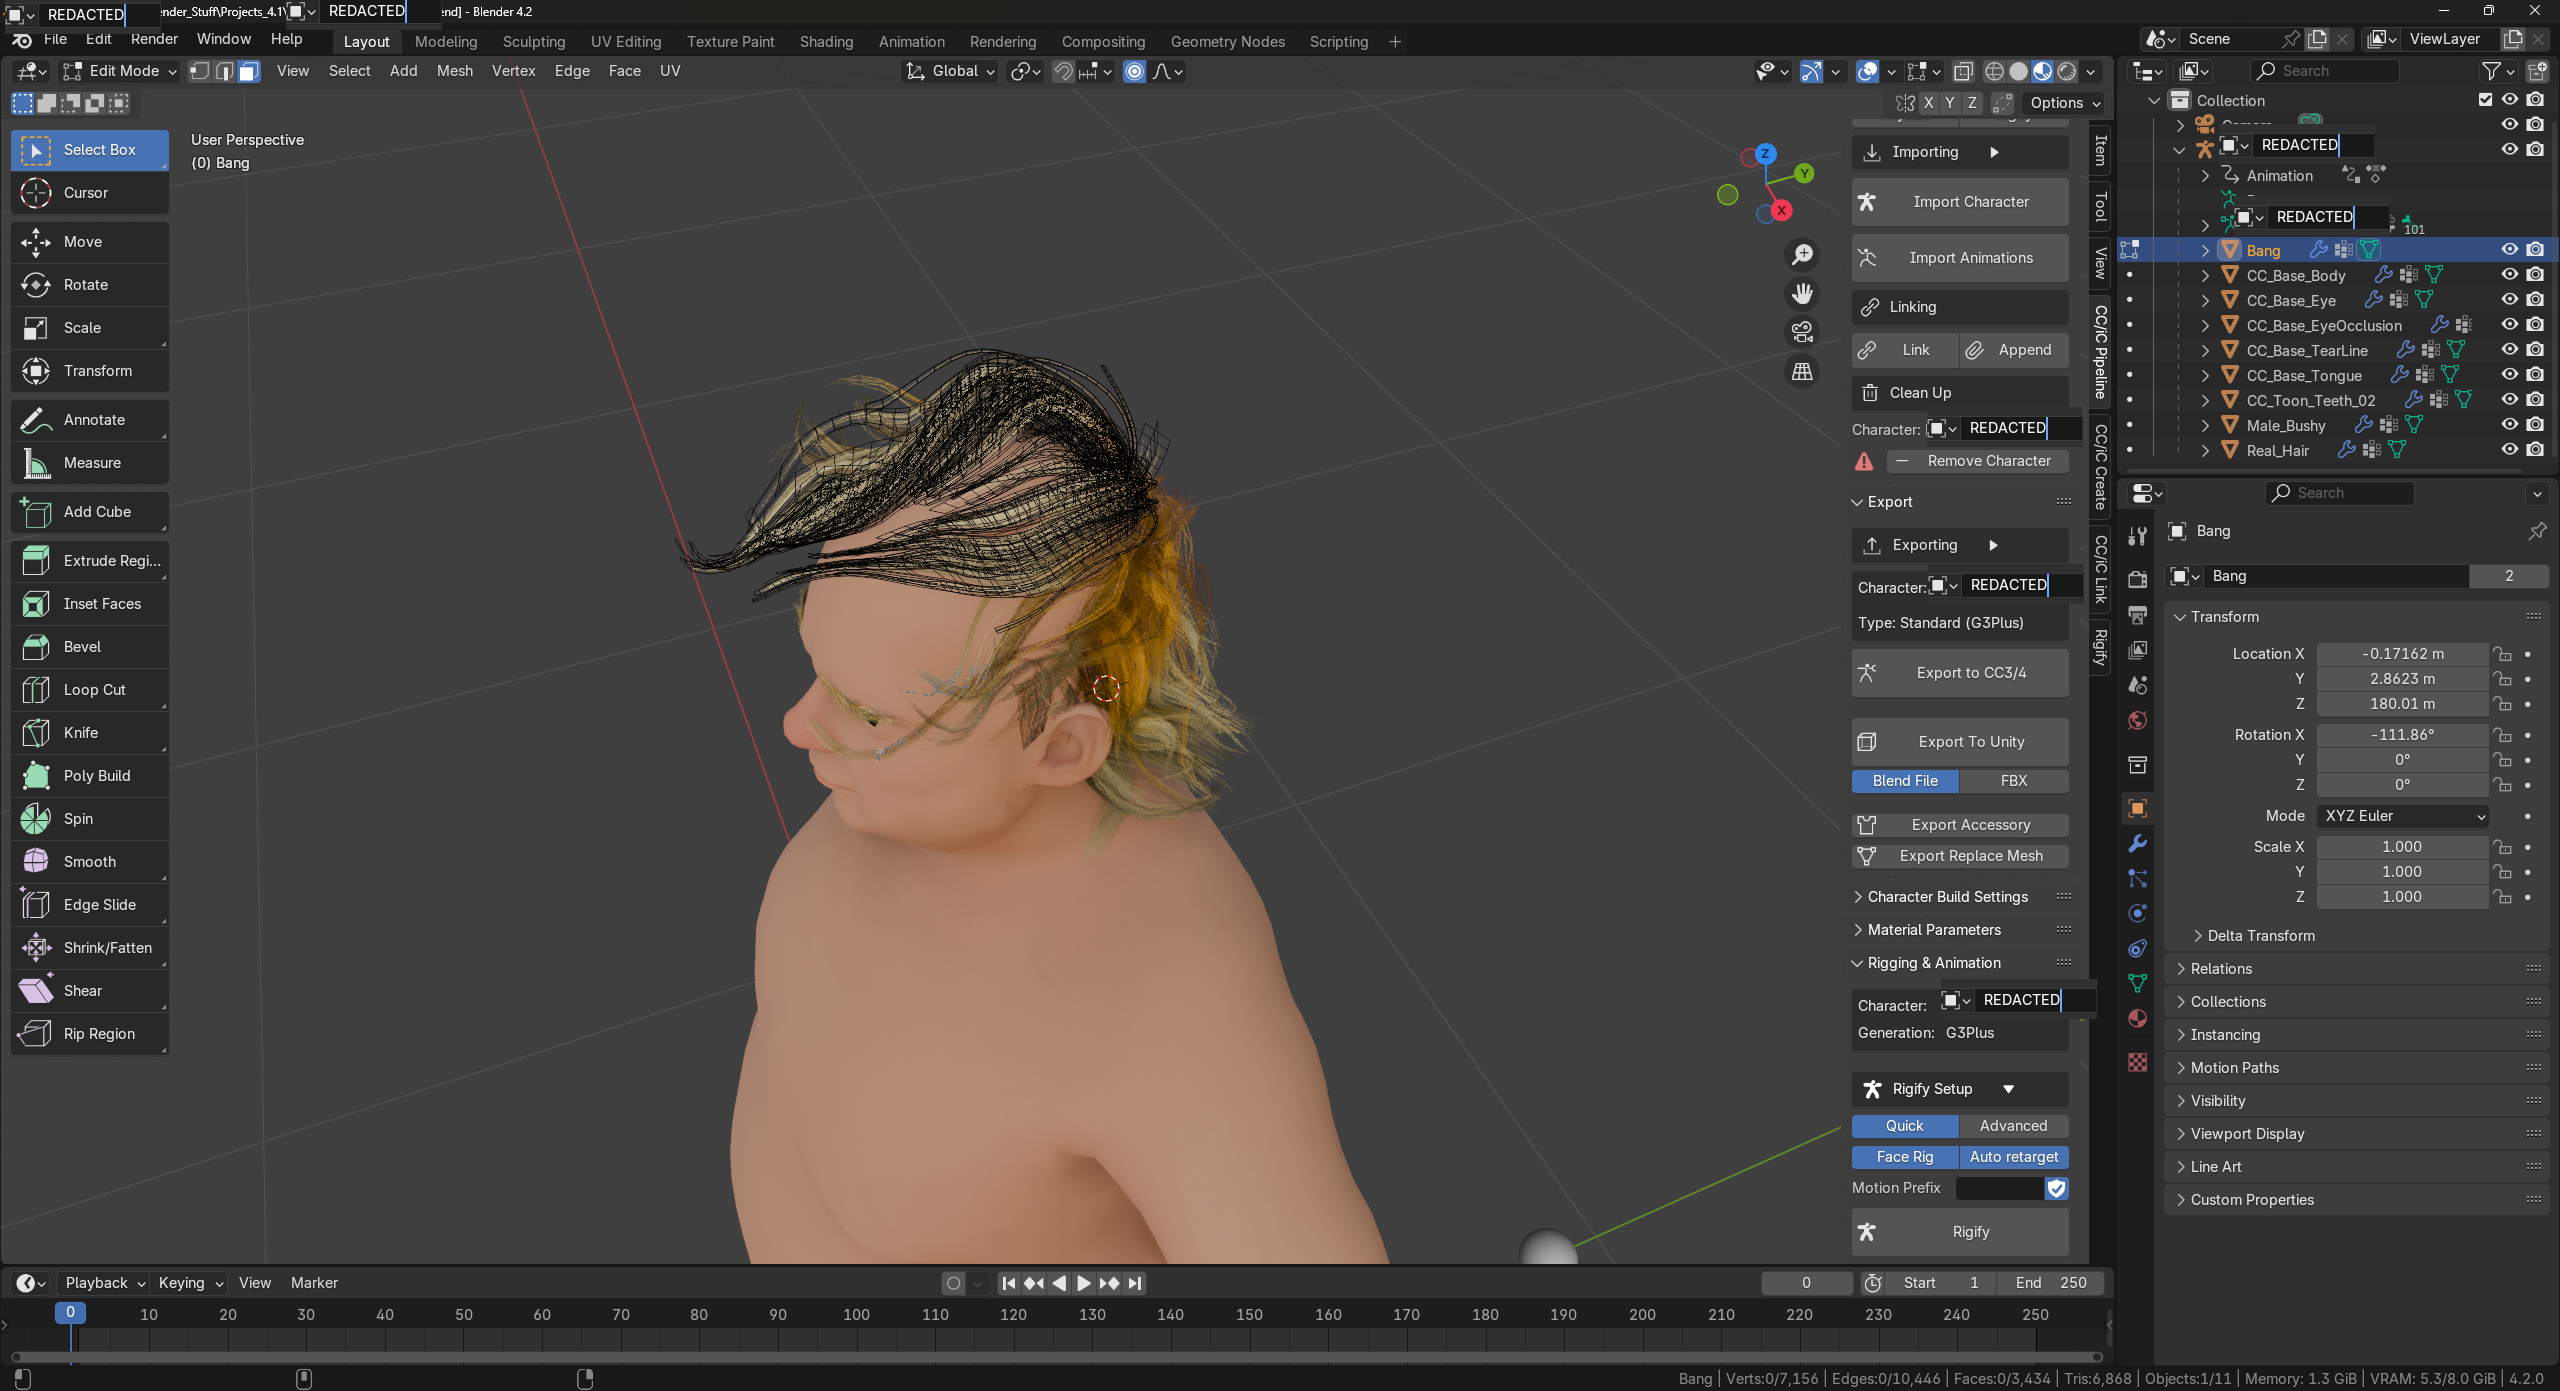
Well I played with the sculpt tool a bit, plugged in my table, unplugged my tablet, and a lot of pressing the O key for proportional editing, moving the bangs to be a combover. Probably did something odd. Even more amusing, as I had no idea how to change the hair color I modified the textures in The Gimp.
So exported via the plugin that was slightly obscure to find. Back in CC4, I found the OpenA UE 4 pose (finally) . And exported it to bring into UE 5.4.
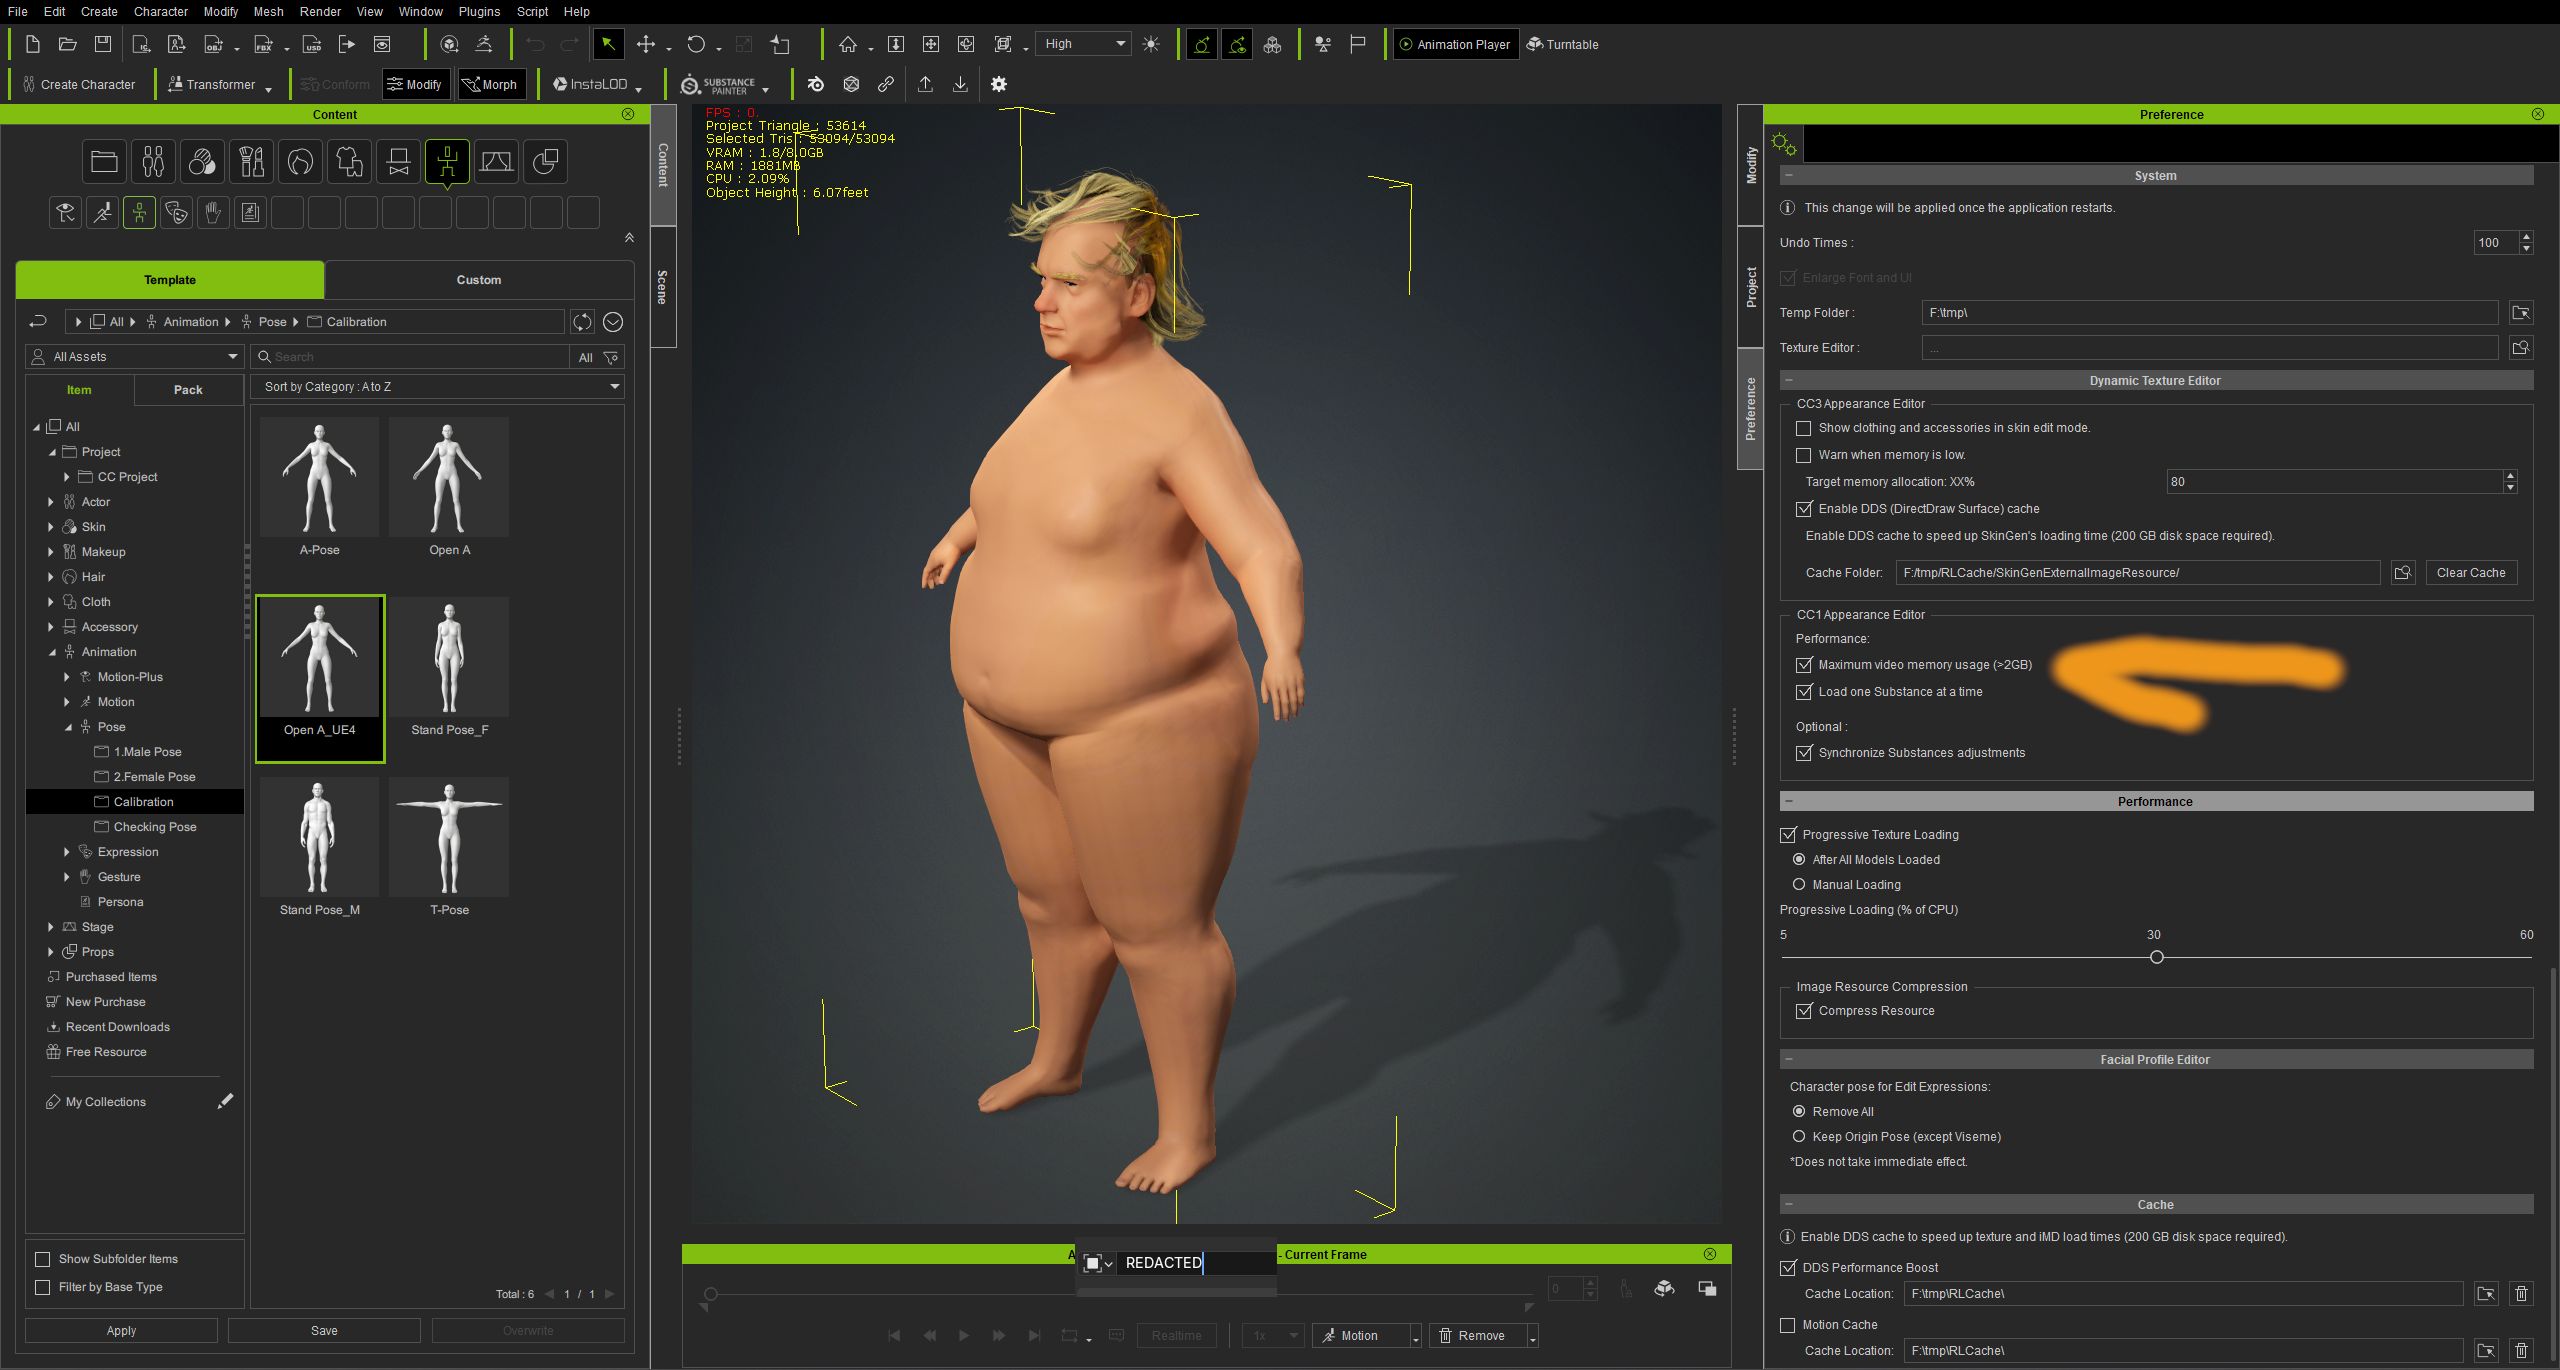
I will update with how it looks in game, but I want to add one more little gameplay element so it will start to feel like an actual game.
Notes on the process.
It’s pretty good actually. I made some mistakes, and no, I didn’t read the manual.
There’s some useful videos including many from MythconsRL.
Not sure how the hair works but I did notice a texture error message about morphs, so pushing everything around on the hair models may have done something.
I also decided to see if I could import the exported for Unreal fbx, as the fbx exported to blender did not have names that play nice with Unreal. It imported ok, with the important names - root, pelvis, foot_l, ik_foot_l good for Unreal. For some reason the rigify button is unavailable. Unless I figure that out it seems like there may be a lot of transfer steps if I ever decide to learn rigify and animate in blender for use in Unreal.