Hi, Made some paper node.
Procedural for structure and blue lines.
Also UV mapping.
Nothing fancy but it works.
Good luck
Attachments
Papier.blend (287 KB)
Hi, Made some paper node.
Procedural for structure and blue lines.
Also UV mapping.
Nothing fancy but it works.
Good luck
Papier.blend (287 KB)
do you guys think it would be possible to create a render in cycles that is similar to this arnold render?
http://www.zbrushcentral.com/attachment.php?attachmentid=412715
what do you mean by arnold scene? ^^
you mean if i give you a scene to test with?
Yes, If you have materials and lightning set up in Maya + Arnold , I can convert this scene into blend file. So in cycles it will look the same. Very very close.
i asked him if he is willing to give me the empty scene, so lets wait and see 
could you do the same with a keyshot scene as well?
i mean try to make everything look in cycles like it looks in keyshot.
As you can see in comparison materials and renders are totally equal to Arnold ( /uploads/default/original/4X/6/a/5/6a5e768e05e1267d86d8056462babc0324867ec8.jpgd=1402318296 )This 14 shaders can be 100 % equal. But 1 or 2 of them need some tweaks. I just let them stay in this level to show you some difference. It is because Cycles and Arnold too close renderers. Now we know Brecht will work on Arnold and it is one more argument to this.
So all this depends on render engine. I will test keyshot.
ive been poking around with cycles for a bit today, and thought i’d add one or two materials to this incredibly resourseful thread
heated metal material
this is like a forged metal, that has cooled slightly
Hello guys , i have some question , how i can make a metal material like this metal that you can see in those desk?(in the desk body) .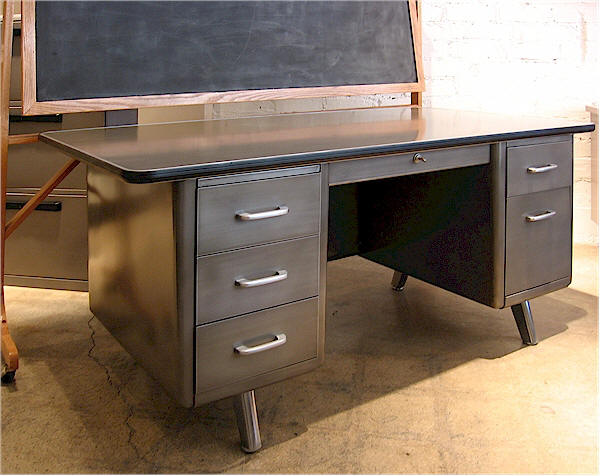
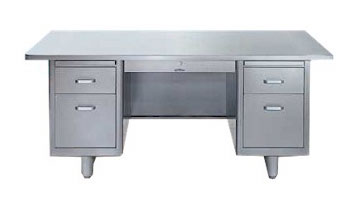
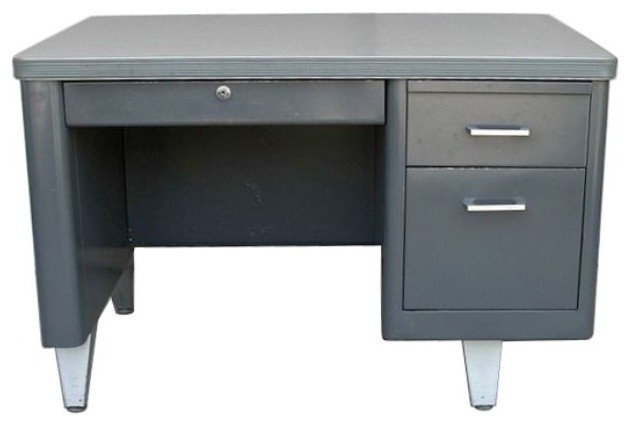
i would say, try the add shader, and it always doesn’t hurt to put in some noise textures (from the 1st picture, try a stretched noise on diffuse mixed with a dark glossy; then on top of that, add a white glossy, i’d say roughness 0.02)
Here is my approach to a repeatable noise over seam. Here shown on a typical anisotropic metal to produce visual cues to grooves. Pure UV based (no mixing of radial and UV based tangents required, and no prepped image textures required).
I’m 100% sure this is not how I used to do it earlier in other software, but I can’t for the life of me remember how I did it. This method does strike me as simpler though from what I remember (I know I used 4D noise, but that was for UVW space live radial noise without movement through object), so please let me know if you spot any problems I didn’t catch.
Link to flickr image of node setup.
Edit: Linking to original size version instead.
@CarlG… yah thos flicker links are pretty useless… I can’t zoom in close enough to see what you’ve done…
try using …
Click on it, then right click on it and select view original. It’s not that hard.
Wow, I’ve had some pretty complex setups in the past, as an attempt to correct anisotropic energy loss at glancing angles. But without extensive testing, this simple trick seems to do the trick pretty good. It only applies to Blender 2.71 though, as 2.72 apparently will have fixed this issue. But here goes a description:
The node setup.
Compared result image.
Full size render in UHD resolution.
The above result becomes your new reference white. If you have a fully reflective metal defined as a full white color, just multiply it with the above trick to “overbrighten the edges to compensate for loss of energy”, the result looks remarkably similar to a normal glossy shader using white (that doesn’t get darkened reflection toward the edges).
It might be worth trying if you’re hating the darkening in vanilla 2.71 anisotropic shader. Note that I haven’t tried it against comp to see if energy levels are maintained, but at least in inter-reflections nothing seems to increase in brightness. Probably does not have anything to do with physical correctness or anything, but kinda fun fix regardless.
Edit: Spend time on trying it out, and it does appear too bright along the edge, but think I came up with a good curve/multiplicator. Will post it later today when I get home.
Edit2: Got home, so updated above with links rather than textual description for a version that does look better. Won’t do anything more with this, since a proper implementation is coming in next version of Blender.
The blurred fixed is most like what i´m looking for , thank you 
Sorry guys to make a some question about blender cycles materials , is because i´m a newbie in blender cycles .
Anyway i will gonna make questions about kinds of plastic materials
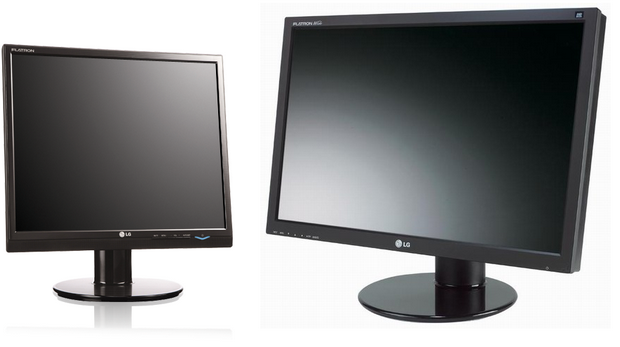
This first plastic material i´d like to make a is this plastic that you can see in this monitor
@CarlG …
Click on it, then right click on it and select view original. It’s not that hard.
thanks for the pointer there… but your suggestion doesn’t work with all browsers… certainly not out of Firefox… and I know there are good portion of people who on the forum who use Firefox… my suggestion was to just try to make it easier on others…
downloading from pasteall is easier for everyone when it comes to sharing information…
but it’s your choice… No Biggiee…
:eyebrowlift:
Here is some fairly desent solutions on the High Pressure Tube Material Ideas…
NorvsHiPressureTubing_006.blend (990 KB)
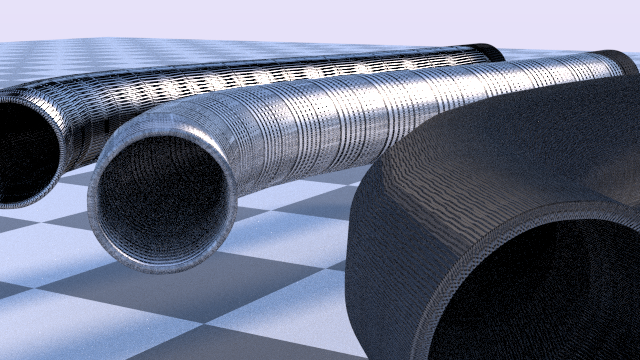
my effort was to avoid use of any Texture Images to cut down on rendering time some what…
more of a “quick and dirty” method…
Hi guys, does anyone know how to get a reflection like this?
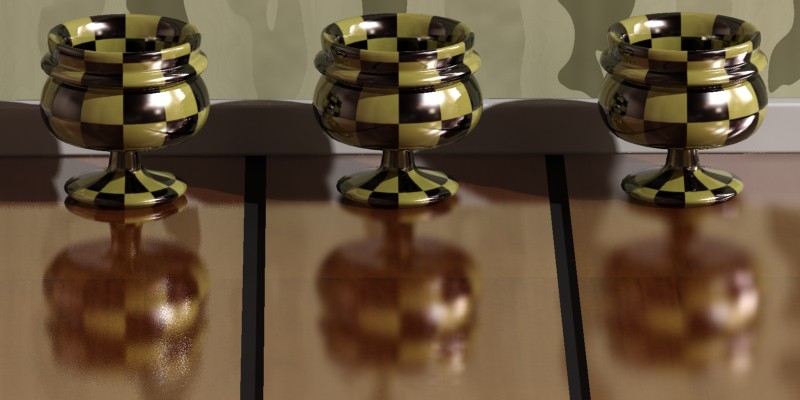
Not blurred at 0° and more blurry the closer you get to 90°?
I try with mix shader and fresnel/ layer weight but without good results!
(congratulations for the shader
I have seen in this post)
Fresnel/layer weight seems like a valid approach. Try mapping the output to an emission shader, that will give you an idea of what values are fed to roughness, then insert colorramp/rgb-curves/math-nodes to scale to the values you want. The image you show appears to have quite low roughness values (certainly not nowhere near 1).
Anyhow, here is an environment HDRI setup I just made. Don’t remember seeing this in this thread before, and too lazy to go back and check  Outermost I expose minimal controls needed, which is why I have a custom UV rotation group rather than using the builtin mapping node (whose controls can’t be controlled externally), which may have other uses as well. So all you have is texture selection node, rotation angle, gamma, and strength. Gamma is basically shadow control, and original color values are fed in to prevent oversaturation from gamma curve. Well, here are the nodes setup, hopefully linking to original size works better than before:
Environment nodes on flickr.
Hello guys , sorry o make some questions about cycles materials , because i´m a newbie in blender cycles , i need to learn some materialsto i can make my project
today , i´d like to know some types of plastic materials.
This is the first plastic material i´d like to do.
How i can make it?
Thats pretty much the only way to do it that I can think of (unless you program your own OSL shader). You will probably just have to experiment with different settings - perhaps using more than two glossy/anisotropic shaders.