Can you explain a bit more about the detail sculpting? Is it multires and did you used alphas?
Yes, it’s multires, with 5 subdivision levels. That’s just barely enough for some areas, like the forehead, but working with 6 levels is uncomfortably slow on my computer.
I actually didn’t use many alpha brushes since I’m trying to do this project on the cheap. I scrounged and modified a few pore alphas from an old Frank Tzen tutorial, and augmented them with procedural noise applied by hand for the mid-level detail (3D mapping for tricky areas like the ears, tiled mapping everywhere else for better control). I made a bump alpha for the neck and torso by painting over a photo of goosebumpy skin. All the wrinkles and creases were just sculpted with a tiny brush and no alphas.
It’s definitely not as good as using alphas from texturing.xyz, but I’m not planning on making any extreme close-ups.
2 Likes
It looks very good. Thanks for the answer
Great wip and also a lot of helpful informations! Can’t wait to see more.
Your modelling is exceptional. I love the hair.
Thank you!
A small update because this thread got bumped. I’m in the middle of painting the skin textures, but last week was the first time I felt like working on it since the quarantine started.
There’s probably plugins to do this easier, but I’m painting with layers in 2.8 like Substance Painter just using nodes and a separate greyscale image file for each layer:
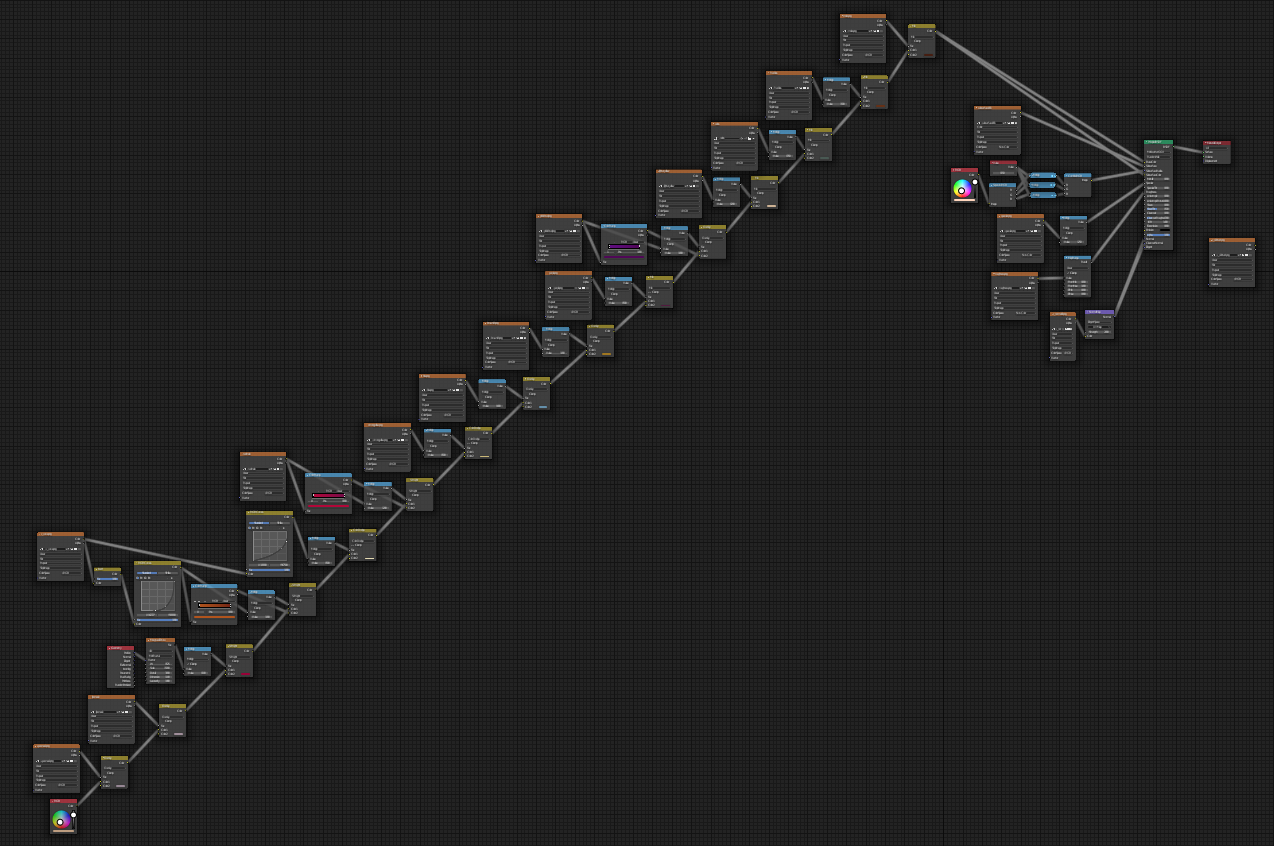
(then I bake it, of course)
I’ll post more pics when the texturing is finished.
2 Likes
If not cuted below shoulders, I would think it’s a real person. Facial proportions and anatomy is perfect. Once it’s done, You have my vote to put this on Blender’s startup screen. Just amazing. Having some Instagram portfolio or Artstation profile to see?
Thankyou for taking time out of your day at Pixar to tell us about your work in progress. Can you tell us which movie this character will be in?
I’m laughing at some of these replies. I really must stress that I don’t feel like I know what I’m doing yet, but it turns out OK anyway because I’m re-working every step multiple times until it’s good enough. That’s also why it’s so long between updates.
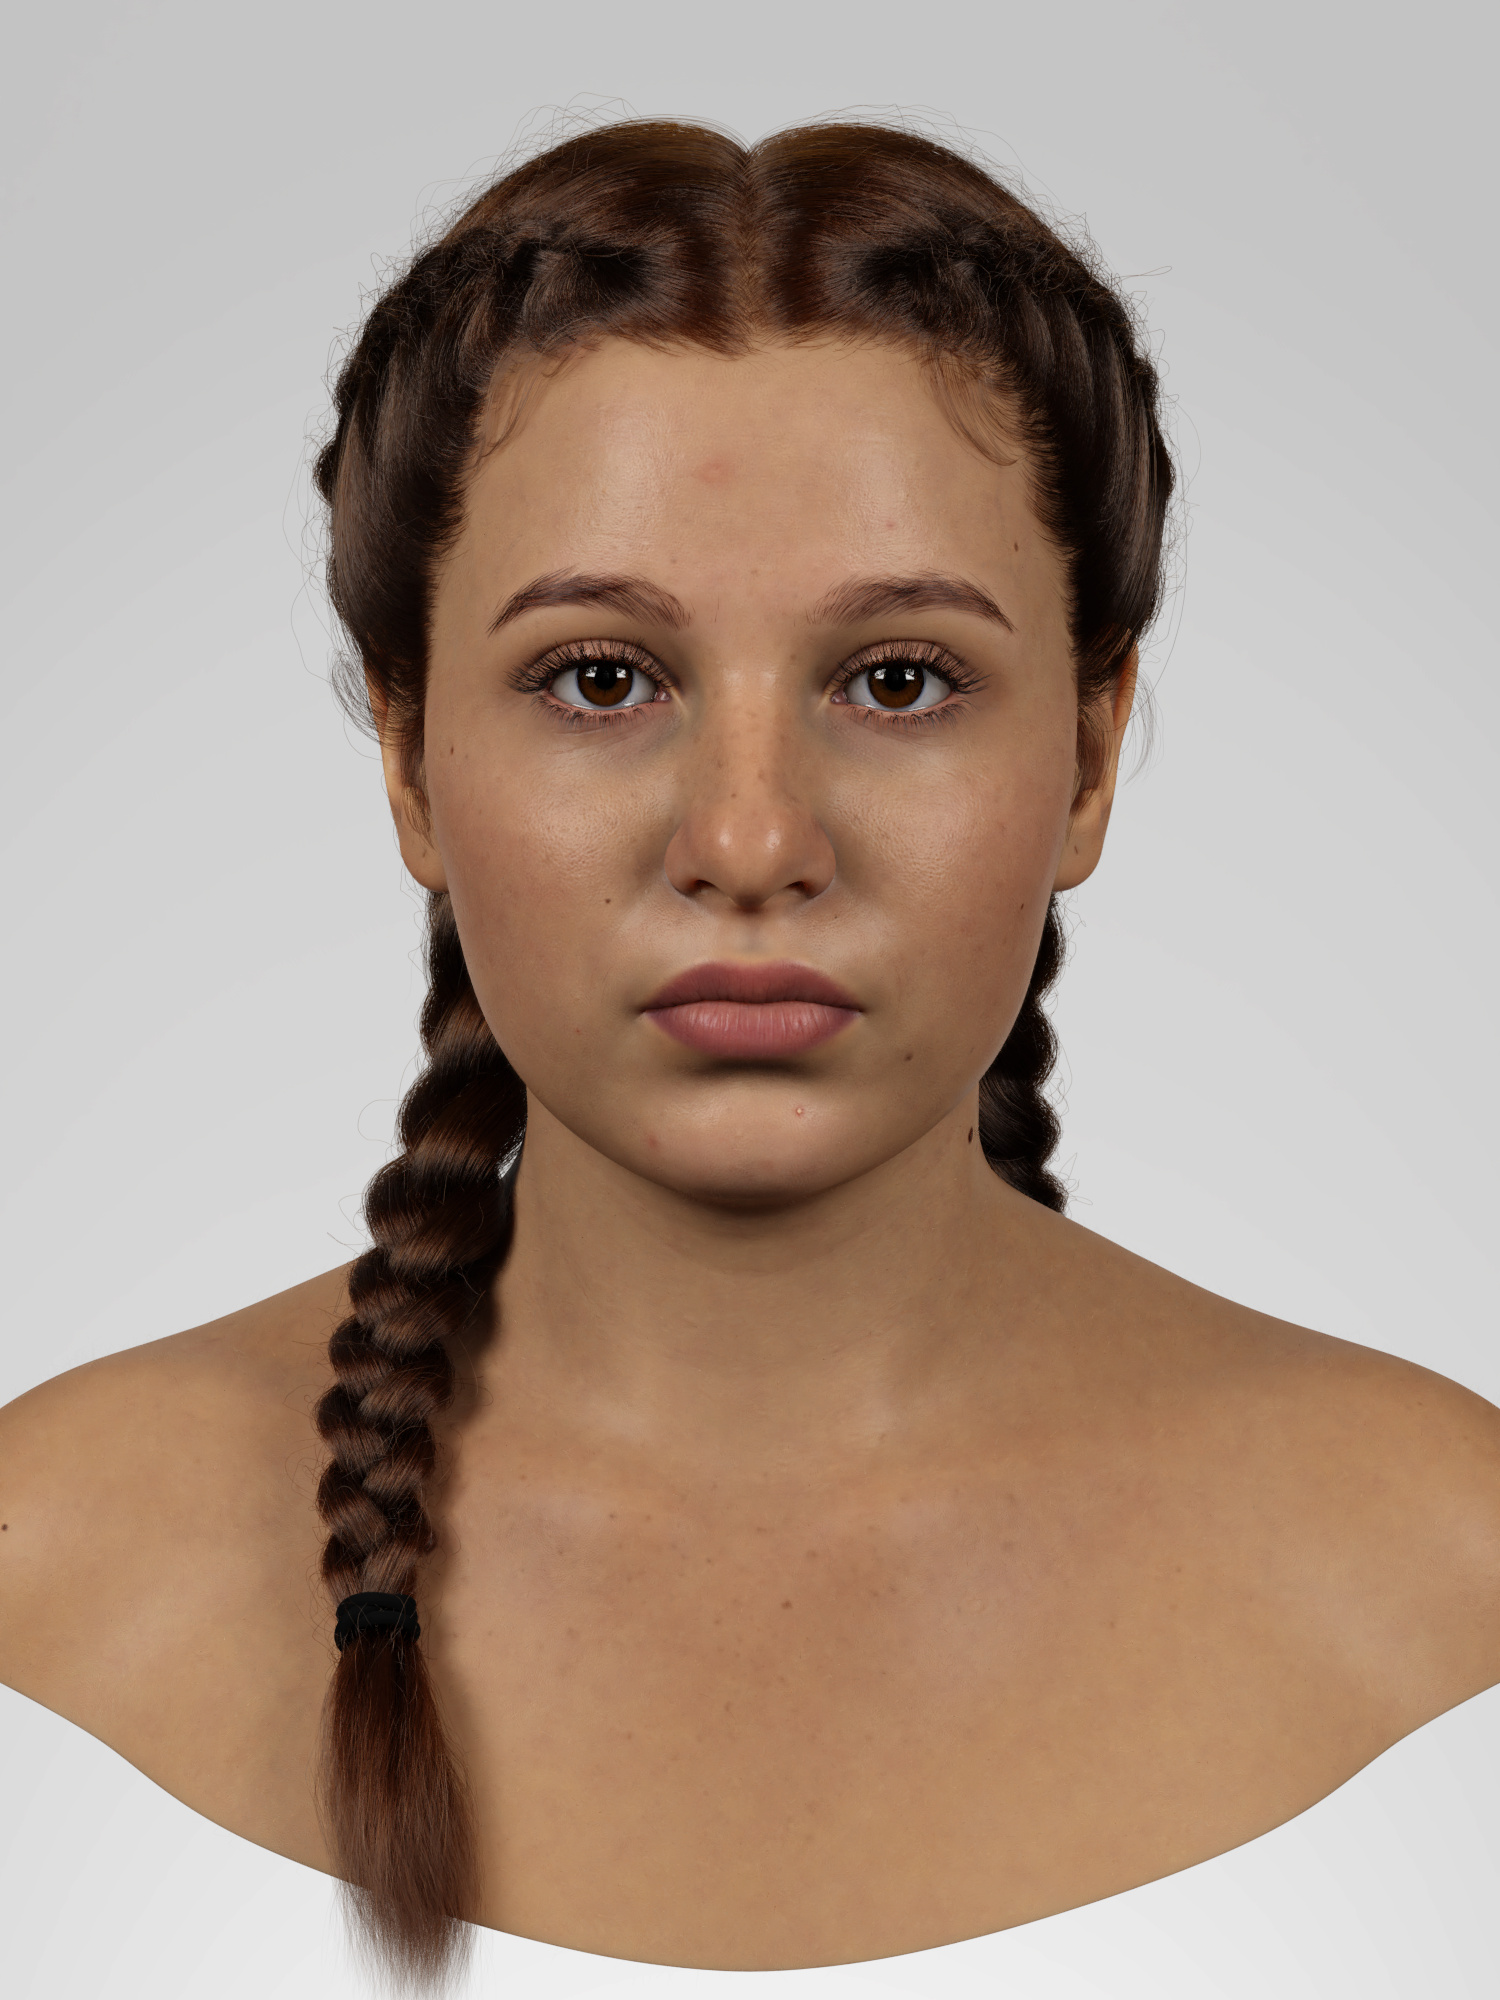
Anyway, the textures aren’t finished, but here’s what I have so far:
and with more interesting lighting, plus a temporary shirt:
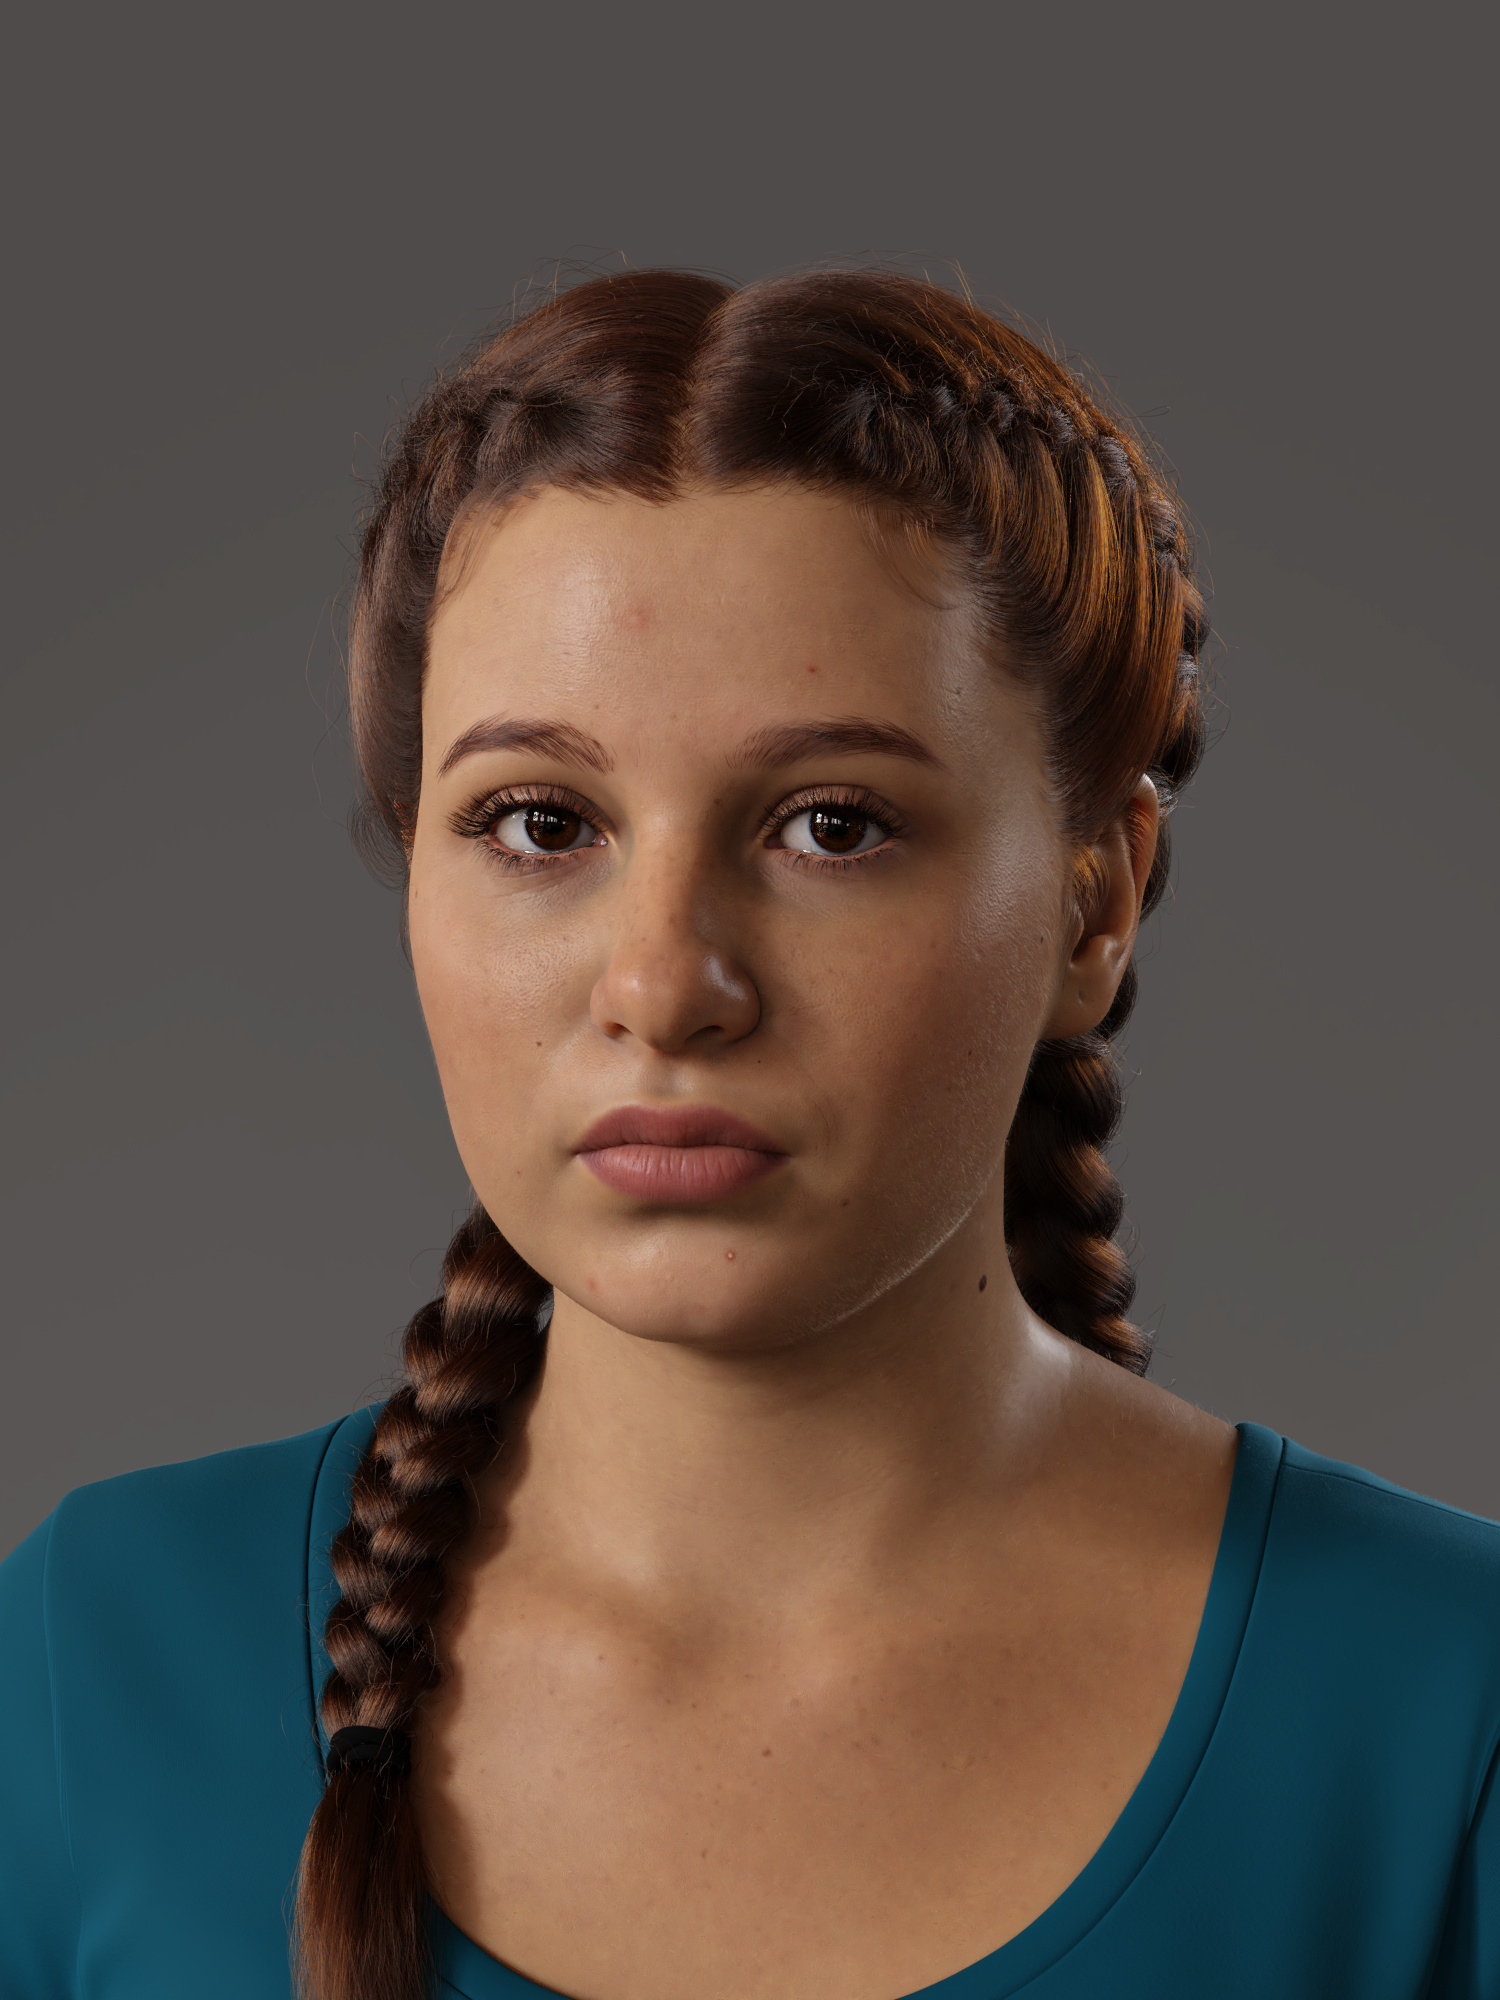
(Temporary assets do have a way of becoming permanent, but I still intend to use the cloth simulator to make a blouse or dress in a different style for the final image.)
The textures are completely hand-painted based on this tutorial: https://youtu.be/9ywhVkZBtq8 using the node-based layered technique shown in my previous post (developed after I checked the price of Substance Painter).
I think it’s a little too red under the eyes, it needs more fine details, the color of the lips is never quite right, and I’ll probably replace the freckles layer (again), but other than that, I’m pretty happy with it.
17 Likes
My god! It’s beautiful - absolutely wonderful work!
such a stunning work!!!
can you please help me with my hair problem?
Back to it! With my new computer I can finally bring this into the current version of Blender, although that means I will have to completely redo most of the hair. Oh well, I was sort of wanting an excuse to do that anyway…
To that end, I’ve been playing around with making eyebrows using geometry nodes, to get more control than Blender’s current particle hair system allows:
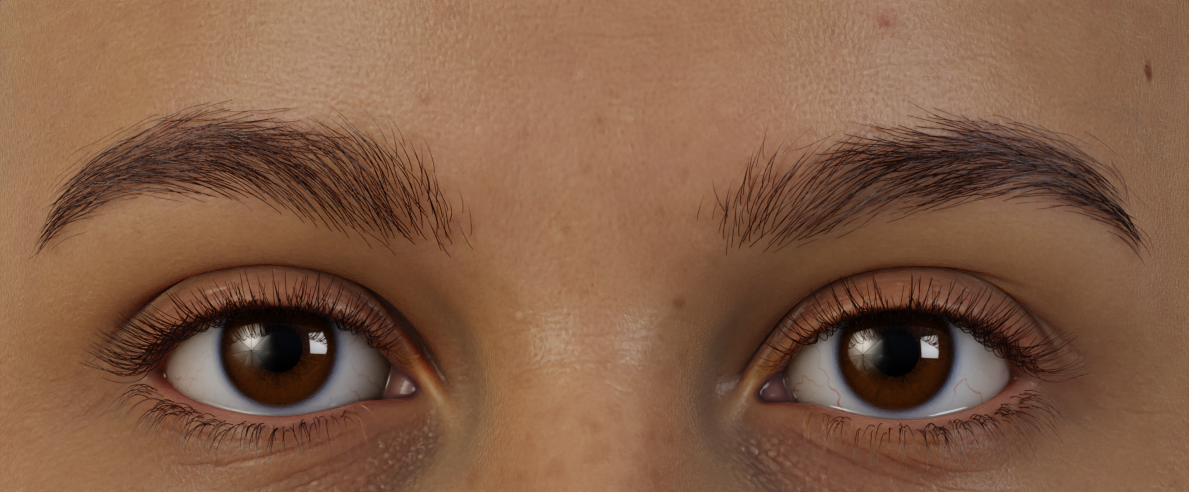

Given the absence of explicit loops, I’ve come up with two terrible ways of interpolating the hair. The first is simple distance-based weighting (shown above). A pair of node groups are repeated for each guide hair, to calculate a normalized weighting factor and sum the weighted shape of the guides for every child hair.
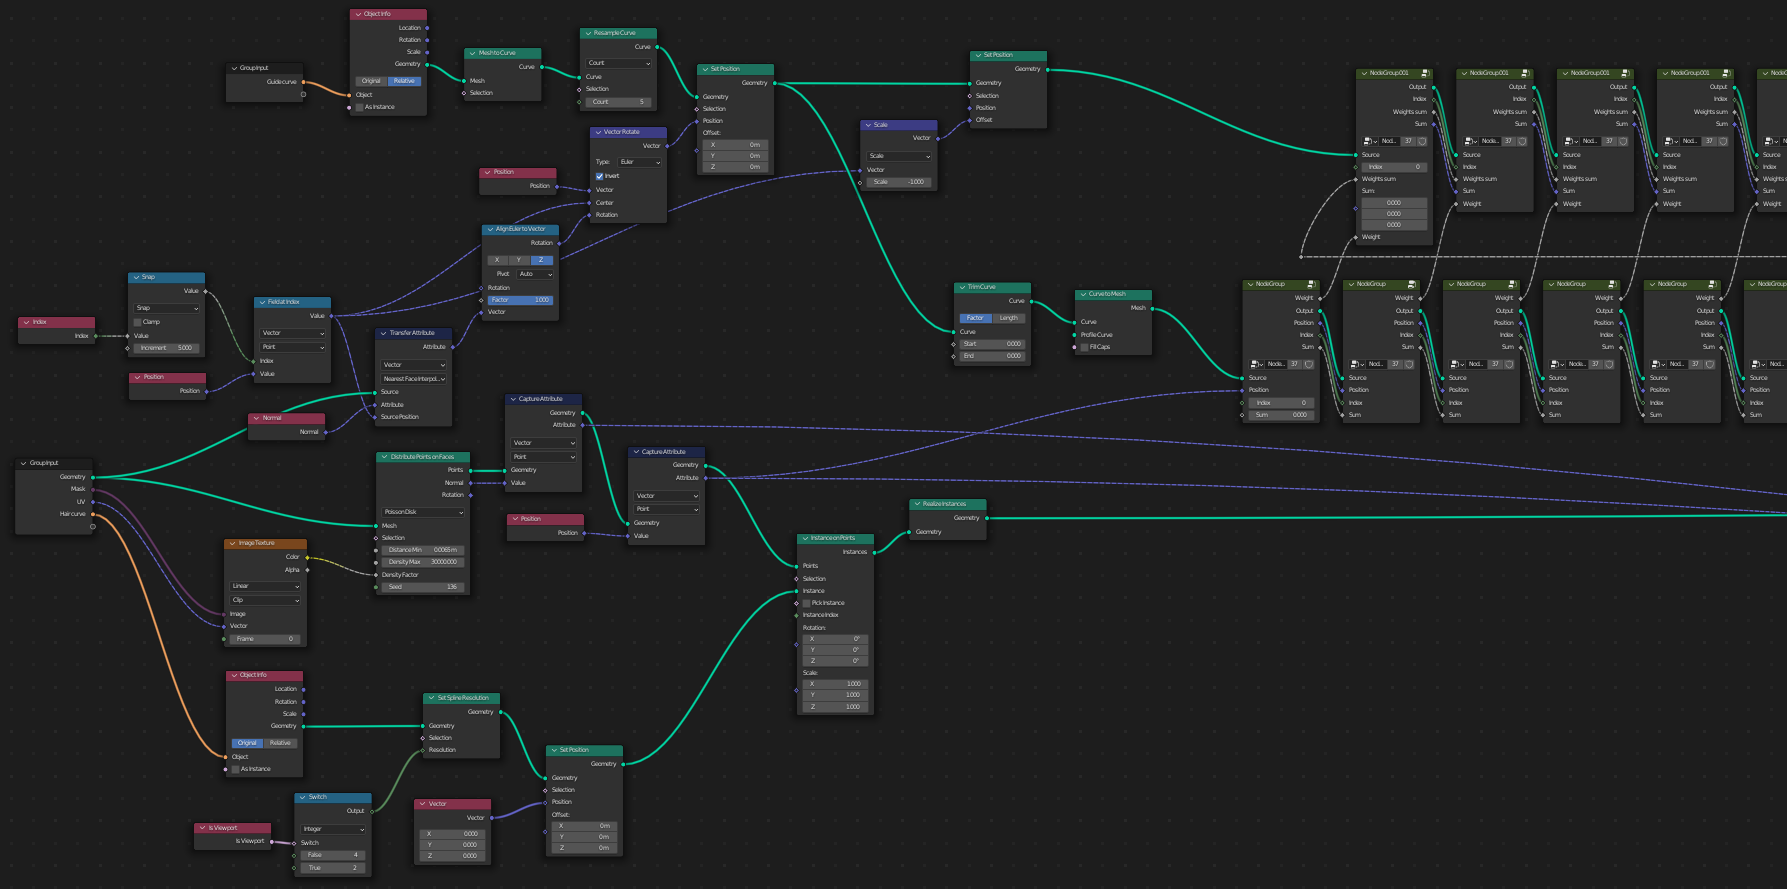


Repeating a large number of node groups like this is incredibly inconvenient, of course. So, inspired by Xeofreos’s experiments, I came up with a different method to interpolate using the surface of a mesh. An ideal mesh for interpolation would have vertices at the roots of each guide hair and a shape as close to the underlying base mesh as possible. Maybe we could make something like this on the fly by just smashing together the vertices of the base mesh at the positions of the guides? It’s not a general solution, but somehow it works here. Now I only have to repeat a node group for each control point along the hair spline (except the root, since it doesn’t change), making it easier to add or remove guides.


But surely this method would fail on a more complex mesh, right?

Huh.
geo node eyebrows.blend (2.3 MB)
14 Likes
Amazing to see the progress. Regarding the random thickness of the hairs, it’s possible to randomize the thickness of the hairs in one particle system using 3d hair brush addon. It’s not free though
I love this project - the render is stunning and the model is quite beautiful as well. It’s realistic and the slight imperfections make it even more appealing as it humanizes it quite a bit. Great great work!
I would love to take a look at your skin settings, textures and lights. Feel free to name a price, I would gladly pay. Thanks! ![]()