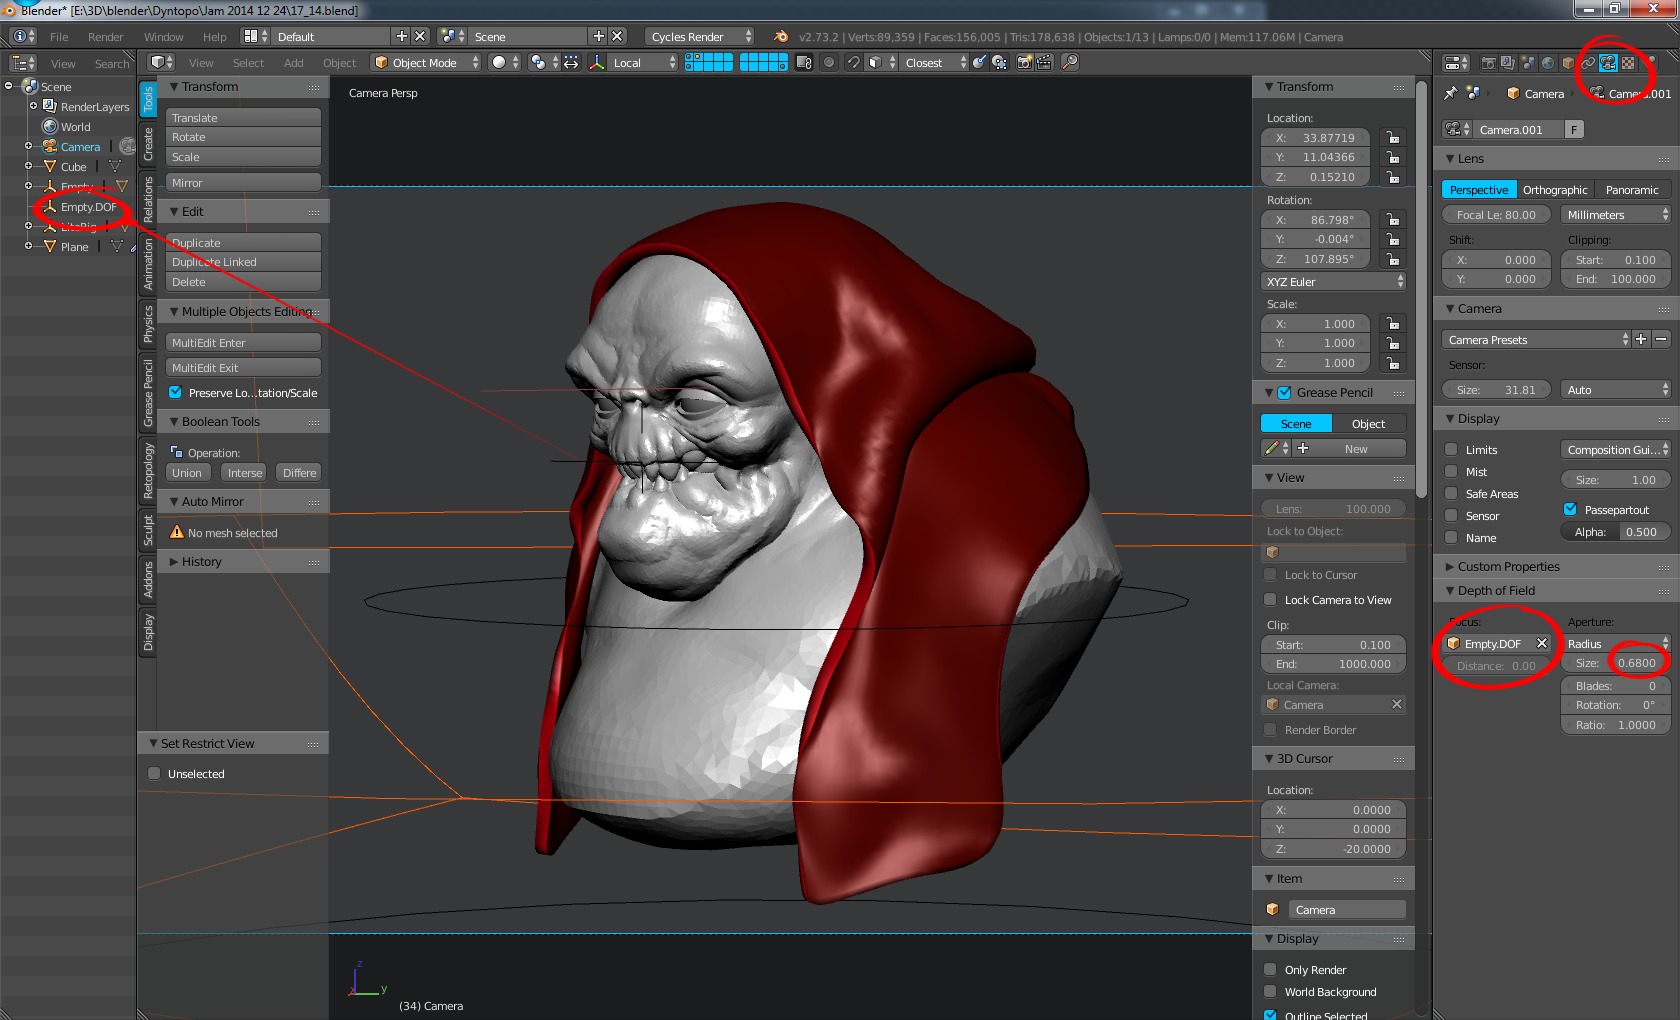
bonrw1, Thanks! The DOF was done straight out of Cycles. You need a Camera in order to render with DoF (can’t do it from Perspective). Create an empty that will serve as your focal point, then pick it from Properties > Camera > Depth Of Field > Focus drop down. Here’s an image that shows where to find it.
BlendRoid, Thanks on the kind words! Ya, sculpting without a tablet is a no-go.
Ranquin, Nice to see you back! Looking forward to you sharing some stuff with us.
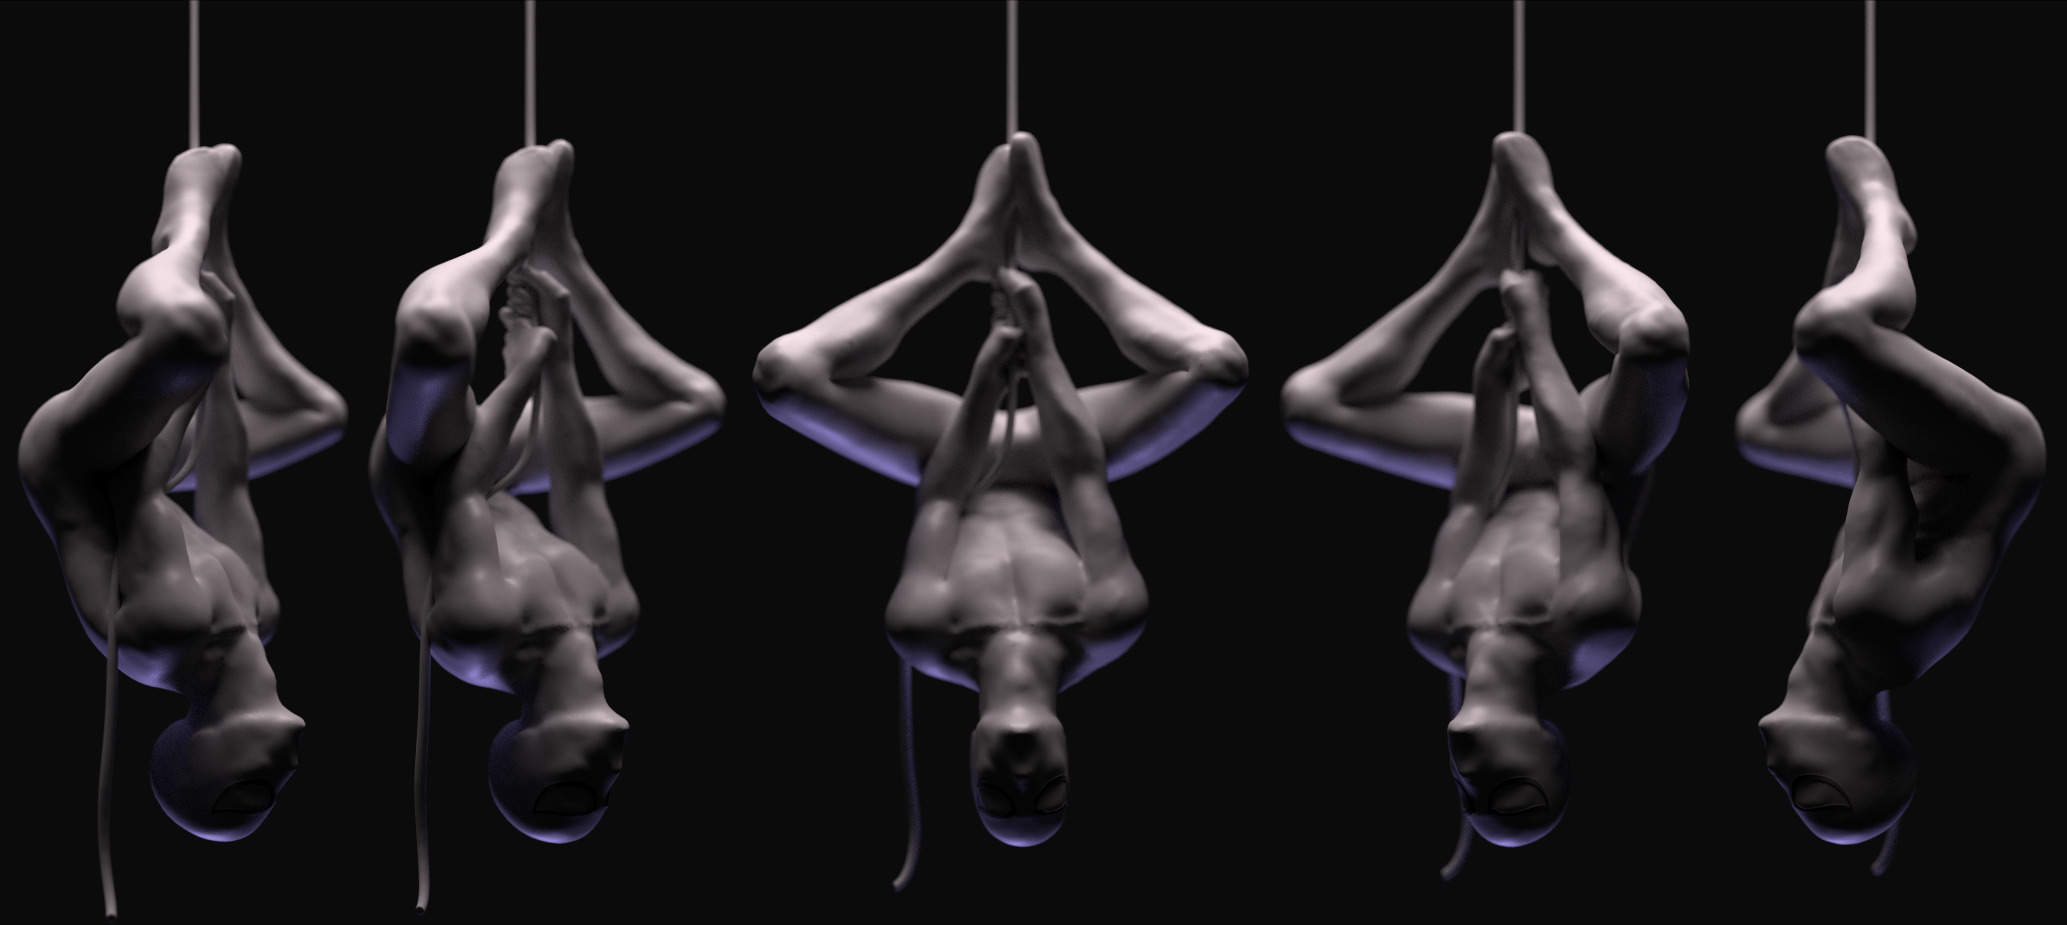
Re-simulated the hoodie. Made a timelapse GIF.
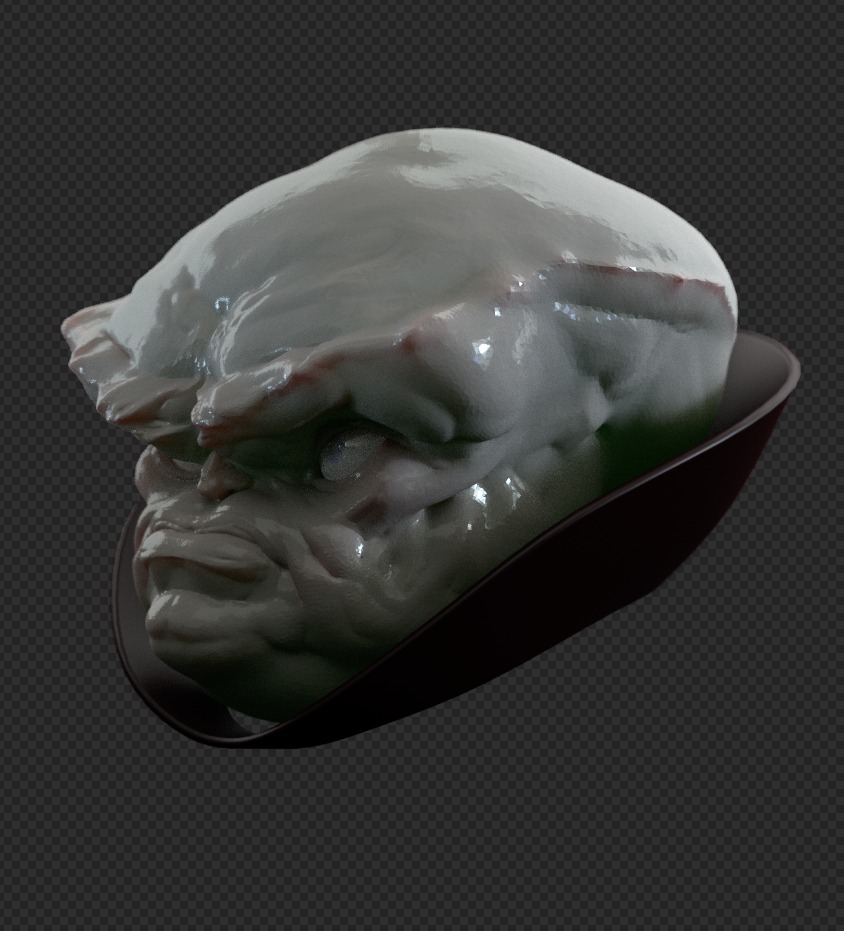
Drawing a blank with the texture concept. Just the shader for now.
Great sculpts man!
may I ask how you made this timelapse gif animation?You saving constatly new vertsions of the blend file? and at the end made pictures from this versions? or you just saving pics during sculpting ? or maybe it some kind of awesome addon with a press of the button it makes picture from diferent angles and saves it ?-- that would be cool addon ))
khalibloo, bonrw1, jamesdelrose, Thanks guys! Much appreciated.
3DNeksus, Thanks! Regarding the GIFs, you guessed right. I create them from saved files, so having a good number of saves is required.
Since I can’t code, I push through manual labor.
It’d be cool to have a script for this. I can edit python and understand some simple scripts to a degree, but writing something from scratch would be a whole nother level.
In a nutshell, you setup your views then ‘Open’ your files consecutively. The trick is to uncheck ‘Load UI’ in the ‘Open File’ window (this will leave your views consistent for all files). Take a screenshot, repeat. Create GIF from all the screenshots.
I have been asked this already, but opted to reply with PM, and not post the block of text here, I might just as well post it here if other’s are interested in the step-by-step.
This is using Windows and PS.
Split your Blender window to as many views you want to have in your timelapse. Use your sculpt to position each of the views. Save this (in case you crash or screw up with ‘Load UI’, so you can continue without a glitch).
CTRL + O (Open)
Uncheck ‘Load UI’ (important, this keeps your views intact)
Load first file
Alt+PrntScrn (this takes screenshot of the active window only)
Open PS, CTRL+N, CTRL+V loop from here
Alt + TAB to get back to Blender
CTRL + O (Open)
Uncheck ‘Load UI’
press ‘+’ to the left of ‘Open Blender File’; ‘Open Blender File’ (you can use this line only if you use sequential numbering for saved files, otherwise you have to click on the next file you want to load)
Thanks 0rAngE for explaining the workflow! very neat but takes a lot of time I think, especialy I dont like to save so much new versions of the blend file.
It would be nice to automate this process, I’ll think about this.
thanks again and keep this awesome sculpting going!
So are the little triangles/geometry you see in the “porcelain” the actual geometry or is that from the shader? Looks great either way, but I was just curious.
Xraygunner, Thanks!
That’s the tessellation, the triangles. I prefer rendering with Flat Shaded until I create a Bump Map, the tessellation almost acts as a bump.
As this is sculpted with Dyntopo, the resolution varies across the model. More detail = more rez.
Brilliant sculpts, absolutely brilliant! I’ve been wanting to know how you texture your sculpts, especially your Batman one. I wish I was half the sculptor you are


 nice work!