After a certain number of image textures (26) are plugged in, I get a magenta surface on the 27th one.
I also found this:
No answer. Does anyone know?
After a certain number of image textures (26) are plugged in, I get a magenta surface on the 27th one.
I also found this:
No answer. Does anyone know?
I have no idea, but I would love to see the node tree.
Or a description on why so many are needed.
Do you get some kind of error in the system console? Perhaps a SVM stack error I believe it is called?
This is the only thing I see:
Gonna be hard to read as a capture. I am working out a wrinkle map workflow driven by shape keys and drivers. I was not really sure I was going to need this many maps. So considering it is just too many maps and an apparent limitation, I have just revised my plan for a more efficient set up.
Thanks for answering guys!
-Richard
I meant the system console not the info node editor.
If it says anything about a stack error it probably means that you have too many nodes in general not necessarily texture nodes.
It then ,afaik, randomly drops nodes and the result is nonsense.
Got it. Ok, I’m not into character stuff, would need a deep think into this one.
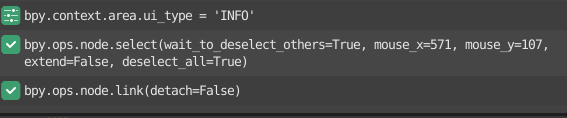
Thanks! So I toggled the console and got this:
GPUShader: error: too many samplers in shader.
Which led me to this:
I did try to reduce the number of nodes and that did not work. It seems to be related to the number of images on one shader which one of the answers reflects.
I am currently working on a much more efficient set up as a result, and also spreading it over two materials.
Thanks for the help!
Does it work on CPU? Maybe it would be possible to bake down the sequence as several UDIM tiles or something, leading to one map usage in final render? Just thinking out loud.
It is because of the number of unique images I needed to trigger live with bone controllers for the animator. I actually had no concept it would add up so quickly when I started out. So I had to go back and revise the method which now means no unique images for left and right. I will combine them.
For example 3 positions for the mouth corner becomes six. Another map for the chin and yet another set up maps for the sneer muscles, another for pursed lips and next thing you know I have ten or more maps just for the mouth.
So now I can reduce that significantly by painting on one image and masking. For example 6 can become 4 including one mask to isolate left and right. And each additional unique map I add only adds one instead of 2 and so on. UDIMS don’t really help anything especially since you can’t overlap them.
So the eyes nose and forehead are extremely difficult to isolate as many of those wrinkles converge at the bridge of the nose. So for that region I use two UV maps that overlap slightly. And then there is a UV map for the entire skin. So I am using 3 UV maps. And two materials. One material covers most of the head which includes the eyes and forehead and the other I am able to isolate as only being a part of the mouth.
So this doubles my image capacity. And that plus reducing with the use of masks. I was already planning on using masking for the forehead but I got up to the capacity before I even got that far.
To give you an idea of what I did up to this point, here is a vid of the proof of concept I was getting ready to hand over to my artist to paint proper maps. This was just before I hit the limit. Now I have gone back to the beginning and am in the process of redesigning.

Technically what is happening here is the base map which is the UV you see, is the map for the skin. The wrinkles are triggered on unique UV maps that overlap and allow for more resolution. Then several images are used for each UV map.
At the end, it will drive displacement and normal details.
Wow, that’s massively impressive. Had no idea things like that was even possible.
I’m clueless on how I’d approach it. How does others handle it in other software?
I have seen different aspects of this idea. I learned to use Face Robot in Softimage which used mesh and weight maps to add wrinkle details.
In Blender you could do this in a similar way with a displacement Modifier and a texture. But I also like the idea of using the shader because you can mix the normal map for fine detail and the displacement in one go. It would be real resource intensive to do it all with displacement. But that is certainly still an option.
Most solutions I have seen have either been to subdivide the mesh and displace or use bump or normal maps. Either way there has to be a way to drive it with the controllers. And Blender has great tools for this.
The face rig I made is entirely Shape Keys. There are no bones. Just bones as controllers for the shapes. So I just copy the driver from the Shape Key to the shader and Bob’s your uncle.
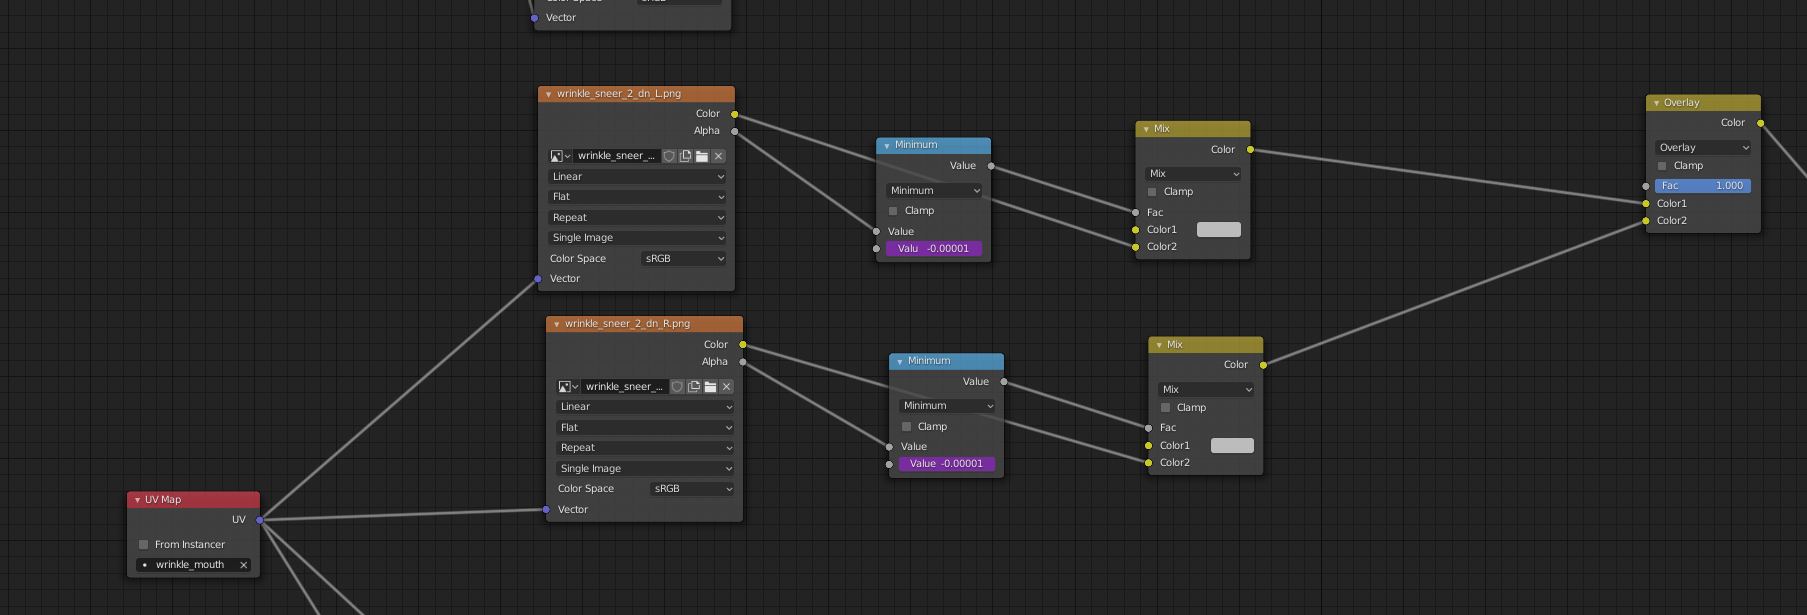
Here is a close screen shot of the basic set up.
The idea for this workflow is to paint on a transparent map only the wrinkle in shades of black and white and then composite that over a mid tone grey and keep everything able to overlay over as it moves down to the final output.
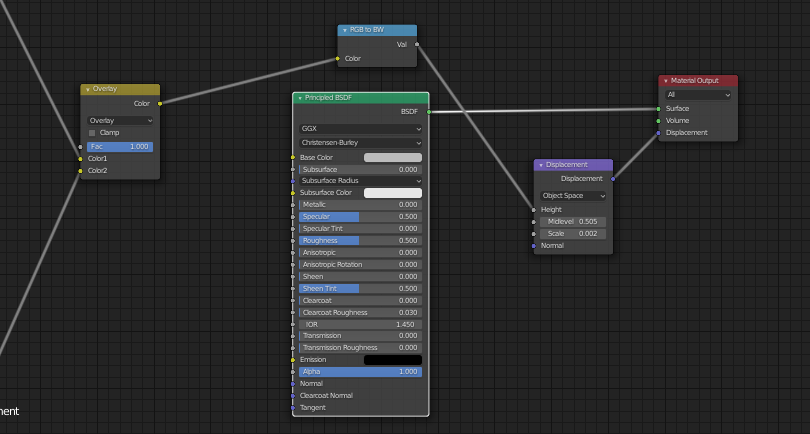
At the end of the pipe you have a grey tone that dynamically gets the wrinkes fading in and out and this is plugged into displacement on the shader via a displacement node. Then Cycles and Experimental with a subdivision surface to
The math node is used to drive the value of fading in and out with the controller.
By the way Chris Jones also developed a similar rig I think. Using LightWave. But he uses Blender now.

His Blender thread: